 After designing the panel, picking up the new flaps and prepping N2165U for paint, we were ready for the next big projects: installing the panel and painting the plane! However, we needed to wait for the panel to arrive and the paint shop to be ready for us. In the meantime, we worked on some smaller projects including the landing light installations, cutting the panel support, mounting the oil cooler to the baffling and building handles for the wings.
The Landing Light Installations
As purchased, my Van’s RV-6 lacked one key piece of equipment: a landing light. This was important because I wanted to fly my plane everywhere, all day and every day, so I could totally see myself getting caught in the dark. Therefore, landing lights were going to be a necessity. Stan Lawrence, my CFI and adopted grandfather, did some research and chose the lights designed by Duckworks Aviation, LLC. These are mounted within the leading edge of the wing and are oh-so-specially made just for Van’s RVs. We ended up getting two landing lights (one for each wing), so that one could be aimed for taxiing.

The landing light kit came with a paper template, which gets cut out and taped to the wing as a guide. After lots of measuring and adjusting, we finally placed it in the correct position. Kerry Richburg, my dear friend who is also helping with the project, did most of the work on the landing light installation. Kerry had to modify it because the rib for the wing was not where it was supposed to be. The builder had moved the rib about an inch toward the fuselage, so the nose rib on the wing was too far in by about an inch.
Kerry and Stan roughly cut out the hole, then filed the edges down to get rid of any little metal splinters sticking out. Kerry also riveted a metal spacer to create a false nose rib and added another rib to support the light because the bracket for the light is mounted to the rib on both sides. He then inserted the bulb and attached the plexiglass lens cover for the landing light. And it looks amazing! Thank you, Kerry and Stan!
Panel Arrival
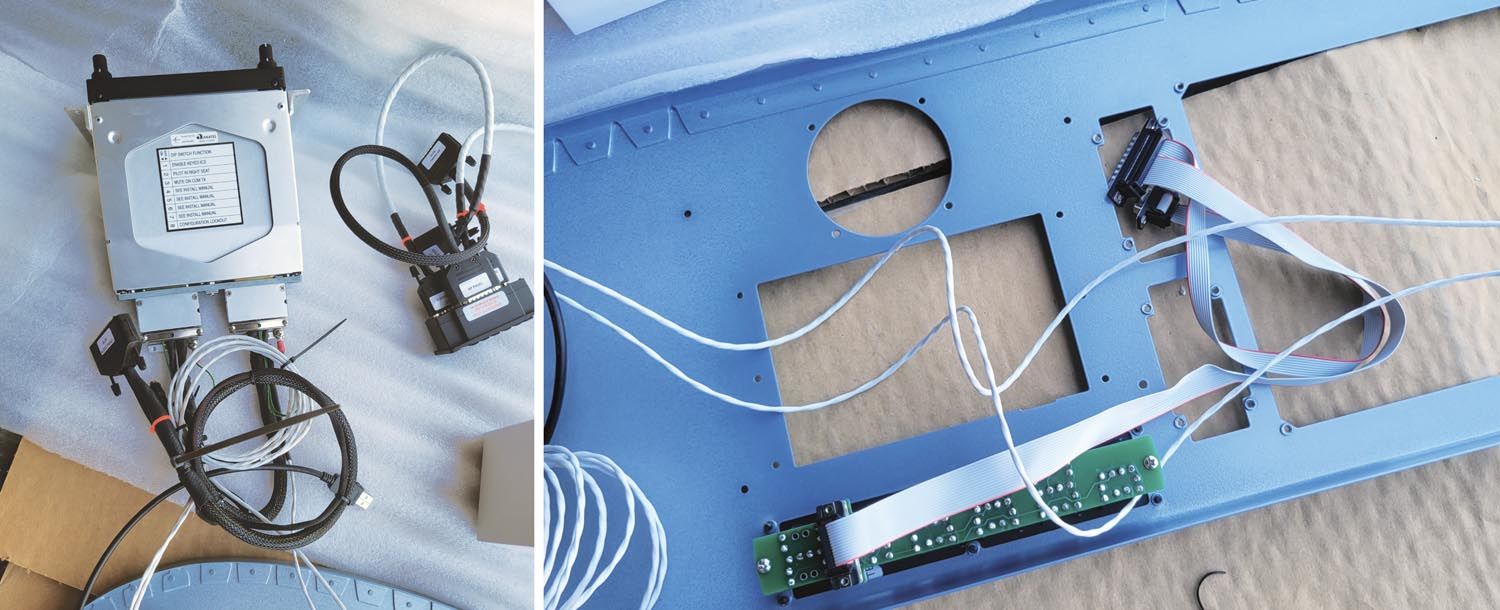
On April 27, 2023, my Advanced Flight Systems panel finally arrived! I had it shipped to my work because I was afraid of it getting stolen off my front porch, which would have been an expensive and unfortunate event.
Early in the morning, I ran over to the FBO at Sacramento Executive Airport (KSAC), Modern Aviation. It was a huge and bulky box, but relatively lightweight. I awkwardly picked it up and carried it across the executive hangar and into the office, where my friend and coworker, Emma, helped me tear it apart. We pulled out multiple large foam pieces that were protecting all of the components. Beneath the foam lay my beautiful Canfield Blue beauty. I didn’t know what to say as I gawked at the gorgeous thing that had cost all of my paychecks from last year.

During my one-hour lunch break, I eagerly brought the giant panel box to the hangar and showed it off to “the boys,” Stan, Kerry, Hal, Bill and Bruce. They all loved the blue color and were pleased with the layout.
For shipping and presentation, the Advanced Flight Systems team had assembled the panel to show all of the parts and pieces beautifully laid out. However, to truly begin installing it, I was going to need to take apart each piece, as well as sort and label every colored wire that went to each component. Stan showed me what to do and the rest of the lunch break was spent carefully unscrewing my switches, the AFS 6600 screen and other pieces.
The Panel Support
Stan cut out large sections of the panel to accommodate the radios and other components, so he wanted to reinforce the bulkhead behind the panel, especially the left and right sides. He added a 0.041-inch aluminum piece to fortify the structure supporting the canopy. He also added a large aluminum piece, telling me, “I put the aluminum floor on that whole bay there from the firewall to the instrument panel. It’s not structural but it’s 0.020 aluminum.” This allowed us to mount more things to the panel, like the Light Speed electronic ignition, backup battery, ADS-B Out and the ACM control module.
As I was feeling bad about not being much help during the process, Stan reassured me: “You also helped me rivet that reinforcement piece in. Remember, we used Nick’s rivet gun? You did probably 60% of that riveting.” Using the pneumatic rivet squeezer powered by the air compressor, we riveted on the reinforcement with round-head rivets. The design of the rivet squeezer allowed us to not need a bucking bar, too!

Oil Cooler, Meet Baffling
We needed to mount the oil cooler to a location where it would receive the maximum amount of airflow. The best position for this was the engine baffling. To mount it here, we needed to measure and cut a hole in the baffling so we could get the correct size to allow the air to properly flow through. After fitting the oil cooler, filing the hole in the baffling down a little more, then testing it again, we finally got it right.
Getting the correct size for the oil cooler hole was important as too small of a hole could cause high oil temperatures due to lack of airflow. Too large of a hole could cause excessively cool oil temperatures, which would cause the oil to become more viscous, leading to reduced lubrication.

Building Handles for the Wings
The wings of the Van’s RV-6 (or any plane for that matter) are large and somewhat bulky, so when removed from the aircraft, they are hard to hold onto. Stan thought ahead and put boards through the lightening holes of the end rib of the wing, then screwed a board on the outside to the boards on the inside. He then put the Southland 3/4-inch black malleable iron floor flange fittings on the outside of the board and used them to attach 12-inch pieces of 3/4-inch pipe to use as handles when moving the wings. Genius!
Readying for Transport
We desperately tried to figure out how we were going to paint N2165U in the hangar. Aside from the minor fact that it was already forbidden, the major issue at hand was the risk of overspray into the other hangars. The last thing we wanted was to accidentally get white paint spray on other planes! Because the hangar isn’t completely sealed off from the other hangars and there are gaps in the ceiling, we would have needed to completely transform the hangar into a paint shop, covering every open section with plastic sheeting. In addition, we would need to protect other objects in the hangar. The prep work for all of this, plus the risk of dust and other debris getting on the finished project, made us seriously reconsider painting inside. We finally decided to just take the wings off and trailer the plane over to Justin’s for paint.
Here’s the thing though. We weren’t “just” taking the wings off. This was going to be an entire process.
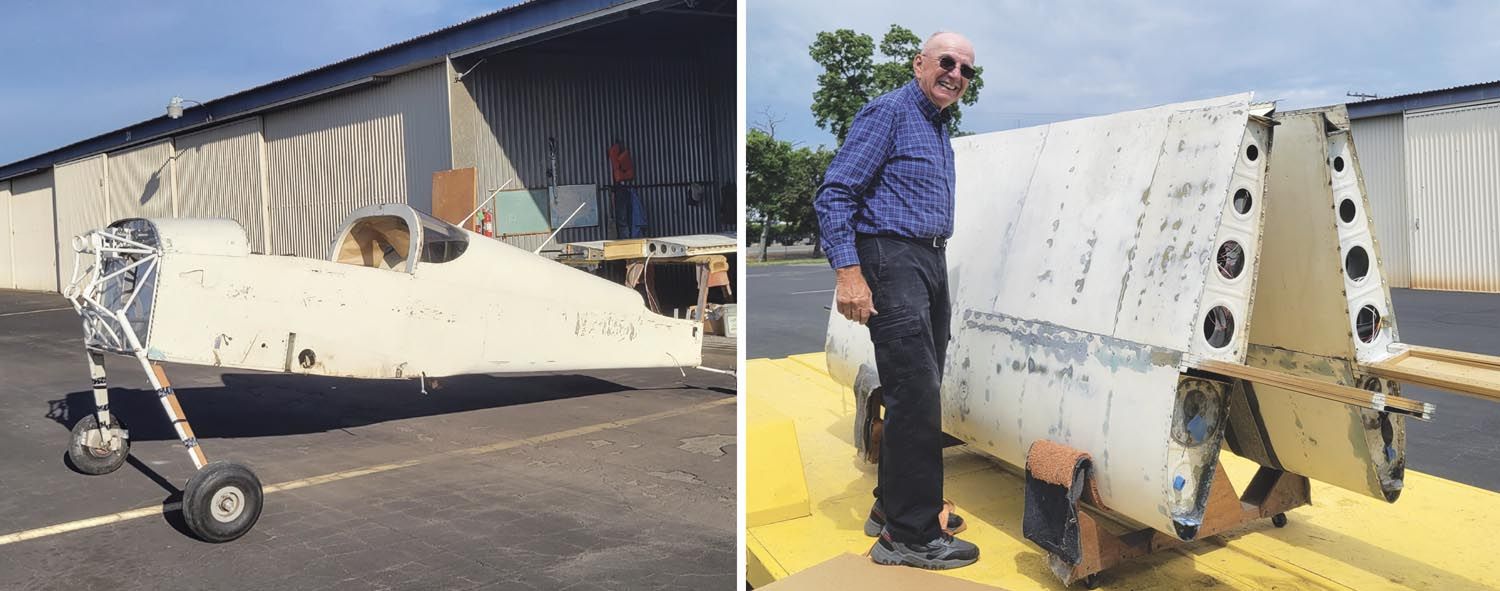
The wings of a Van’s RV-6 are mounted to the aircraft with 50+ bolts. After that, all we needed to do was to get a few people to grab onto the wing, pull it off and set it up carefully in the hangar. And the next day, that’s exactly what we did. Stan, my boyfriend, Zach Lauzon, and I worked together to pull the wings off. We placed them on some old tires in the hangar.
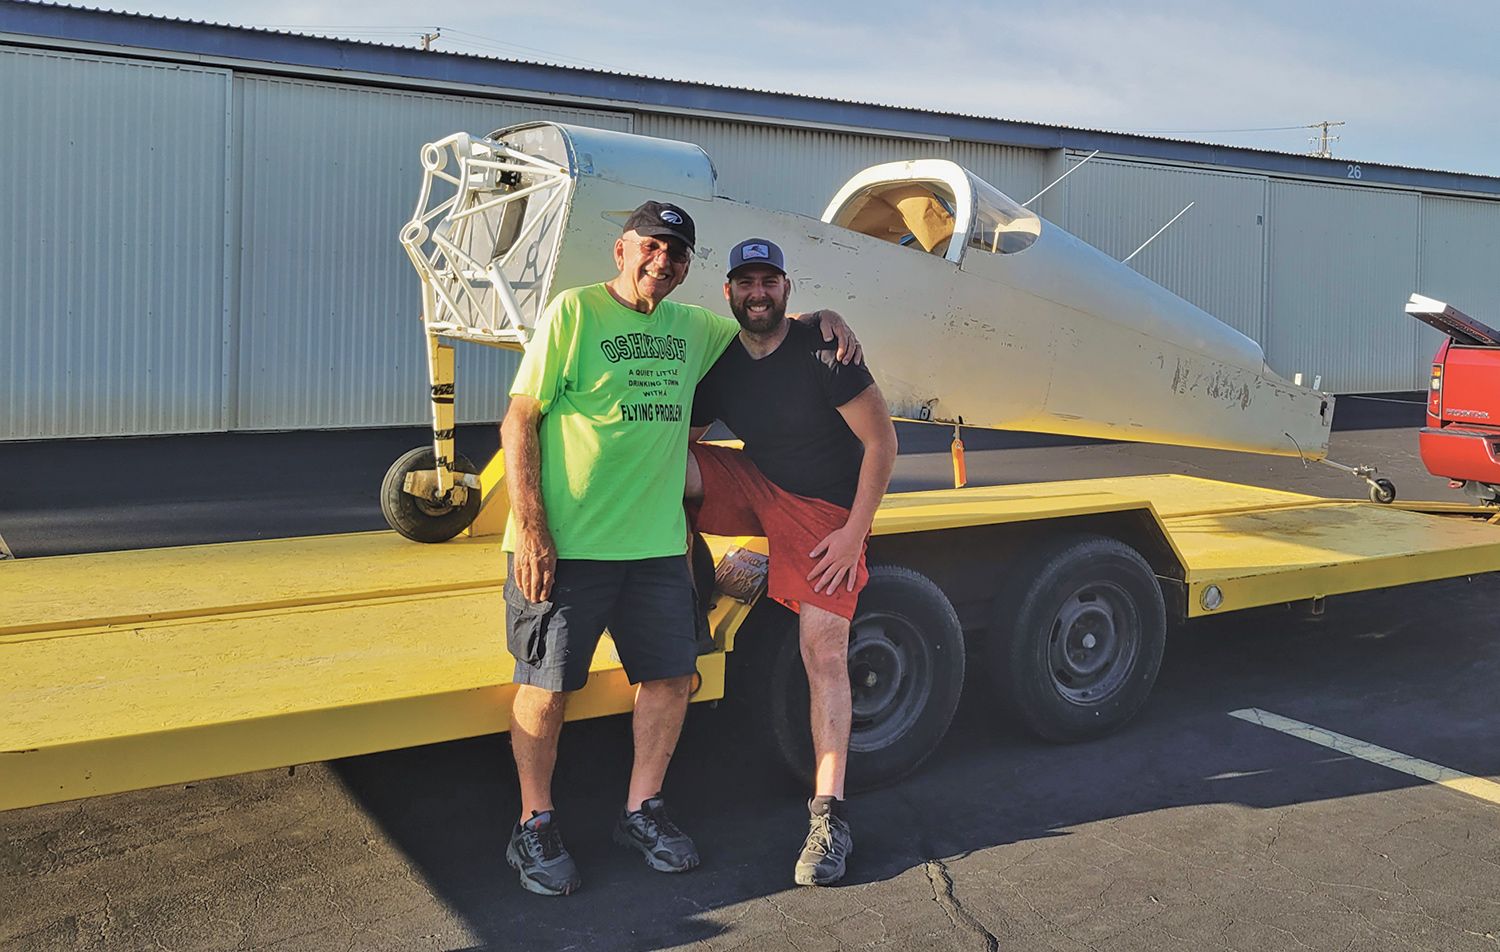
After that, I organized the hangar while Stan and Zach went to get the trailer to load the fuselage. Stan deflated the tires on N2165U to absorb impact so the fuselage wouldn’t bounce around much en route to the paint shop. Finally, after sitting in the hangar for over a year and a half, the fuselage of N2165U saw the light of day. We rolled it out onto the trailer, carefully lining up the wheels on the metal roller loading things and backed it in, tail facing the front of the trailer. Stan secured the wheels by screwing a couple of 2×4 pieces into the trailer bed. Then, we really tied it down with multiple ratchet straps.
Final Touches on the Fuselage
I put so much time into sanding N2165U, as did Kerry and Stan. We did our best, using a combination of the hand sander and orbital sander. However, sometimes the best just isn’t good enough. We knew Justin would receive the pieces and his team would finalize the paint preparation by sanding it to their standards using their fancy tools.
We still wanted to do a good job though and make it look as presentable as possible. Seeing the fuselage in the light of day outside of the hangar made me realize how much more work could still be done. I started sanding just a little more, going underneath the belly and getting as much as I could. After that, I found some more oil and grime on the side, which was shortly after removed with a nylon brush and some MEK substitute. Once again, it wasn’t perfect but at least we made some of the paint job easier!
Wings (and Fuselage) Across Sacramento
“Hey T-Bear, what are you up to today?” my dad asked.
“Stan and I are driving the fuselage to Justin’s for painting! Then the wings! Not sure what else I’m doing, but this shouldn’t take more than a couple of hours.”
Boy, was I wrong.
Trailering an entire airplane from South Sacramento to North Sacramento is not as quick as one might expect. When you have a giant trailer with precious cargo on it, you can’t afford to take the highway and risk damage with the high speeds. So you take surface streets. The once-30-minute drive quickly becomes an hour. And it wasn’t even an hour. Stan and I somehow picked the slowest street, backed up due to construction. After getting through this and some morning commuting traffic, it ended up being closer to an hour and a half before we could unload the fuselage at Justin’s paint shop.

It was so exciting to see the shop and unload the fuselage. My plane was actually getting painted! After thanking Justin and his team for their help, we quickly went back to KSAC for the wings, trailer in tow, taking the highway this time. When we got to KSAC, we loaded a specially designed wing cart onto the trailer along with the wings, then fastened both the cart and the wings down with ratchet straps. We used a piece of cardboard to even out the pressure. Before we knew it, we were on our way back across town, wings and trailer in tow. Stan had me drive this time, too! I’m so lucky to have him by my side, walking me through the whole process. I couldn’t imagine this entire day without him.
After dropping the fuselage and wings at Justin’s, all we needed to do was sand the controls and wait it out for a little bit. This was the perfect time to go back to the hangar, organize it and get ready for the next phase of the project: post-painting!


Tenley, that big yellow “O” on a green tee shirt can only mean one thing: you’re an Oregon Ducks fan! As a Duck Dad myself, I wear a lot of that and so does my daughter Bethany, a U of O grad. She also loves to fly with me in my Pietenpol Air Camper, which your RV-6 can fly circles around. The Six has to be one of the best sport aircraft ever designed!