I’ve been writing about Weir’s Wonderful Wires now for the better part of 40 years. However, in all that time and all those columns, I’ve never been down more rabbit holes trying to get reliable data alongside the Easter Bunny than with this column.
Here’s the deal: There are three basic methods of marking your wires so that 10 years from now you’ll be able to go back and track down trouble. It is the old 10:1 formula. What you spend an hour on during the build will save you 10 hours of work when it comes down to troubleshooting problems.
I’m talking about problems that come with age as well as problems you will have the first time you fire up your precious Skyboomer and the nav lights won’t work. Or the Number 1 com has carrier but no audio. Understand, I’ve made a lifetime career under instrument panels, trying to fix problems that were created during construction or new avionics installations.
One undeniable truth I’ve gleaned while on my back under the instrument panel is that a lot of builders, understandably so, are in such a hurry to get their prize progeny into flight that they often overlook small details like labeling each wire to easily solve problems that inevitably come with aircraft birth and aging.
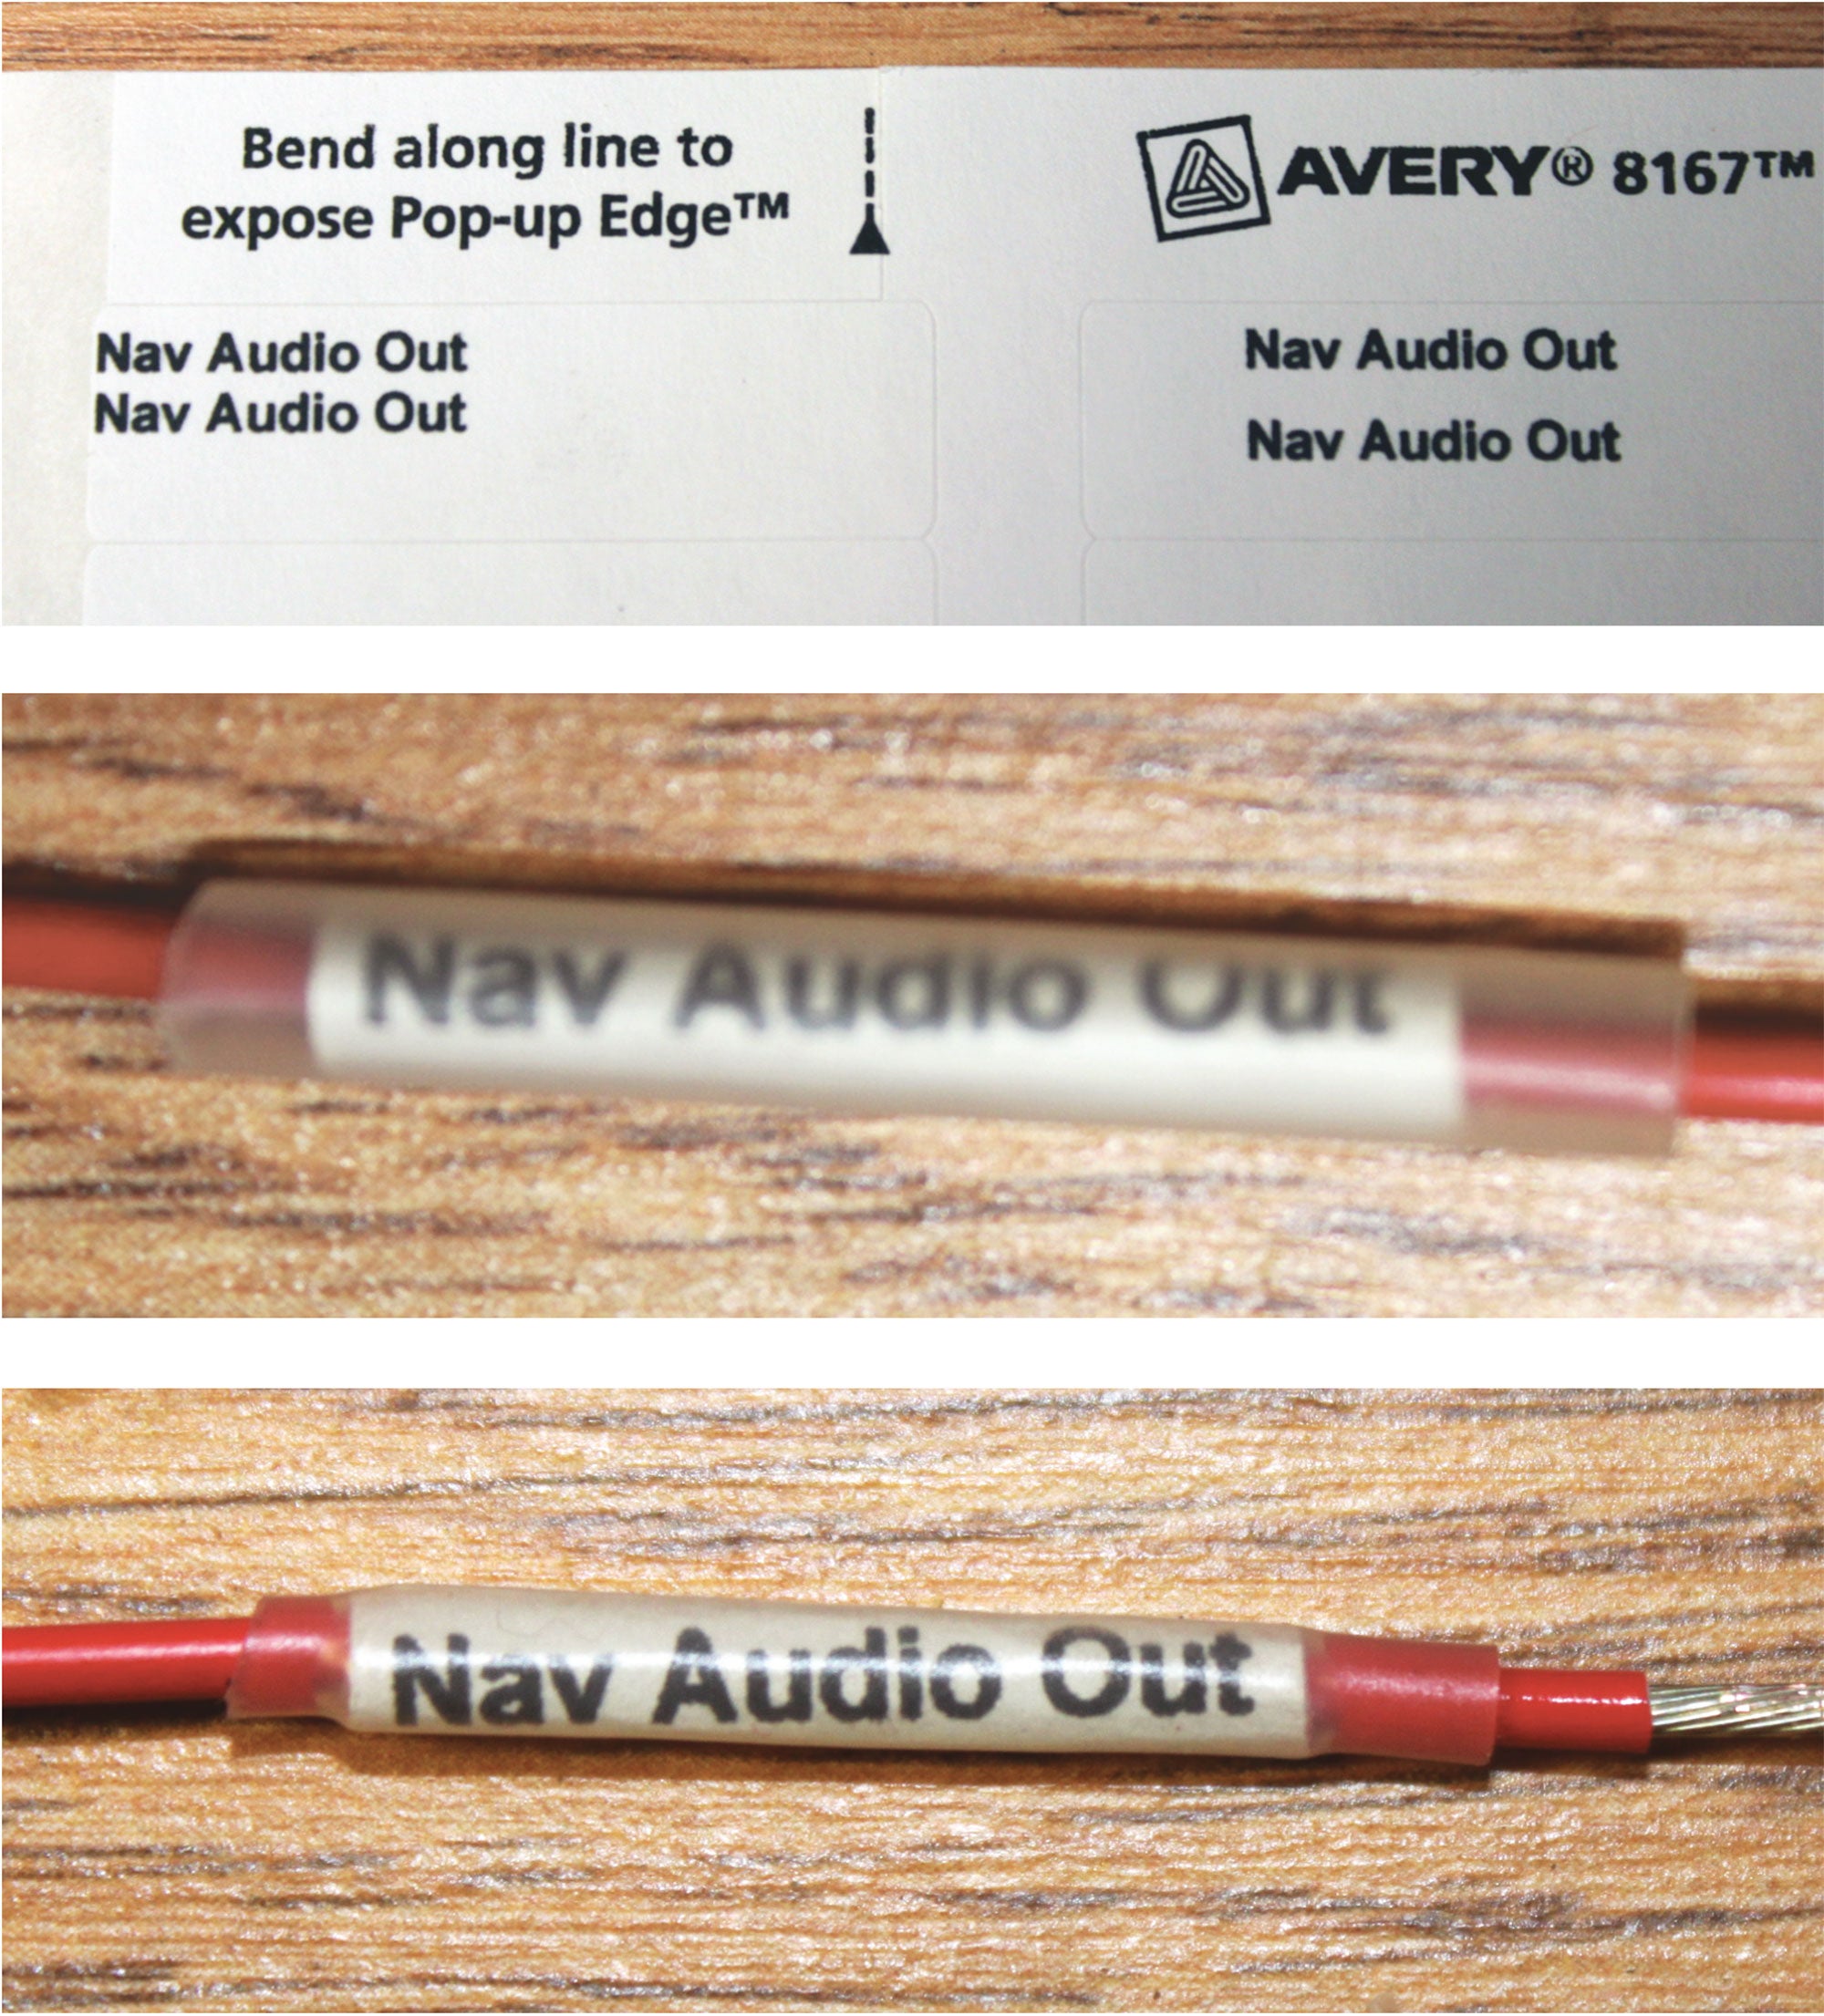
After seeing so many different ways of marking wires, I’ve come to a conclusion that one way is the easiest, most reliable and also the least expensive. This method is a paper label under clear shrink sleeving. Here are the other ways that I’m not all that shot up about.
One method is to simply take the wire and ink-print directly onto the insulation itself either a verbal description of what the wire is for (e.g., “Com 1 +12 power”) or a numeric ident (e.g., “72-8543”). There are a couple of problems with this: First, you need a relatively expensive print machine designed to print on wire. Second, there is no ink or marking solution I am aware of that doesn’t have a solvent base. The solvent may be water. It may be battery acid. It doesn’t matter. At some time that solvent will wipe the markings off of the wire. At best, you can hope (a terrible word when applied to aircraft maintenance) that something doesn’t rub the markings off the wire.
A similar approach is to print the ident directly on shrink sleeving and then use that to mark both ends of the wire. Unfortunately, this technique has exactly the same problems as marking directly on the wire.
This brings us back to a paper label under clear shrink sleeving. Simply print the number or verbal description of the wire onto a cheap, very small return-address label, with the same number or description repeated on the label as many times as it will fit. After printing, be sure to apply a label at both ends of each wire.
Printing can be done on an inexpensive laser or inkjet printer for fractions of a cent. It doesn’t really matter whether you use a laser printer that actually heat-fuses the ink onto the label or an inkjet that prints cold ink onto the label. Although my personal belt-and-suspenders preference is for the laser, I’ve had 100% success with both. And if you mess up a label, you can crank out duplicates quickly and cheaply. For reference, look up Avery 5167/8167 Return Address Labels. You get 2000 individual labels for about $12.

Down the Rabbit Holes
The real secret to the success of this method is to cover the label on the wire with clear shrink sleeving. This hermetically seals the label from solvents to the label ink as well as abrasion from chafing over the life of the airplane. The devil is in the details, as I found down one of the aforementioned rabbit holes. In this case, it is the definition of “clear” as applied to shrink sleeving.
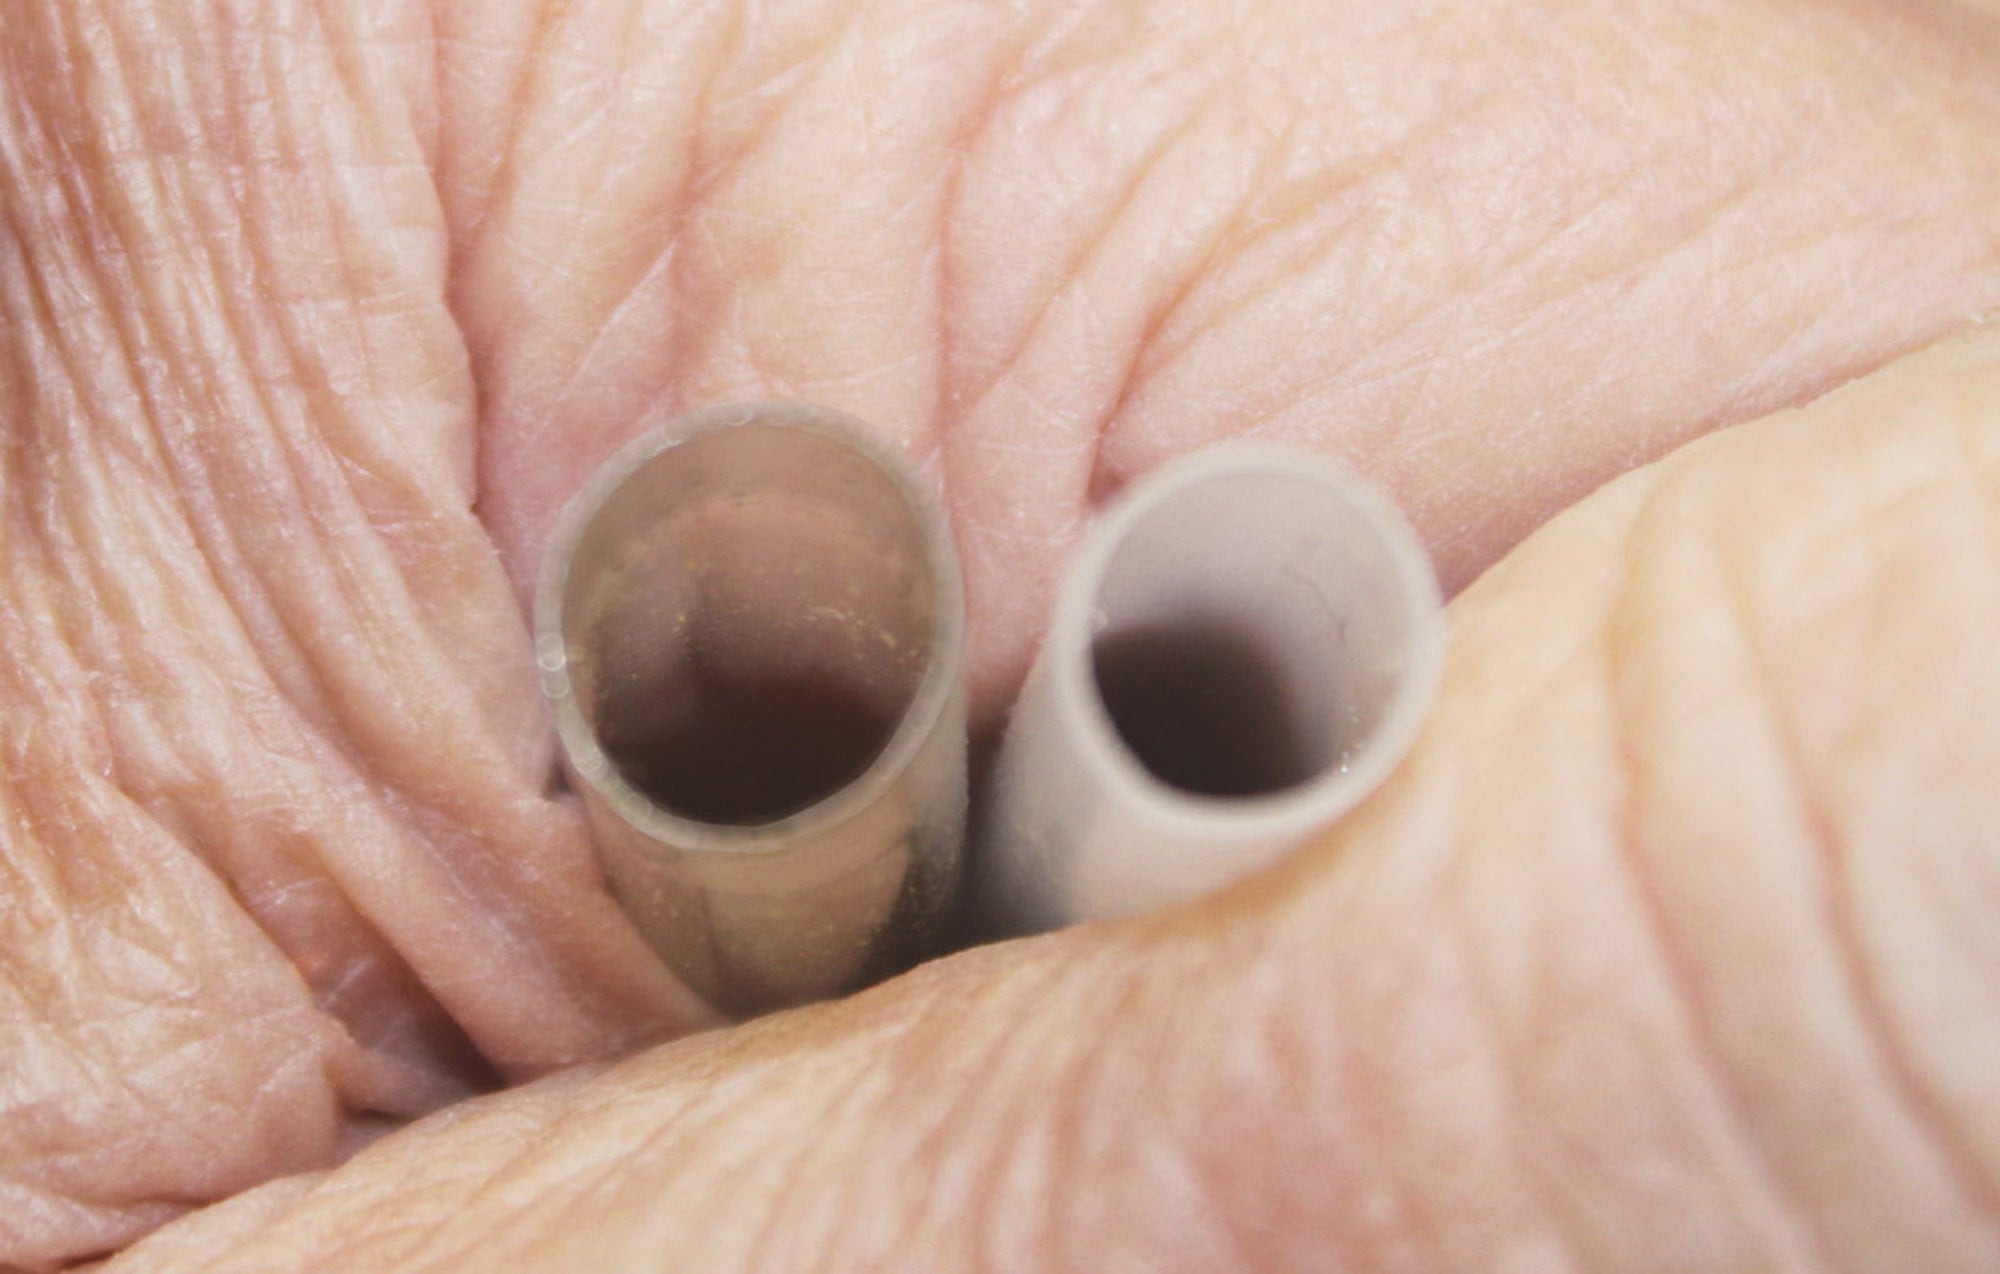
To most people “clear” means window-glass clear—optically free from any impediment to sight. Unfortunately, clear in the shrink-sleeving world usually means waxed-paper clear. You can read a printed sheet directly under the wax paper, but if you get some distance between the wax paper and the sheet, the printing becomes fuzzy. Fortunately for our purposes, we shrink the sleeving tightly to the printed label, so one type of sleeving works as well as the other.
Now let’s move on to the other rabbit holes, uncovered by two weeks of research and indefinite conclusions, most of which are personal observation and prejudice.
- The window-clear sleeving is not as flexible as the wax-paper-clear sleeving. I fear that in the installation and vibration worlds, the window-clear sleeving will have a propensity to crack and peel over time.
- The window-clear sleeving is not as dimensionally reliable as the wax-paper-clear sleeving. I took a few samples of window-clear sleeving and measured them. It seems that the manufacturing tolerance of the window-clear sleeving is wider than the wax-paper-clear sleeving. I took several samples of ¼-inch window-clear sleeving and they came out a couple of millimeters both above and below a true ¼ inch. The wax-paper-clear ¼-inch samples were indistinguishable from my measurement tools: a ¼-inch drill bit and a digital caliper accurate to one mil.
- Finally, the wax-paper-clear sleeving all shrunk to exactly the same dimension. Some of the window-clear sleeving shrank 40%, some shrank 60% and there was no way of telling from examining the samples how much they were going to shrink. That may or may not be a problem in your application.
What we need now is a table that lets us select the proper number for each wire if that is the way we are going to identify the wires. (If you are going to use alpha-numerics for your wires, the table will not be necessary.)
We also need a table that tells us which of the available sleeving diameters will work for most common diameter wires.
Finally, you need to decide for yourself whether you simply want to label each end of the wire or whether you want to have additional labels along the way.
That’s it for now. Until next time…Stay tuned…


Sounds good in theory but the nuts and bolts of the operation aren’t clear. What program is used to ensure that the wire markings align with the labels on the sheet?
Also, the print template needs to allow the user to pick which label to use, thereby, allowing the label sheet to be used as the wiring progresses without having to discard the partially used sheet.
Where is the best place to buy either type of clear shrink tubing? I looked at Aircraft Spruce but they only carry white and black. There are several options on Amazon but they all have internal adhesive and none are the wax paper clear. Maybe the adhesive gives it the wax paper look? Is there a certain brand that you use?
Thanks Jim. Can you recommend a brand names/ sources for wax paper clear tubing? We are considering using wire labels printed on heat-shrink tubing and covering that with clear heat-shrink tubing. Thank you.