One of the key skills needed in building an aircraft is organization. With the long lead times from some of the various kit providers, organization is something you can get started on prior to the kit arrival. Inventorying everything is certainly one of the first things you will do when the kit or kits arrive.
But even more important is to decide on how and where you are going to store them. You want to ensure that they are stored in an organized manner, as well as in an area to prevent any possible damage. If this is your first aircraft project, it is also a good time to get educated on the various specialty tools you might need and start the procurement process.
Some of you, me included, fall into the trap of thinking you already have the necessary tools because it’s your second or third project. I personally have been bitten by that modus operandi. Perhaps the new project is a slow-build and the last one was a quickbuild kit? Or perhaps the last one was metal and this one is fiberglass or tube-and-fabric? Where we needed metal shears, files or drills to get started we now need cups, scales, hot-wires and fabric shears. You get the idea. Take the time to think about the differences. Ask other builders what surprised them when the kit showed up.

Metal Beginnings
I remember thinking about this when I built my first airplane, a Van’s RV-4. I asked Dick VanGrunsven what kind of tools I might need. I will never forget his answer: ordinary household tools. Carol and I have had a good laugh about that many times over the years. I figured since I was already a homeowner, I was all set.
I was soon to find out I didn’t even understand what a bucking bar was, as well as discover that I needed a large selection of metal-cutting hole saws for the wing ribs. Back then Van’s did not provide the ribs with the precut holes in them. Yep, that was a budget-buster for a while, as metal-cutting hole saws in all the various needed sizes were just not available at local hardware stores. They were also expensive. I think I spent almost $200 for them, which today doesn’t seem like a lot of money. But then the whole tail kit was less than $1000!

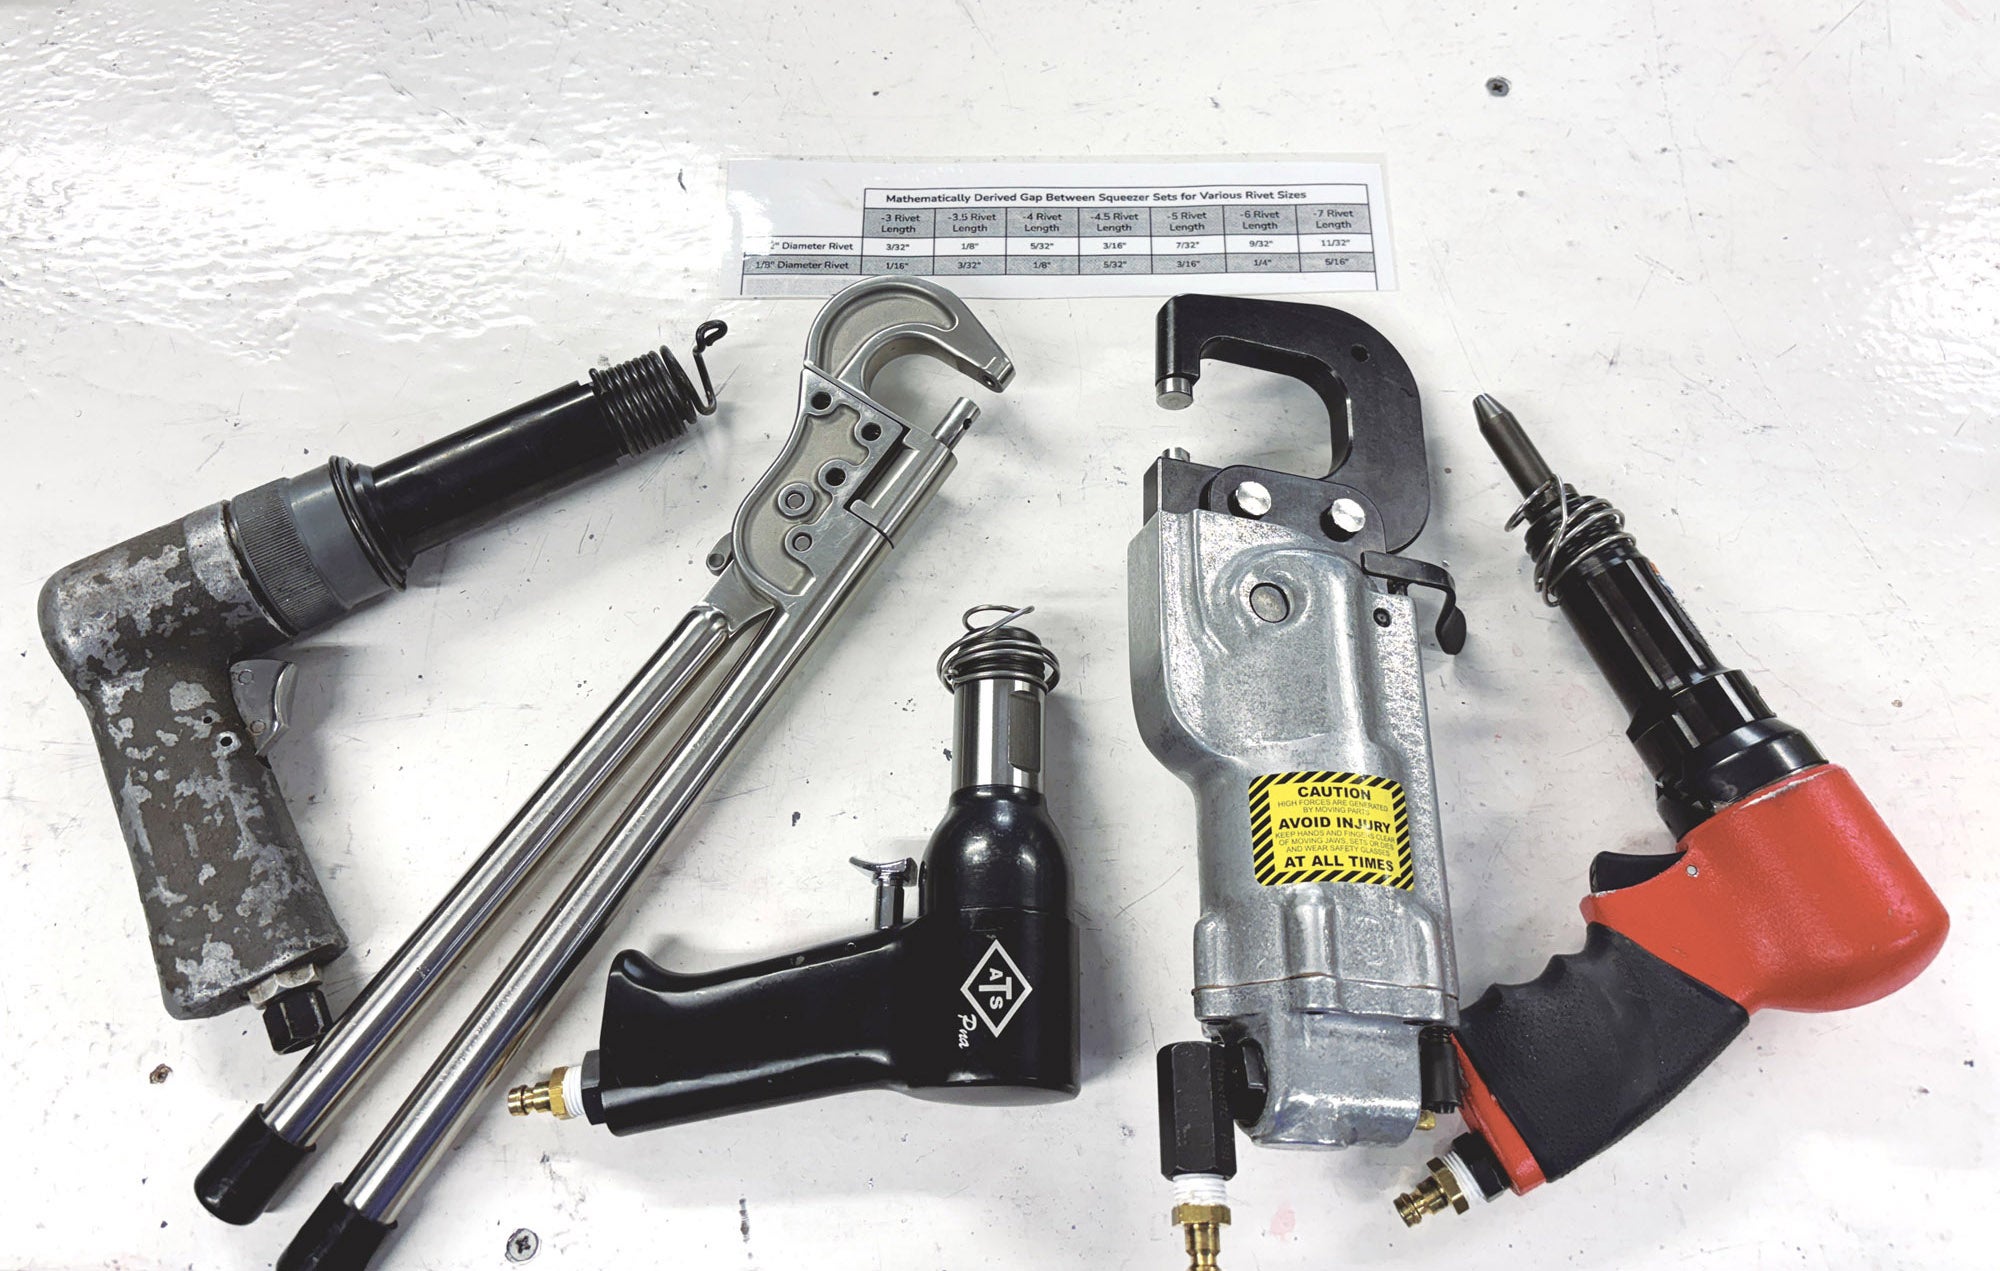
I’ve learned a lot about tools since then, with this being my 13th aircraft. Acquiring the rest of the metalworking tools such as rivet guns, dimple dies, countersinks and deburring tools really took an unexpected toll on the budget. Luckily, we had decided together to do this, and I didn’t have any other expensive hobbies such as golf or boating.
There was no internet back in the early 1980s and Trade-A-Plane was pretty much the source for everything aviation. Luckily, Cleveland, Ohio, is an industrial town, so eventually I figured out the hardware stores that carried aviation tools, especially things like numbered drill bits. We scrounged and made good progress, but I also learned that the cheaper tools would usually fail at the worst times—over the weekends and late at night, when nothing was open to go get a replacement. Amazon was only a place in South America at the time!

Know Your Neighbor Builders
Today, it’s a lot easier with the connected world that we live in. First, before you even get started it is easy to discover if there are any local builders who can be a wealth of information. The EAA chapters are certainly much more prolific today and most of them are equipped with technical counselors and tools you can borrow.
The borrowing part is huge, and you should really make an effort to see what’s available from the local chapter or builders before purchasing some of the expensive tools, such as pneumatic riveters, TIG welders or metal brakes and shears. Sometimes you can work with another local builder and share the costs of the tools if you happen to be building at the same time.
Here are some tricks I’ve learned. Usually during the build process, you will assemble and disassemble various structures multiple times. When drilling pieces together, it is important that they get reassembled into the same positions. Marking them with magic markers usually works OK until you get to the priming step, at which point any markings you have used will most likely get cleaned off. During my first build I stumbled upon a set of letter and number stamps at one of those hardware stores I mentioned, and I still have them.

The wings are a good example, as all the ribs look alike, yet they are in different locations and drilled both to the spars and skins. Even though everything is CNC-cut and matched, when assembled there are still some hole variances that need drilling and deburring. So, on the final disassembly prior to priming, I stamp every part. It’s now a permanent mark, does not harm the structure and ensures that all the parts end up in the same spot. Until I discovered these stamps, I had been using a file to make notches in the edges of each part and keeping a diagram to show where they went. What a pain! The stamps are a huge time-saver.

Rack ’Em Up
The other thing I discovered is that good quality shelving is a must, both for storing the inventoried parts and then for storing some of the completed subassemblies. Initially I was always trying to hang things on nails or store them on the rafters in the garage or the attic. Let me tell you that stepping through the ceiling in the house just once put an end to that tactic.
The funny thing I’ve noticed over time is that I must keep buying shelves every time I start a new project. But it’s a good thing. Buying good shelves means they get used after the project is completed—and always by you. Looking around the house, basement and hangar today at all the shelves is like looking back in history and remembering the various airplane projects. The moral: Buy good shelving and it will last.

Over the course of building the various aircraft, it is my opinion that the metal ones require the most tools, especially regarding sheet metal working. Sure, it’s easy to understand that you are going to need a good selection of countersink cutters, dimple dies and drill bits for all the various sizes of holes. But I think I have yet to build one where I didn’t need a bucking bar or rivet shank different from what I have!
There’s always that one rivet that looks great on the engineering drawing, but trying to set it is a whole different adventure. I’m sure modern auto mechanics could sympathize. For those types of situations, it doesn’t hurt to ask previous builders how they solved it, and you might be surprised to discover some tool that gets passed around for just that application. It sure beats struggling with it and perhaps even doing damage trying to set it yourself.
Sometimes it is OK to buy a cheap tool because for some of these one-off situations the solution is to modify a tool, often permanently destroying it. I assure you that over time you will end up with a drawer full of modified tools. I find Harbor Freight tools fit this requirement very well, as I don’t cringe as much as when I am taking a torch or a cutter to an expensive tool. I also find the creativity of some of our builders to be outstanding when it comes to modifying tools. I bet many of you have some pictures you might share with us as well!


