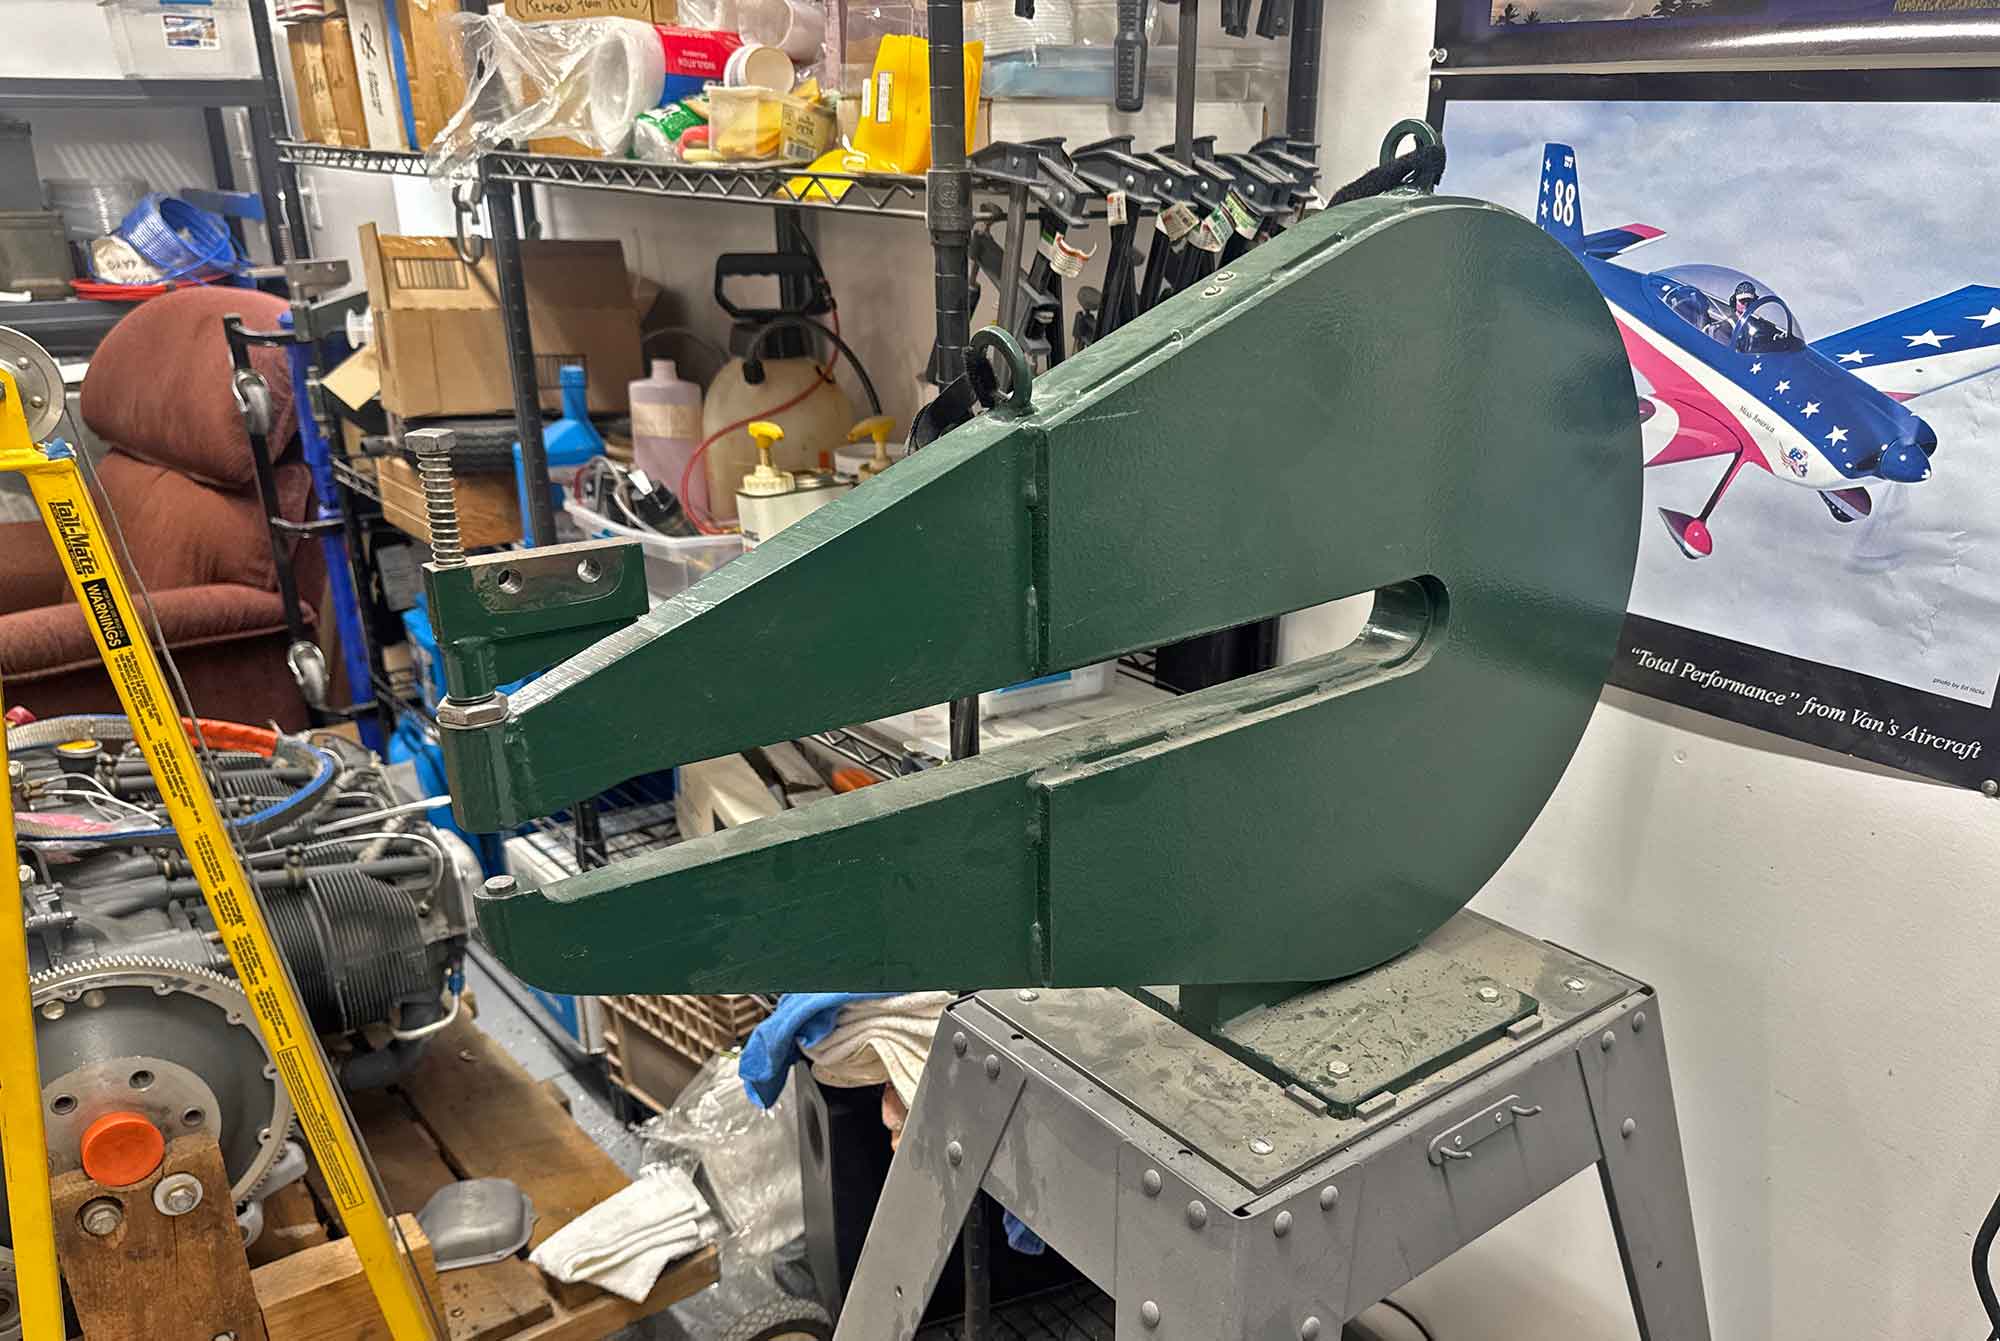
This is a little trick that I didn’t invent—I learned it from a master metal airplane builder. The skin on our F1 Rocket project’s tail surfaces are 0.032” Alclad—pretty thick, but then it’s a fast airplane. The skin is mostly dimpled for flush rivets. There are a few spots you countersink due to wonky structure underneath, but 99% of the holes get dimpled. We are lucky to have a stand-mounted squeezer yoke with a throat depth of 26” so we can reach anywhere in a four-foot-wide sheet for dimpling or drilling.
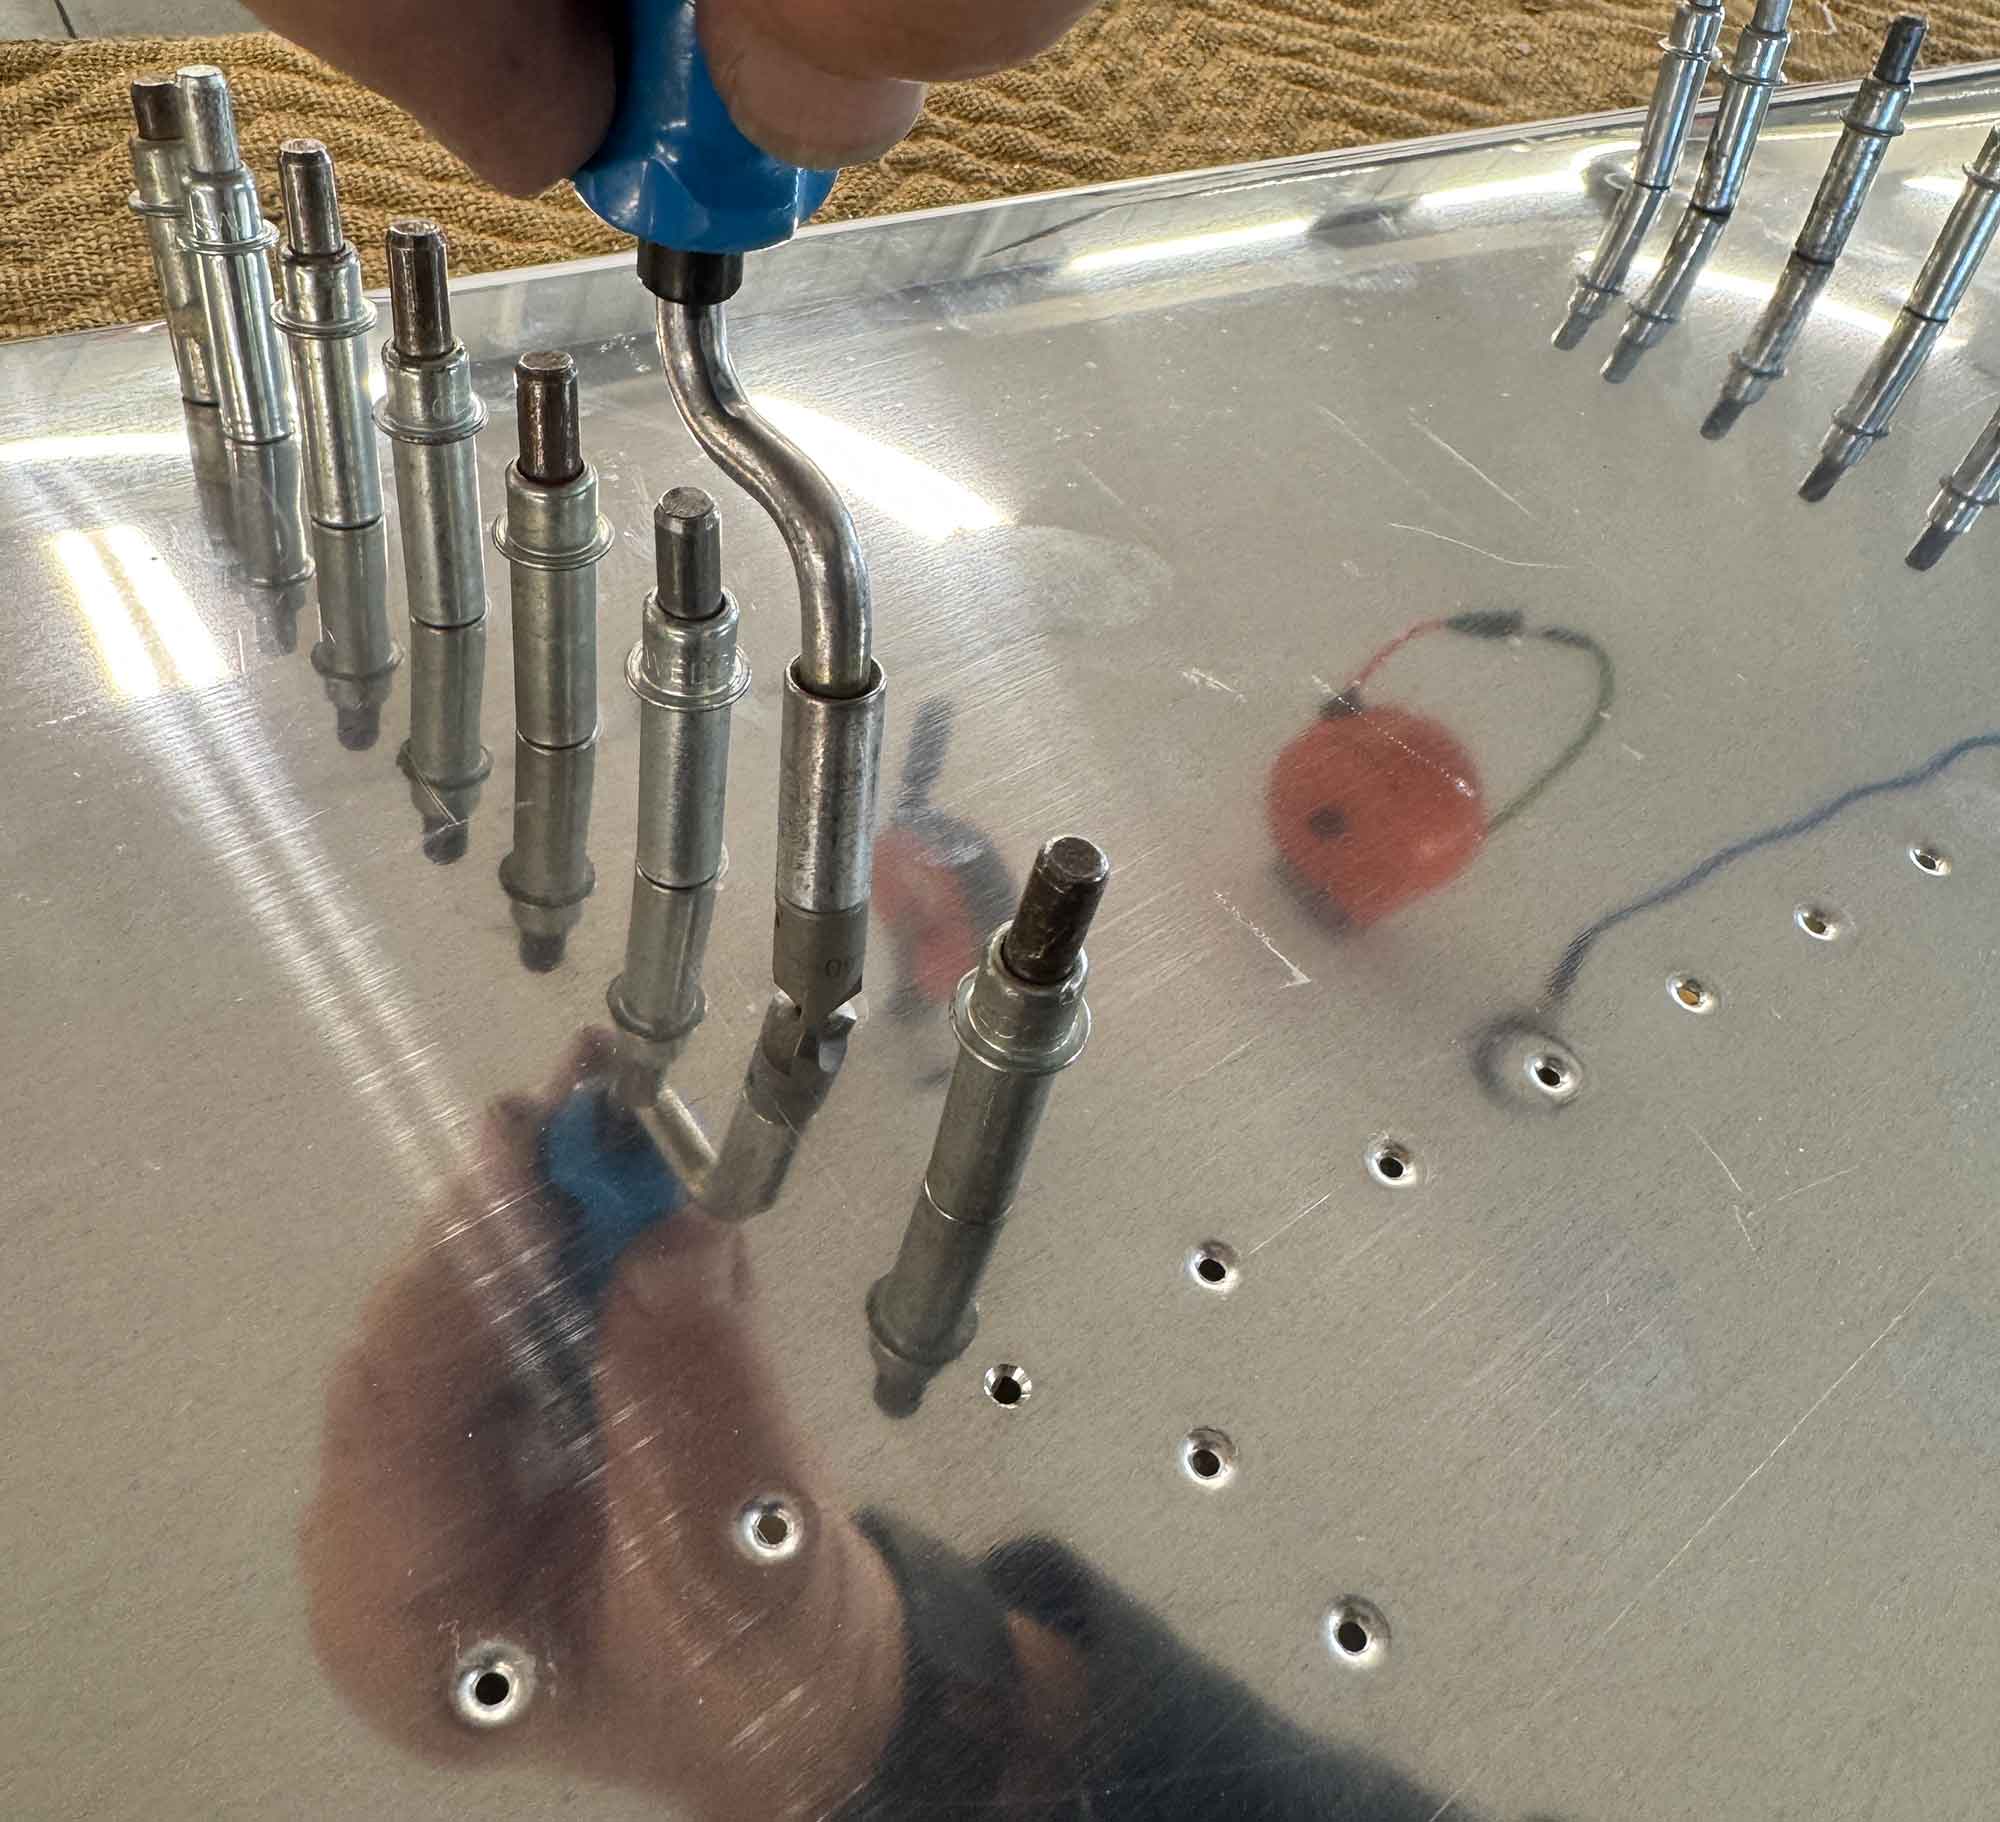
You can dimple for AD3 rivets and they’ll set in the dimple just fine. But for a perfect fit, put a #40 countersinking bit in your twist handle (the one you use for deburring), and before you put a rivet in the dimple, give the dimple just a one-and-a-half-turn twist of the countersink bit. You’re going to shave off a very, very fine layer—just enough to see that the internal edge of the dimple has gone from a slight, gentle curve to a straight “cone” which matches the rivet perfectly. Now set the rivet, and you’ll see that it is perfectly flush, with a much smaller ring around it where the dimple starts diving into the sheet.

If you have ever seen a perfectly flat riveted surface on a Gold Lindy winner, it has probably been given this treatment. It’s an extra step, yes… but in the long run, I find it’s worth it, and only adds a couple of hours to your total build time. Don’t do this with really thin skins of course, but for most structure on an RV-sized airplane, it’ll be just fine.


