 People spend years building their airplanes. Many times the goal line appears so far ahead that it is just a fuzzy horizon, impossible to see, much less focus on. But that finish line can sometimes sneak up on them and the reality of registration, inspections and certification looms like a monster rogue wave.
The truth is, registration, inspection and certification of an Experimental/Amateur-Built aircraft in the U.S. is technically simple. But we, as builders, often make that process more complicated than it needs to be. The requirements for an airworthiness certificate are actually pretty simple—let’s explore the process and requirements for getting your new aerial flivver ready to legally go play among the clouds!
Registration First
The first step in making any aircraft legal to fly in the U.S. is registration. The FAA wants to positively identify the aircraft and its ownership—that’s basically what registration is about. The airplane has to be identified by make, model and serial number—registration markings can be changed, but those three basic items will follow it to the scrap heap, so it’s important to get them right.
Make is simply who built it. Could be Cessna or Piper or Joe Smith. Note that “SMITH, JOE” is not the same; neither is “Joseph C. Smith” or for that matter “JOE SMITH.” You may not like it, you may not agree with it, but the rules are simple—use all of the same characters, punctuation and capitalization anywhere that the “make” is required on paperwork and you’ll never hear a peep out of the FAA. Change one character and you’ll be in the paperwork penalty box.
Model. The same thing applies here. You can call your flivver an RV-7 or a Whizzbang 3000—just so you call it the same thing everywhere. It is sort of encouraged (these days) that if you built from a kit, the FAA would be delighted if you gave it the kit name—if for no other reason that it makes database searches easier for those looking to compile accident statistics. In the old days, when more homebuilts were custom, people got creative with model names, but unless you’re trying to prove a point or just being contrary, why not call it an RV-7?
Serial number can be whatever you want. If it’s your first airplane, call it #1, but most people use the kit serial number they are assigned by the factory. One reason for this is that the bill of sale that you have to file with the registration (to show that you are the current owner in the chain of possession) will have some sort of identification and the fine clerks in Oklahoma City like to have everything match. So you can do whatever you want, but don’t be surprised if you end up in that penalty box again while you explain things.
Registration can be done at any time before you seek an airworthiness certificate, and some people register it as soon as they start building. But that might awaken your local taxing authority, so be careful or you could be paying property taxes on a pile of parts.
Let’s Get Airworthy!
You’ve closed the back cover of the build manual and checked off the last step on the last drawing, which means you must have an airplane. Well, almost. It is often said that without an airworthiness certificate, all you have is a pile of airplane-shaped parts, so I guess we need to get you one.
The funny thing is, “airworthy” has a specific meaning to the FAA and it’s not what you think. It has nothing to do with the airplane being safe to fly; it has to do with the aircraft meeting its original design criteria that has been “certified” by the FAA, with the agency issuing a type certificate as a result. Because an Experimental aircraft does not have a type certificate, it can’t get a standard airworthiness certificate. The FAA covers that through “special” airworthiness certificates for a variety of categories. Experimental/Amateur-Built is one of them.
When you call your local FAA office (either FSDO or MIDO) to see about scheduling an inspection, there is a better than even chance that they will direct you to one of their Designated Airworthiness Representatives—a private individual who has been designated as a representative of the FAA to issue certificates. This isn’t the FAA trying to get out of work or forcing you to spend money (an inspection by an actual FAA inspector is free); it’s because they have more work to do than people to do it.
Certificate Actions
To get that special airworthiness certificate, you need to apply for it, provide a few essential documents, schedule the inspector—and make sure that the airplane is truly ready to be inspected.
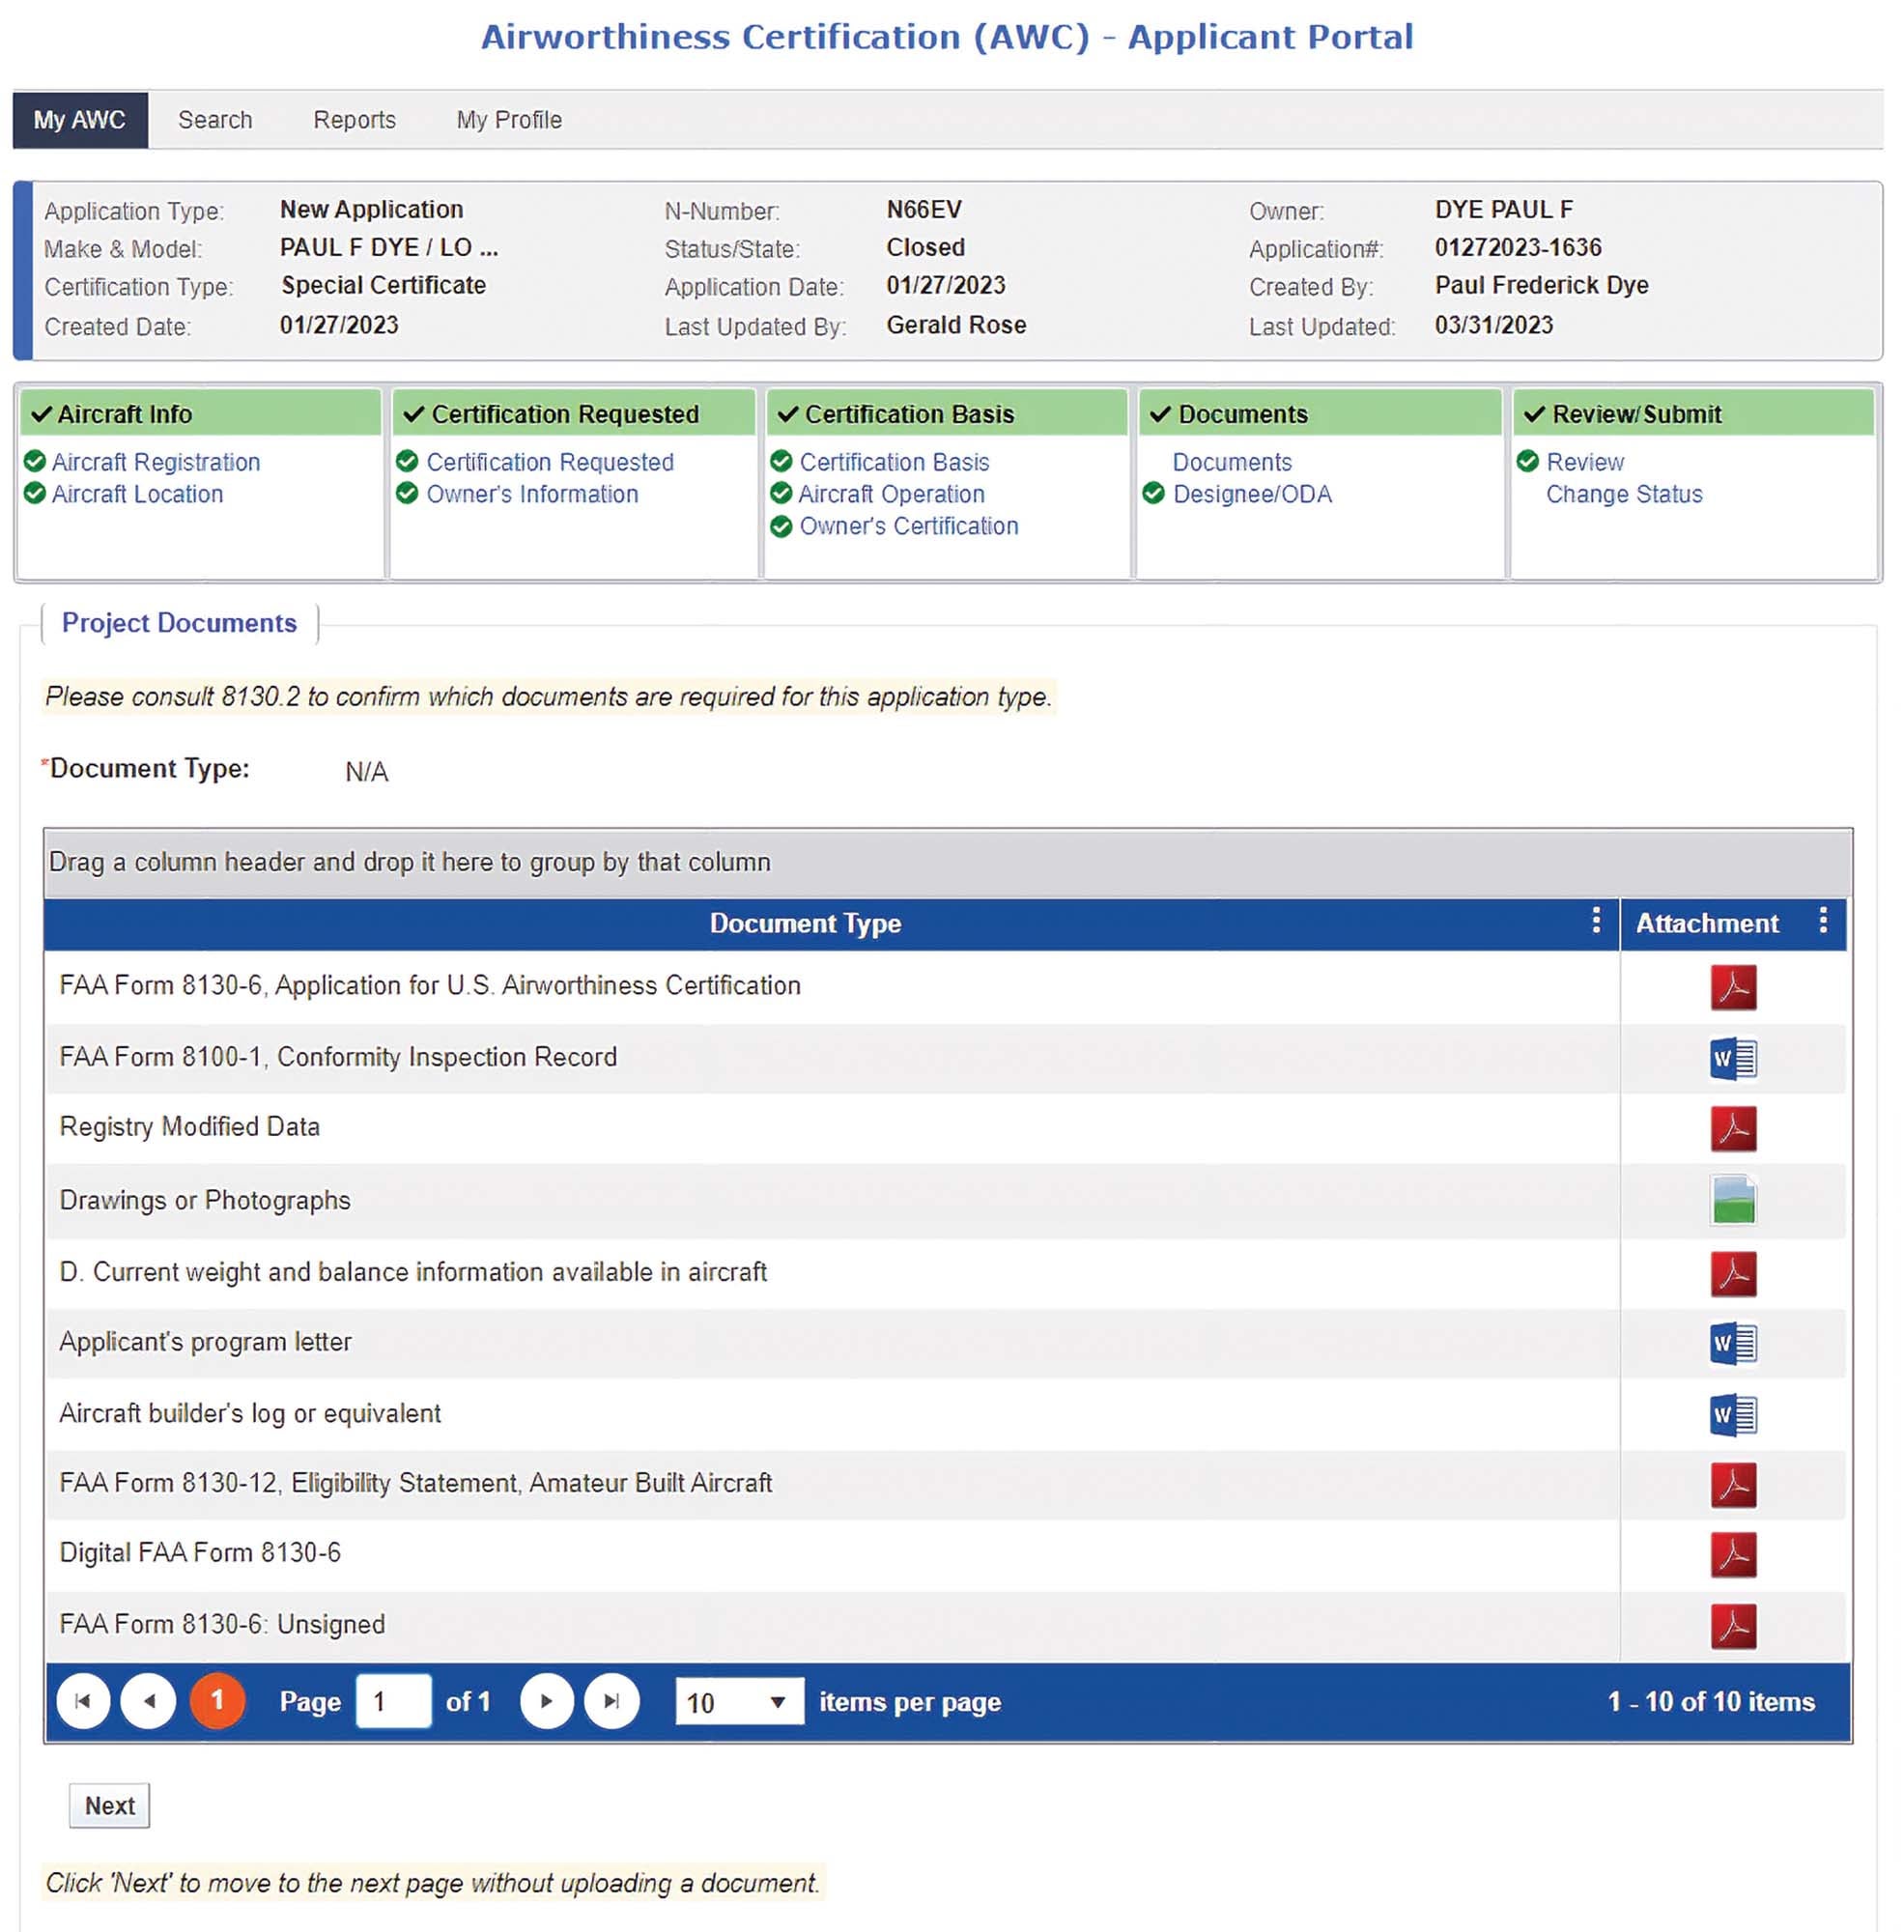
The first step is to collect the right forms and documents. You’ll need to fill out an Application for Airworthiness Certificate (FAA Form 8130-6), you’ll need an Eligibility Statement for Amateur-Built Aircraft (FAA Form 8130-12) and a Program Letter (describing what you are asking the FAA to do for you—templates are easily found) and, well, that’s about it! You’ll need to have the weight and balance done and available for the inspector, and you’ll need to request a Phase I test area and provide a three-view drawing of the aircraft (usually these are included in the program letter). By the way, EAA provides all of these forms and instructions for filling them out in a packet available to homebuilders. Your chosen DAR might also have a package or set of instructions that they can provide.
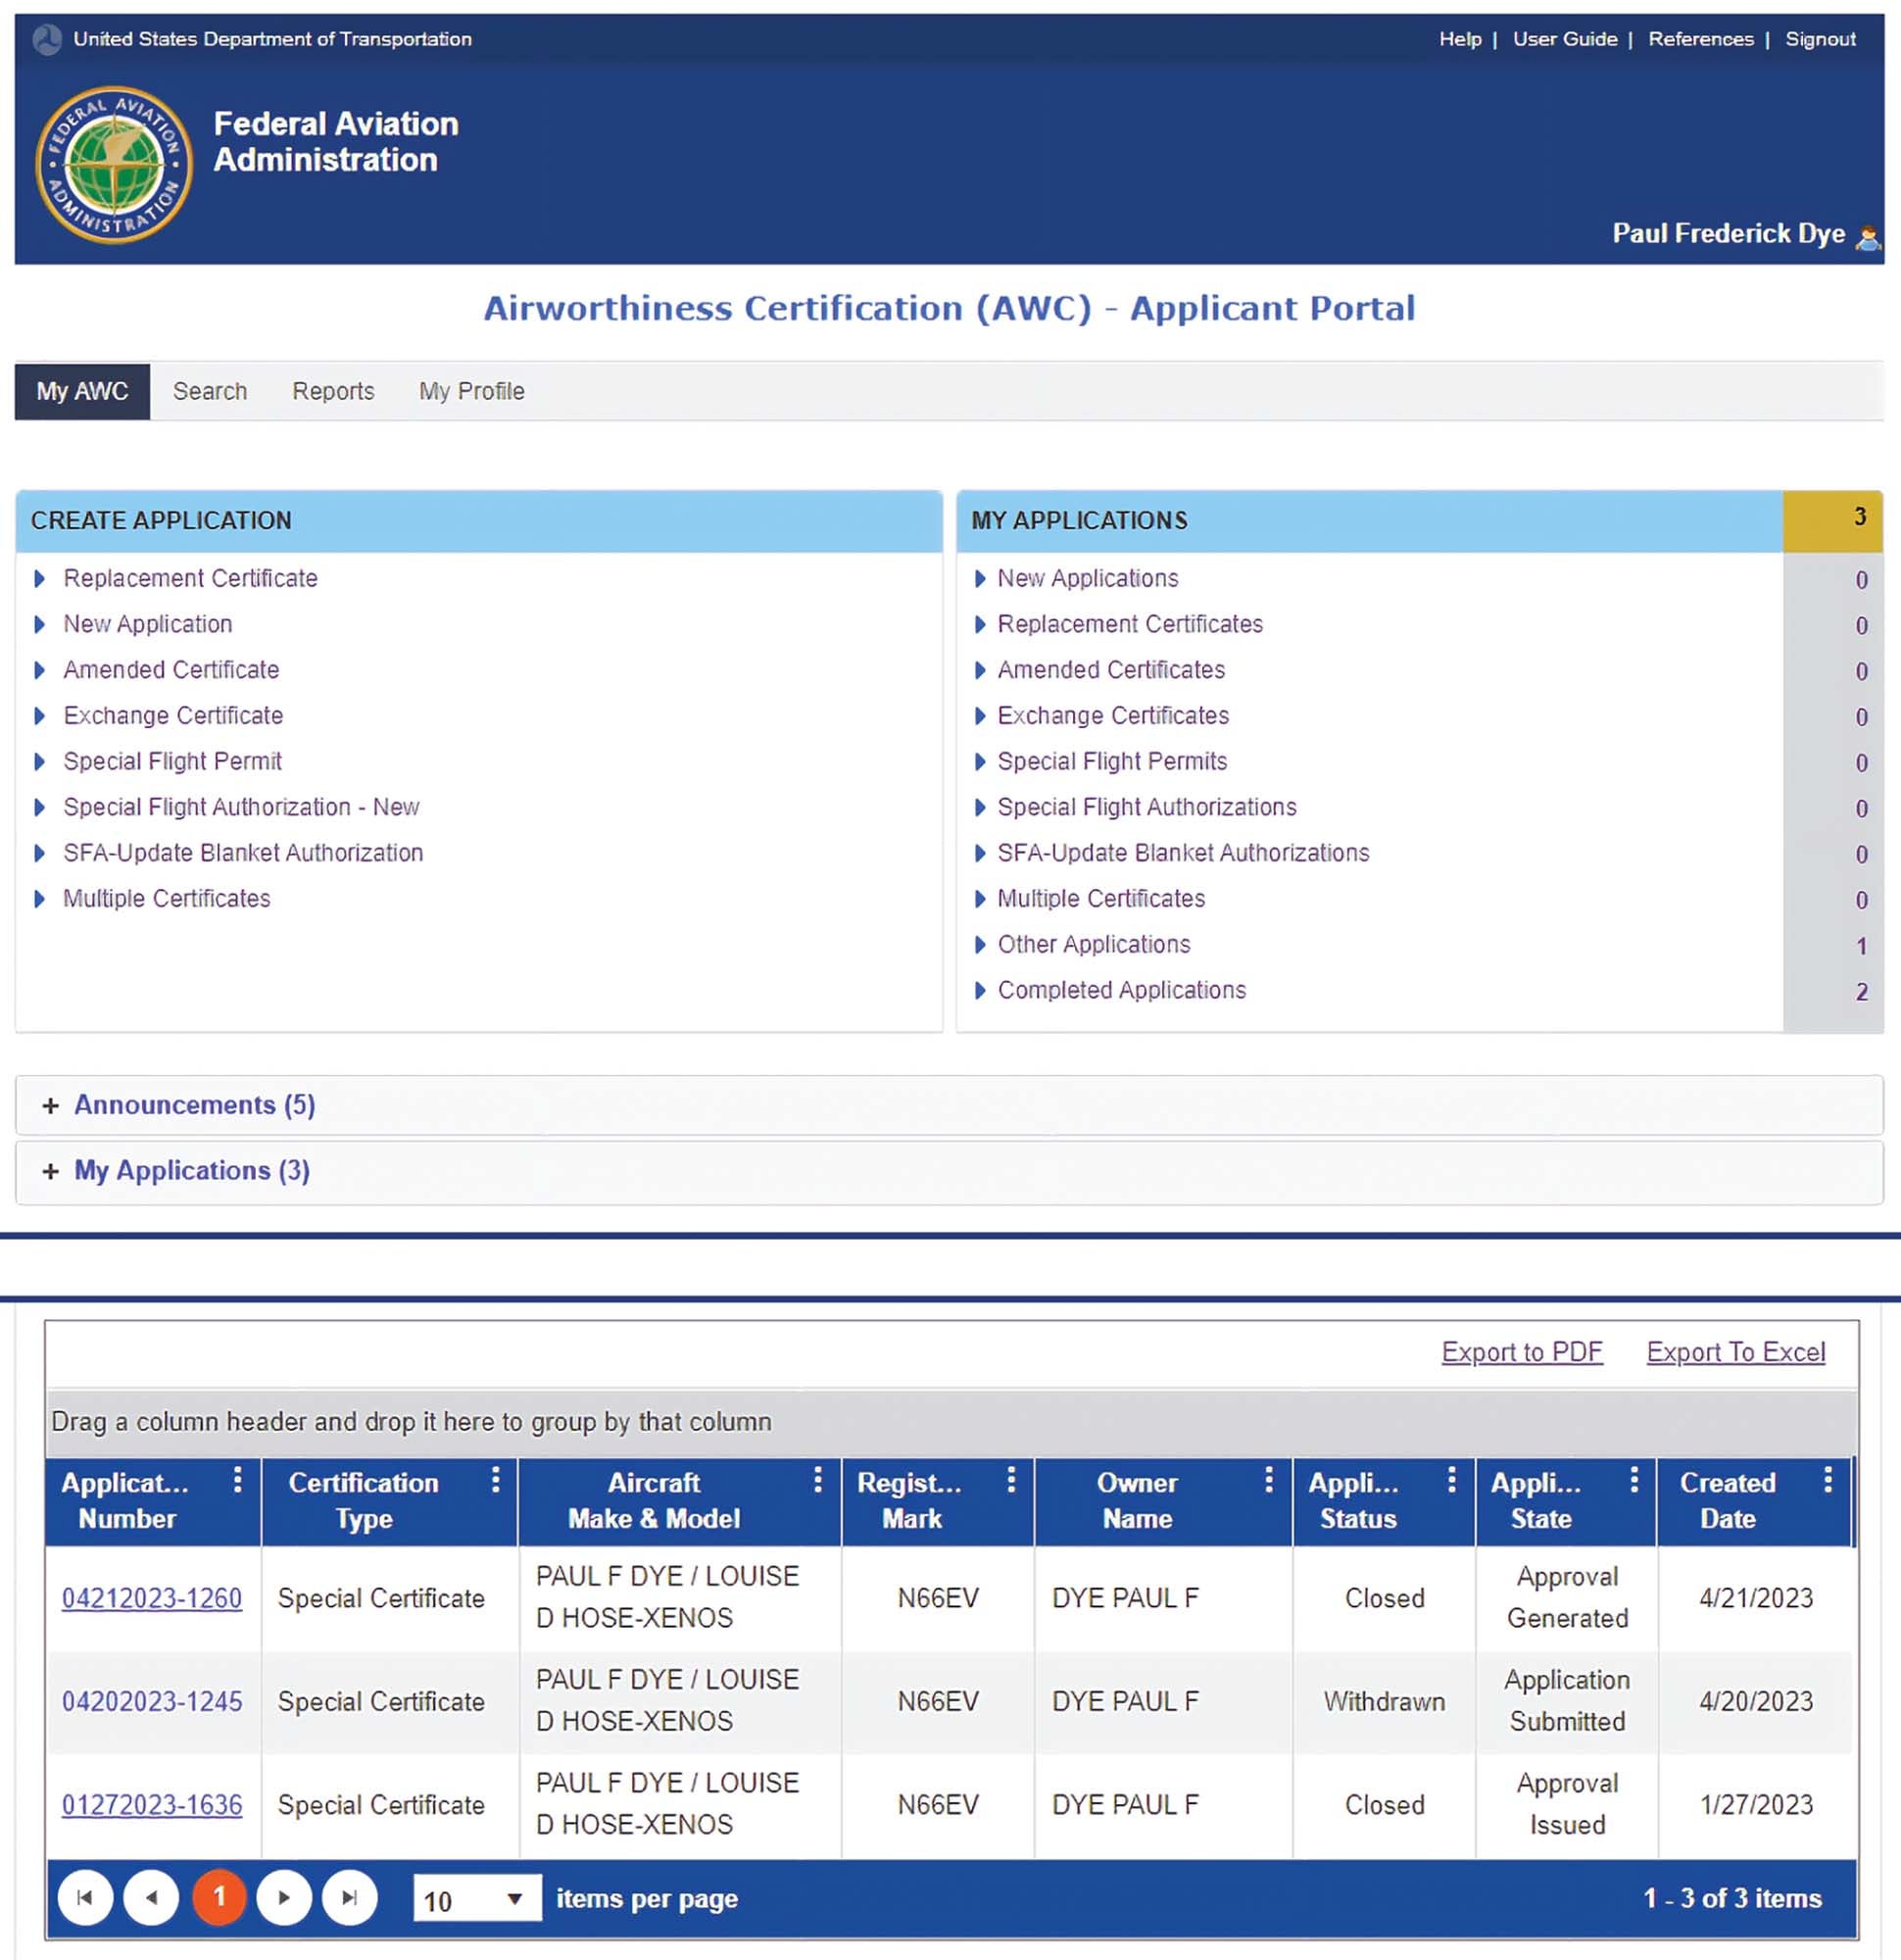
Amazingly, the FAA is getting away from paper and moving into the digital age. So once you have these in hand, you’ll need to navigate to the FAA website to find the Airworthiness Certification Portal (AWC) and create a login/account. It’s not hard, just governmental. Follow all the steps and you’ll get there. Once you’re in, start a new application, filling out the forms as they are presented. As someone who worked for the federal government for over three decades, I’ll tell you—for a government website, AWC isn’t half bad. It guides you through the steps with little red and green “lights”—if you think you have completed something, but it still shows red, you can go back and find what is missing fairly easily.
AWC is also where you’ll upload copies of your Program Letter and the other forms you collected. You can upload all sorts of things—I had one applicant who uploaded his flight-test plan, condition inspection checklists and maybe even his hat and shoe sizes—AWC will swallow them all. But you only have to submit the required items. Extras can get in the way, but if you put your W&B on there, it will give your inspector a chance to see it in advance. As a matter of fact, your AWC application is where you can select a DAR or FSDO office—it is a powerful tool.
The purpose of AWC is to provide a common, digital file so that your inspector or DAR can look at everything and get with you before coming out if anything is missing—this greatly increases the efficiency of the process and eliminates lost paperwork. The DAR or inspector will eventually use AWC to create your airworthiness certificate and operating limitations, then send everything to Oklahoma City where it will be archived. That beats mailing paper around the country!
Once you have uploaded everything and have “all greens,” hit the “submit” button and the inspector of your choice will be notified that they have a new application. Hopefully you have talked to them in advance so that it is not a surprise. Talking before filling out AWC also gives you a chance to ask questions and make sure that you do it all correctly to minimize subsequent corrections. Once the inspector gets notified, they can look over everything and get ready for the inspection.
Let’s Have a Look
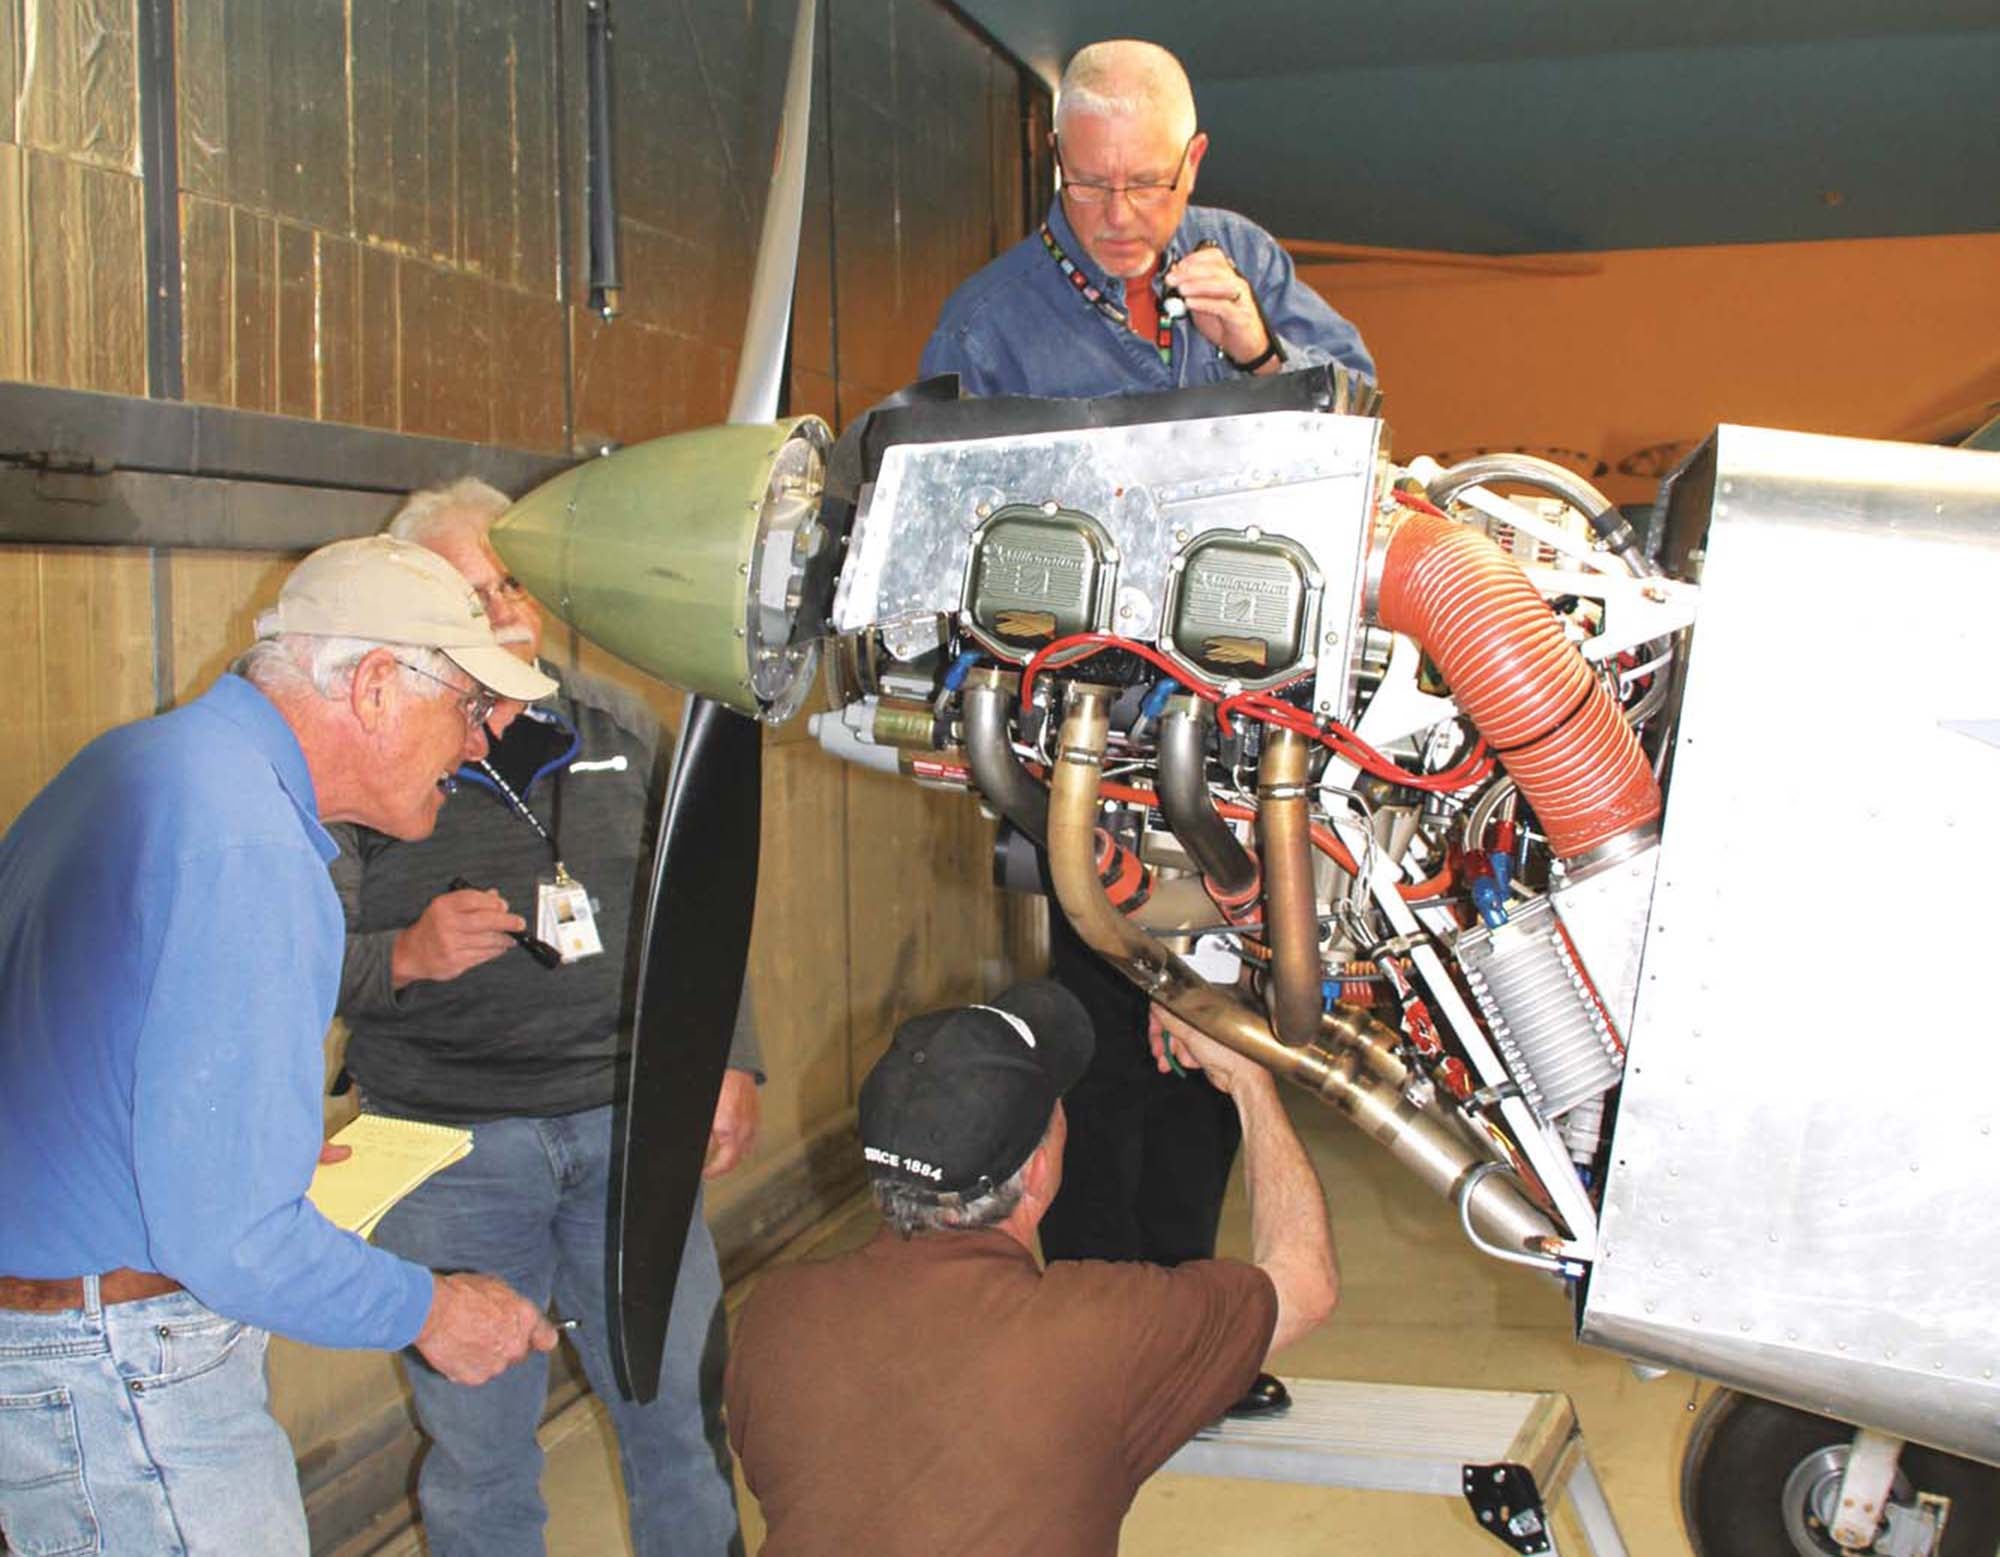
Assuming that AWC is all squared away, you and your inspector can set a date for your big day. Ask in advance how the inspector would like you to prepare—some will ask that the airplane be completely buttoned up and ready for flight. Most, however, will ask for it to be opened up as if for an annual condition inspection—cowl and inspection covers off. This gives them a chance to really look it over, something that we would like you to have done with some airplane-experienced friends before the final inspection. Different eyes see (and/or miss) different things—so the more sets of eyes that look it over, the better the chance of catching missing safety wire and cotter pins—or the dreaded loose jam nuts.
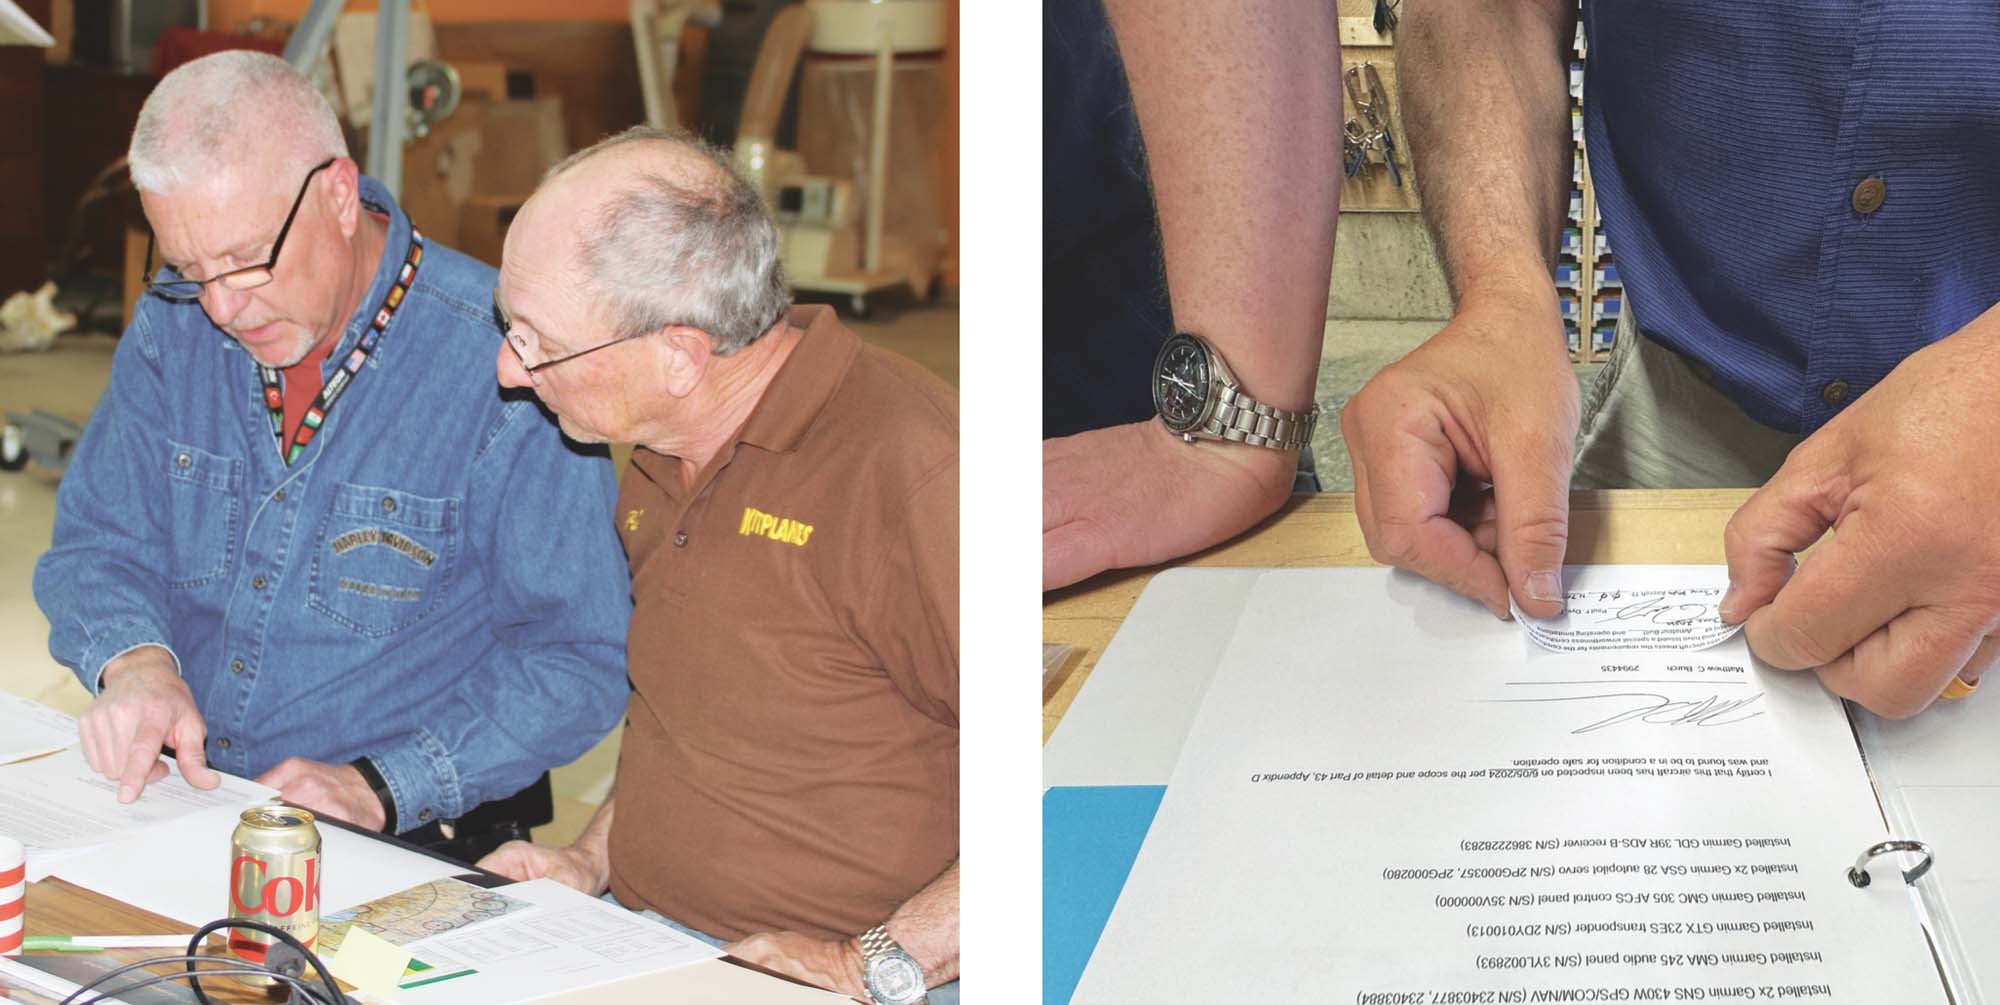
It is important to understand that your FAA inspector (or DAR) is doing what amounts to a courtesy inspection, looking things over as an experienced mechanic/builder/pilot to promote safety. But in the paperwork, it is you who will be signing the logbook (before the inspector) saying that the aircraft “has been inspected in accordance with the scope and detail of Part 43, Appendix D and found to be in a condition for safe operation.” The inspector will sign the logbook after that saying that the aircraft qualifies for an Experimental airworthiness certificate. But they’re not legally saying anything about the ability of the machine to fly or to do it safely. Any good inspector will, however, not let obvious discrepancies go—we are, after all, humans who don’t wish other humans to harm themselves. But legally speaking, it is on the builder’s shoulders to accept the liability of the aircraft’s condition for flight.
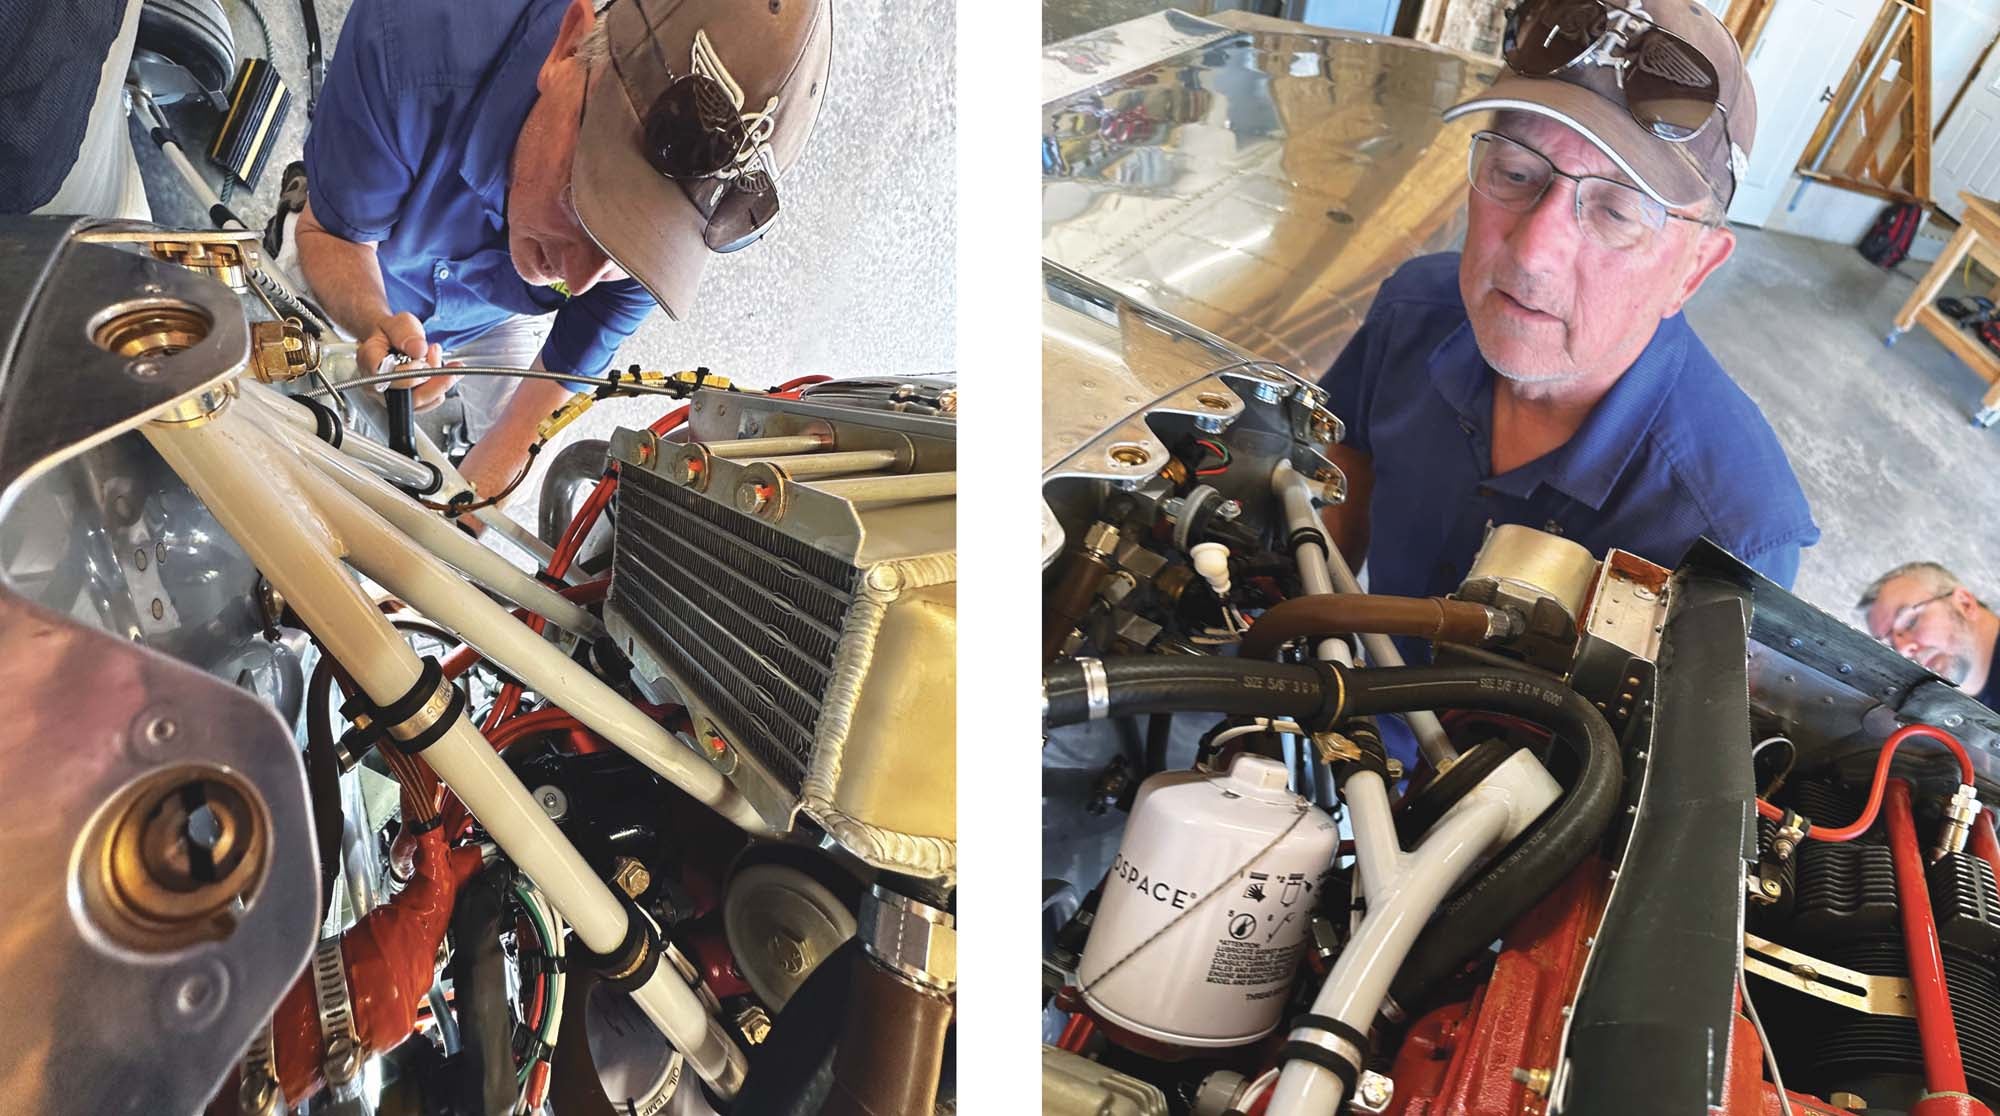
When I inspect an aircraft as a DAR, I want it opened up as if it were for a condition inspection—that doesn’t take that long for the owner and allows me to see the “killer items.” Those are things that—if you study accident data—are known to be at the top of the list for aircraft mishaps or things that are guaranteed to kill you if they are wrong. Top of the list are control issues and fuel problems—so I check control continuity (and correctness) from the stick and pedals all the way to the control surface. I look for cotter pins, lock nuts and any looseness in rod end bearings or hinge installation—as well as those jam nuts. For fuel I take a look at all connections, the appropriateness of hose and tubing used and the way things are routed—especially the final line that crosses the engine mount/engine interface. You need slack anywhere that there is relative motion.
Once I know that you are going to have control and the engine is likely to keep getting fuel, I breathe a bit easier and complete what amounts to a standard condition inspection checklist (without any routine servicing). In addition to the routine items, we look closely at the data plate you have installed—the information that you include must match the registration exactly. No need for fancy all-specs data plates. Only make, model and serial number are required.
The DAR will check for other required markings—such as your N-number. Lots of painters get artistic with their numbers, but the FAA defines the requirements pretty carefully in AC 45-4. While we’re checking markings, we also need to look for that passenger warning placard—the one that says PASSENGER WARNING—THIS AIRCRAFT DOES NOT COMPLY WITH FEDERAL SAFETY REGULATIONS FOR STANDARD AIRCRAFT—which has to be visible to all occupants, plus you need a 2-inch EXPERIMENTAL placard that must be visible to anyone entering the aircraft.
The DAR will also want to review your weight and balance and make sure that all of your controls are labeled as to function and operation. If they spot anything else that looks sketchy or just unusual, expect a little discussion for clarification and maybe a little advice based on experience—there is a reason that DARs are required to have years of experience with homebuilt aircraft and that is to help the newer folks fly safely.
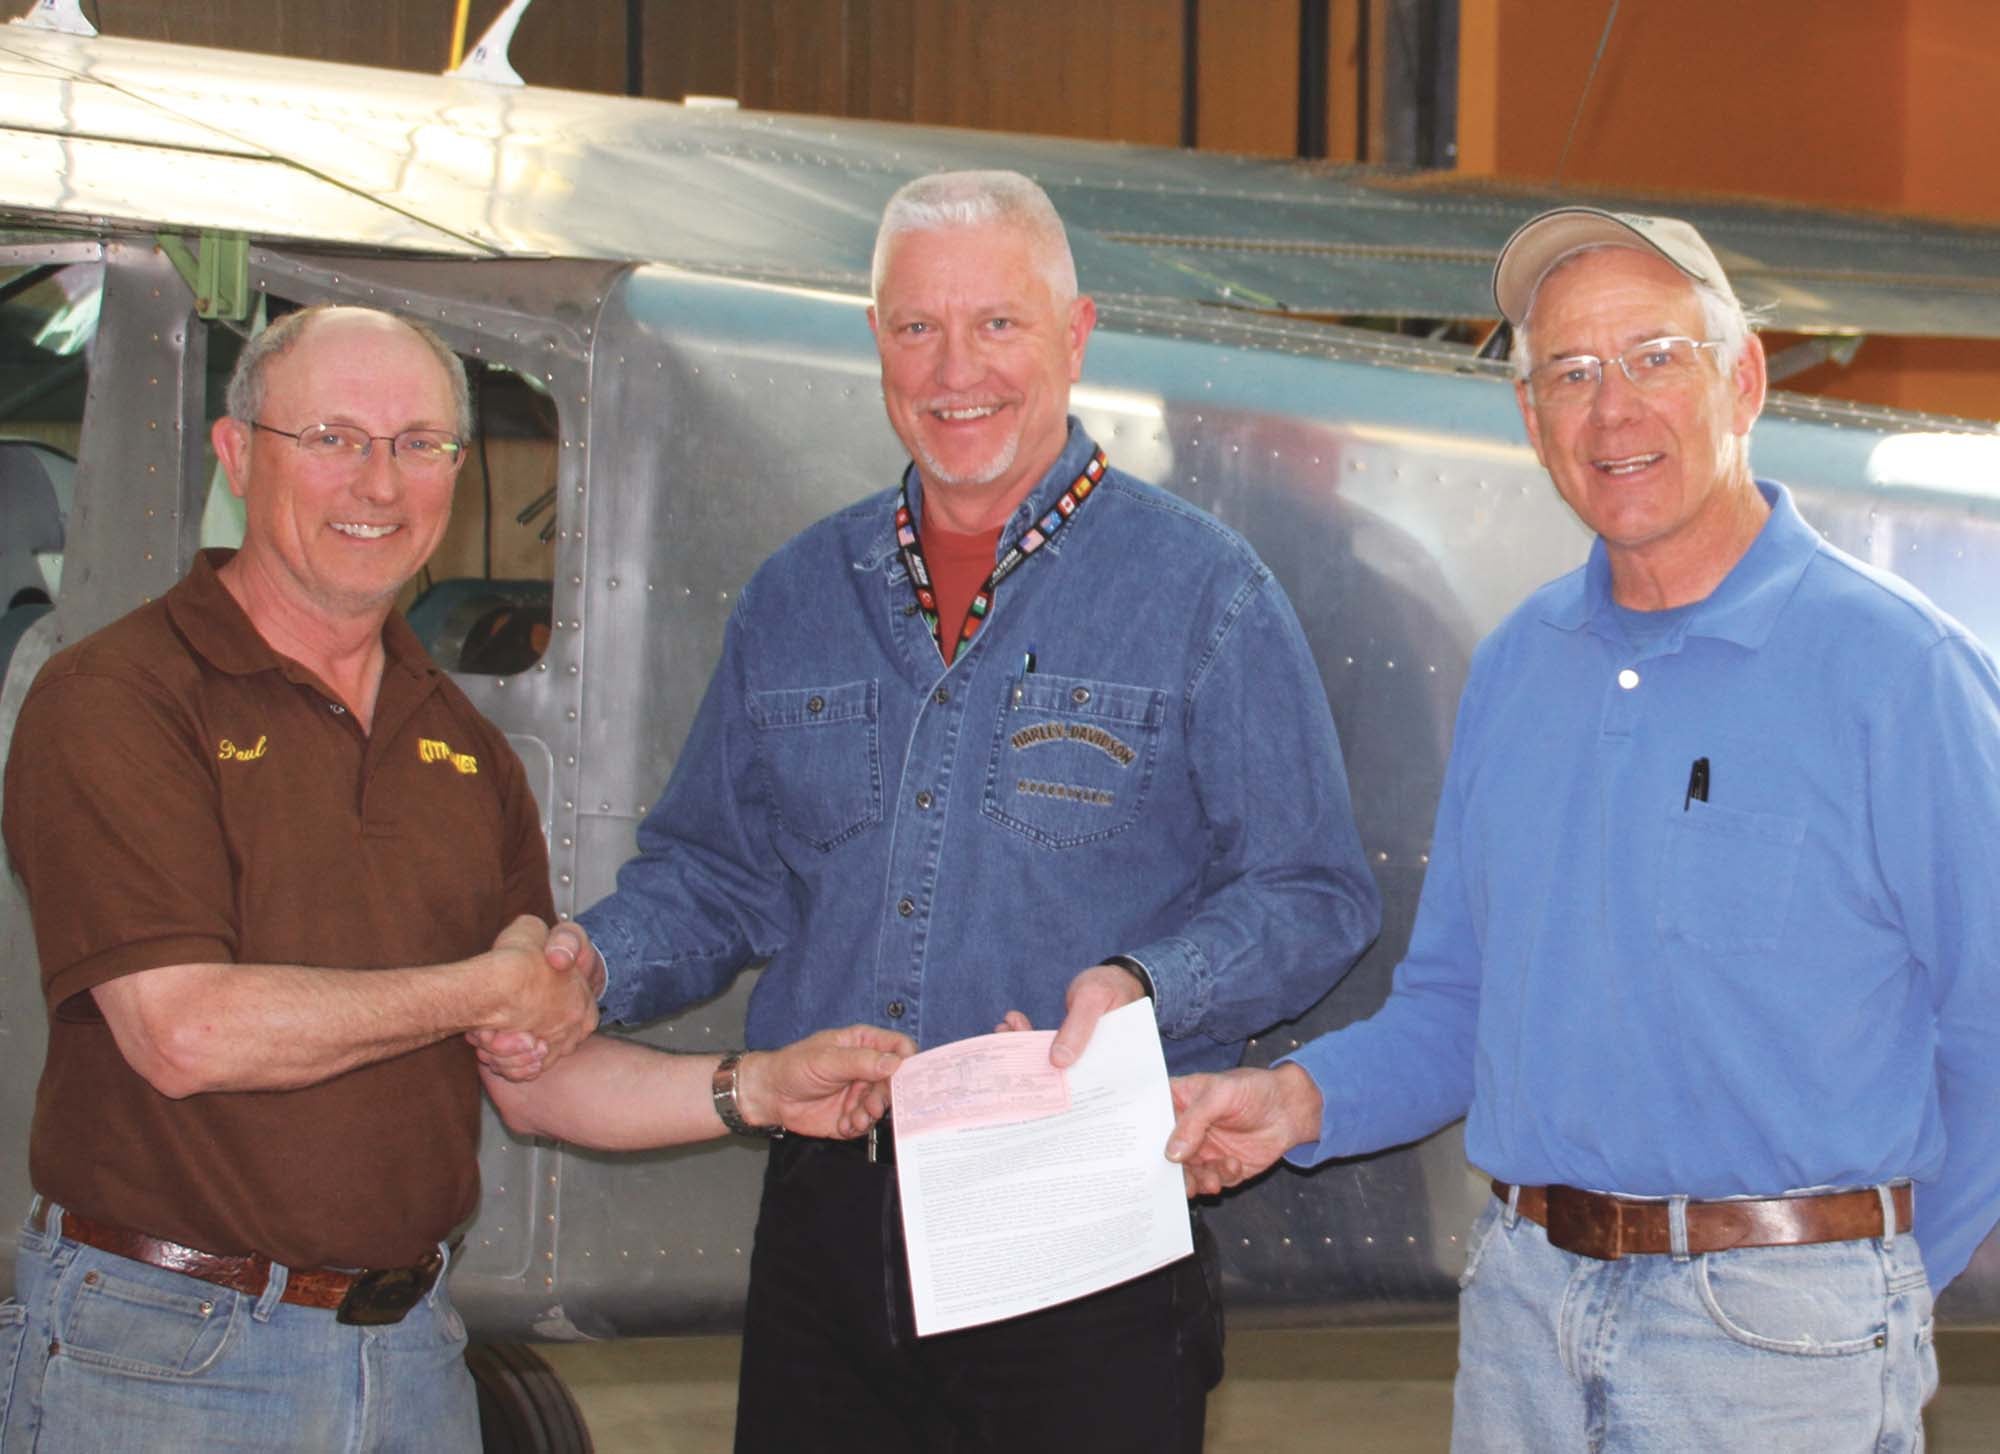
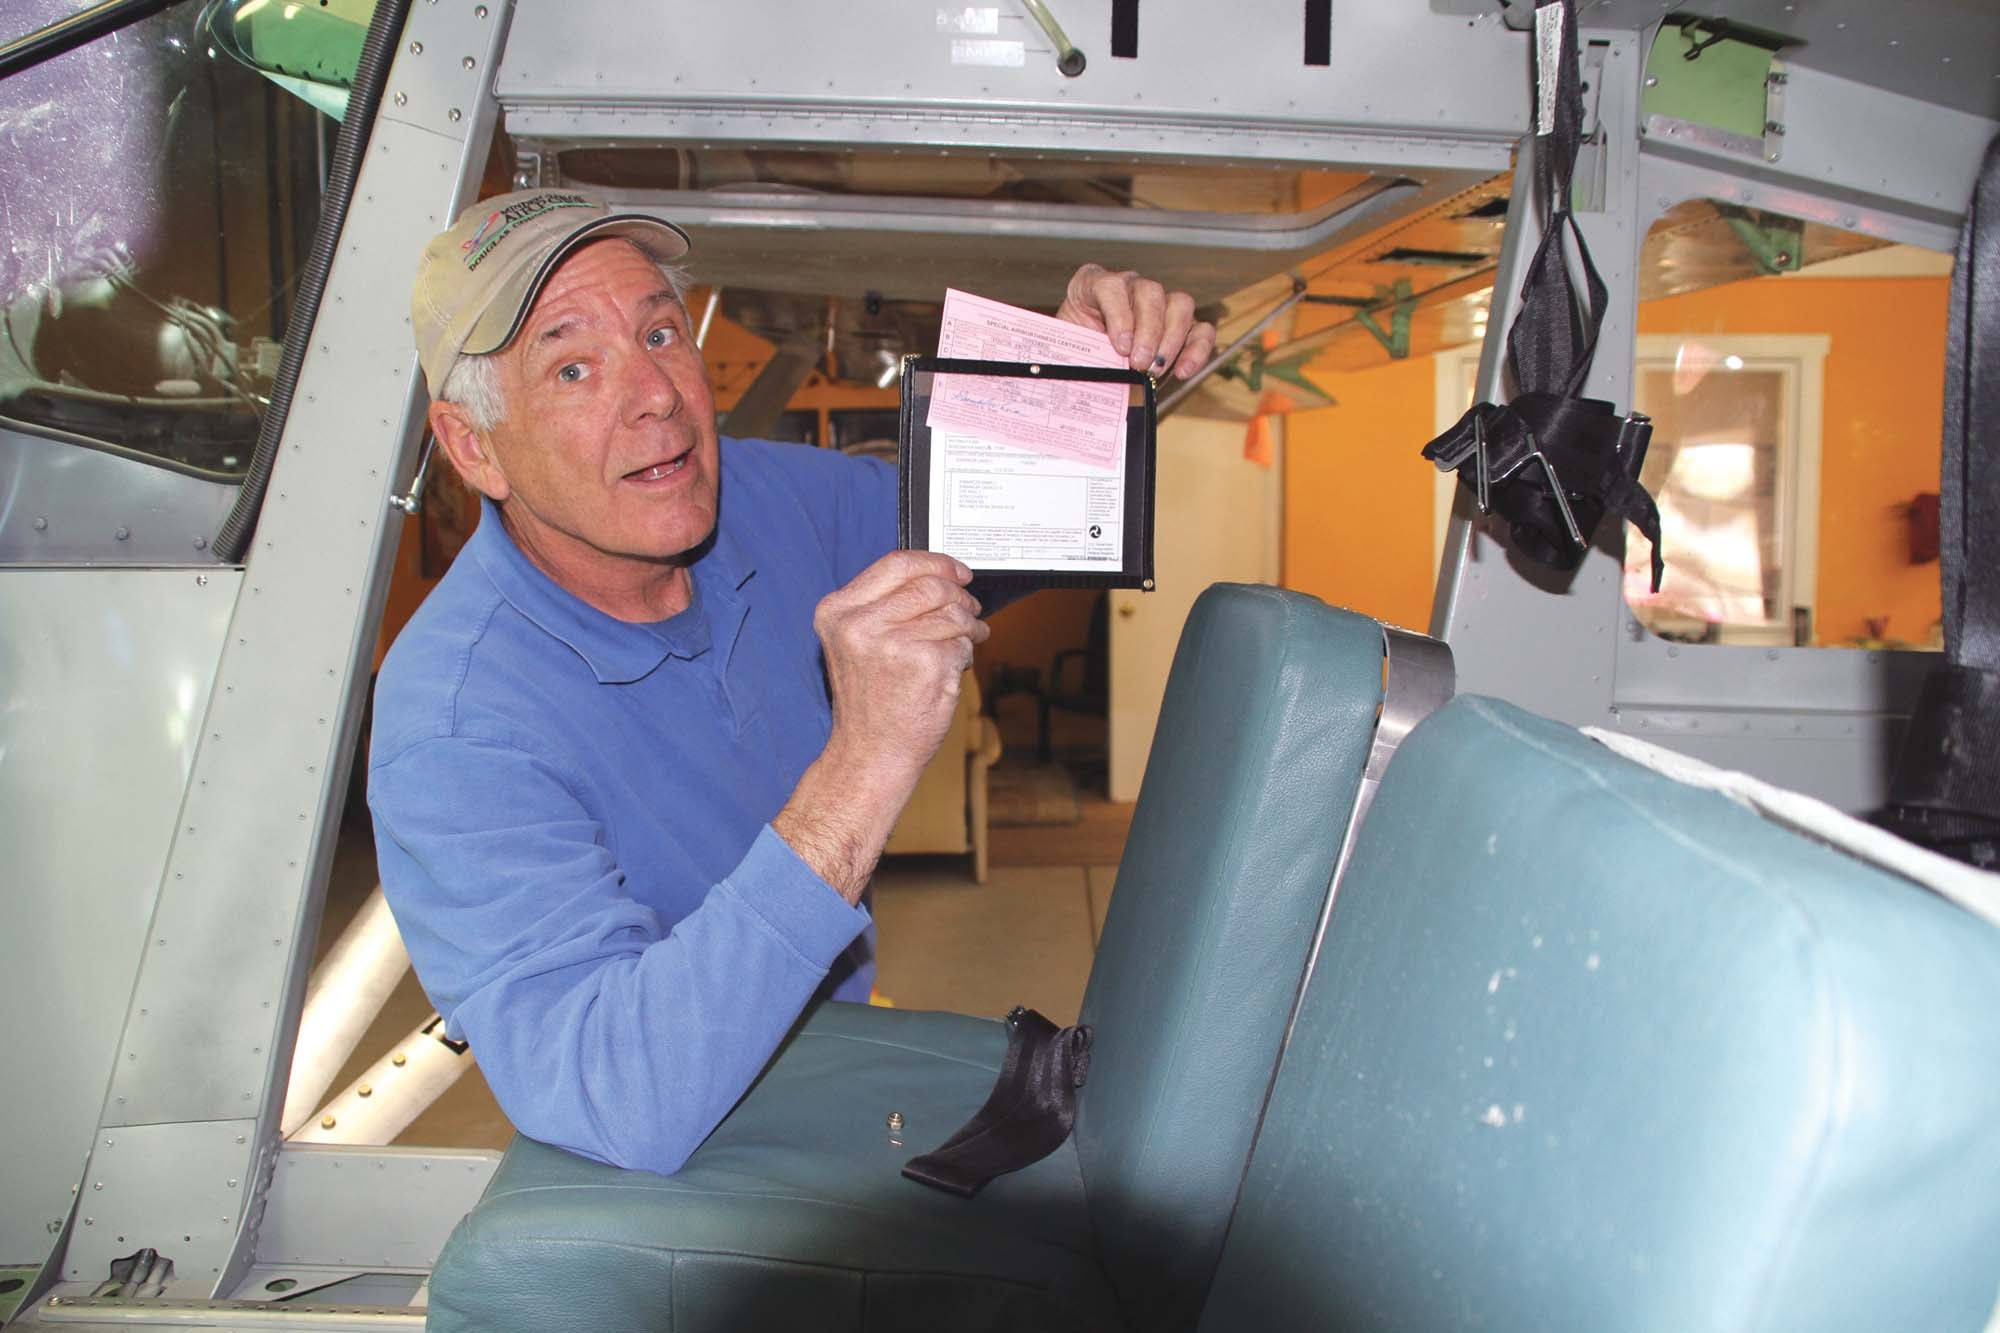
When all of the inspecting is finished, the inspector is likely to pull out a preprinted airworthiness certificate, along with your new operating limitations. What…they had this all done before they even came out to see the airplane? Yes, a consequence of the “all digital” certification process. Unless they drag a printer to each inspection, that wonderful moment where the inspector hands the builder their new airworthiness certificate would be spoiled while they went home and mailed it. But what if the inspection doesn’t go well? In that case, the preprinted form stays in the inspector’s pocket and is erased from AWC—because until the inspector goes back to the computer and uploads it, the thing doesn’t exist in the eyes of Oklahoma City.
For pilots who have never had (or flown) an Experimental aircraft before, operating limitations are a new thing. E/A-B aircraft are not required to have an aircraft manual and there are no specified placards outside of the Experimental-specific ones noted above—the operating limitations issued as part of the airworthiness certificate (more on that below) specify under what conditions and where the aircraft may be operated. For Phase I (which the ops lims will define) for instance, you will be limited to a geographic area and a few airports. The aircraft can’t be flown for compensation or hire. You may or may not be allowed to fly IFR or at night—all of these things are in your operating limitations and it pays to read and understand them. Very likely, your inspector will sit down and read them with you—line by line.
Those who have been building or flying Experimental aircraft for decades will be surprised to find that the inspector no longer gives you a pink airworthiness certificate and a typed set of operating limitations—they are all one piece, printed together with the image of the airworthiness certificate at the top of the page and the operating limitations beginning below. This is partly to allow everything to be produced by computer and mostly because the operating limitations are part of the AWC and this is the best way to ensure that they are always in the airplane—a legal requirement that many owners didn’t understand.
Go Forth…and Fly!
Congratulations—you now have an airplane! The inspection process should never be as stress-producing as a checkride, so don’t make it such. It is a learning experience and one might have a few bumps along the way—but with a little understanding, it should be a rewarding experience that ends with your airplane legal to fly and a smile upon your face.
Photos: Louise Hose and Marc Cook.


I am a first time builder coming from the certified world and this article is super-helpful. My concern is finding a local DAR.