I’m sure we’ve all been there when building something—one hand holding a “thing,” one holding a measuring device, another a pen and… uh, oh… that’s three hands. You eventually get a few lousy marks, drill some poorly-placed holes, and swear at yourself for not taking the time to do it right. But what is right?
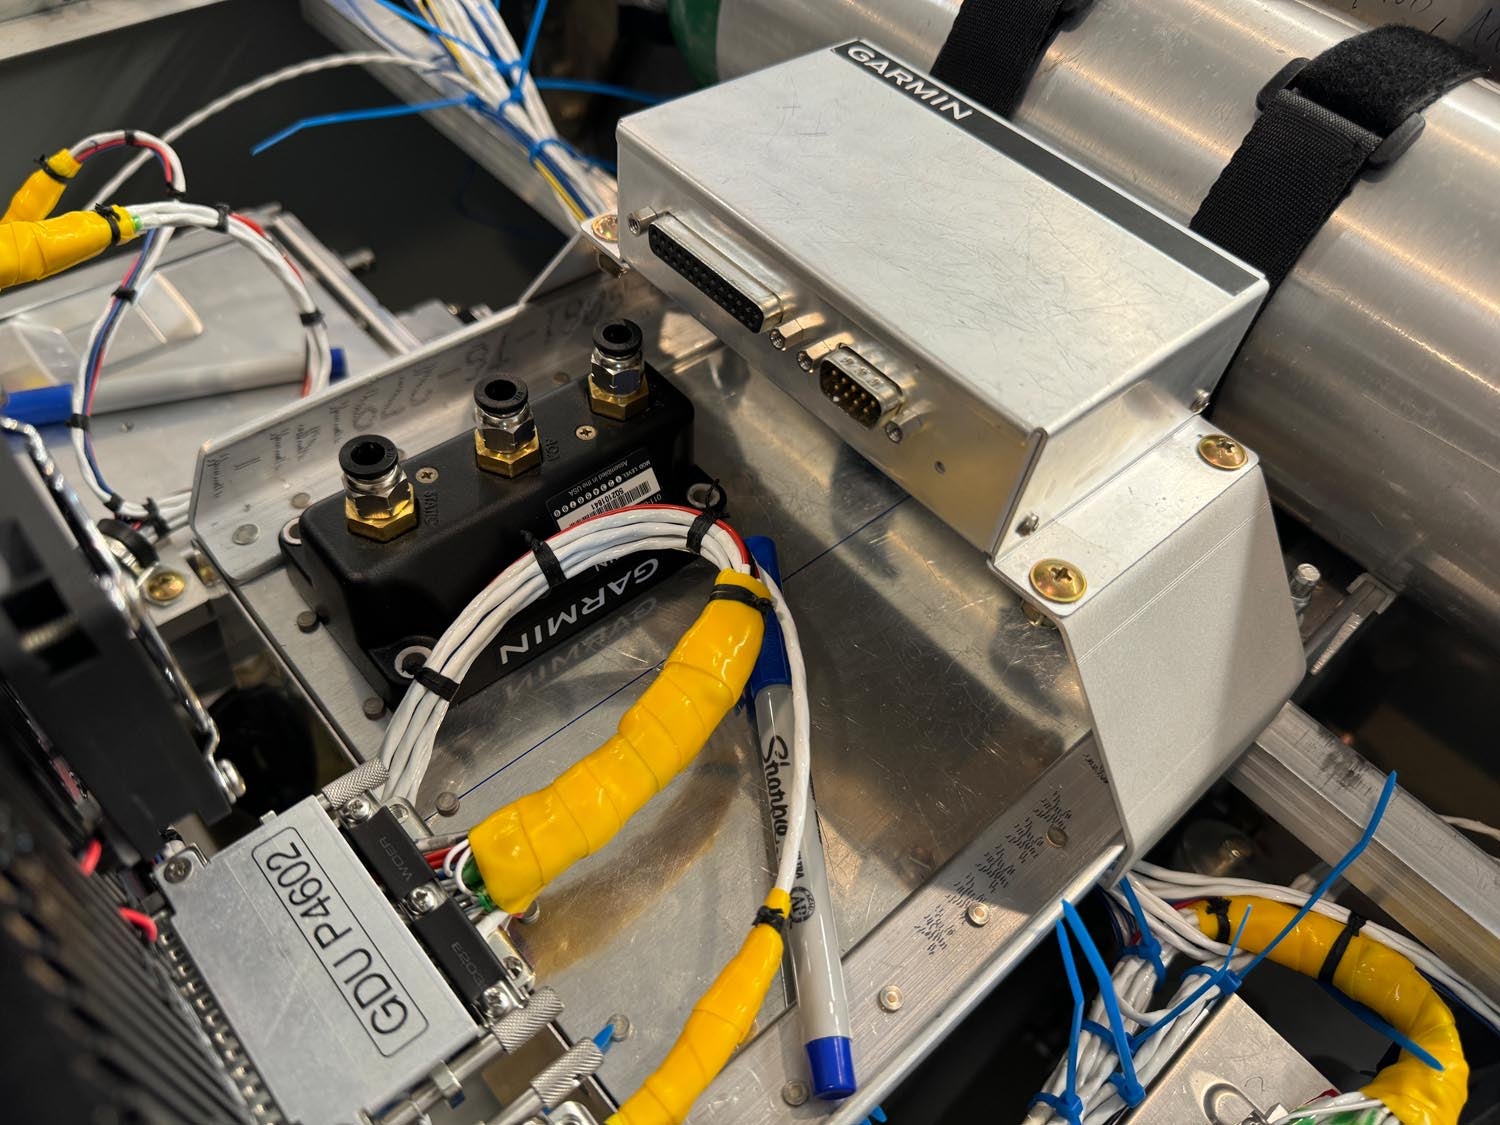
In the case of avionics mounting, here’s an example form our Rocket project. The little Garmin GSU 25, the ADAHRS, needs to be securely and accurately mounted. The bolt holes, however, are in a deep section of the housing casting, so you can’t fit a sharpie through to make the holes on the mounting plate. Oh sure, you can guess and measure but it only takes a couple of minutes to grab a piece of scrap (hint: the base of the GSU 25 is exactly 2.5” x 4.0”), cut it accurately, measure the holes at the workbench, then place your template in the right spot and drill without anything in your way, holding nothing but the drill. Very accurate.
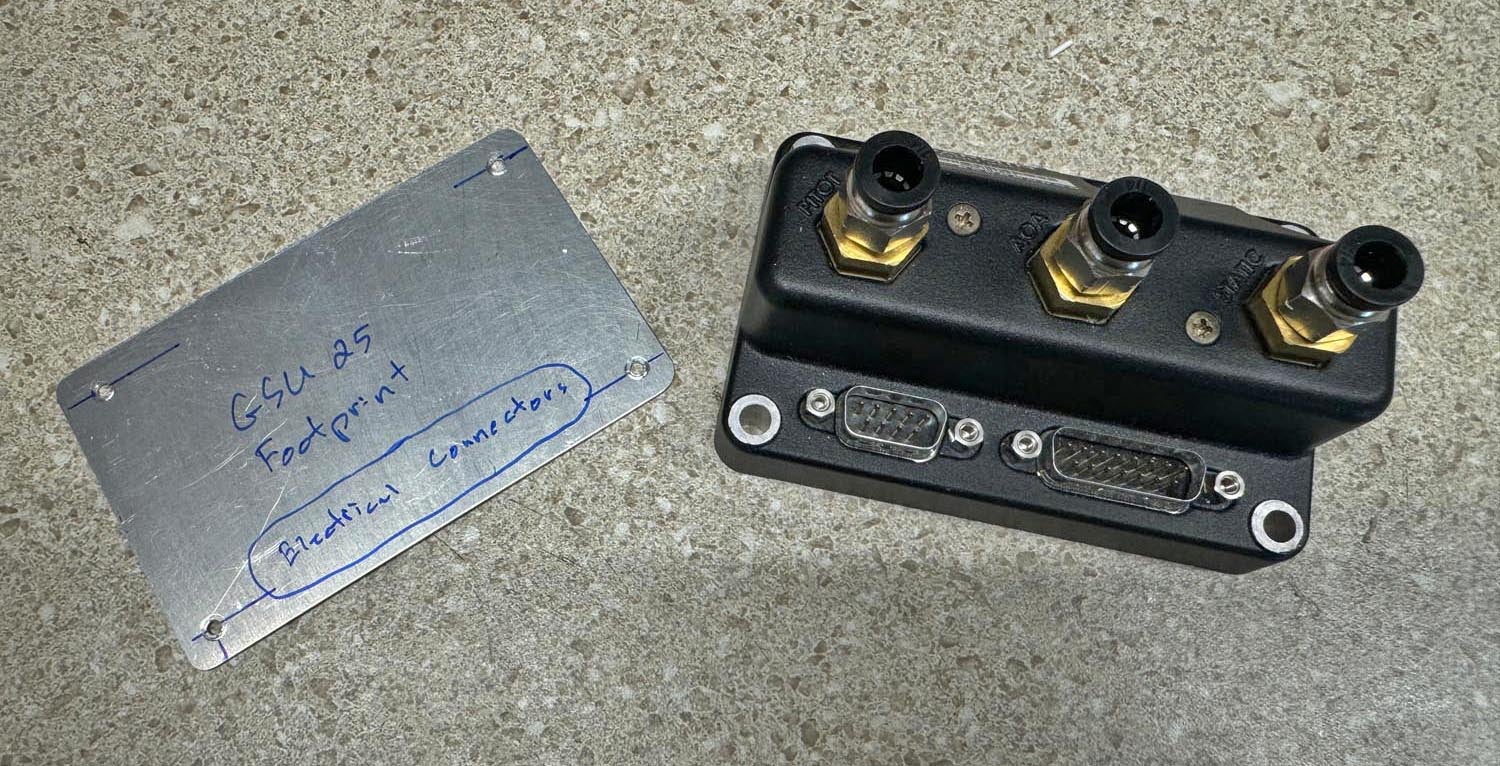
Oh, a tip on the GSU: the base is designed to some very round numbers, and two of the holes (on the connector side, I think) are exactly 1/4” from the edges—easy to measure. But the two holes on the opposite long edge are each 1/16” closer together (while still being exactly 1/4” from the long edge. Why? I was told it was so that once you drilled the holes accurately, the ADAHRS could only be installed in one orientation. Makes sense, actually… except that the unit is provided with AN3 bolts (3/16” diameter) and the holes in the unit are something like 7/32” diameter so there is built-in slop!
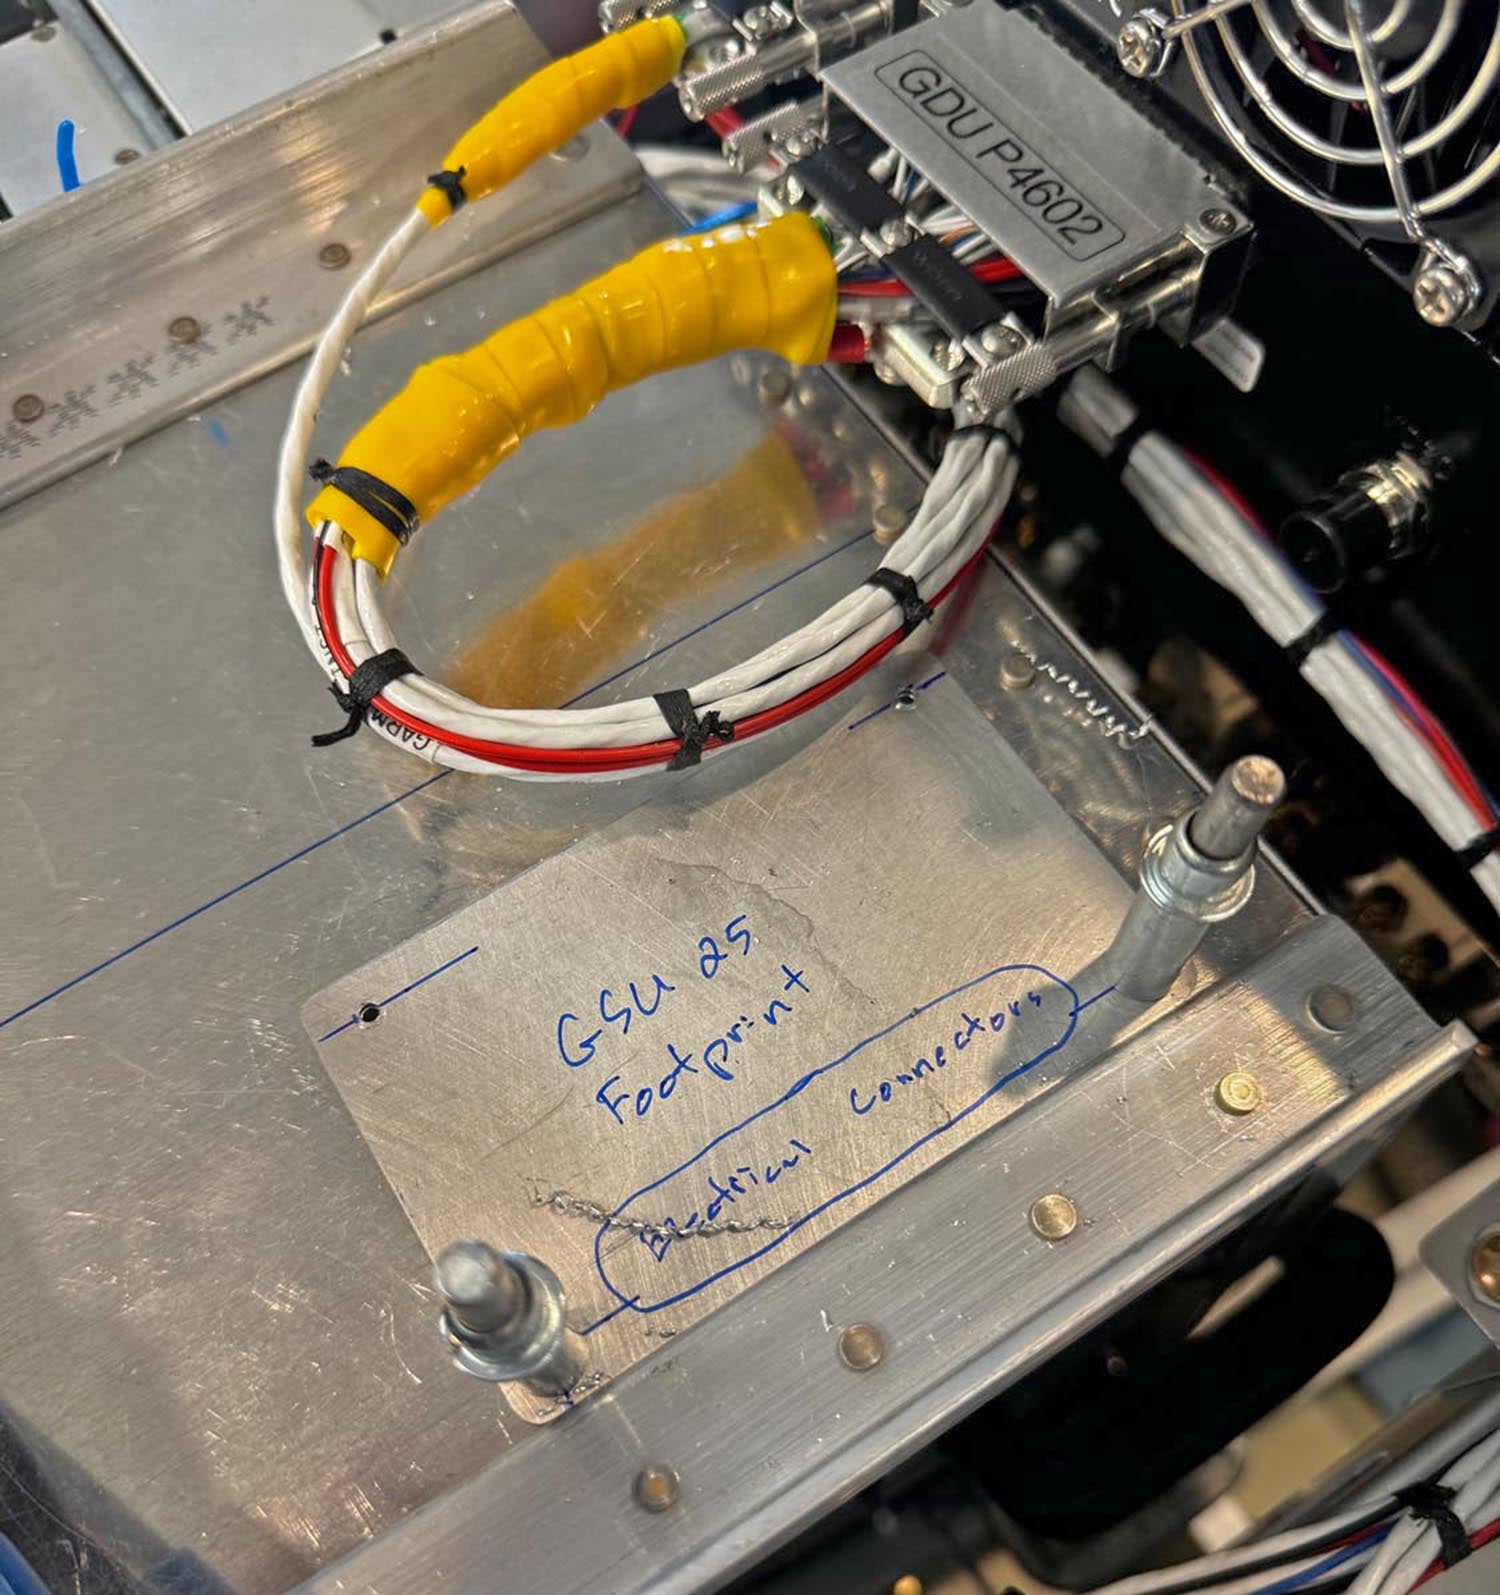
Oh well, build your template accurately, label it properly, and then put it in the drawer with all your other home-built pieces of tooling and jigs—you never know when you’ll need it for that next plane!


 Wordless Workshop")


If you have space behind the GDU 460, the GSU25 ADAHRS mounts on the back of the GDU 460. Check out the mounting holes on the 460 upper left.
Yup – that’s what those mounting holes are for on the GDU – but reliable sources have reported mixed results using that location due to vibration and flex in the instrument panel, so we’re cautious about it. For a simple VFR airplane without a lot of room to mount things, I think I’d try it.