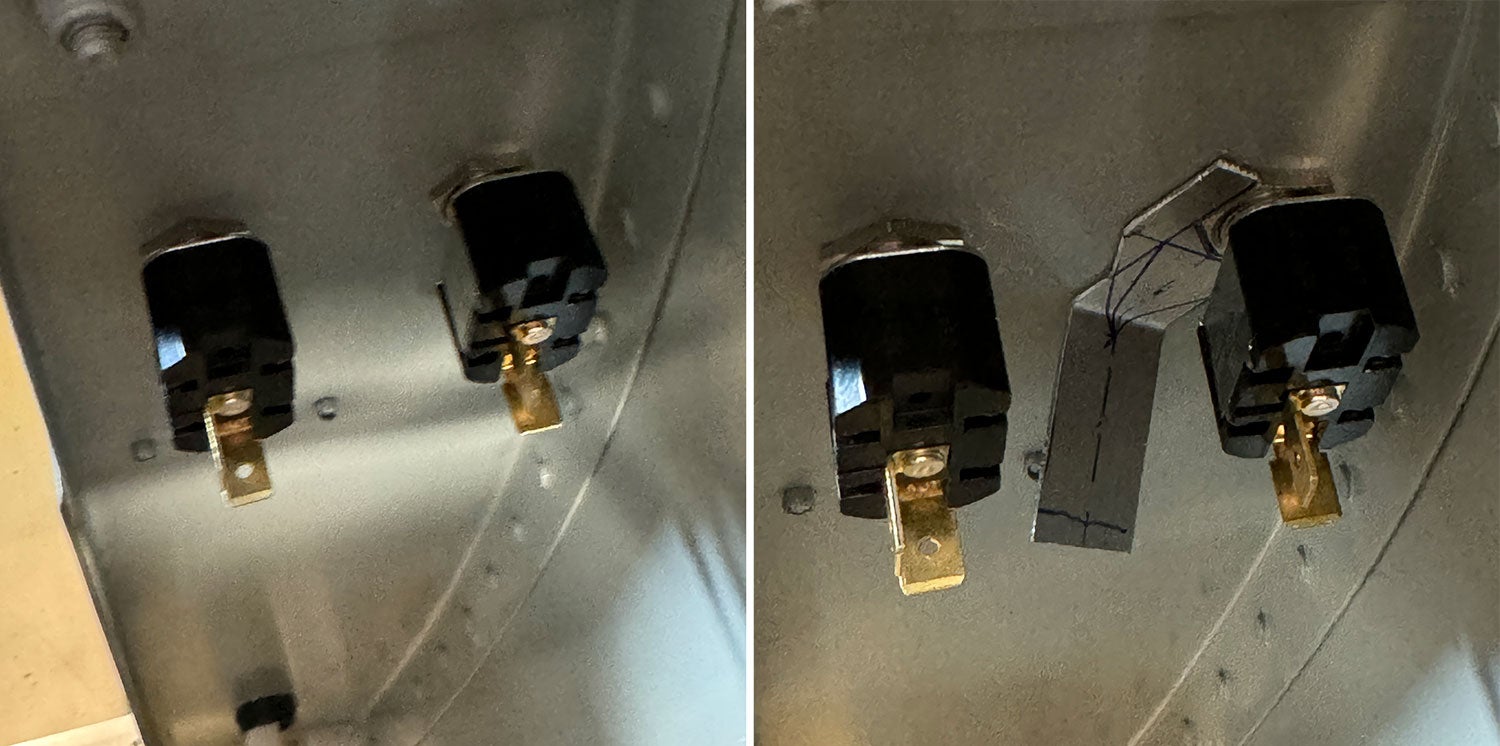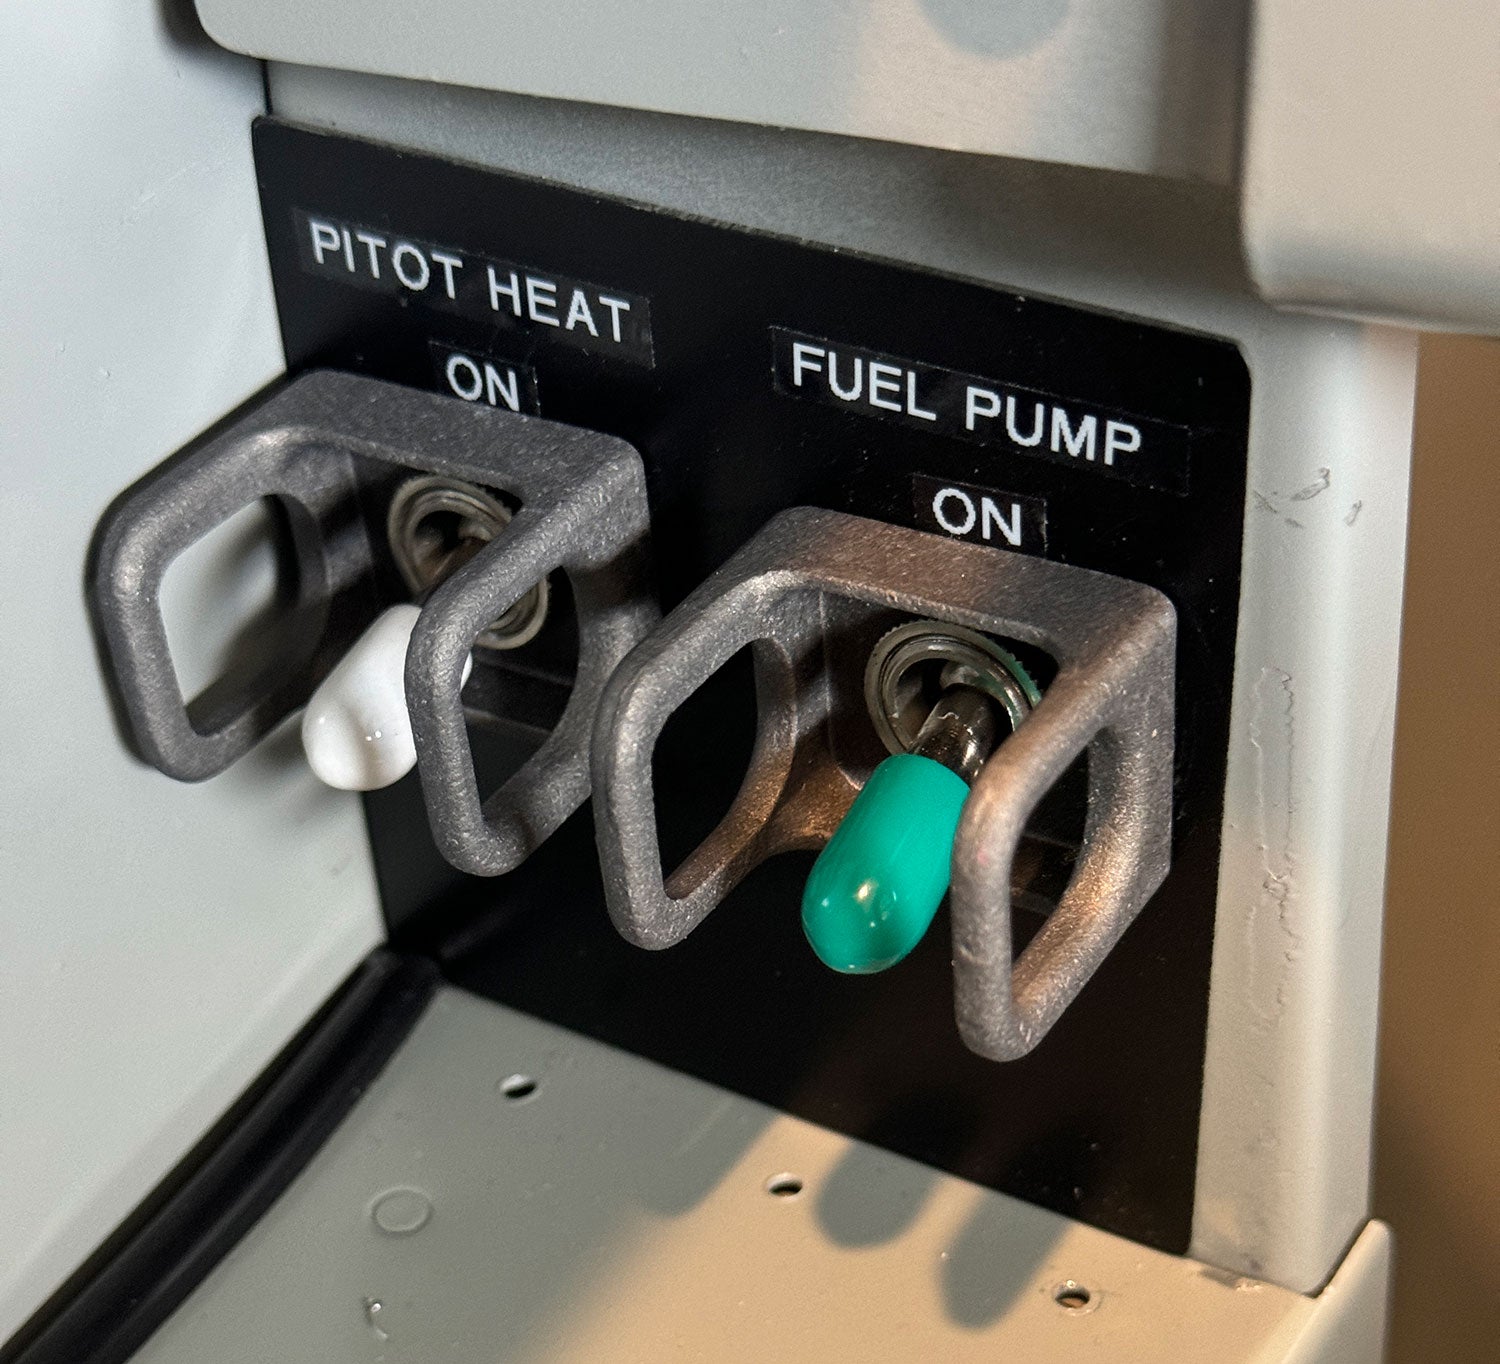
A lot of people don’t know that the proper way to tight the nuts on a toggle switch is install the front nut (or knurled ring) to a visually pleasing spot, then tighten the rear nut to cinch the switch up tight. But even those who know the “proper” technique don’t always use it because it can be a royal pain to get any sort of a wrench onto the rear nut—there’s never enough room to get any sort of a manufactured open-end wrench back there.

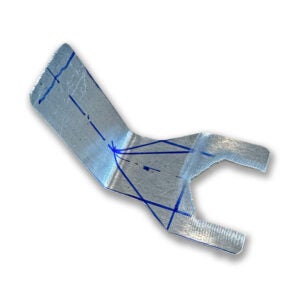
Scrap to the rescue! Find a piece of .040” aluminum (hint: it’s under the workbench) and mark it for a 9/16” wide slot. You can use thicker if you want to apply more torque, but honestly, it’s not needed. Use your bandsaw to carefully carve it out—keep those edges parallel. Cut the outside however you want, but make a bend to give you a “handle” far enough out to clear the switch body, but keep it close. Voilà! You have a switch wrench to be proud of and show your friends! Oh…. and it will tighten those switches perfectly.


More and more, I find myself making custom tools, and I find I actually enjoy it. We’ve all gotten so used to buying tools, and we forget it’s not that difficult to fabricate simple tools ourselves. And with today’s prototype shops, it’s getting super easy to make even more complex tools as well.