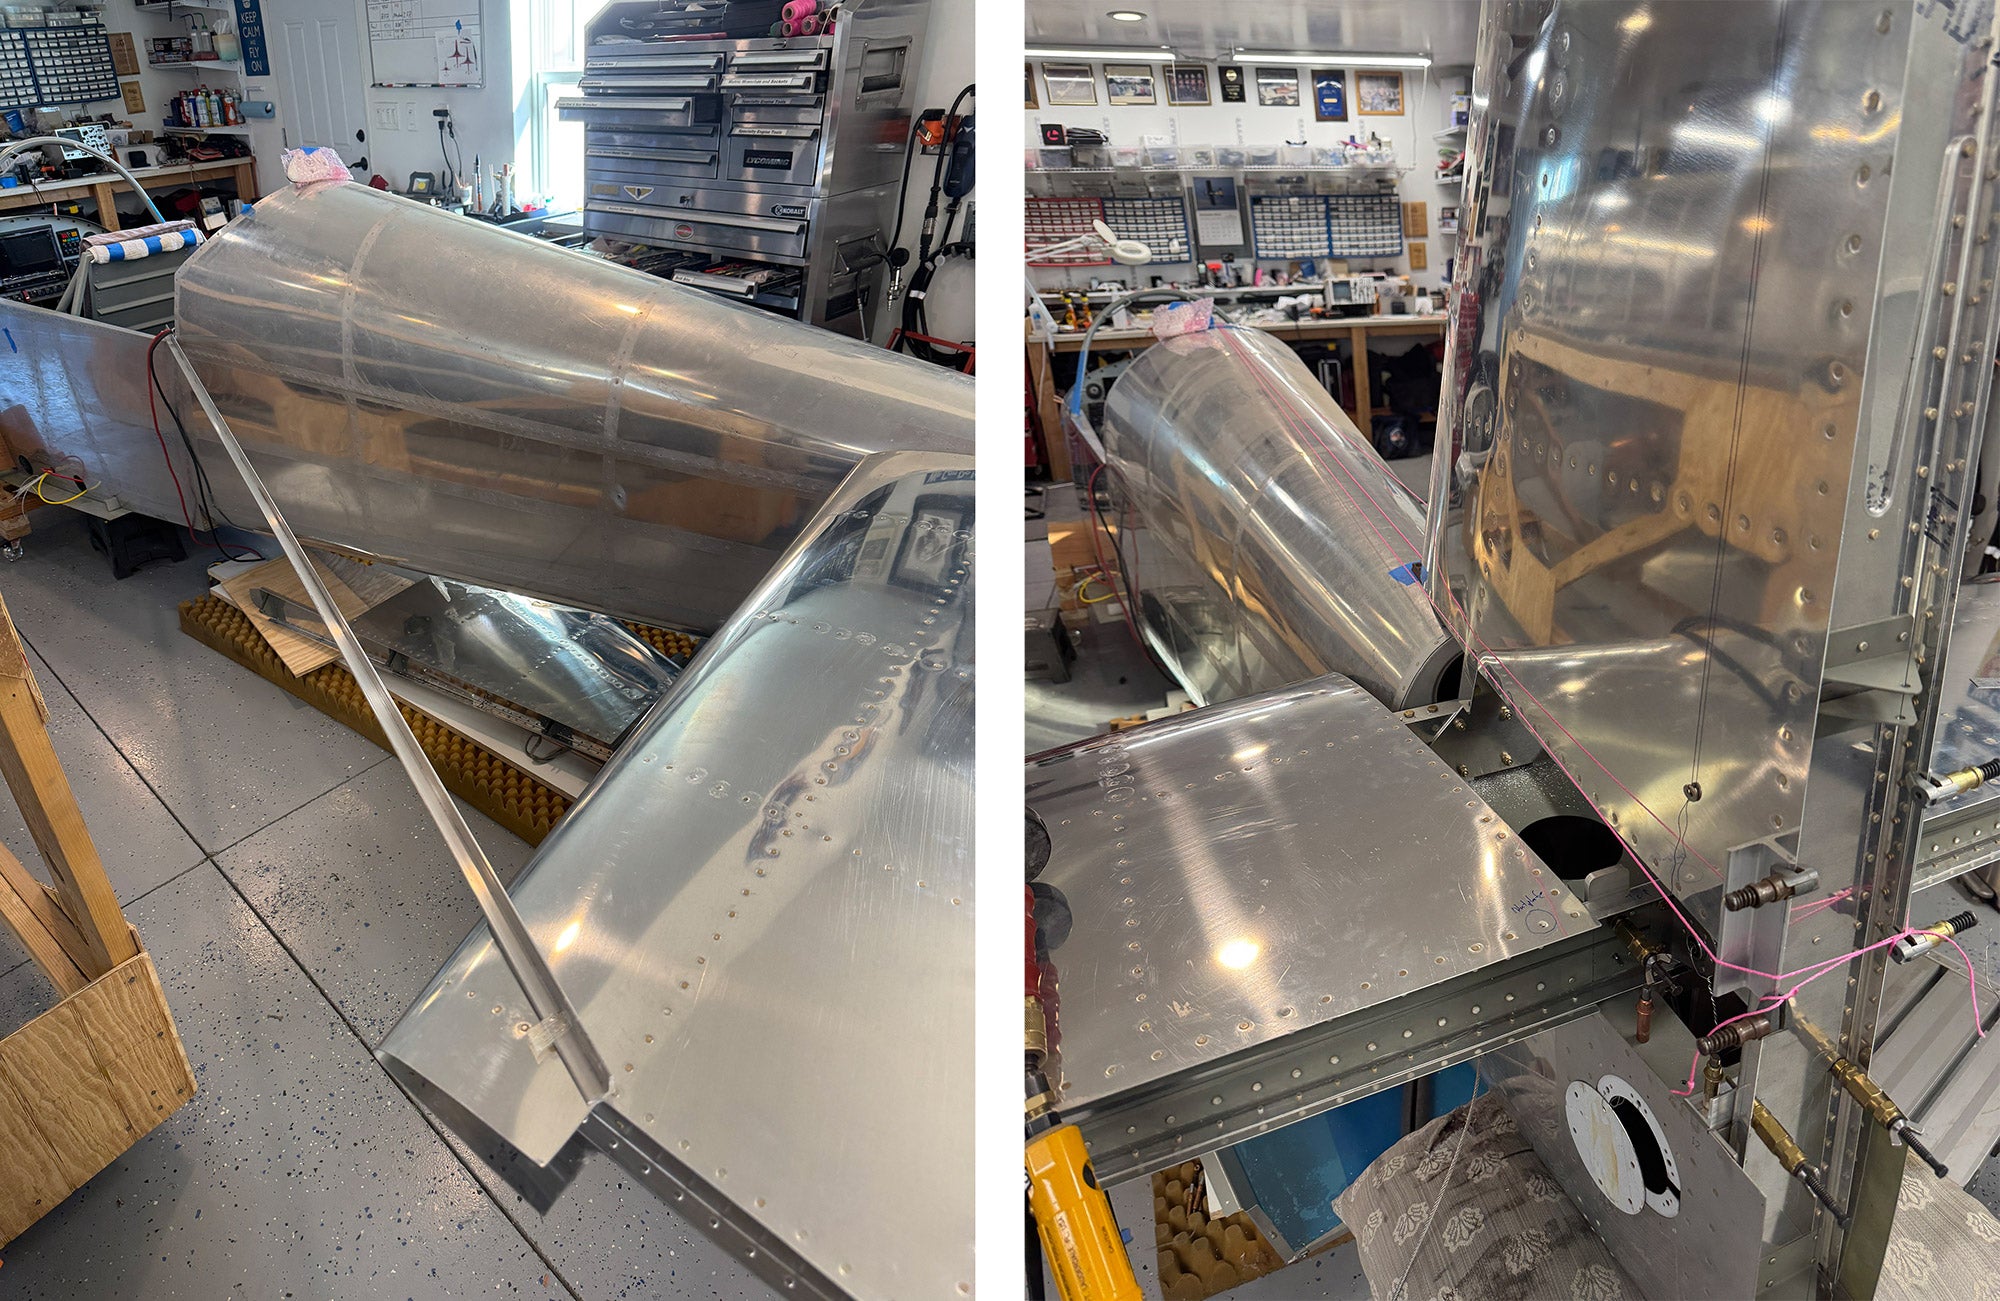
There are times in building an airplane when you want to have some strings attached – particularly when it comes to lining things up. A good example was the recent fitting of the horizontal and vertical stabilizers on our F1 Rocket project. When building any airframe, the goal is to have things level, straight, plumb… in other words “aligned” as best you can. While airplanes will generally fly OK if a control surface is slightly warped, or a fuselage has a minute twist, correcting for these deficiencies in flight will generally cost speed because of increased drag. So you want to get things as close to straight as possible.

The process isn’t that hard – it just takes patience. You start by leveling the fuselage in pitch and roll. Then you place the horizontal stabilizer in position, and shim it so that it is level in roll, and pitch is set to give you a prescribed (by the plans) angle of incidence. In the Rocket, this is done with specific shim heights under the front and rear spars. Finally, you want to make sure that the stabilizer is perpendicular to the fuselage centerline – this is done by measuring the distance between a rivet near the tip to a center spot on the fuselage near the cockpit. Because strings stretch, and safety wire is never straight, we did this with a piece of aluminum angle. You measure from identical tip rivets on each side to an identical (but opposite) point on the fuselage.

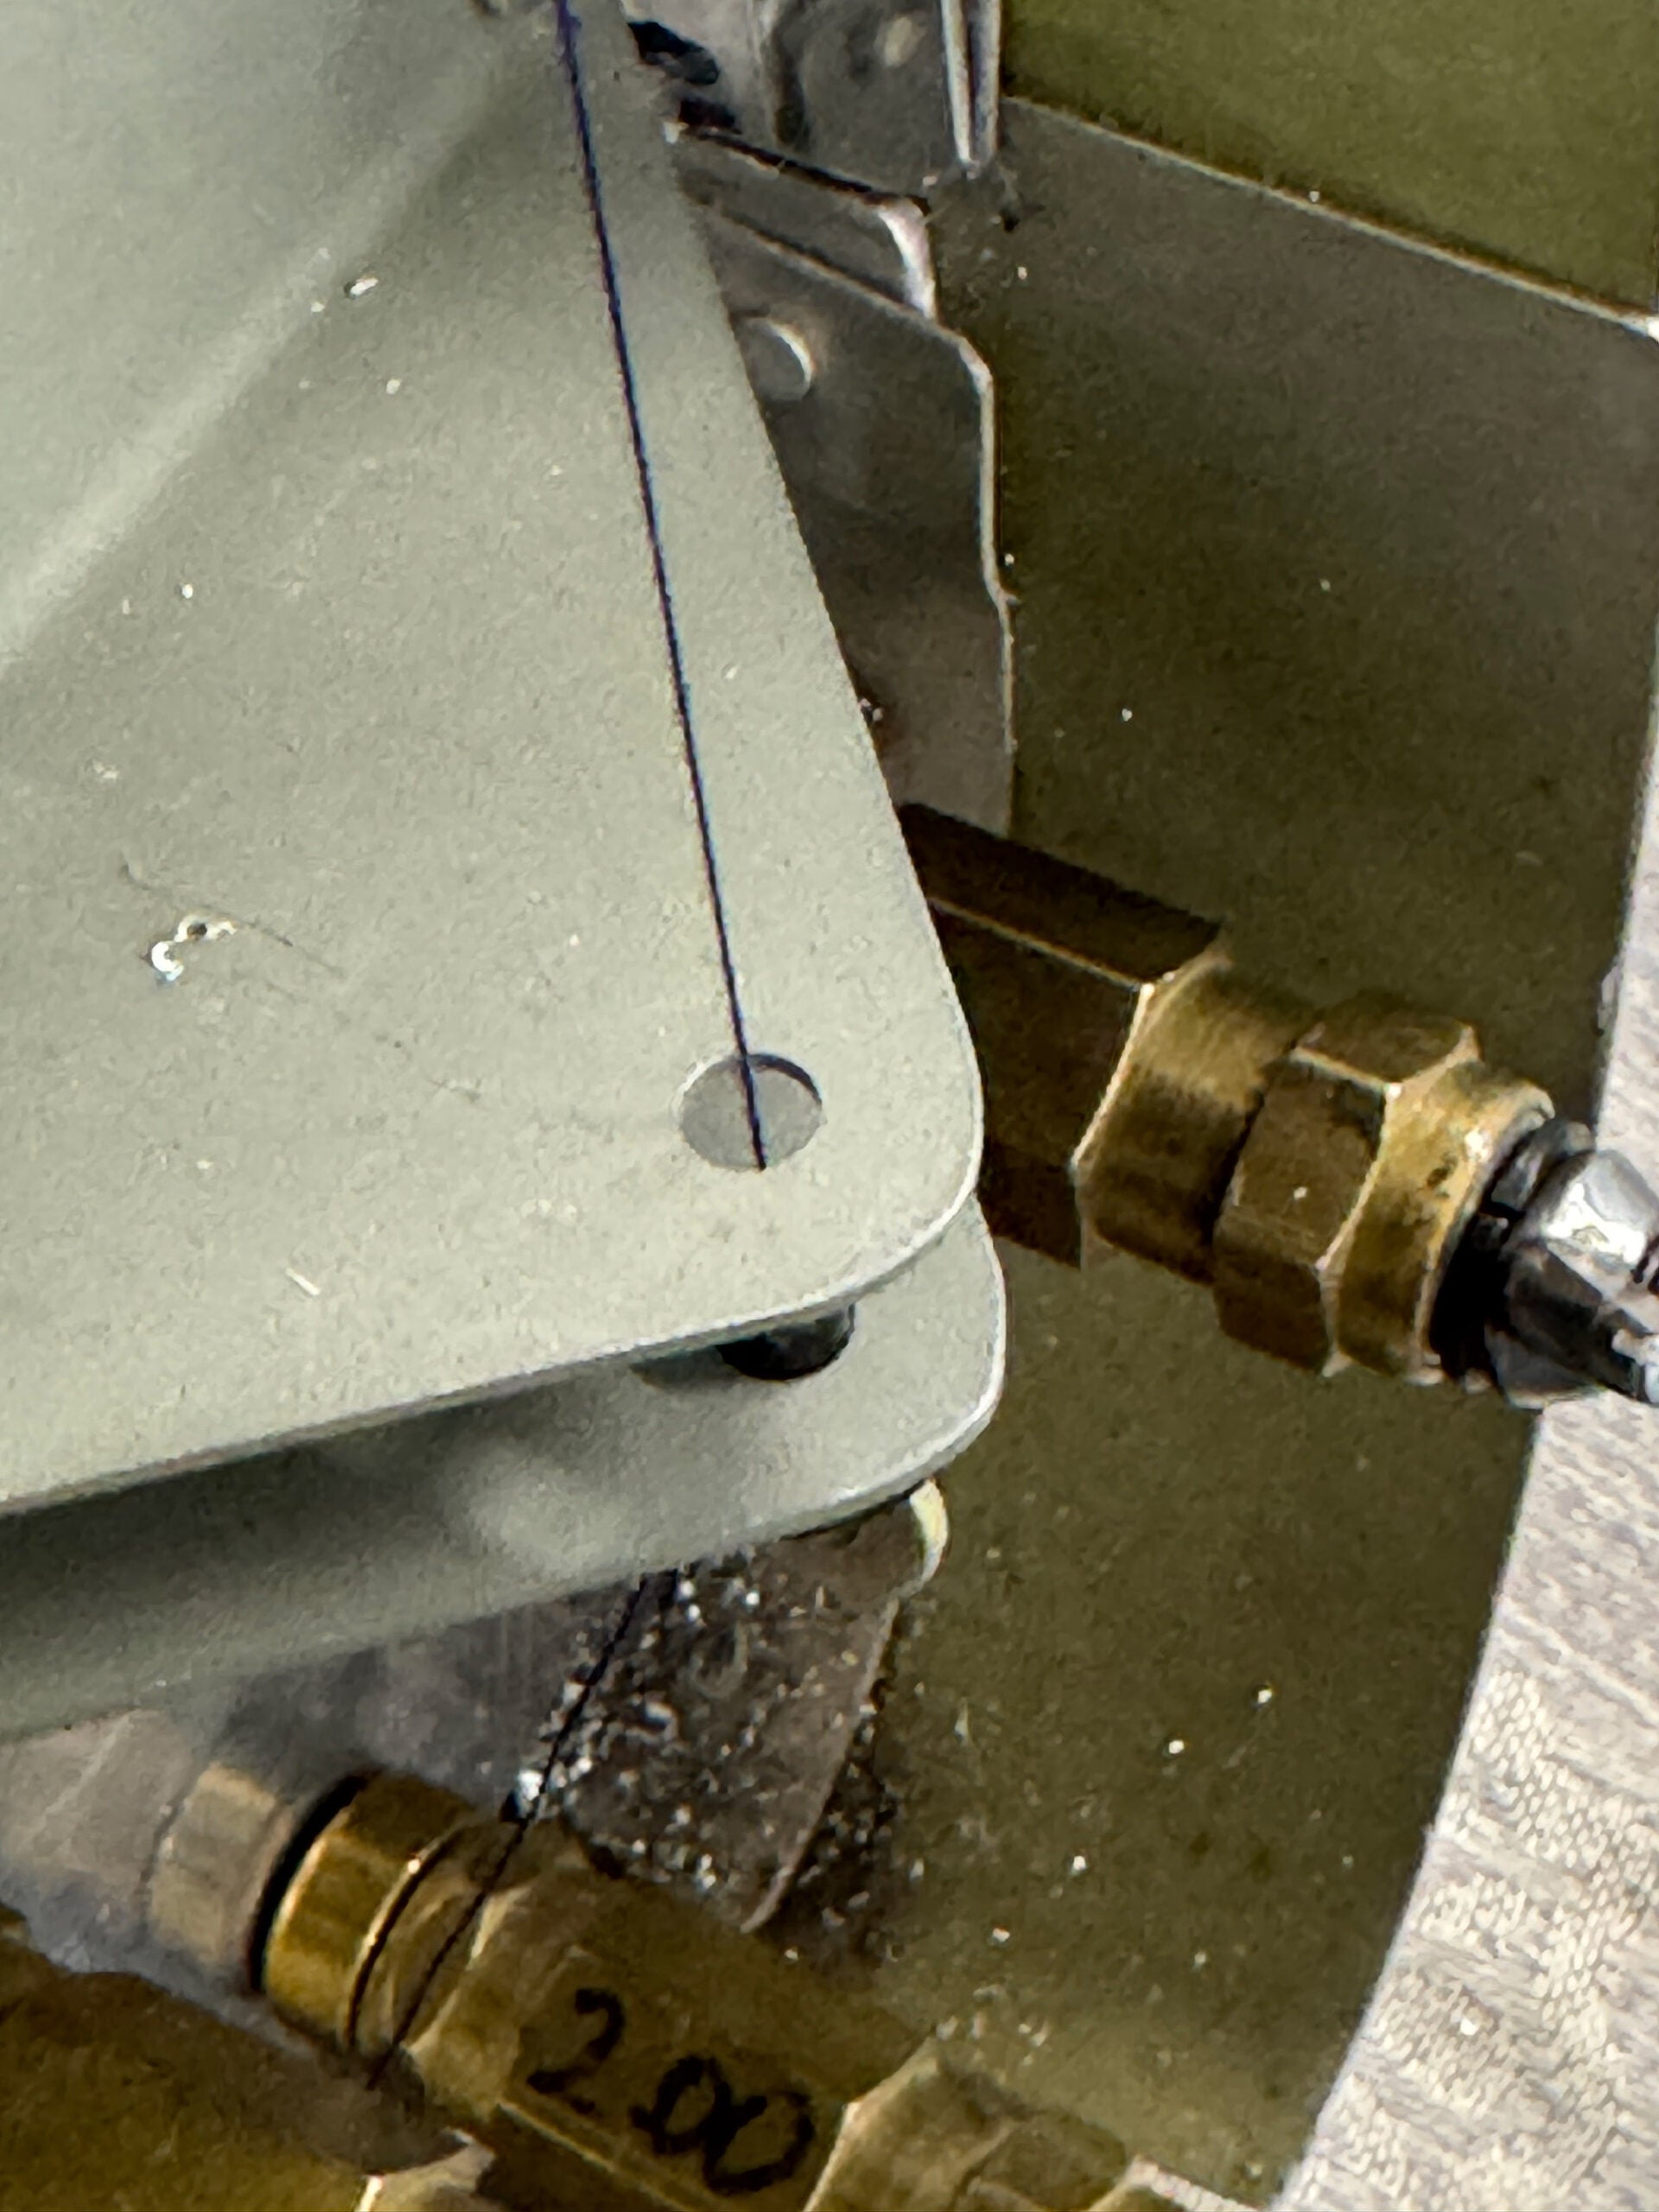
Next, we use strings – these are to mount the vertical stabilizer. Bolting the rear spars in place, you still have to make sure that the spar is straight – otherwise, the rudder will bind if the hinges aren’t in alignment. You measure this with thin thread, suspended from the top to the bottom hinge points, and passing through the center hinge. It’s amazing how much the spar will bend (fore and aft) so that you get the thread in the exact center of the middle hinge point.
That gets the spar straight – but you still need to get the stab aligned with the fuselage. This is done by stretching strings from the rear spars – actually stepped out from the spar with a piece of angle, so the strings don’t bend around the airfoil – and again, to a center rivet on the fuselage. You can then measure between the front spar and the string (on each side) to make sure the fin is straight (unless your airplane has an offset fin to counteract engine torque – then you measure for the offset).
With everything aligned, clamp the forward spar in place, and drill the mounting holes – and you’re done! You are also committed – without replacing parts, you can’t un-drill the alignment. So get the strings out, place them carefully, stretch them tight… then walk away for a couple of hours and come back to check your work once more before drilling. Measure twice (or three, or four times) and drill once for a faster airplane!


I like your mentioning the use of the small pieces of angle to offset the strings from the surface of the vertical stabilizer. This simple mention helps enormously to make alignment easier to visualize. When I built my RV-8, I was frustrated seeing the alignment because I didn’t offset the strings. This is an AHA moment.