 4:55 p.m. Almost there. I stared at the clock, waiting for it to be 5:00 p.m. so work could be over. I love my job as a flight coordinator, but work has been unnecessarily stressful lately and I was eager to leave and enjoy the evening at Hangar 32. With the brake cylinders complete, brake lines and standoffs fastened and fluid pumped through the system, it was time to start looking into a new project: fuel lines!
Hold up. What’s that red stuff and why is it everywhere? I had finally made it to the hangar and was excitedly looking over my recently completed brake project. Unfortunately, the brakes were leaking and hydraulic fluid was coating the floor of N2165U. There goes my fuel project. Time to troubleshoot this.
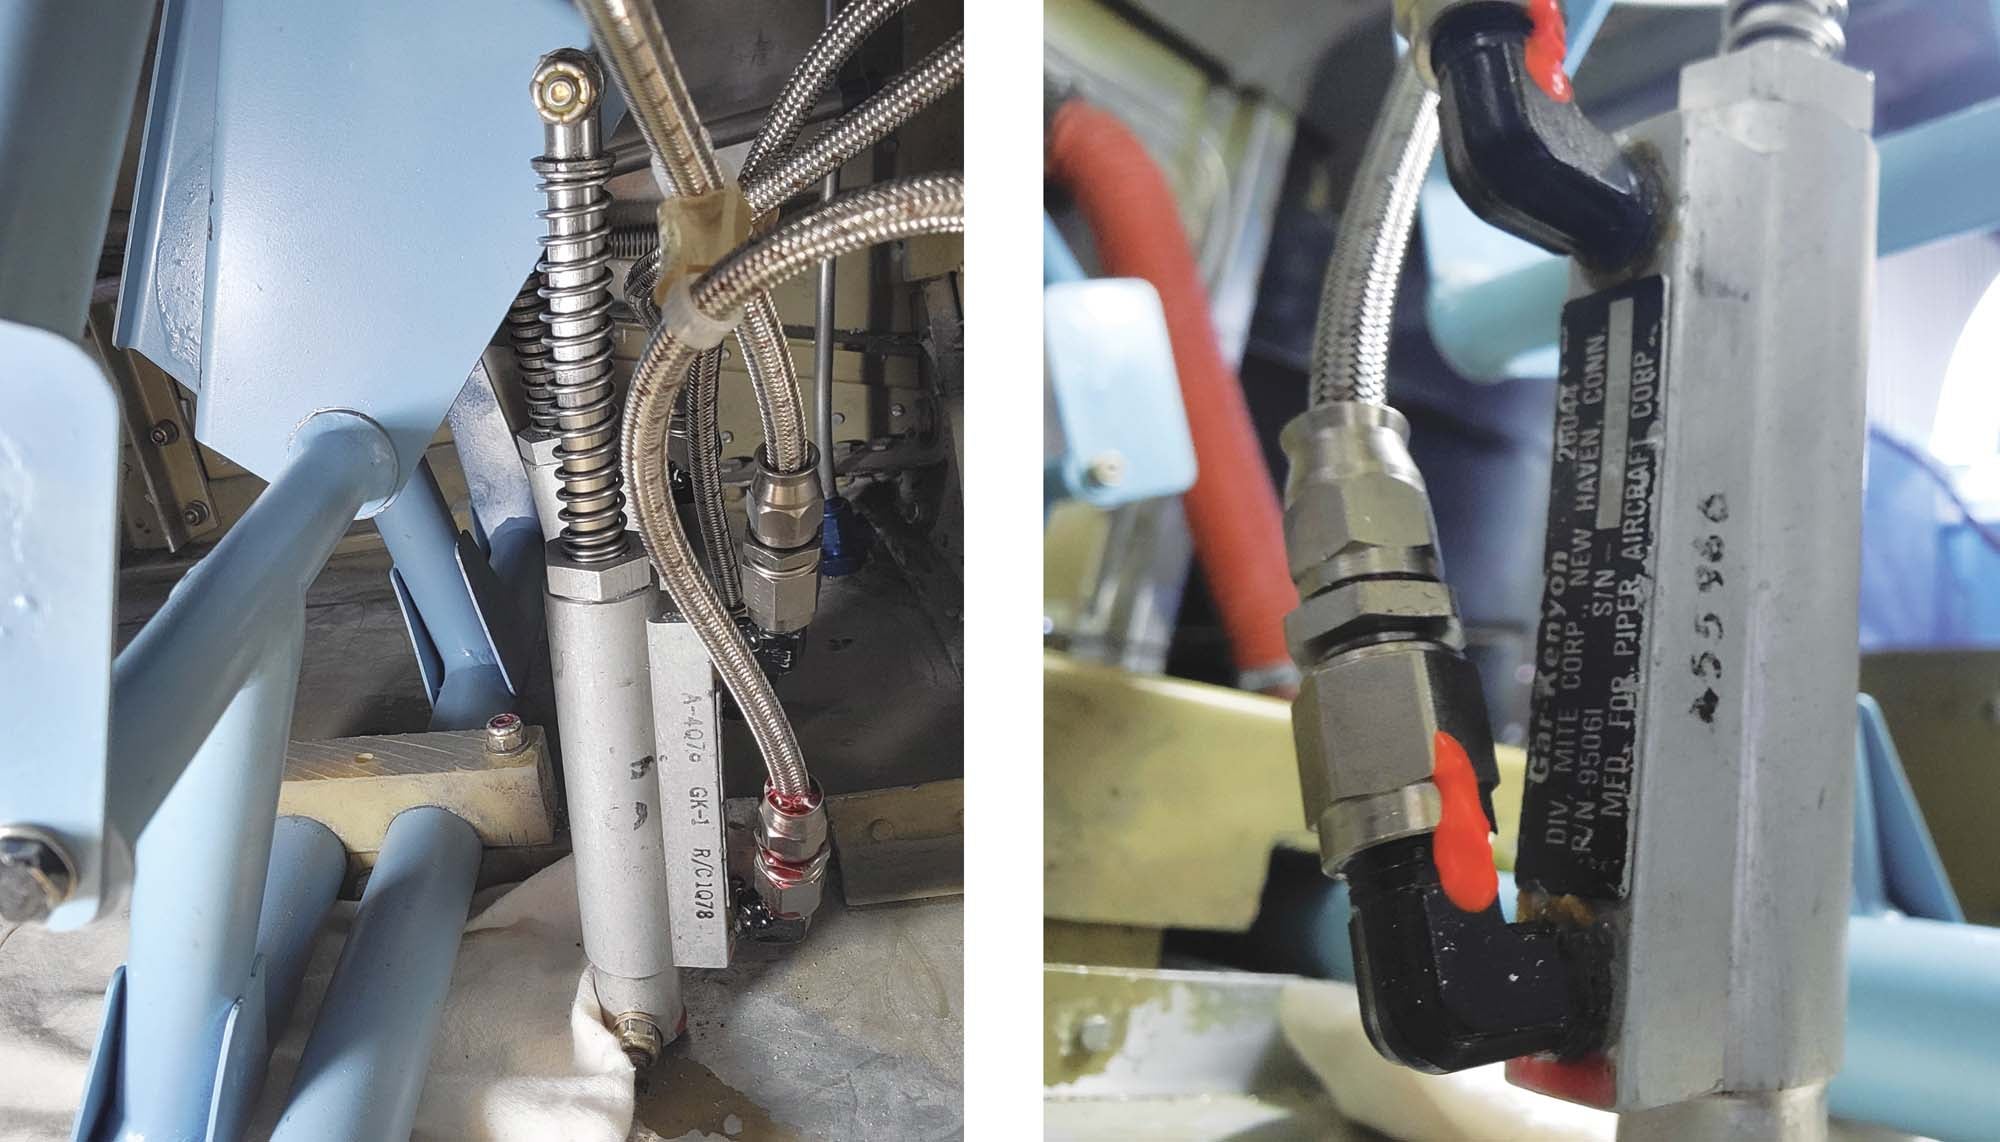
I grabbed a few wrenches, towels, a flashlight and a beer from the fridge and got to work. It was a classic project rule. This is why we often think we are 90% of the way done, when really, we have 90% to go. Unforeseen issues come up, we must deal with them and it takes time. It’s half the fun, but it also gets frustrating when you’re trying to get ready for Oshkosh.
It seemed like all the fittings were secure. We had tightened and torque sealed them so we would know if anything came loose. However, as I looked closer, two of the fittings were leaking. They weren’t tight enough! Phew, an easy fix.
Fuel Lines
After finishing up the brakes, mentor and building buddy Stan and I started working on the fuel lines. I had ordered the raw materials for the fuel lines—specifically 3003-0 tube in ¼- and ⅜-inch OD—as well as a gascolator mounting flange, replacement gasket and a replacement screen for the gascolator strainer. The original fuel lines worked, but they were old and had small dents. Stan and I also wanted to bend them to be closer to the floor and near the sides of the airplane so that they would be farther out of the way of people’s feet.
We easily removed the old fuel lines and started by measuring for the new ones. Stan showed me how to cut them properly with a tubing cutter. After setting the tube in the cutter and lining up the blade, you simply start moving the cutter around the tube in a circle, tightening it slowly until it cuts through. Stan also showed me how to bend the lines with a bending tool to make a perfect 90° angle. It was especially tricky to bend them just the right way. Ideally, you want to keep fuel lines as straight as possible, so the fewer bends the better. But it’s a compromise; they need to go where they need to go.
After a few hours of bending, we started attaching the fittings and Stan showed me how to use a flaring tool. I flared one end with a flaring tool, then slid the sleeve and B nut on. (Remember to do this in reverse order for the other end of the line!) From there, I worked the fuel lines into their positions and wrapped a rubber bushing around one of them so it wouldn’t scrape against the metal piece in the center that holds the fuel selector. One fuel line done! Then I repeated it with the other fuel line, eventually getting the lines between the left tank and the fuel selector and then the fuel selector to the gascolator finished. I took a break after that, deciding I’d tackle the right side down the road.
More Baffling
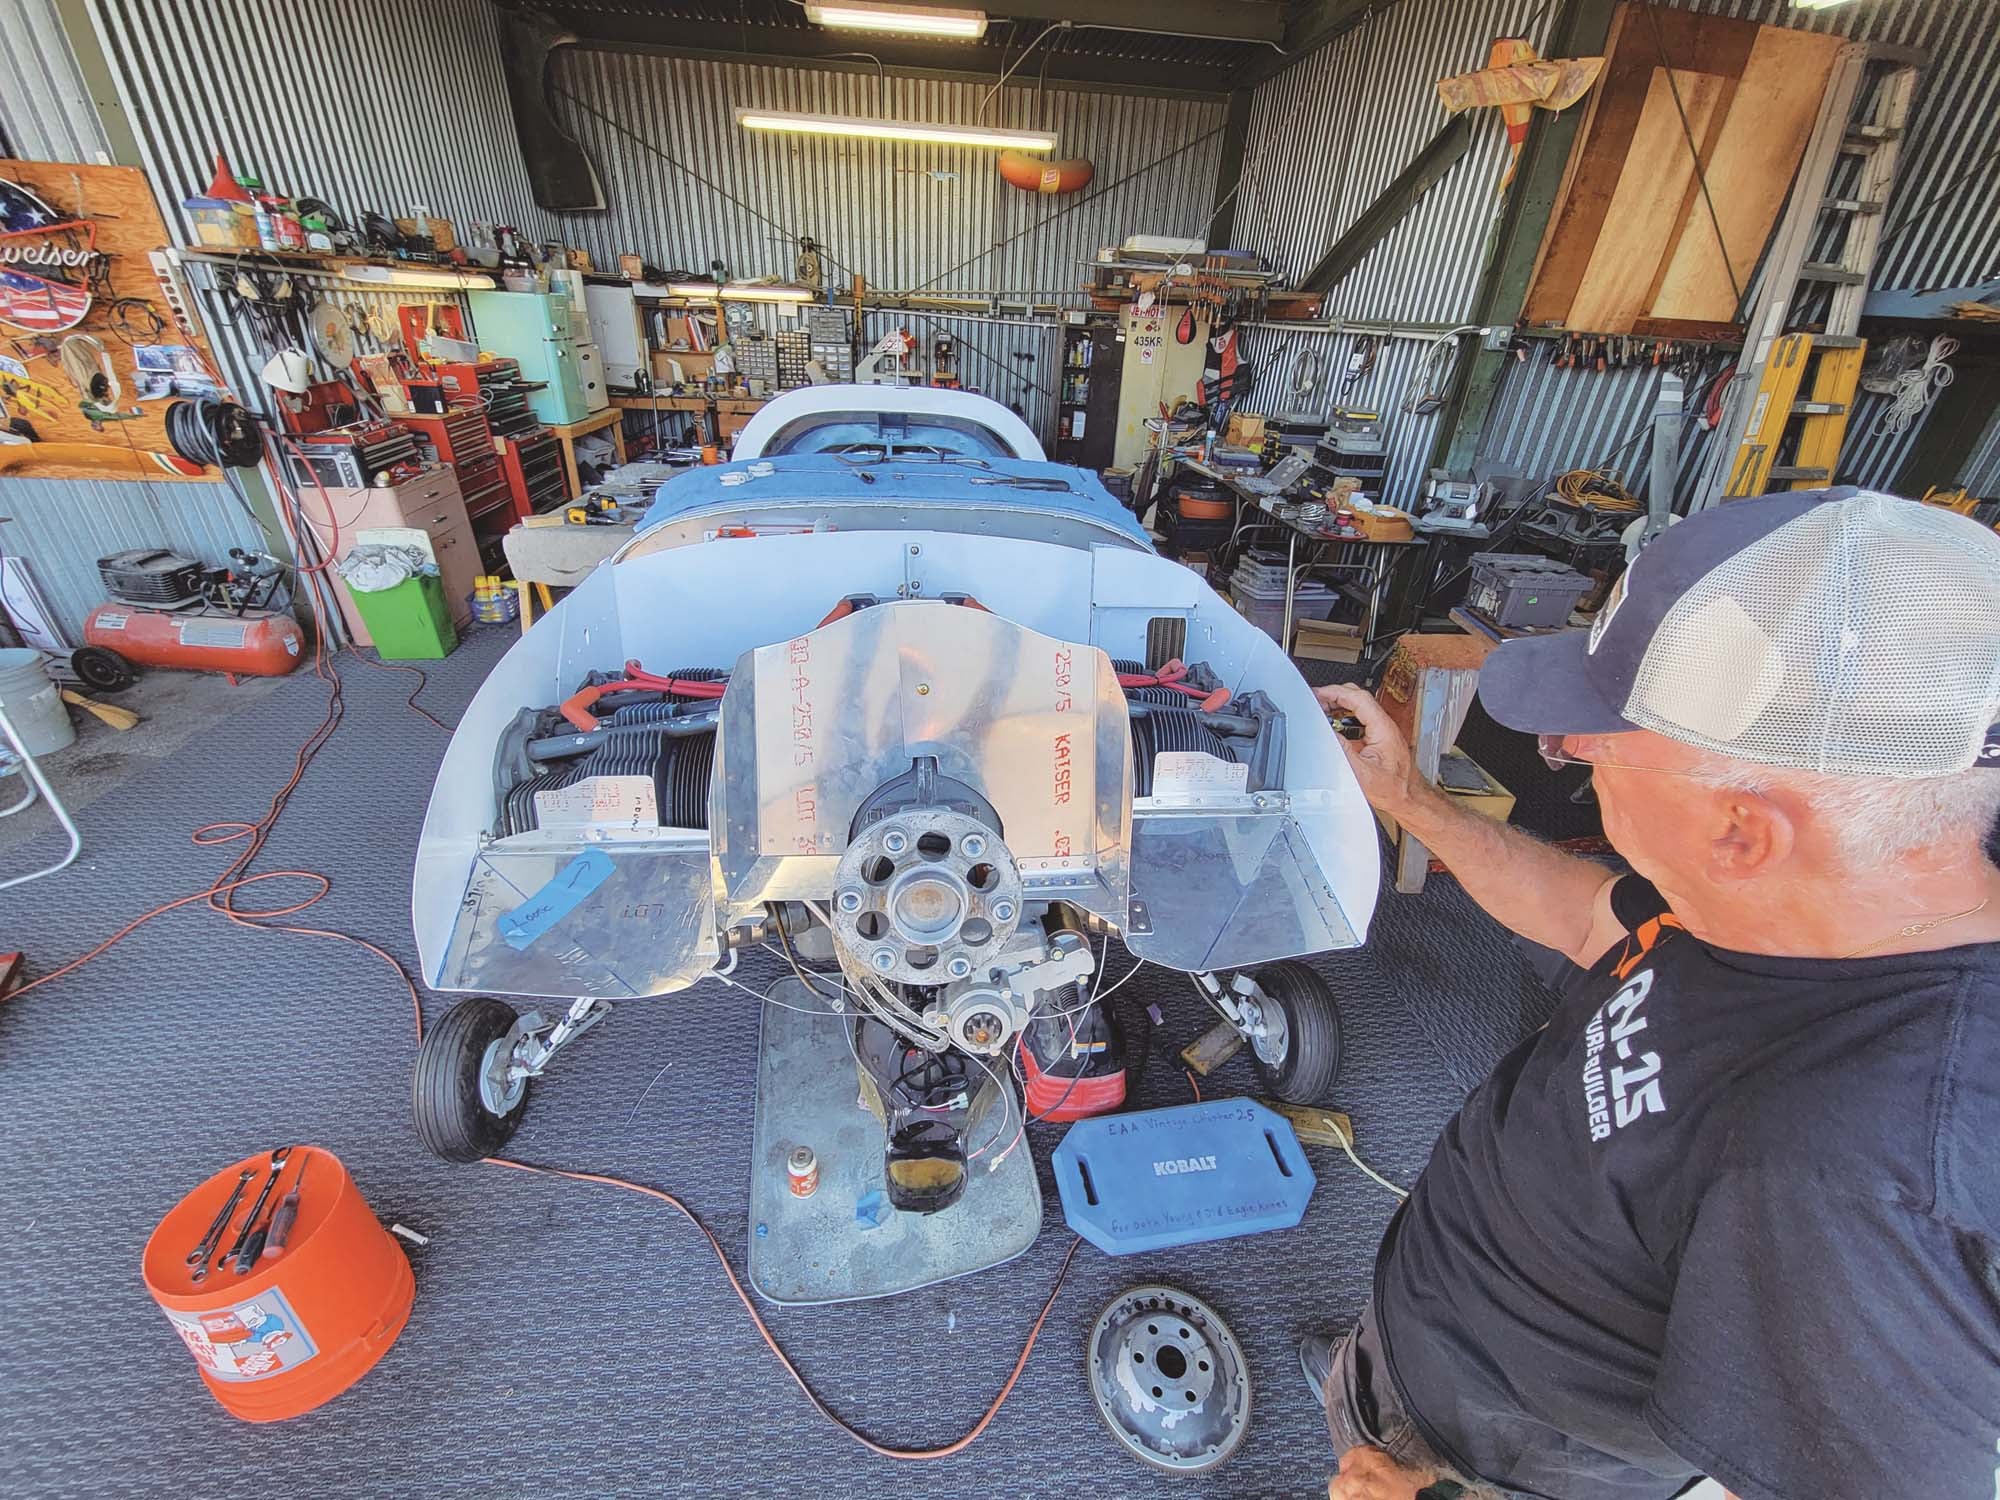
Baffling was a much longer and more complicated project than anticipated. After working on it on and off for many months, with more cutting, puzzling, deburring and painting, all of those janky metal pieces were finally coming together. Kerry Richburg prefers specific fancy shears to cut the metal, so he gave them to Stan who then showed me how to use them. We fitted the pieces together to ensure they had been built correctly. After determining they matched, we scuffed them up with Scotch-Brite and spray-painted them white. Zach came by to help work on the baffling and fasten it to the engine. Once fastened, we could properly fit the upper and lower cowling.
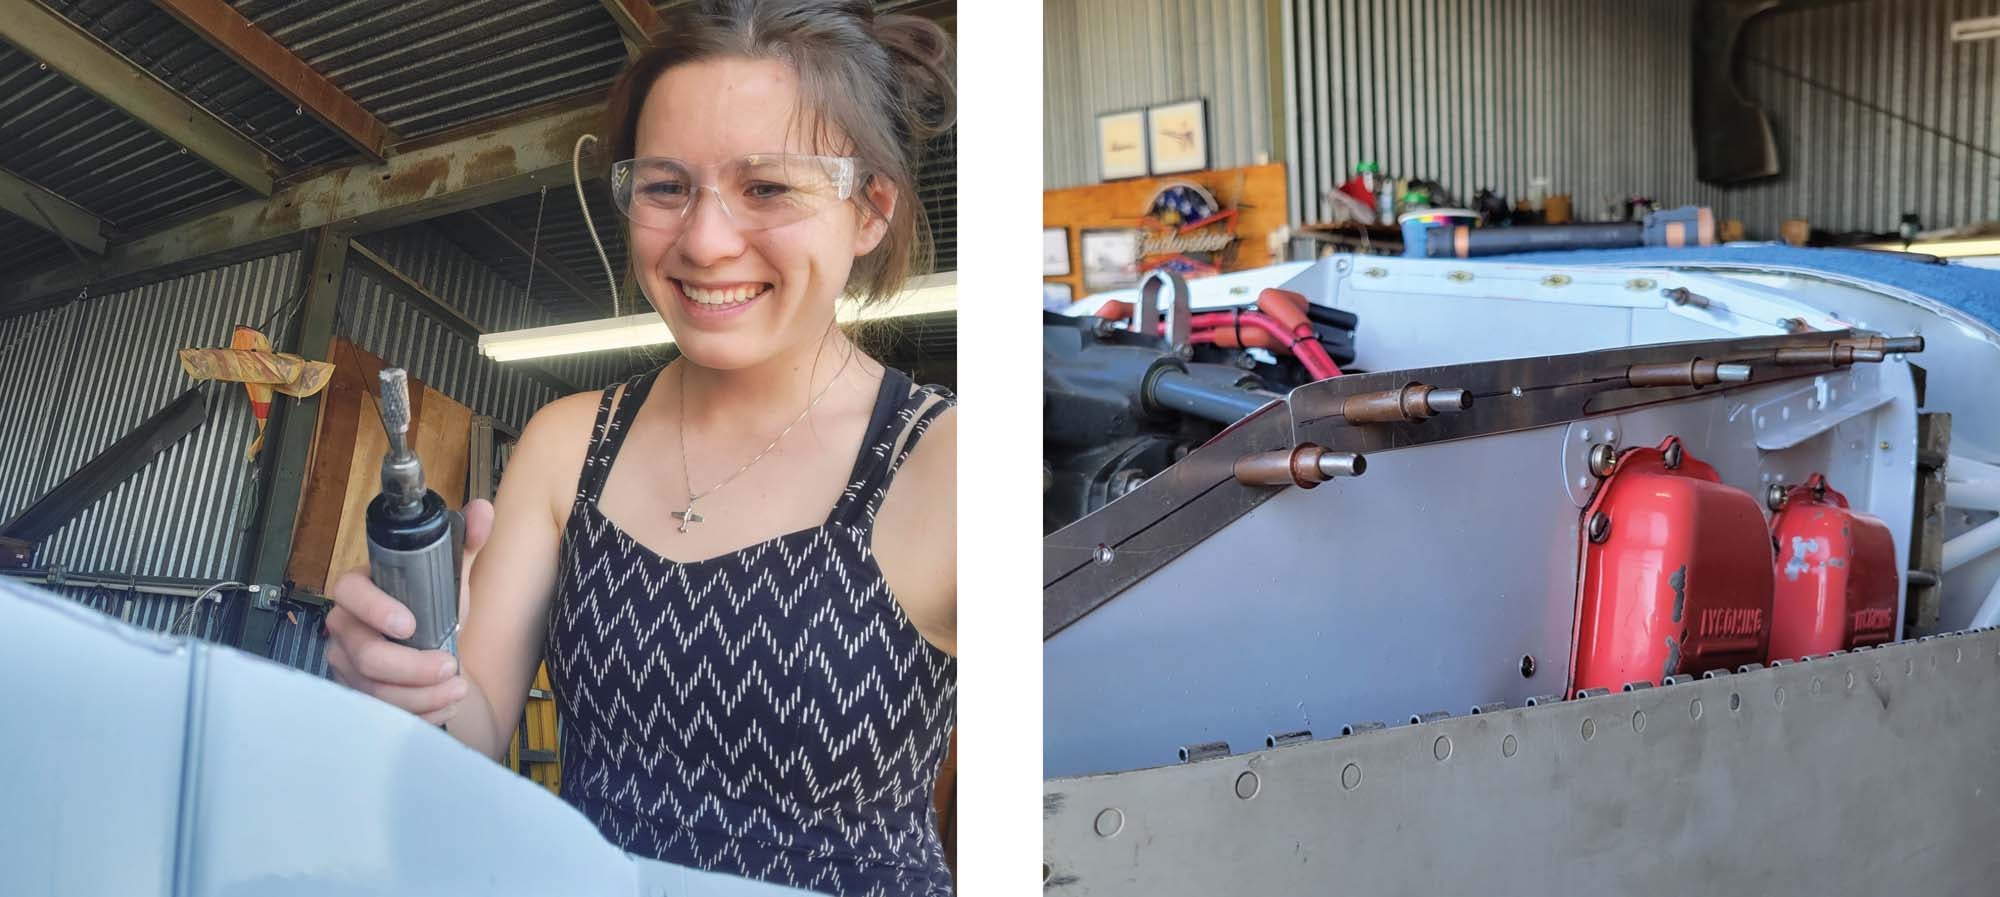
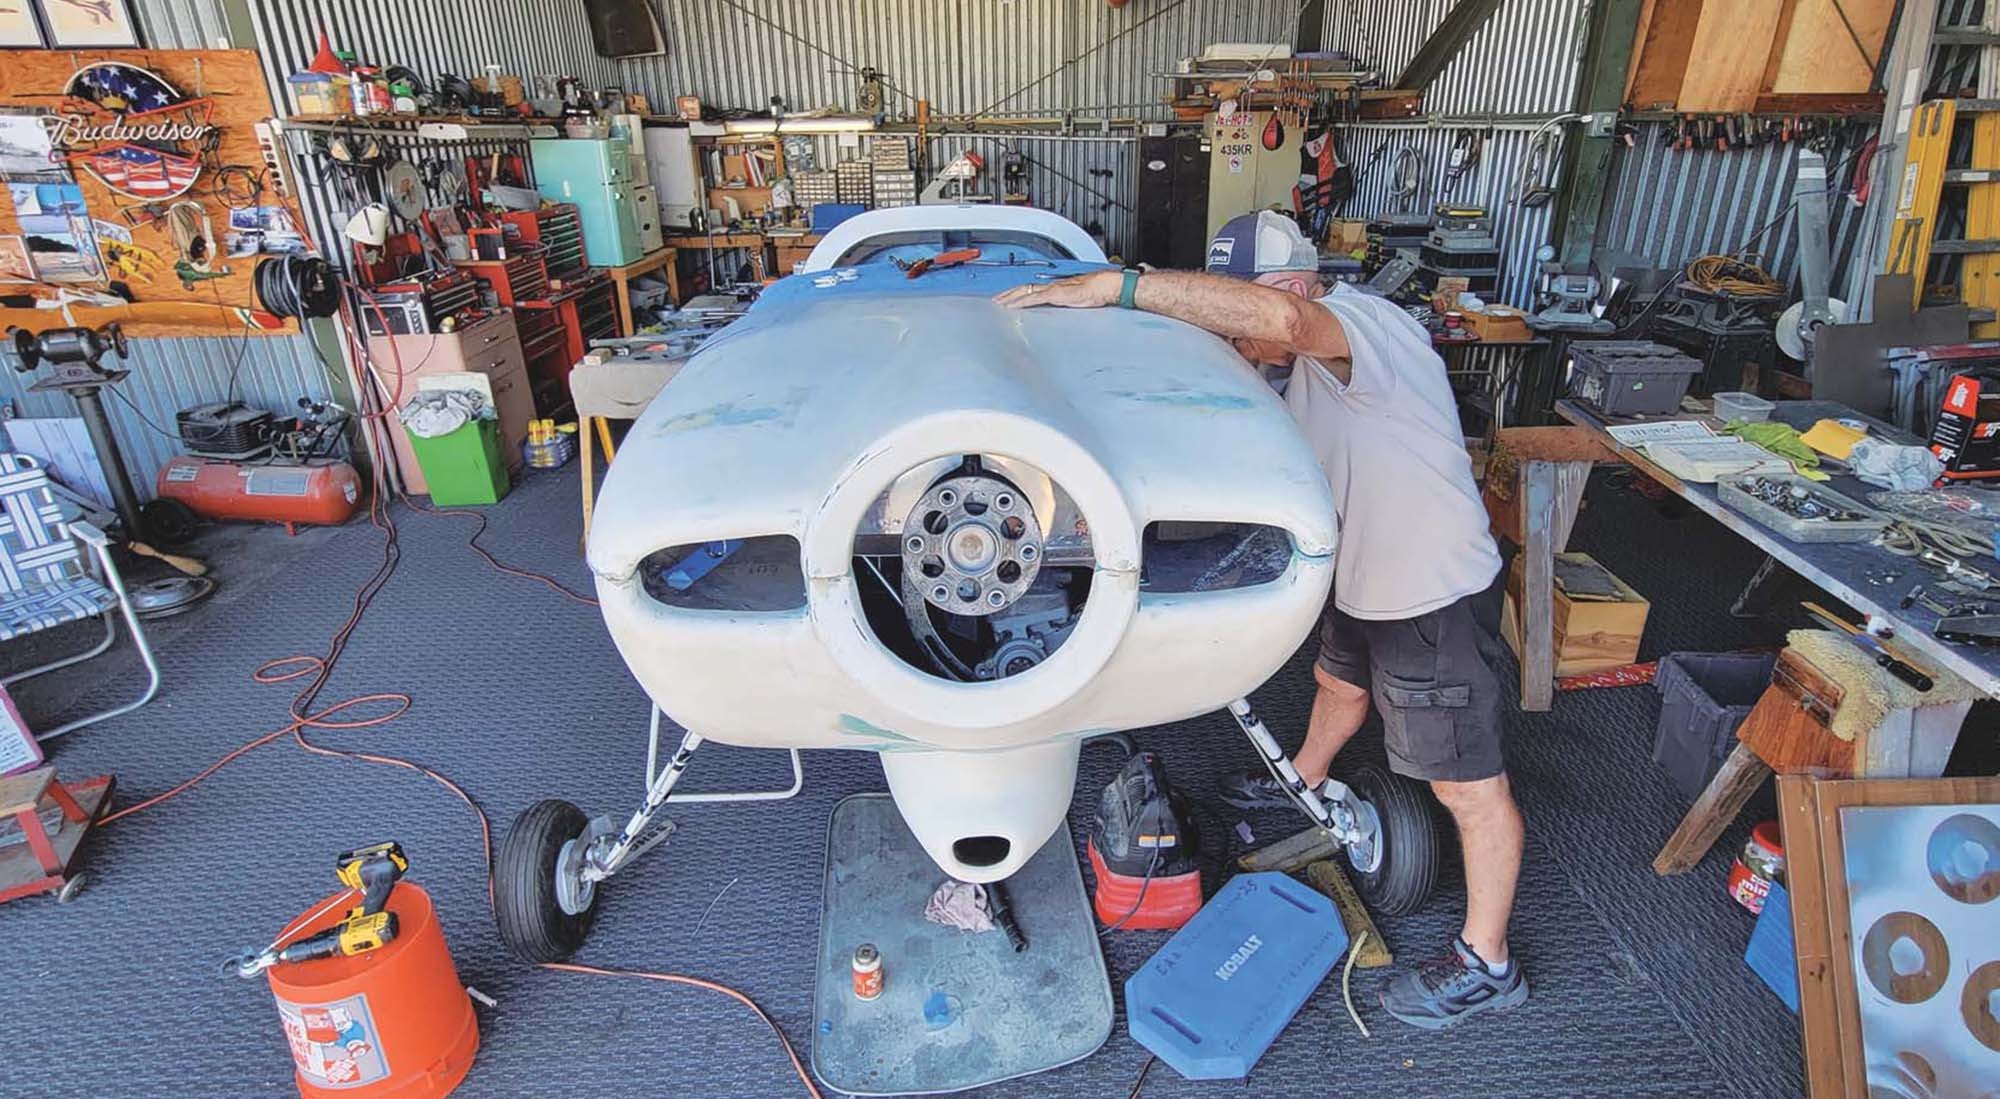
Fitting the lower cowling proved to be easy, while the upper part was a bit more difficult. If the baffling was too tall, then it would cut into the cowling. If the baffling was too short, then the air wouldn’t end up getting properly directed through the cylinders. Our main problem was that the baffling was too tall. Stan, Kerry and I identified the places where the baffling was hitting the cowling. Starting with Kerry’s fancy shears, we simply drew a line where we thought it was hitting and cut straight across. As the problem areas started getting more specific, we started grinding them down using an air grinder. We were able to identify if areas of the baffling were still hitting the cowling by setting the upper cowling on top, lining up the piano hinges like we would if we were putting it on and then tapping on the problem areas. The cowling is fiberglass so it’s somewhat flexible, so if it was hitting something hard underneath (the baffling), then we would feel it underneath because there would be little to no give in the cowling.
I worked on the baffling project on my own one evening after work and made the mistake of not bringing shoes! I had my Birkenstocks but that was it! Unfortunately, when you grind metal in sandals, you end up with metal between your toes. I spent the end of the session picking metal pieces out of my shoes and my own feet but was happy that the project was getting done.
After getting the metal baffling low enough to not hit the upper cowl, I fastened the upper and lower cowlings together. Thanks to Kerry and Hal’s hard work from early on, the wires actually fit through the piano hinges without a problem. I’m so grateful for them, their skills and their thoroughness!
Next, we created doublers to strengthen the baffling and protect the rubber, then attached nut plates to them. The plan was to put the rubber in between the doubler and the baffling to maximize surface tension so it would stay flat, not get all wrinkly and let air through. Stan wanted to screw the rubber in instead of riveting it so that it would be removable if needed and we wouldn’t have to deal with so many rivets. We riveted nut plates to aluminum strips that we measured, cut and deburred ourselves. Then, we fastened them with screws onto the baffling.
Transition Fairings: Kerry the Fiberglass Master’s Project
My plane never had transition fairings between the gear legs and the fuselage so Kerry was determined to make some. He and Hal made molds of Hal’s from his RV-6 next door. Once fitting the fairing to see if it would work, he analyzed it carefully and then filled it with modeling clay that looks like Play-Doh. He let it set by putting it in the refrigerator! He then put the mold on parchment paper and started applying the first set of fiberglass over the modeling clay with epoxy. Kerry would cut the fiberglass with something that looked to me like a pizza cutter, then lay it on the mold. From there, he would dab the epoxy in with the end of a paintbrush. “You see it disappearing?” Kerry said. “If you can’t see the glass, then it’s in good shape.” He kept dabbing. “This is what you’d have to do if we didn’t have Hal’s fairing. You’d have to put all this modeling clay on the airplane. And then you form this to where it fits and looks good. And then you glass over it on the airplane. We’re just experimenting; we don’t know if it’s going to work or not. If we can get a form, then we can make it fit and cut it to where it’s supposed to be. You use about three to four layers of glass to make the fairing. With this kind of weather, the epoxy dries fast. I forgot to put mold release on the modeling clay. So, this fiberglass is probably going to be stuck to the clay. We’re going to have to scrape it out.”
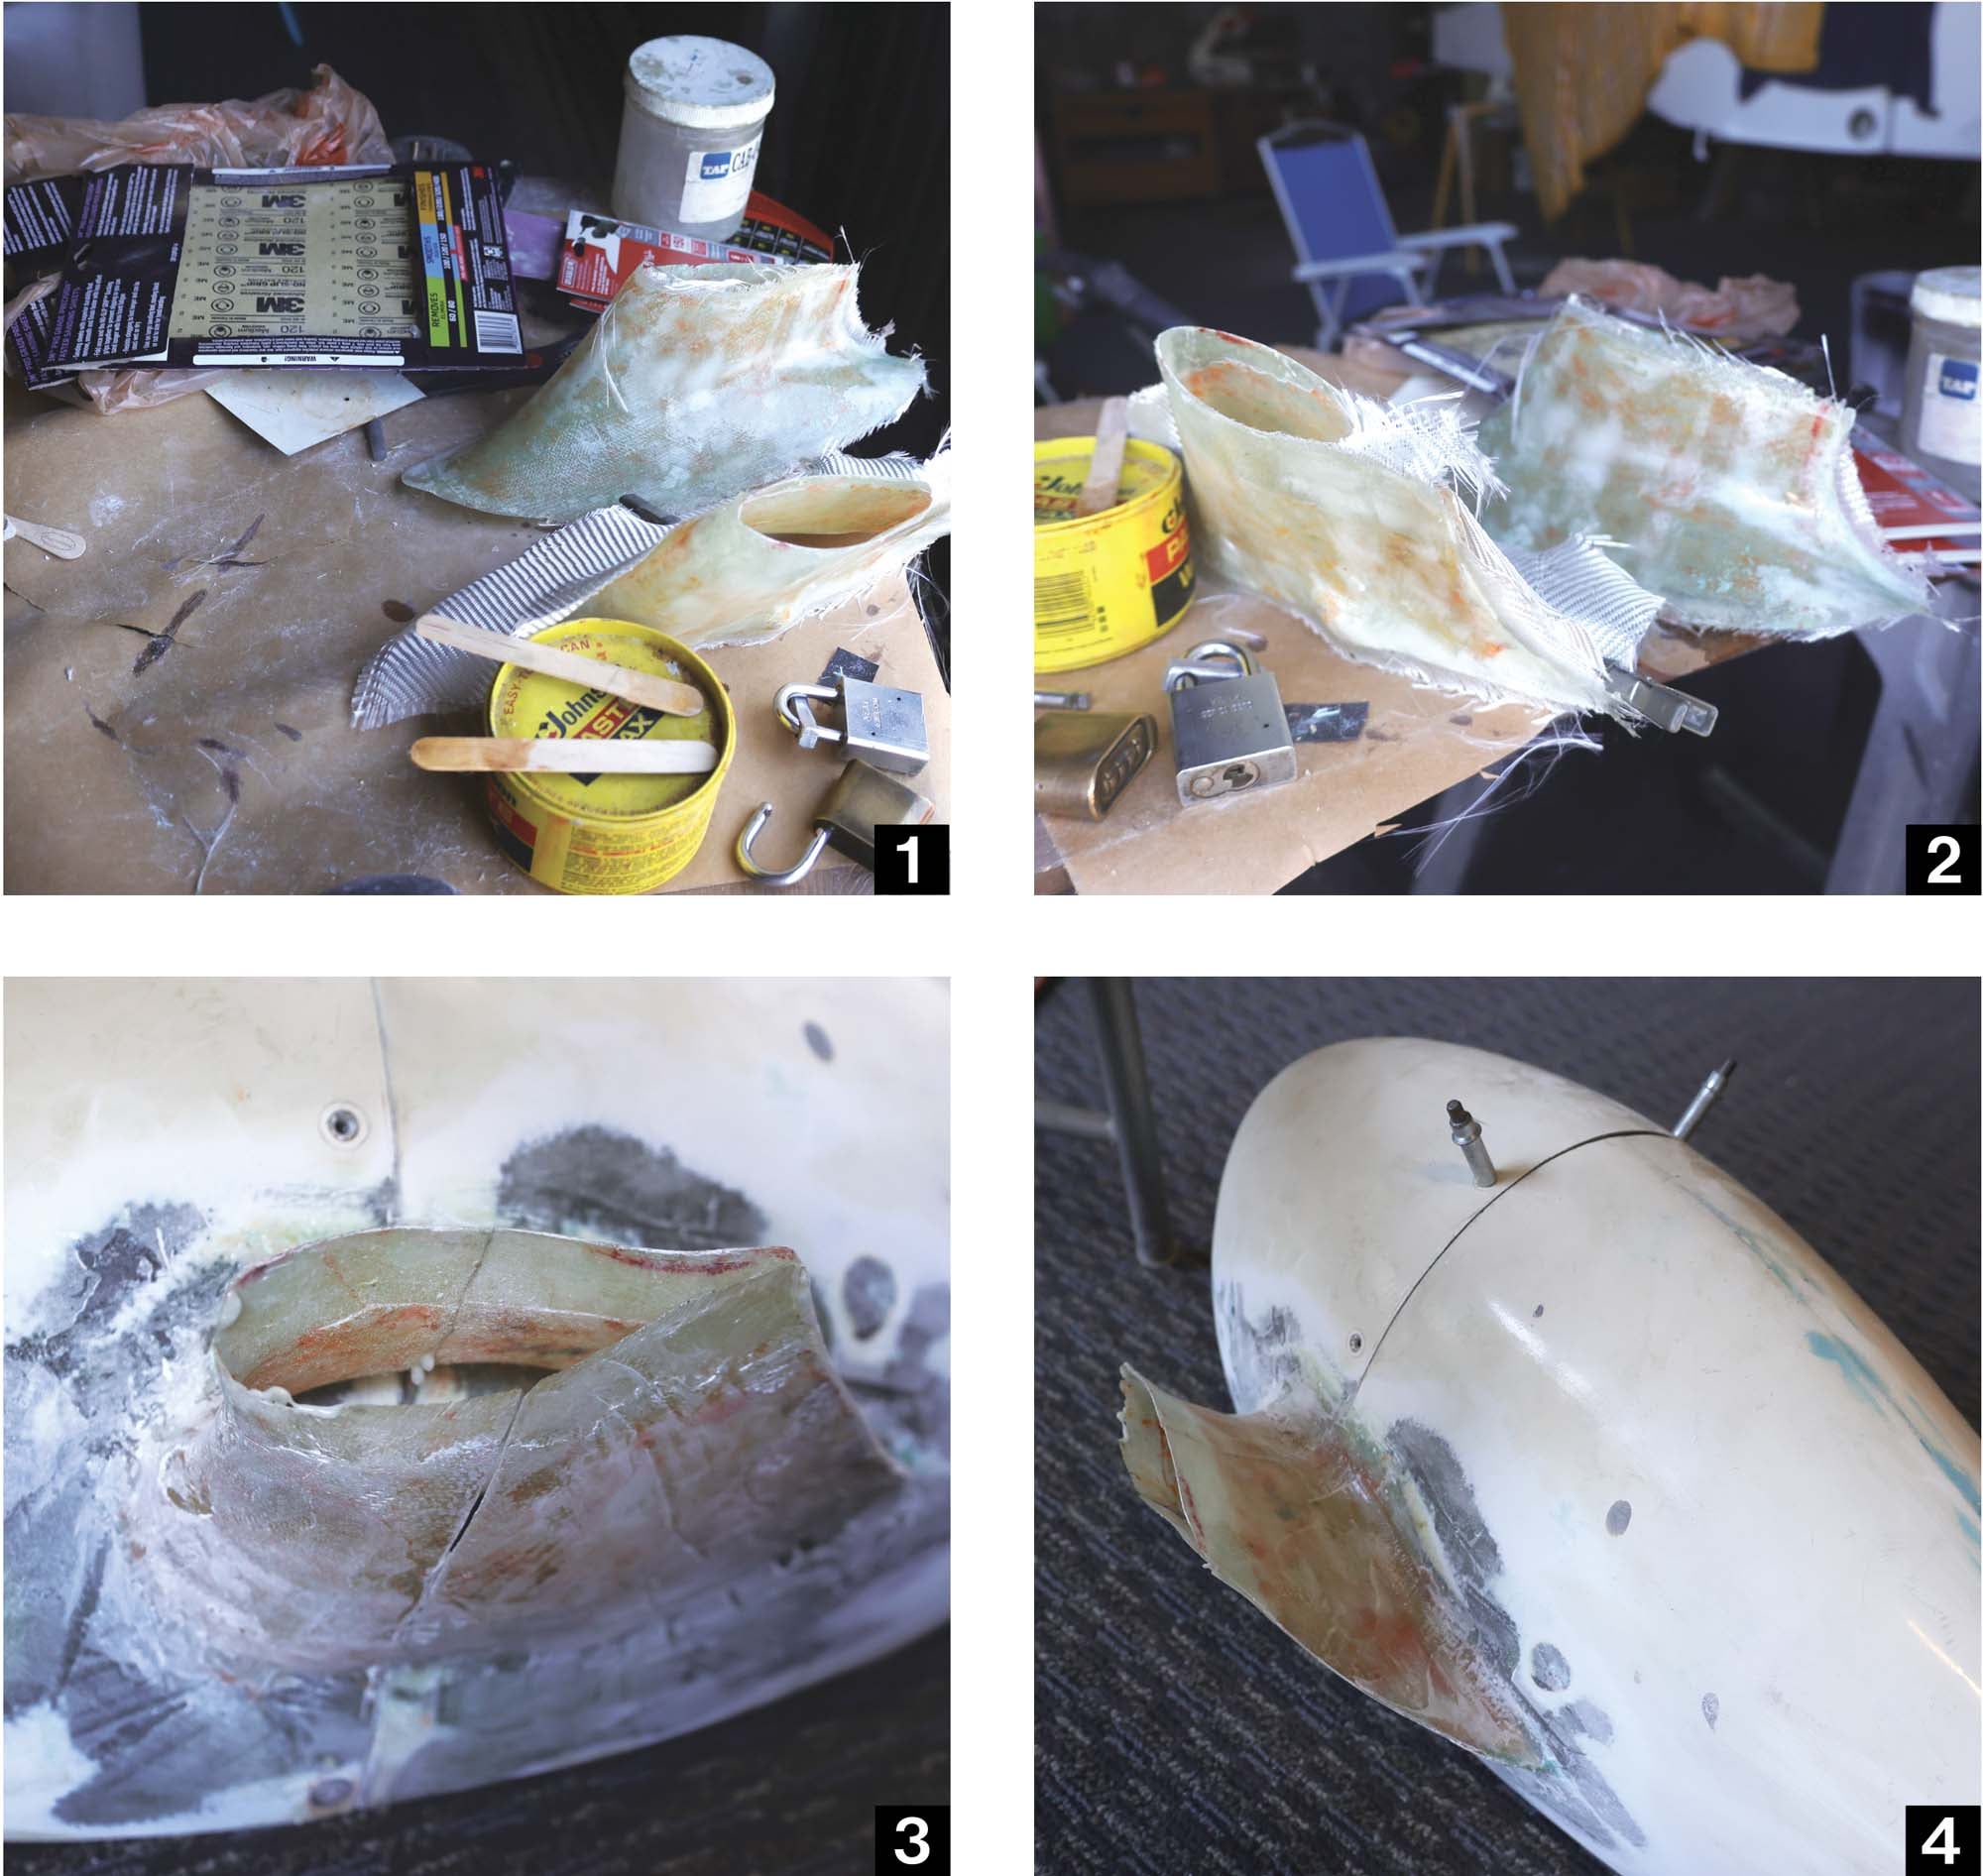
After a week or so of working on the mold and adding epoxy, scraping out modeling clay and making small adjustments as needed, he managed to finish it. He also was able to make some fairings for the gear legs using a similar process. Thank you, Kerry!
One Big To-Do List
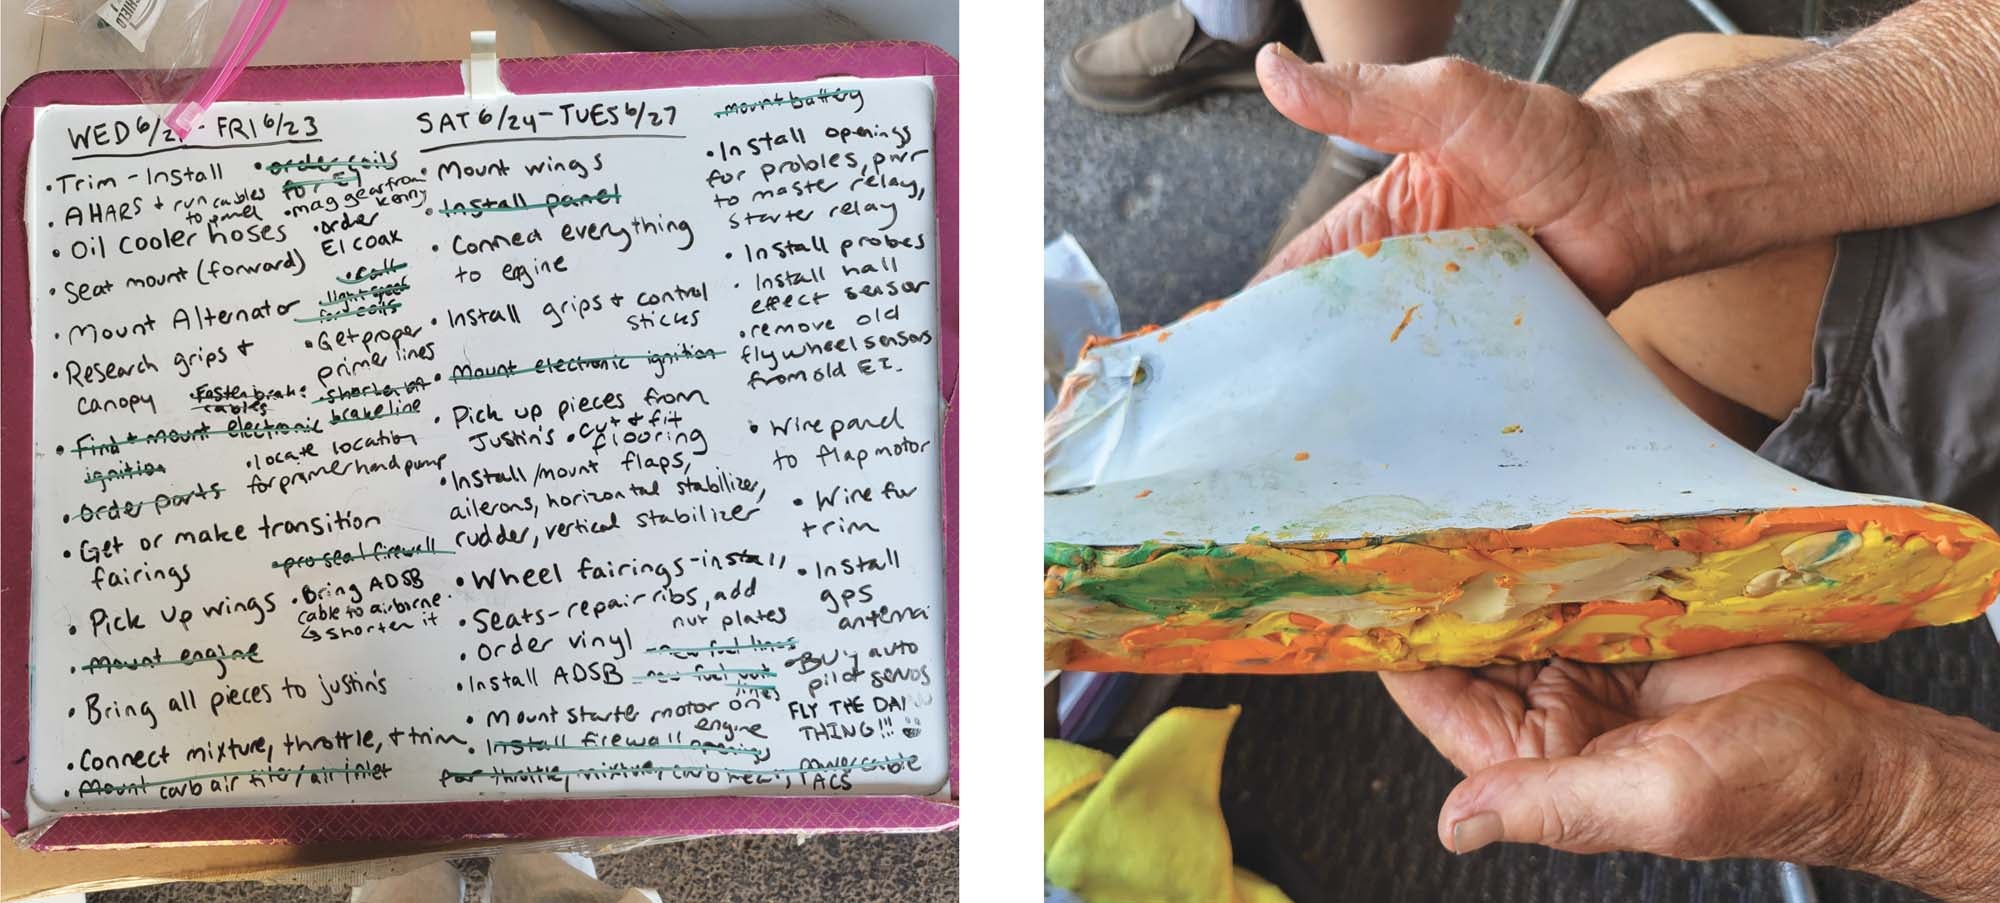
Oftentimes, we would talk about things that needed to be done but then would forget because there’s so many that it’s hard to keep track! This is when my handy-dandy whiteboard came into play. I wrote down everything that we needed to do! This included installing the trim, ordering coils and a coax cable for the electronic ignition, getting a magneto from Kenny Faeth, running cables for the ADAHRS to the panel, installing another seat mount (more forward), making transition fairings, determining a location for the primer, sealing the firewall, shortening the ADS-B cable and connecting everything to the engine. We also needed to mount the alternator, oil cooler hoses, all control surfaces, wheel fairings, starter motor and all probes. And that’s just everything I could fit on one tiny whiteboard!
Miller Time
I love the warm days where the weather is great and everyone is out and about. Hangar 32 was a popular place one particular day, with eight cars parked outside the hangar! Everybody was having “Miller Time’’ while I worked on painting the baffling and the propeller flywheel. I can’t even remember what color it was, but it was ugly and the paint was peeling! We decided that black would look sleek. After taping off the sides, I primed and painted it. Kerry can’t stop working so he was chatting and working on the mold.
Cutting the Floorboards
Stan, Kyle, Tyler and I taped two large white poster board pieces together and started working on measuring a template for the floorboard. This would rest on multiple foam pieces fit between the ribs at the bottom of the floor. After making the paper template, we traced it with a sharpie on an aluminum sheet and started cutting it out with the fancy shears. Zach stopped by and helped me file the sides down so nobody would get cut on the sharp and freshly cut aluminum.
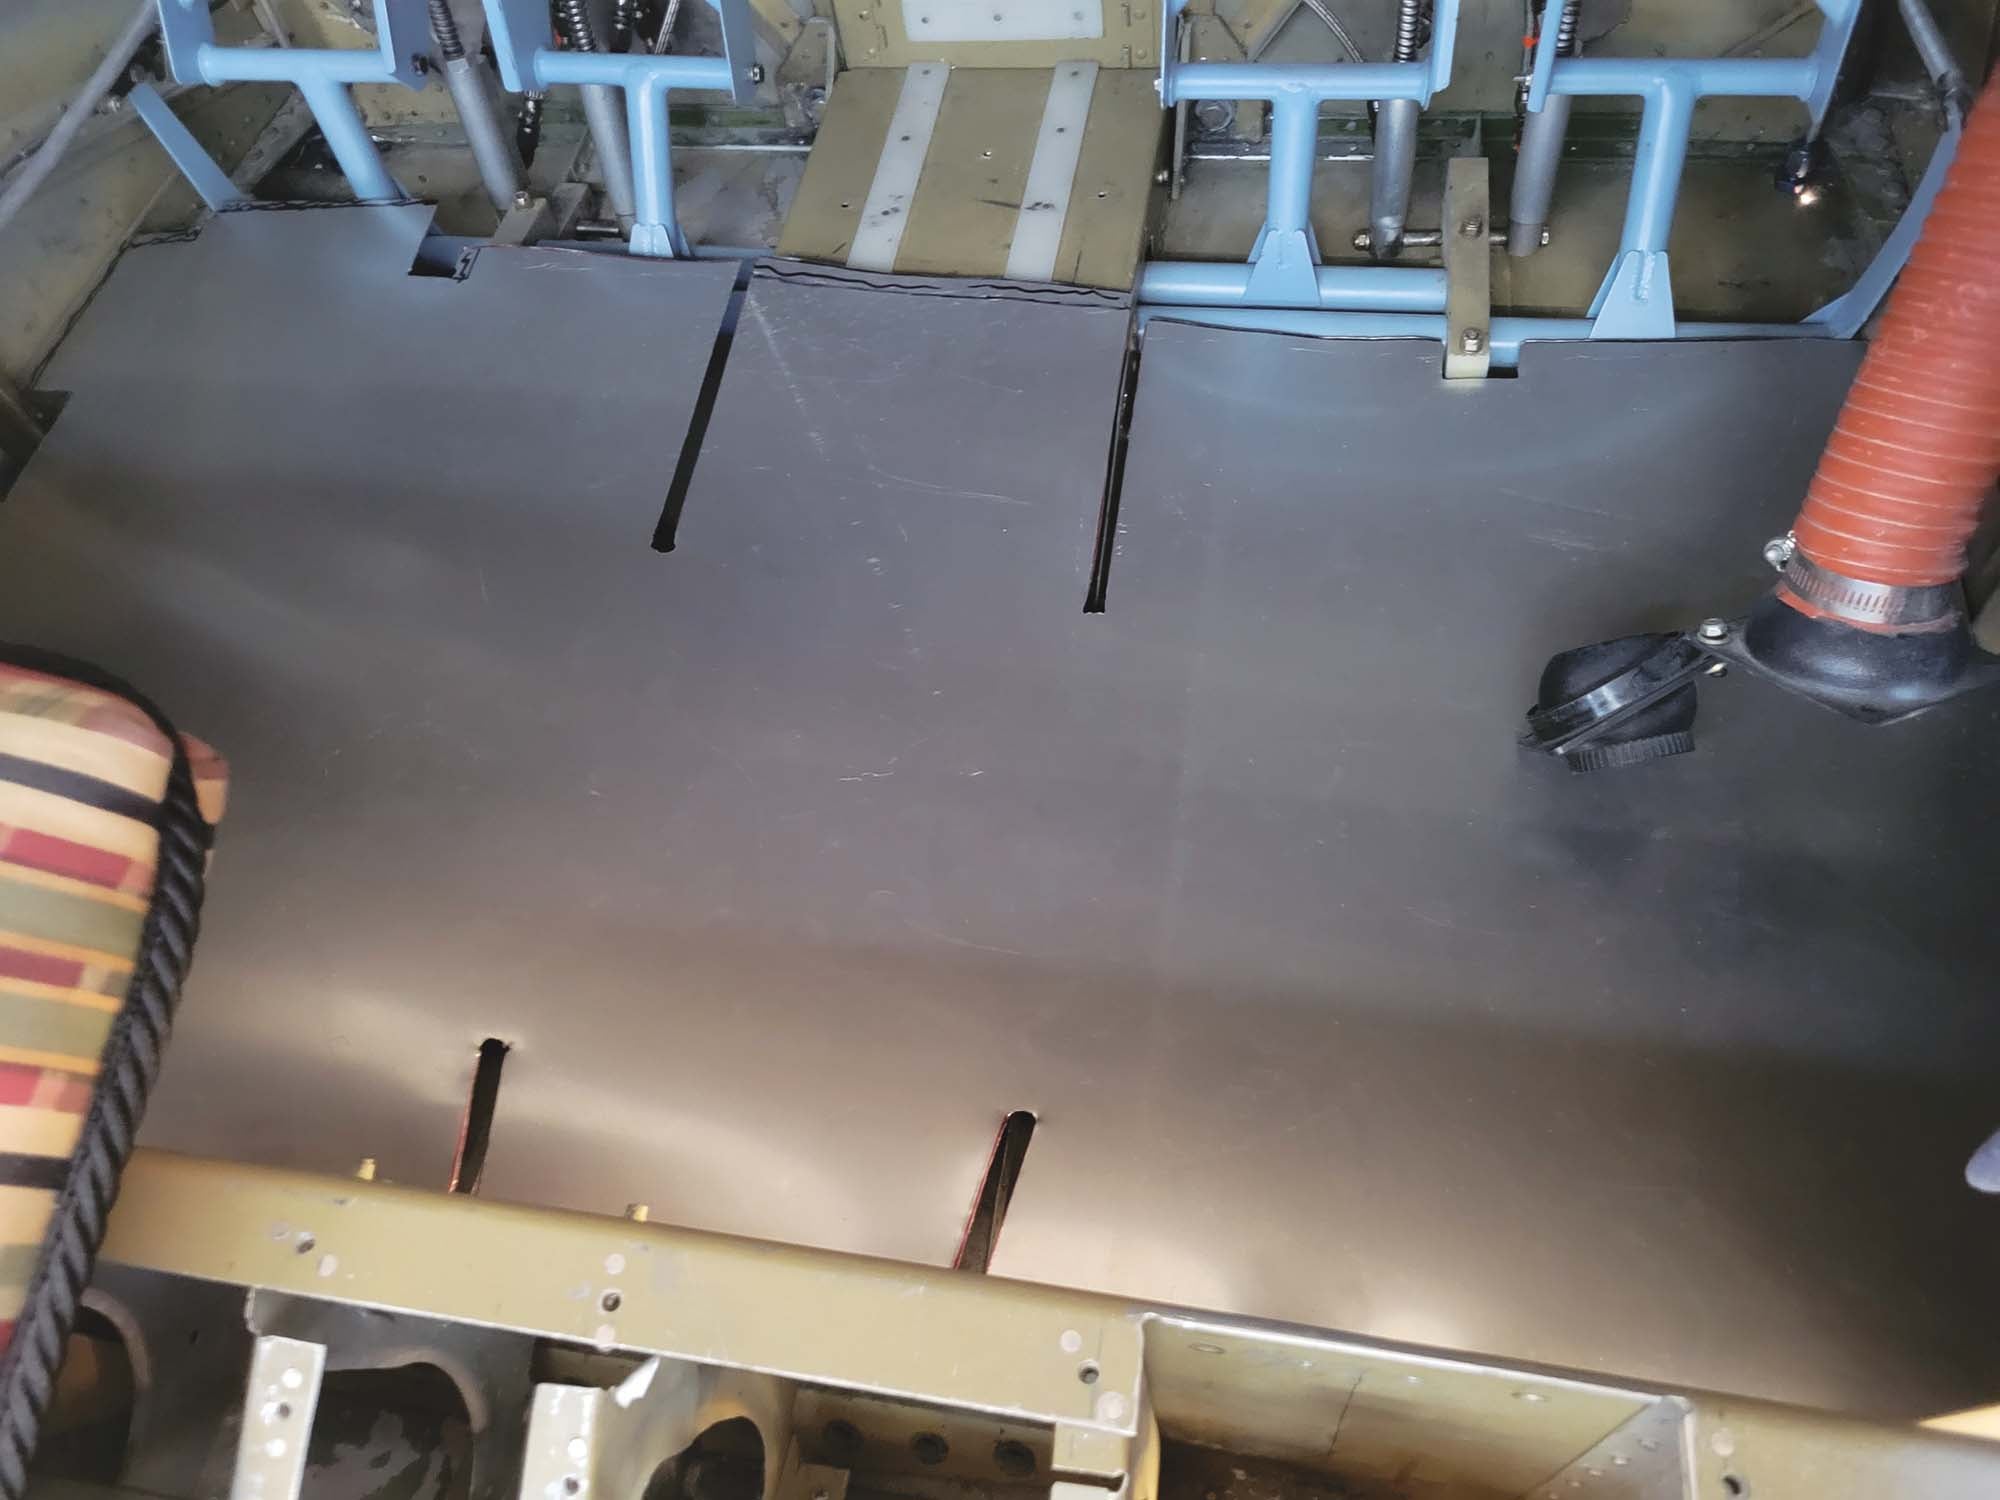
After finishing the floorboard up, it was time to change our focus to the control surfaces. We still needed to pick up the newly painted wings and control surfaces from Justin and his team and then attach them! I was looking forward to N2165U starting to look like an airplane again. It didn’t look like she would be making it to Oshkosh 2023, but at least we had made a lot of progress!


Passionnant !!!