 With the wings and fuselage in the paint shop, the hangar felt quite empty. Stan, Kerry, Hal and I had to find some other projects to do. Fortunately, there were plenty.
During this time, we overhauled the brake cylinders, prepped the gear leg fairings for paint, worked on engine baffling, picked up parts and got a new alternator. After picking up the wings and fuselage, I painted the baggage area. Then, Stan and I installed brake lines and my friend Kyle Rodrigues welded new brakes.
Overhauling Brake Cylinders 101
Stan and I took the entire braking system apart to replace the brake cylinders and add copilot brakes. I want to be able to fly from the right seat and teach tailwheel/transition training in my RV-6, so we needed to add brakes to the right side. In addition, the brake cylinders for the left side weren’t good anymore (one was bent). Stan was on the hunt for four brake cylinders that would be compatible with each other.
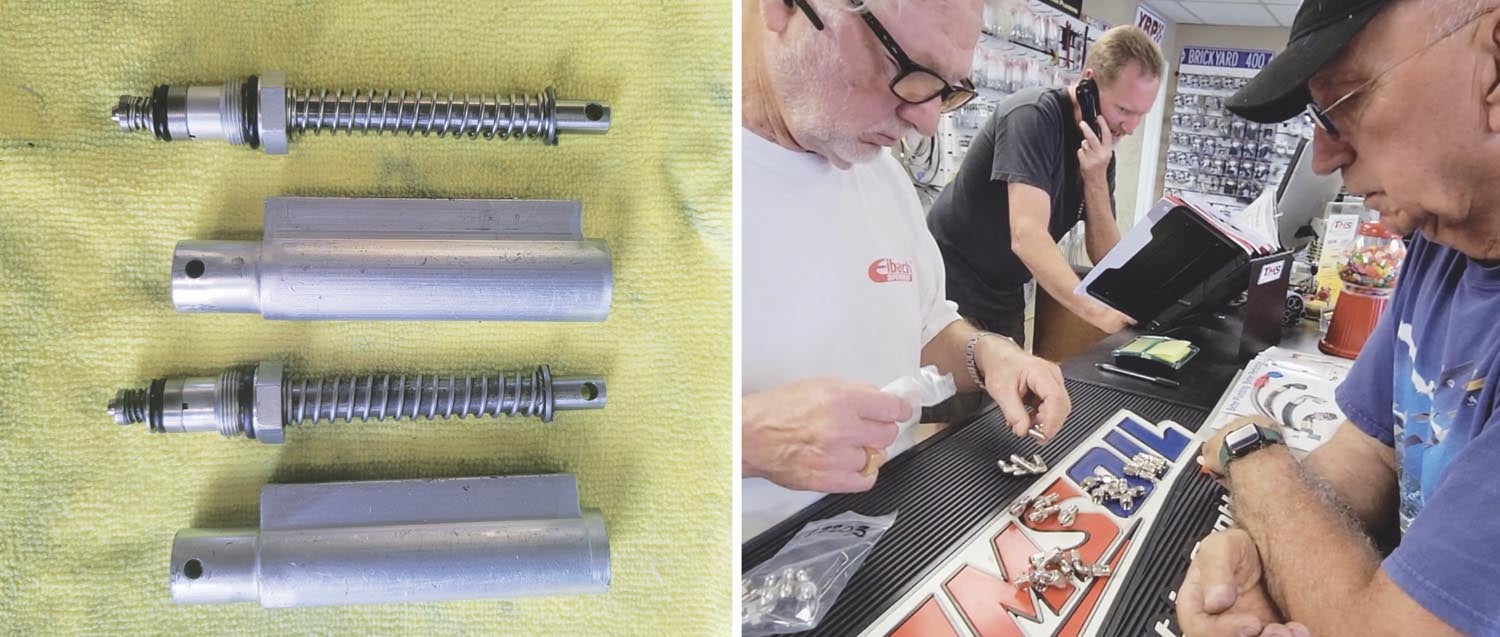
It seems like every week Stan takes a trip to Kenny Faeth, owner of a local aircraft salvage yard east of Sacramento. Having worked there for many years, Stan always knows exactly what to look for and where to find it. It’s much more cost-efficient to find used parts that work well than to always be buying new ones. After sorting through a bin of cylinders, Stan managed to pick up four used cylinders that were still straight (not bent). There was corrosion in some, so we needed to overhaul them.
Part of the overhaul process was replacing all the O-rings—$37 for a tiny packet! We removed the existing rings using a tiny flathead screwdriver, sliding it underneath them and lifting the rings off the cylinder, then washed the parts in some lacquer thinner with a rag to clean them off. Stan showed me how to do it (he’s a pro). I told him, “This is a nice change of pace. Not trying to sand or get the big wings off. This is a good idea, Stan.” Stan replied, “Well, to buy new ones it’s 300 bucks a cylinder.” I was shocked.
Thank the lord for Stanley or I would be spending $300 for each new cylinder and this whole project wouldn’t be nearly as fun. I really enjoyed working on the brake cylinders with him and our teamwork was second to none! We successfully finished cleaning up the old cylinders. Stan emphasized that it’s not that hard to do, just takes a little time and patience.
Prepping the Gear Leg Fairings for Paint
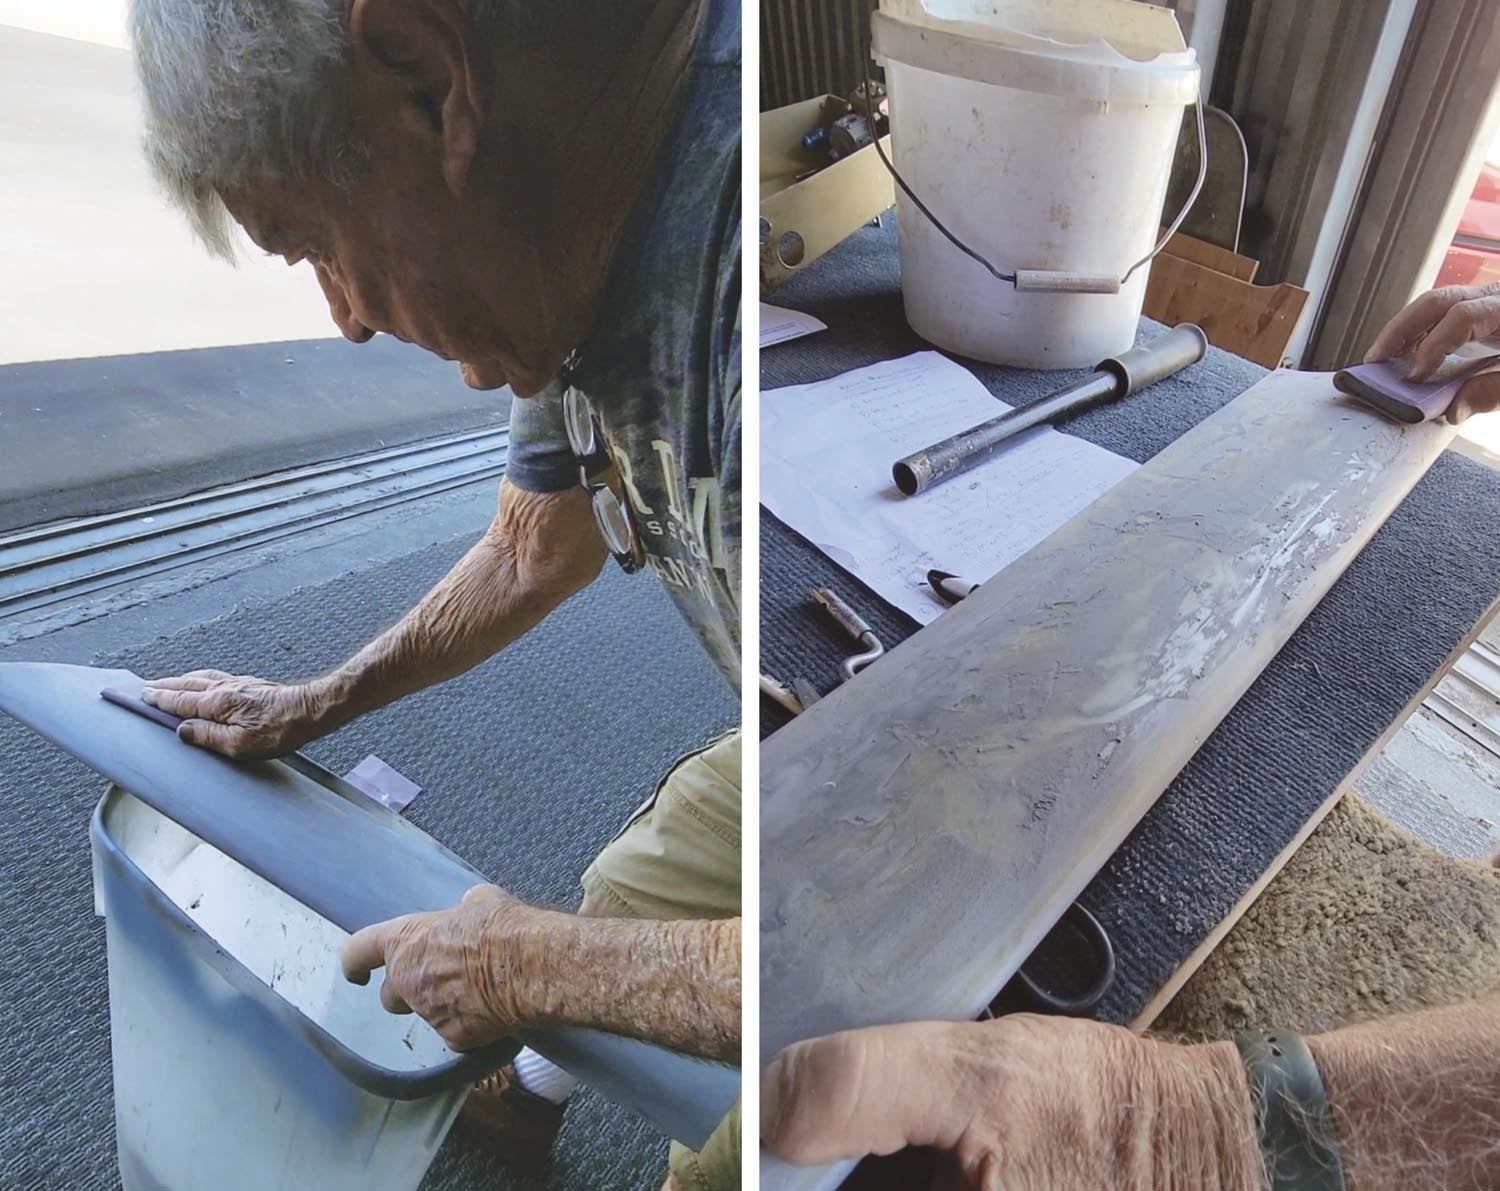
For some reason, N2165U didn’t come with gear-leg fairings. Fortunately, we had new ones and they just needed to be painted. By using a tack cloth, all the dust that would make it difficult for the paint to stick to was removed. Because fiberglass has a porous surface, the holes and irregularities will show through even when primed and painted. Kerry, Stan and I were Googling options for filler when Bruce Walters happened to stop by with some Evercoat 440 Express Micro-Pinhole Eliminator.
Kerry experimented and coated the fairings in Evercoat 440, a strange substance that roughly glopped onto the surface. He used a rag to smooth over the holes. After letting it dry, he sanded it using 320-grit sandpaper. Once it was smooth, he held it up to the sun to see if the light showed through. No light meant no holes. It worked! The body filler made the fairings look extremely smooth. Upon replacing Bruce’s bottle, I came to realize that the tiny thing was $100, which quickly reminded me that the nice things are expensive.

Baffling Is Baffling
With the fuselage and wings away for painting, we had lots of hangar space to work with. It was the perfect time to build the engine baffling. Also, Kerry vacuumed the hangar so it looked clean as a whistle!
Like building any kit, constructing the baffling is a slow, step-by-step process. Skipping through instructions isn’t an option because it’s easy to miss important parts. As someone who had never built baffling before, I found it particularly challenging to visualize the project as it was being built. Stan constantly coached me on how the parts would all fit together. The baffling kit from Van’s comes with blue plastic wrap to protect it during the shipping process. There are a lot of different pieces, so we were careful to label each part with a Sharpie after unwrapping it and setting it aside.
Learning how to put the baffling together reminded me of when I made a toolbox from a kit. It was a small project but involved a lot of cutting, deburring, drilling, riveting and Clecoing. I was careful to debur the edges of the baffling pieces using a 3M abrasive wheel. Part of the process was final drilling all of the holes in the baffling. To make sure everything was properly lined up, we would Cleco pieces together, final drill the holes that were still open and then move the Cleco to another hole. After that, we would final drill the hole that the Cleco was in. It’s just like building the rest of the airplane, only in miniature.
My friend Tyler Pierson stopped by to help. When the pieces were done, we used Scotch-Brite to scuff them up and get them ready for paint. Then, we spray painted them white and they looked beautiful.
A Trip to Kenny Faeth’s
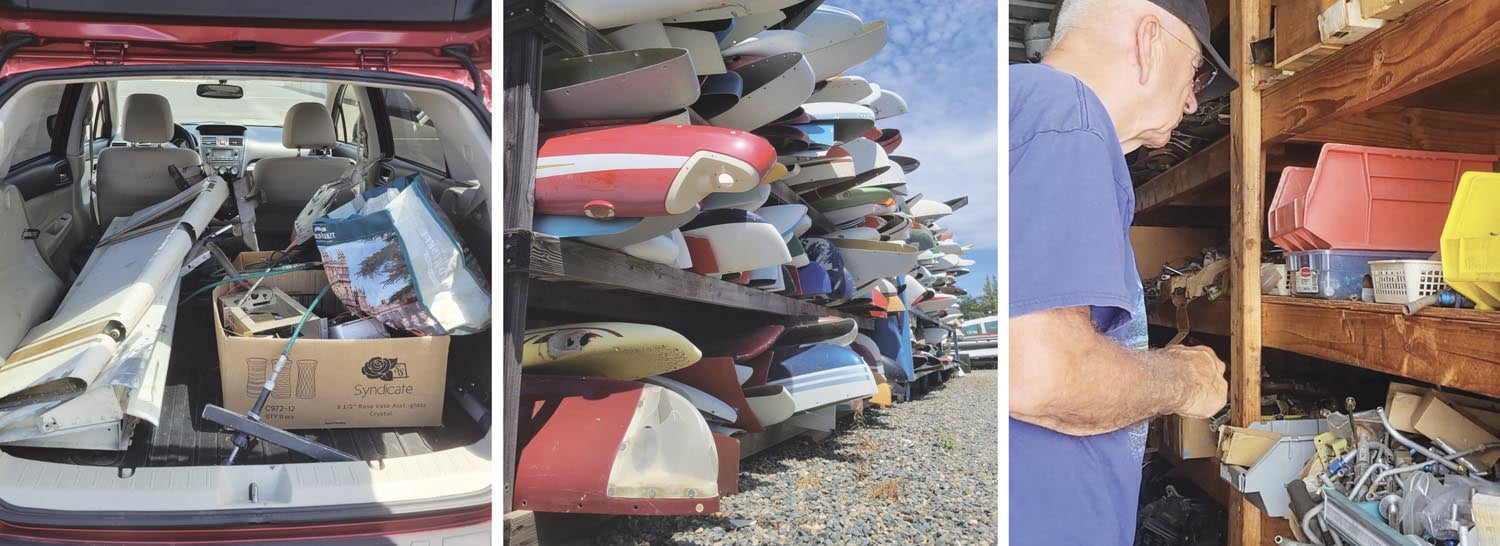
It was time for me to join Stan on a trip to Kenny’s. Throughout the process of my restoration project, we had created a pile of unneeded parts to sell. I sold some on eBay, but most didn’t move. However, we had a plan B: Instead of selling, trade! We went to Kenny’s with the hopes of exchanging the unsold, broken and unwanted parts for things we really needed. The things we brought included a radio tray, various wires, my old flaps and rudder, old motor mounts, the trim cable and handle, my old baffling and a variety of other things.
When we got there, we left those at the front office and Stan and I went on our scavenger hunt. We perused shipping containers upon shipping containers of airplane parts, walking up and down the aisles looking for exactly what we needed. Stan had an idea for how he wanted to redo the fuel lines, so one of the main items we sought were fuel line fittings. For such small metal pieces, fittings were surprisingly expensive, so we were trying to avoid buying them new. After rummaging through a bin of mixed fittings, we managed to find a ton of fuel fittings that were still attached to the tubing. Stan and I made an effort to search for some control sticks and fresh tires, but no luck. However, we scored some wires, a new primer, a bunch of rubber nipples, coax cables, heavy-duty cables for the starter and an alternator pulley!
When we got back to the hangar, we sawed the fuel fittings off old tubing and saved the good pieces to attach to the new tubing. To remove them, you must feel where the tubing gets loose, then put the tube in the vise and saw it without bending it at all. From there, the old fittings slide right off the end!
Getting a New Alternator
Shortly after our adventure to Kenny’s, Stan and I stopped by American Starters and Alternators on Franklin Blvd. It was just a garage-style shop with a ton of alternators. Everywhere. We needed to get a new one because the arm to hold the one I had was too long and was rubbing against the fiberglass cowling. Once we found one that was a good size, we needed the shop to inspect it to make sure it was working.
Kyle with his amazing welding skills managed to create a shorter alternator arm for us. It fit well with the new alternator, so all we needed to do was find an alternator belt to fit! Hooray!
A Fuselage on the Freeway
With the goal to get this done by July for Oshkosh 2023, Hangar 32 had become a 12-hour workshop. (Spoiler: I didn’t make it to AirVenture last year…) If I wasn’t there working on my plane, then you can bet that Kerry or Stan was. The big thing we had to wait on now was the paint. Our friend Justin Frei owns a company called Ultimate Collision Center. He and his team pushed super hard to get the paint done for all of the parts. His main guy, Gabriel Lopez, organized the team and got the parts done.
With the tools we had at our disposal, we did as much as we possibly could with the sanding and preparation for the paint. Fortunately, Justin’s team is full of the pros and they were able to improve our sanding job and then some. They used the primer that I bought and then painted in their super-special painting room.
The paint turned out flawless. All of a sudden, my plane looked brand new! She’s pearly white now!
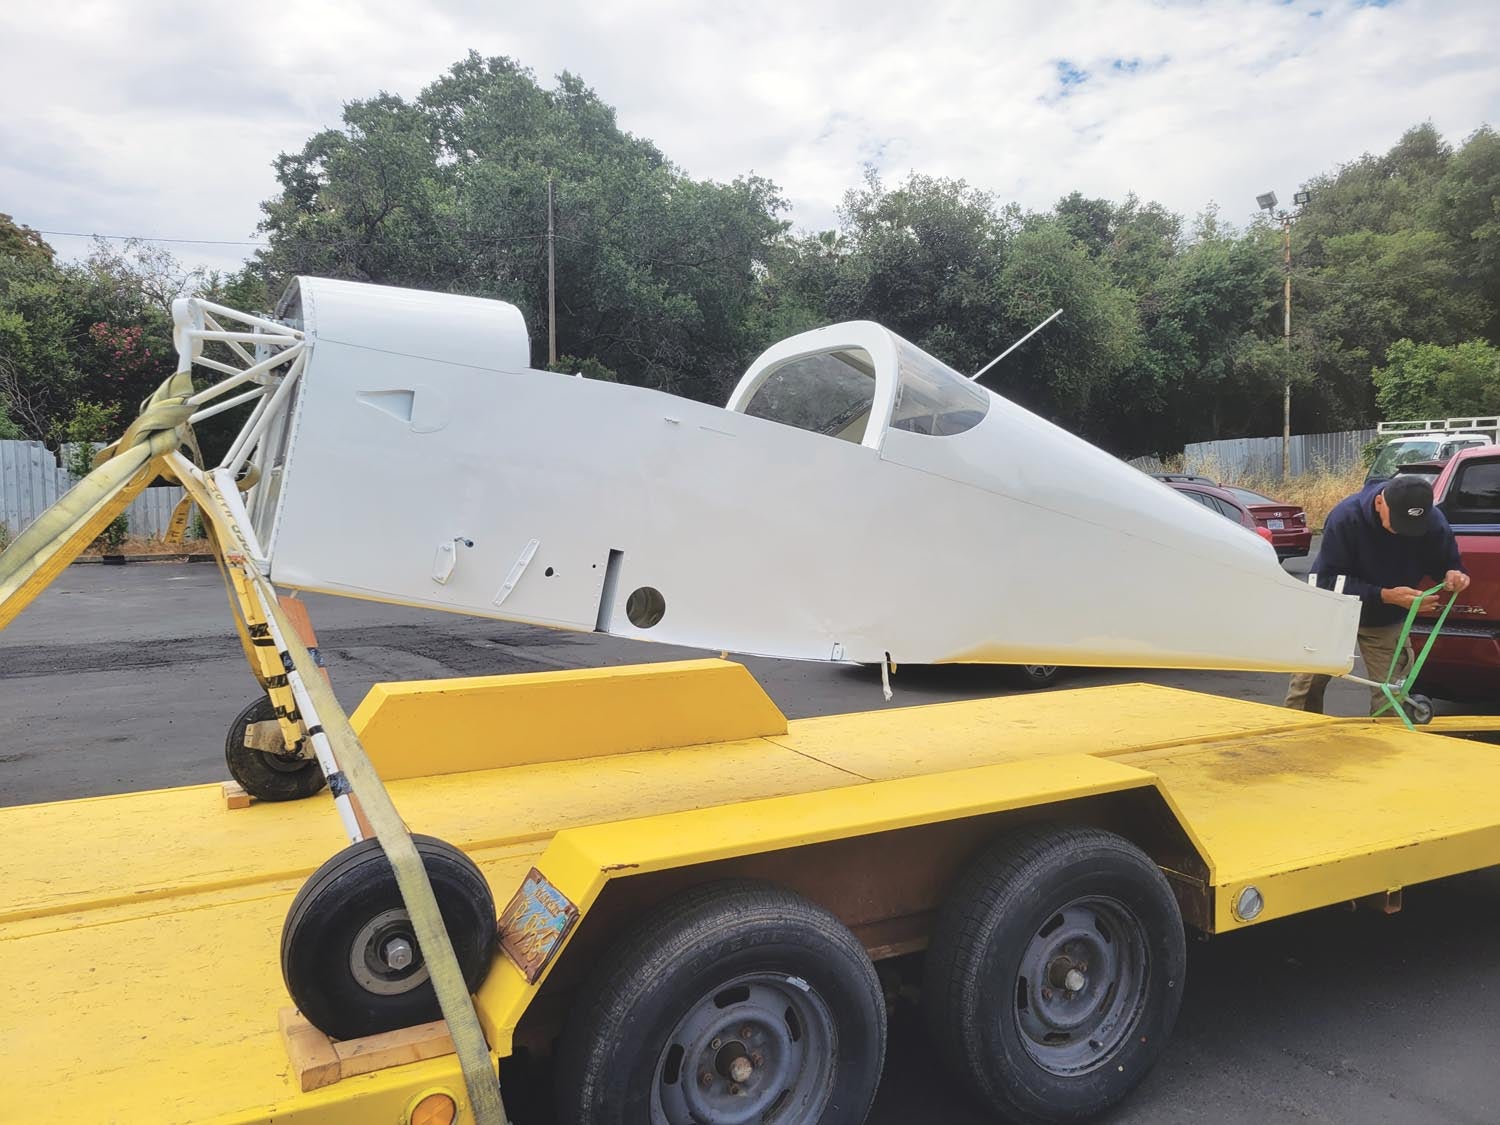
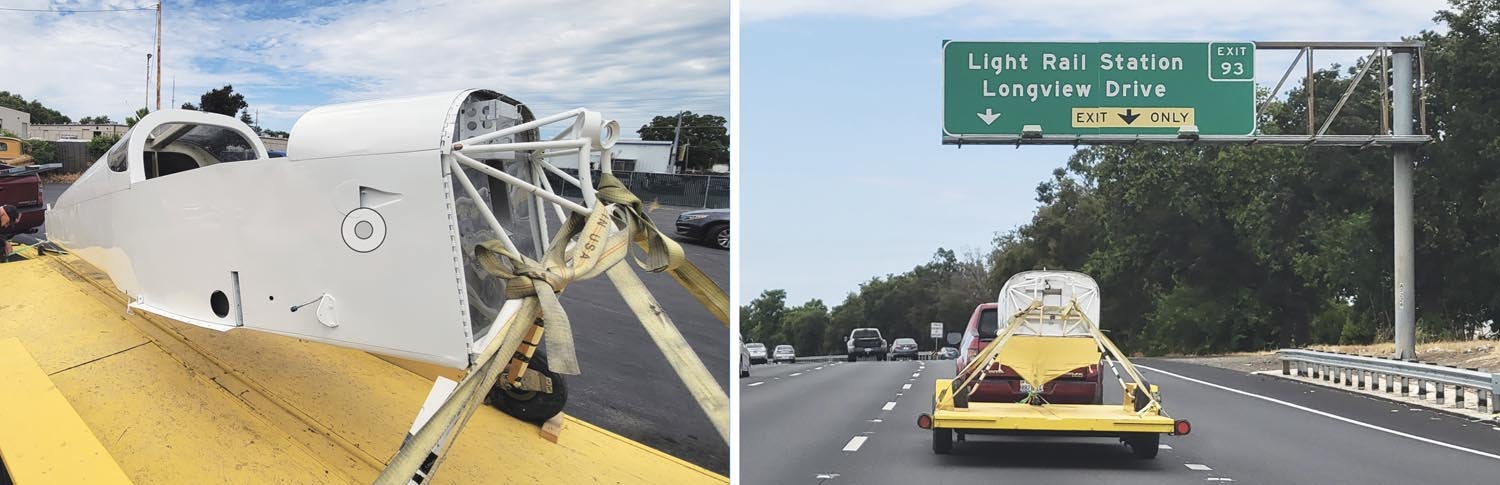
A few weeks later, Stan, Gabe and I loaded the fuselage onto the trailer, tied it down with what seemed like a million ratchet straps and pulled her home on the freeway. I followed in my car to create some space in traffic and ensure it was secure all the way home. A fuselage on the freeway? What a sight.
We went back and picked up the wings shortly after, which also looked incredible. They painted everything from the screws to the fuel caps. We carefully unloaded them into the hangar and tucked them under blankets. A huge shoutout to Justin Frei, Gabe Lopez and the rest of the team. Sincerely, thank you so, so much.
Painting the Baggage Area
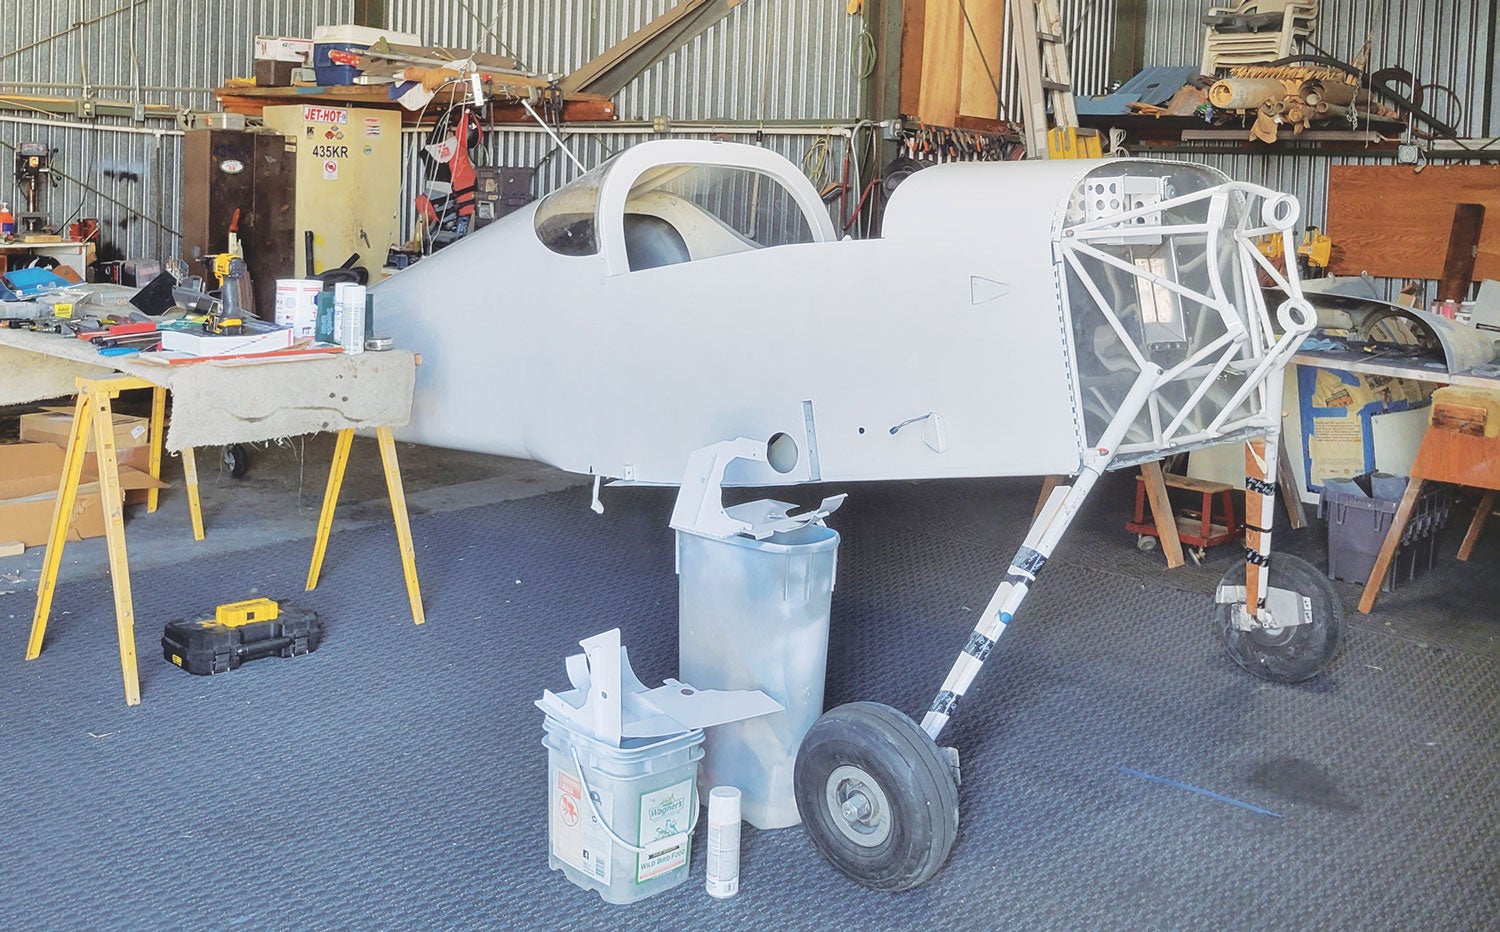
Before we took the fuselage and wings to Justin’s, my job was to paint the inside of the plane because I was the smallest and most nimble in my group of friends. Unfortunately, I didn’t get a chance to do it before, so I put on my face mask and blue coveralls when the parts came back and got to work!
We covered the entire inside of the canopy with reused brown packing paper and blue tape, then sanded all the surfaces in the back. In the RV-6, there are multiple inspection plates that line the walls. We had to paint these individually, so I unscrewed them, and Tyler came back to help me sand and prime them.
Kerry had found a nice blue spray paint color that nearly matched my panel. I sprayed the interior, trying to paint just enough to cover the surface but not too much more than that. I quickly learned that patience was the name of the game. When I got excited and sprayed too much too fast, there were runs. We also had to be careful of overspray onto the new white exterior.
By the time we finished, my hair, fingers and nose were blue. Somehow, the paint snuck under the mask and got under my nostrils—it was quite the look. The next day I took off the tape slowly to see how the blue paint turned out. It turned out lovely!
Installing Brake Lines
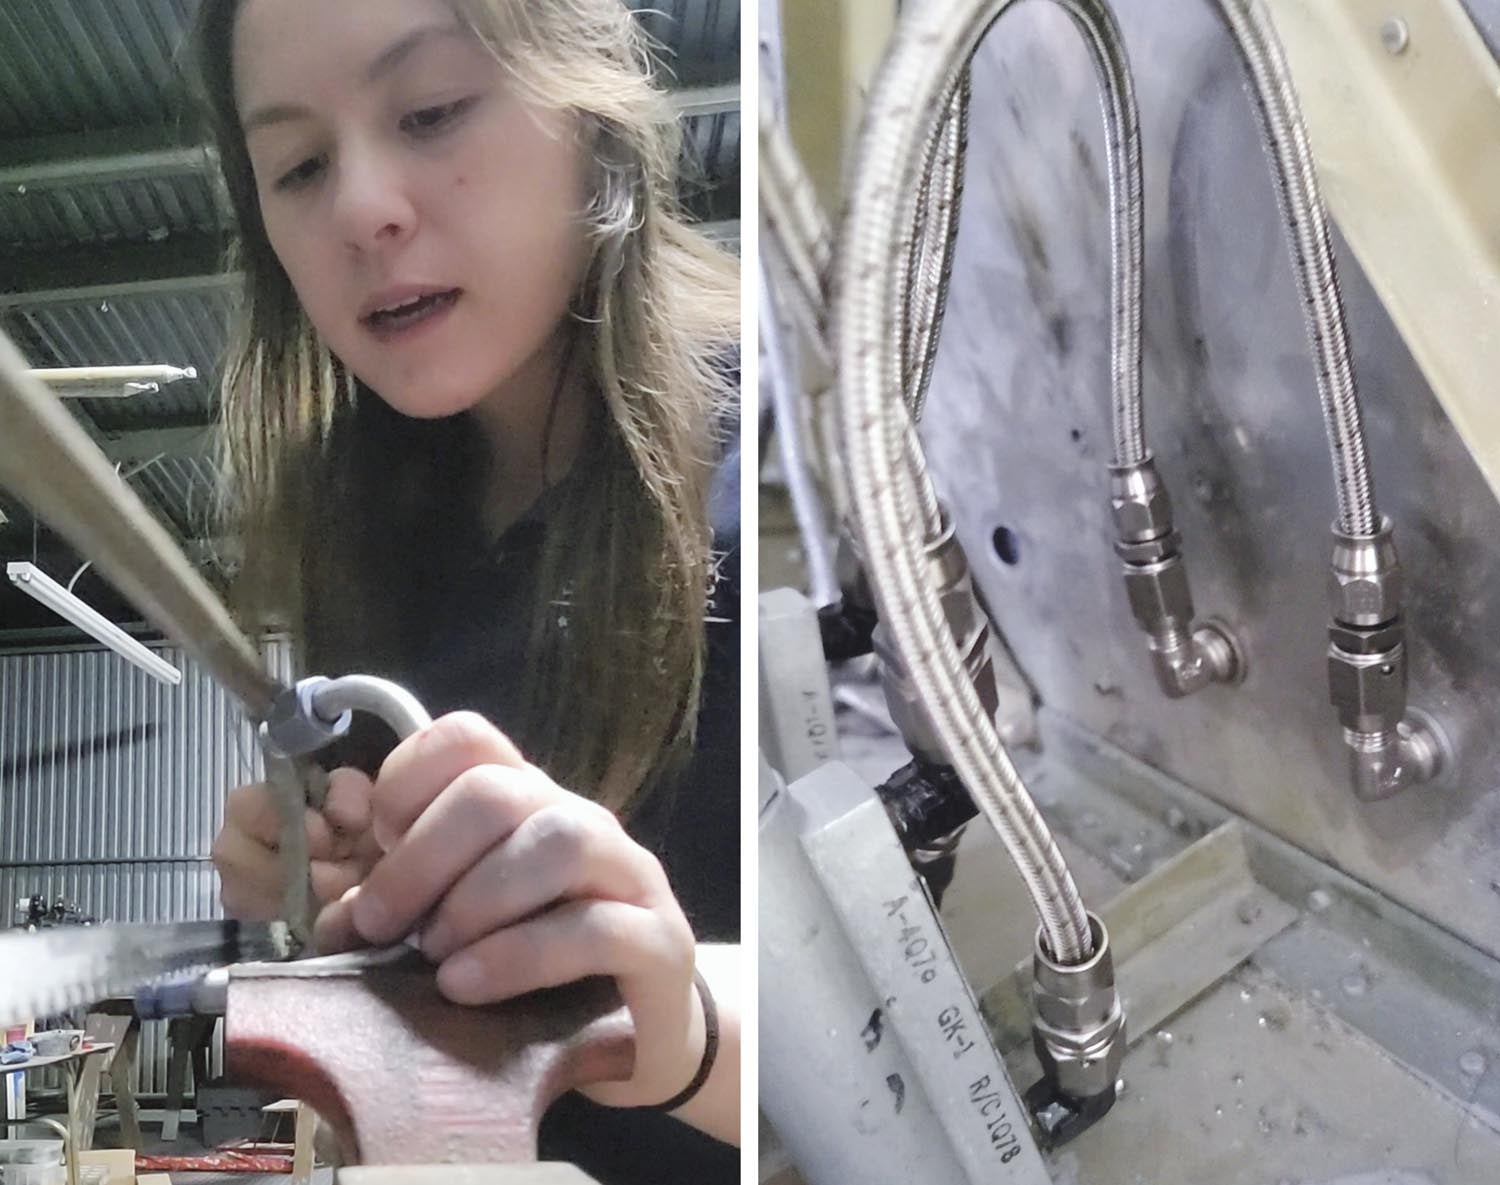
Next, Stan and I took a trip to Teegarden Motorsports Specialties (TMS) to purchase fittings and an all-new stainless steel braided line to make the brake lines. He connected the right pedals to the left pedals so that I would have brakes on the right side. Stan says this brake line is what he did on his RV-14 and it’s “first class.” He showed me how to make up the brake hoses. First, we sawed the stainless steel line with tape around the end so it did not fray. Then, we squared the end with the grinder and took the tape off.
After, we attached the fittings, which included B-nuts, olives (barrel-shaped inserts) and a 90° fitting. He put the B-nuts on the hose, then spread out the stainless steel wiring around the hose using a flathead screwdriver. There’s a tool that does it, but it’s about $80, so we did it Stan’s way. After spreading the wire, we set the olive in the plastic hose and pushed it in, then checked to see if it was secure, or “seeded.” From there, we slid the nut over the olive and threaded the fitting on. After a few turns by hand, we added some oil to it and put the entire brake line in the vise, using a 7/16-inch wrench to tighten it. The hose turns with the nut until everything is secure.
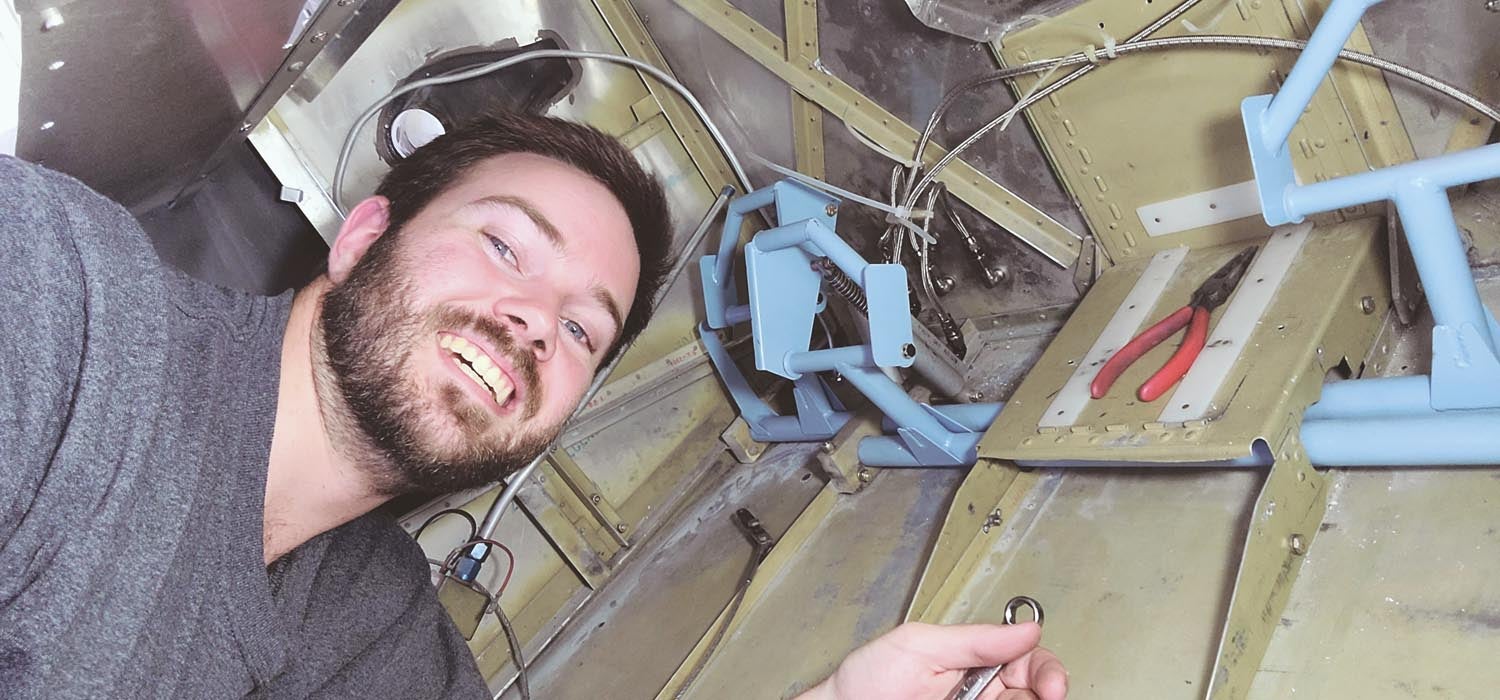
After installing the hoses, we moved the pedals back and forth to see where they were chafing. When they rub up against each other they wear out. My boyfriend, Zach, stopped by and helped me fasten them with zip ties. We separated the brake lines with plastic tubing in between the zip ties. Brake lines? Check!
Custom Brakes From Kyle Rodrigues
My RV-6 has the old version of pedals secured to the floor. Unfortunately, because they are old it’s quite difficult to find brakes for these anymore. Fortunately, my super-smart engineer friend, Kyle Rodrigues, was very kind and welded some custom brakes for me. He did a fantastic job.
Kyle offered to write about his process. Here is his story!
“To make a new set of pedals for the copilot side, I started by taking the pilot-side pedals and sandblasting them to remove the 30+ year old paint and get down to bare metal. From there, it was time to break out my trusty calipers and start taking measurements, which led to a rough hand sketch of the pedal with dimensions on it. That sketch was used to create a Solidworks model of the pedal, which allowed for all of the angles and measurements to line up perfectly, and also let me create the flat patterns for the sheet metal sides.
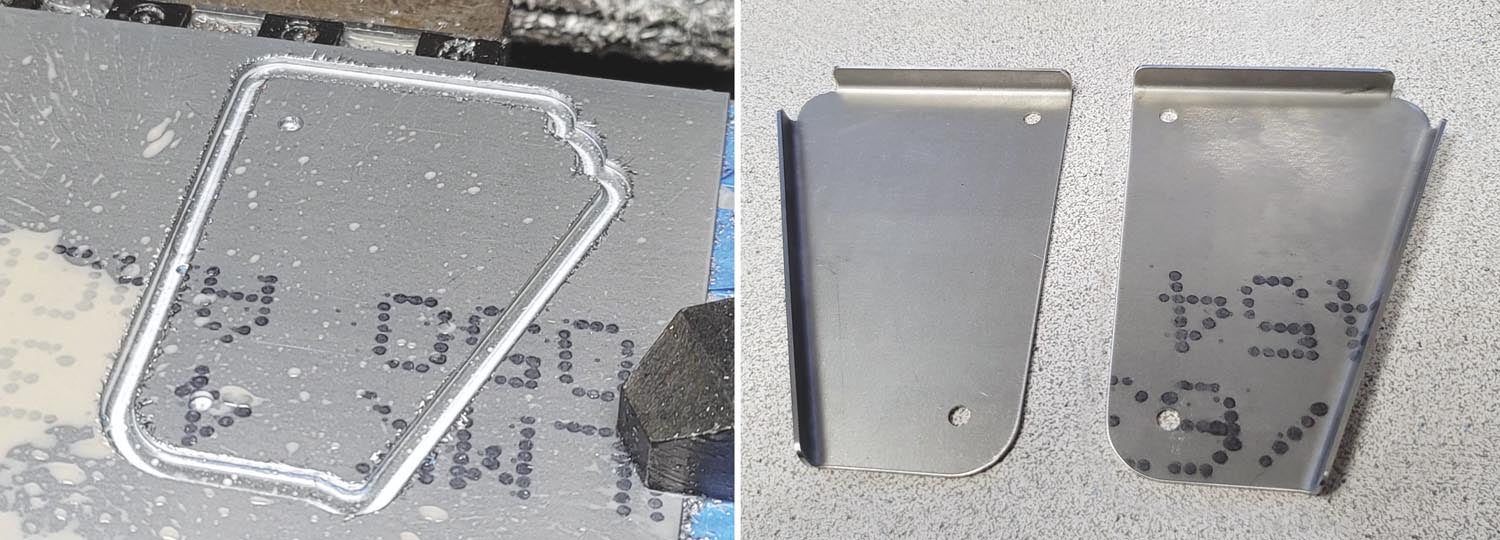
“Once the CAD model was complete, I ordered chrome-moly tubing and sheet material. To get a tight tolerance for the sheet metal parts, I cut them on my CNC milling machine, ensuring that the parts matched the CAD model within a few thousandths of an inch. The side plates (which have stiffening bends) were then bent in a small manual press brake to match the originals.
“To fixture the parts for welding, I put a piece of aluminum bar in my lathe and cut it down to a length matching the inside-to-inside dimension of the original pedal. Then, the ends were drilled and tapped to take a 10-32 bolt. This allowed me to bolt the two side plates to the ends of this jig, ensuring that the plates were parallel and the correct distance apart.
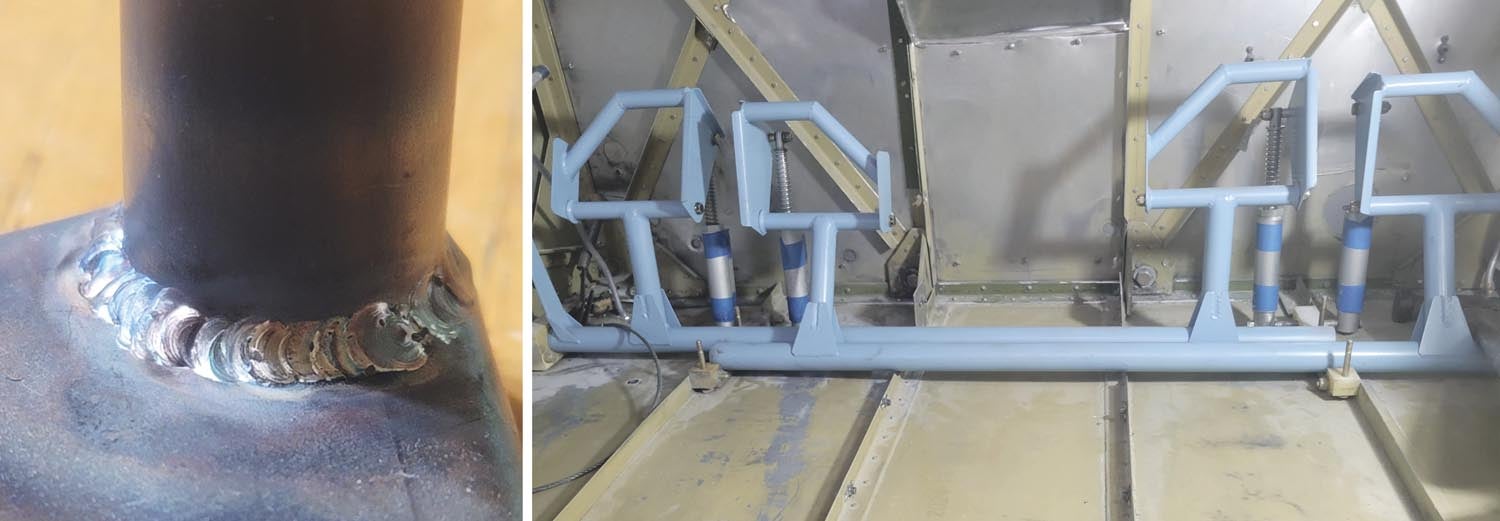
“From there, the tubing was marked and cut to the correct length and angles using a band saw before being tacked in place to the side plates. Once tacked, I made sure everything was aligned and looked good before fully welding the pieces together using a TIG welder. Because I got so preoccupied with welding, I forgot to take pictures of the process. While making the pedals, I also sandblasted, inspected and applied the gussets to strengthen the floor-mounted pedal tubes per Van’s service bulletin SB 98-03-1, since it was never applied to this airplane. After the parts had cooled down, I prepared them for painting and delivered them to the airport for Tenley to paint and install.”
Thank you so much for your work with my pedals and brakes, Kyle! By the way, Kyle is building a Piper Cub and you can see more on Instagram: @N916KR. Next up, reassembling after paint and a thousand other things.
Photos: Tenley Ong and Kyle Rodrigues.


")
