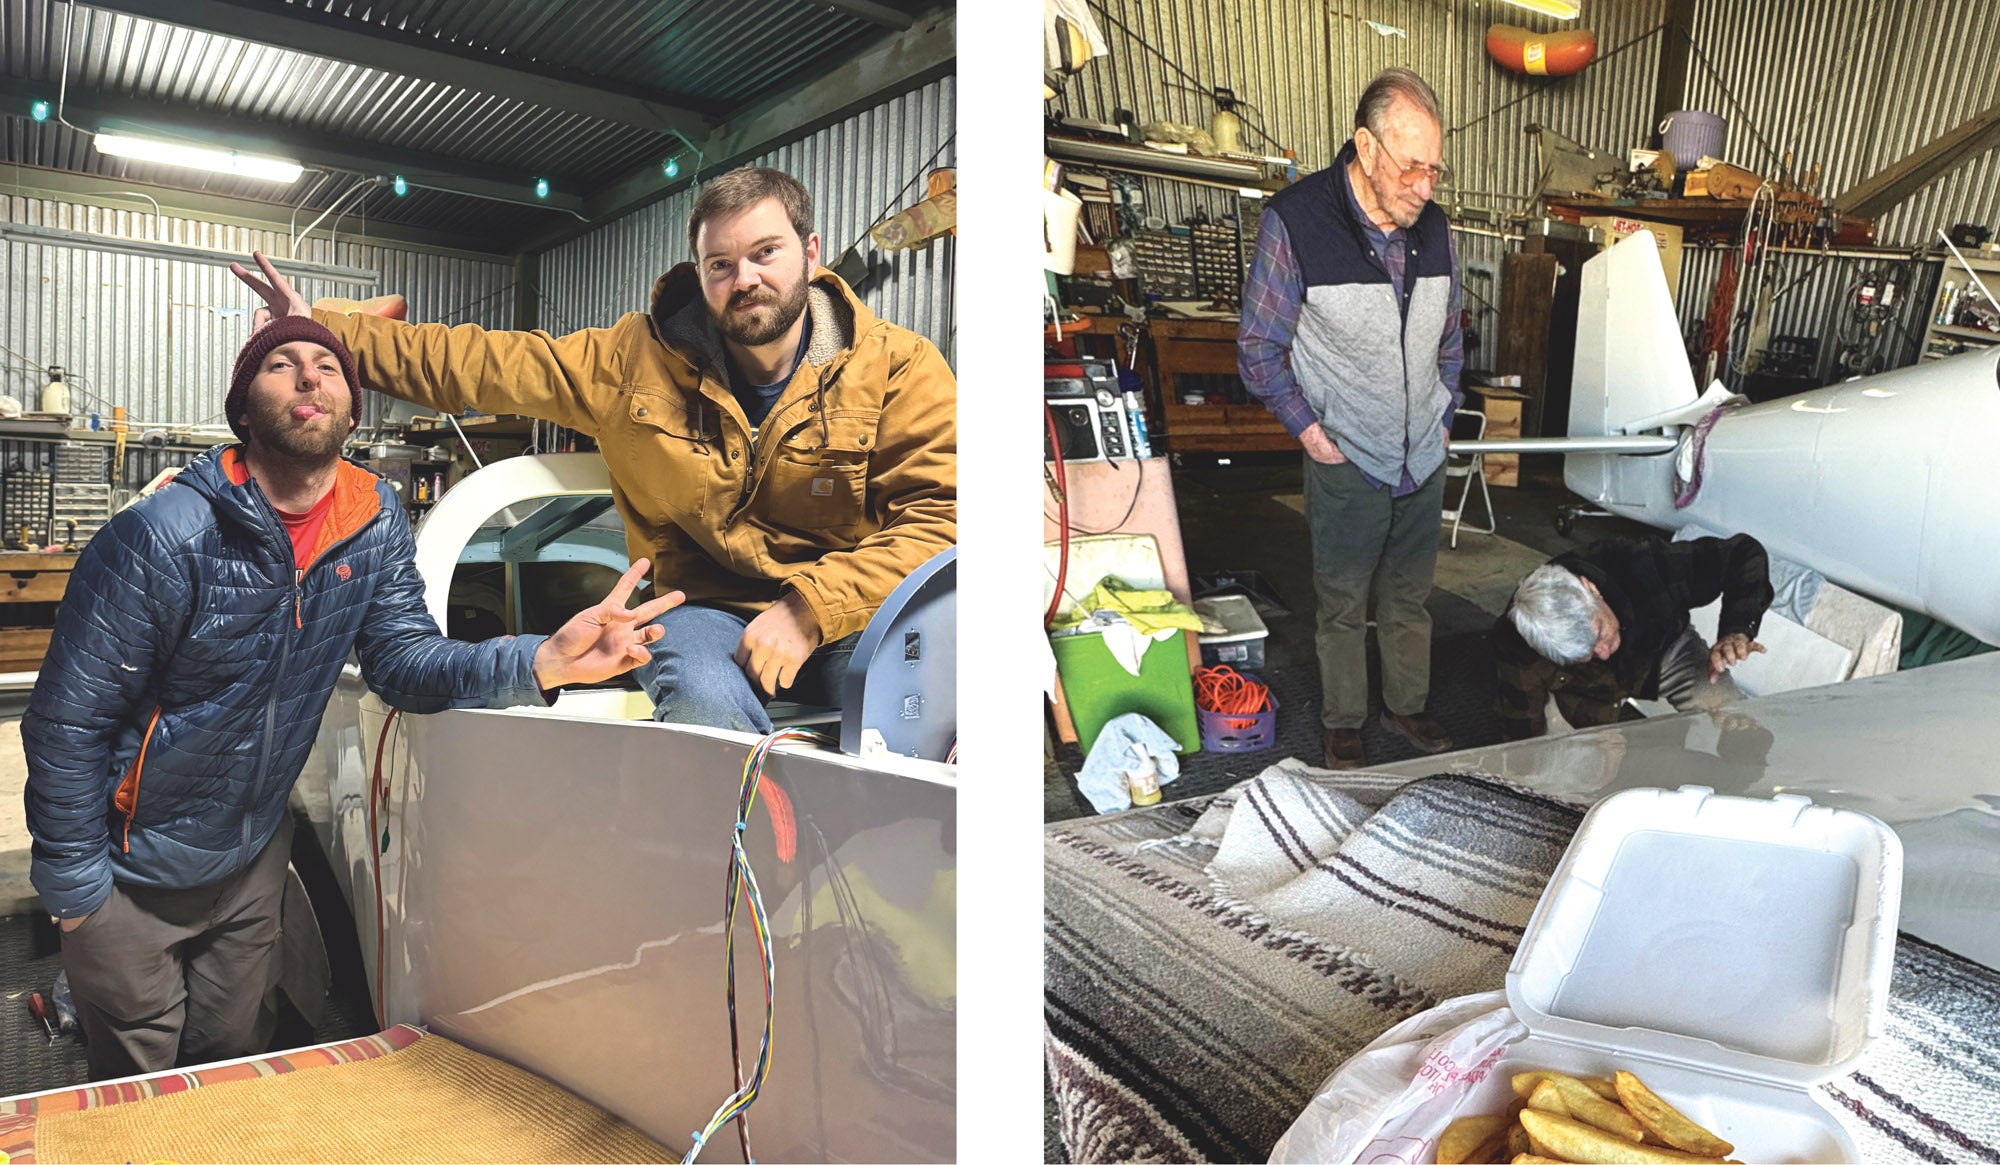
Last month, Hangar 32 had a special visitor. After not seeing him in person in over 20 years, my guest was Mehrdad Mehranpour (or “Amoojan” as I used to call him), who is an RV-7 and two-time RV-14 builder and, small world, a very old friend of my mom’s.
After recently catching up over dinner, my parents got to talking about airplanes and they filled him in on what I was doing—flight instructing, flying an RV-14 and rebuilding an RV-6. He offered to come look at my RV to provide some expert advice.
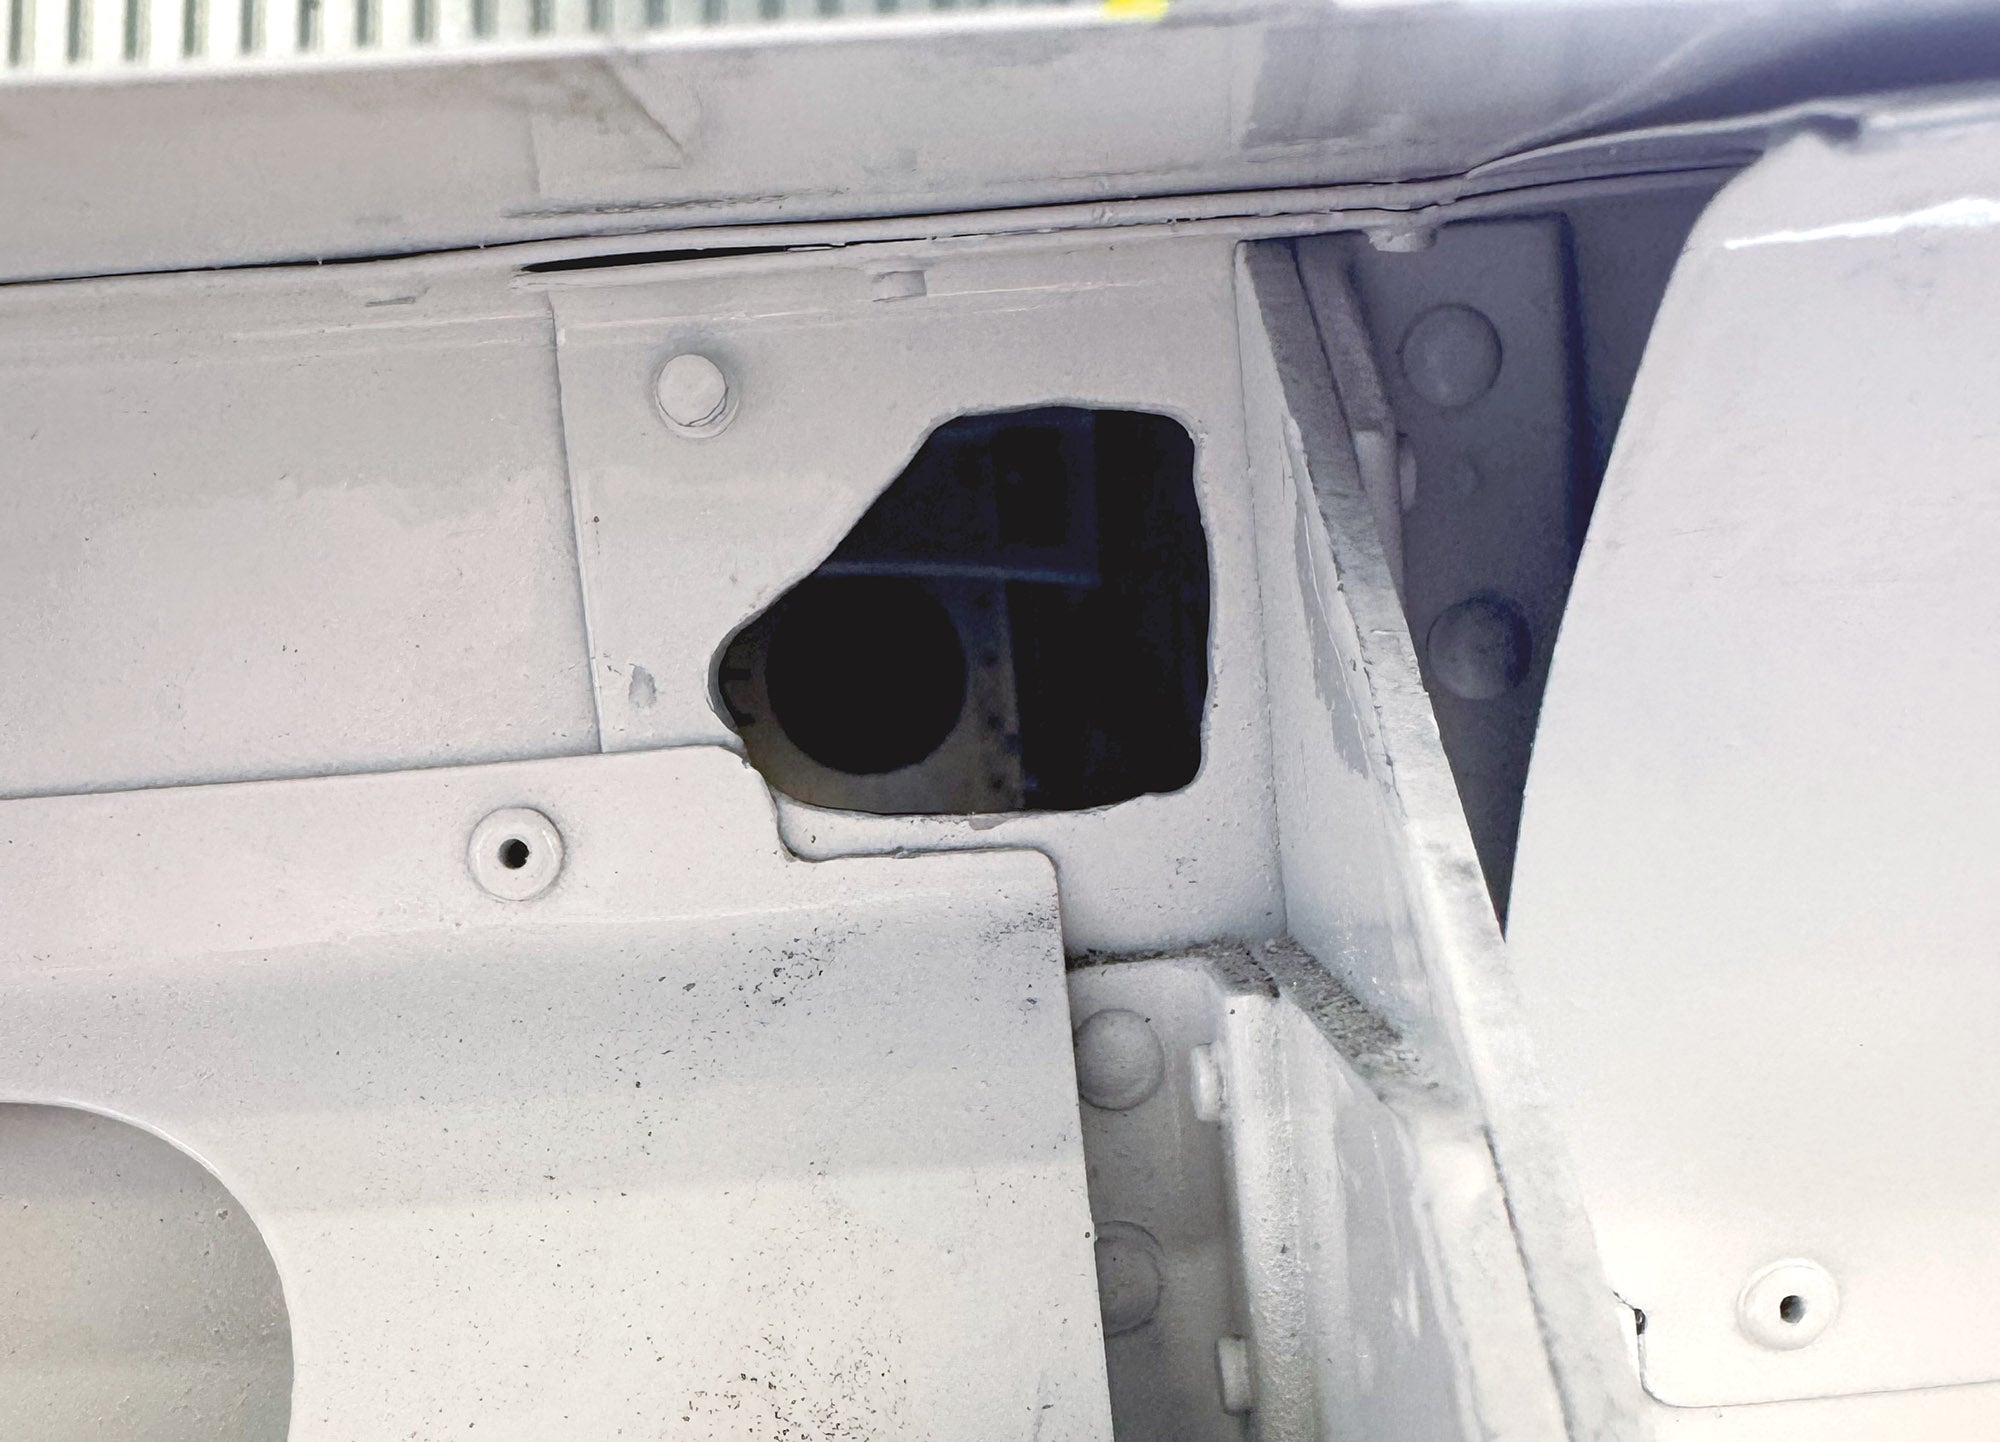
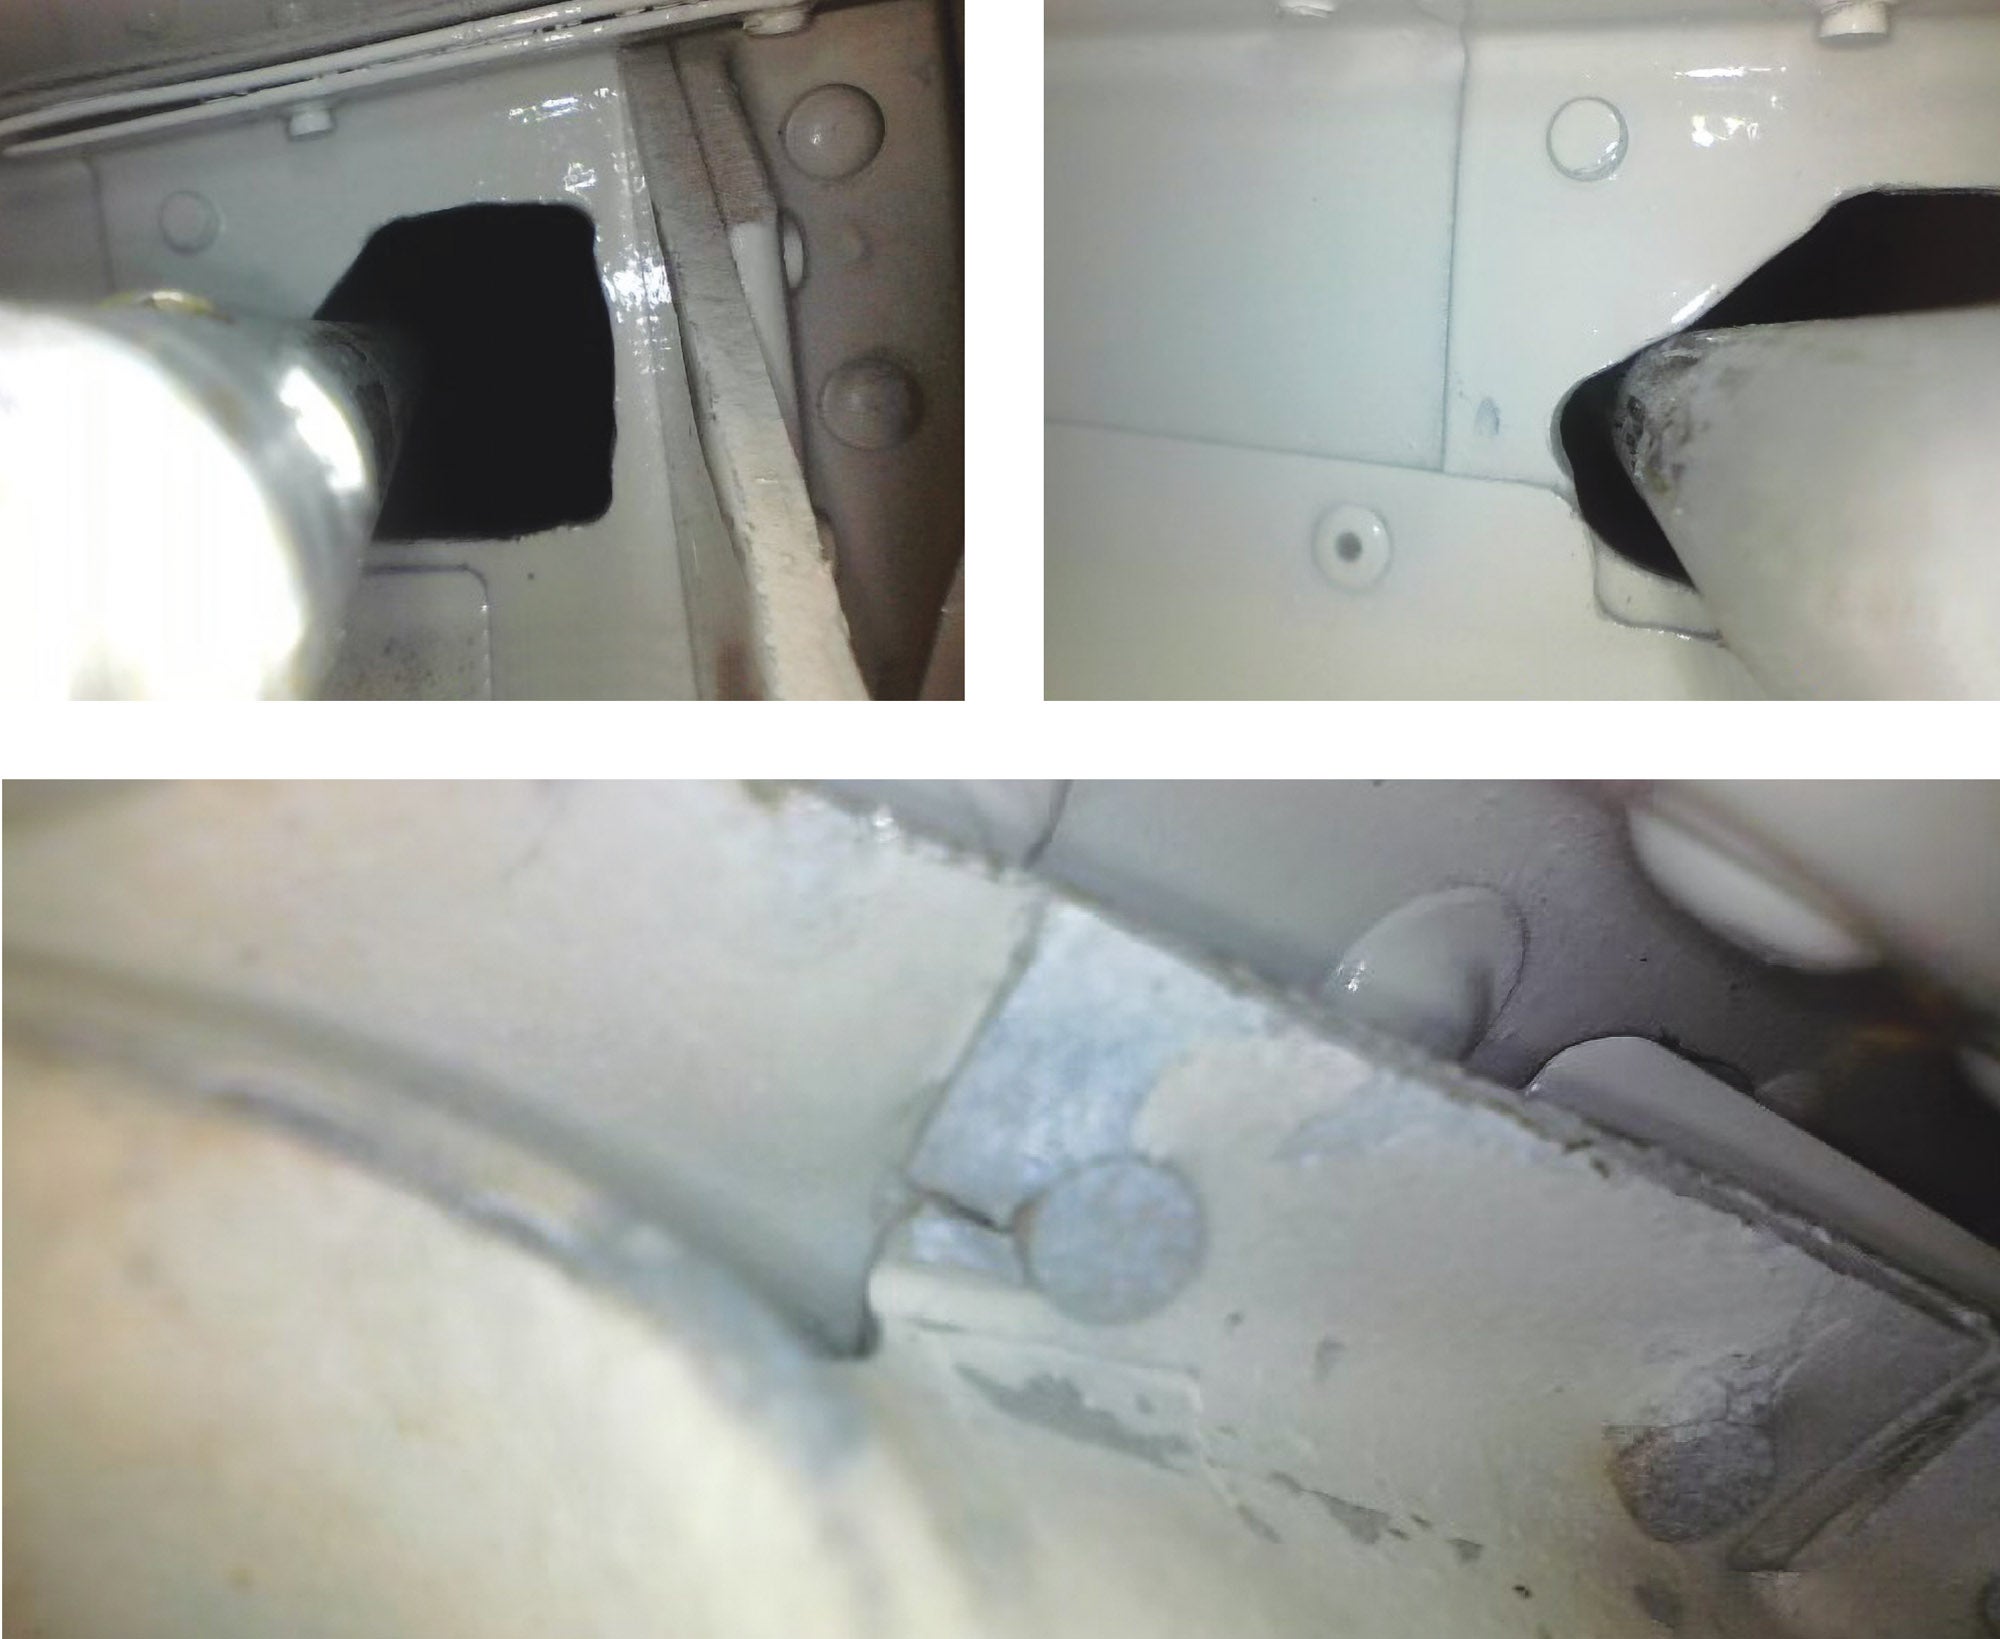
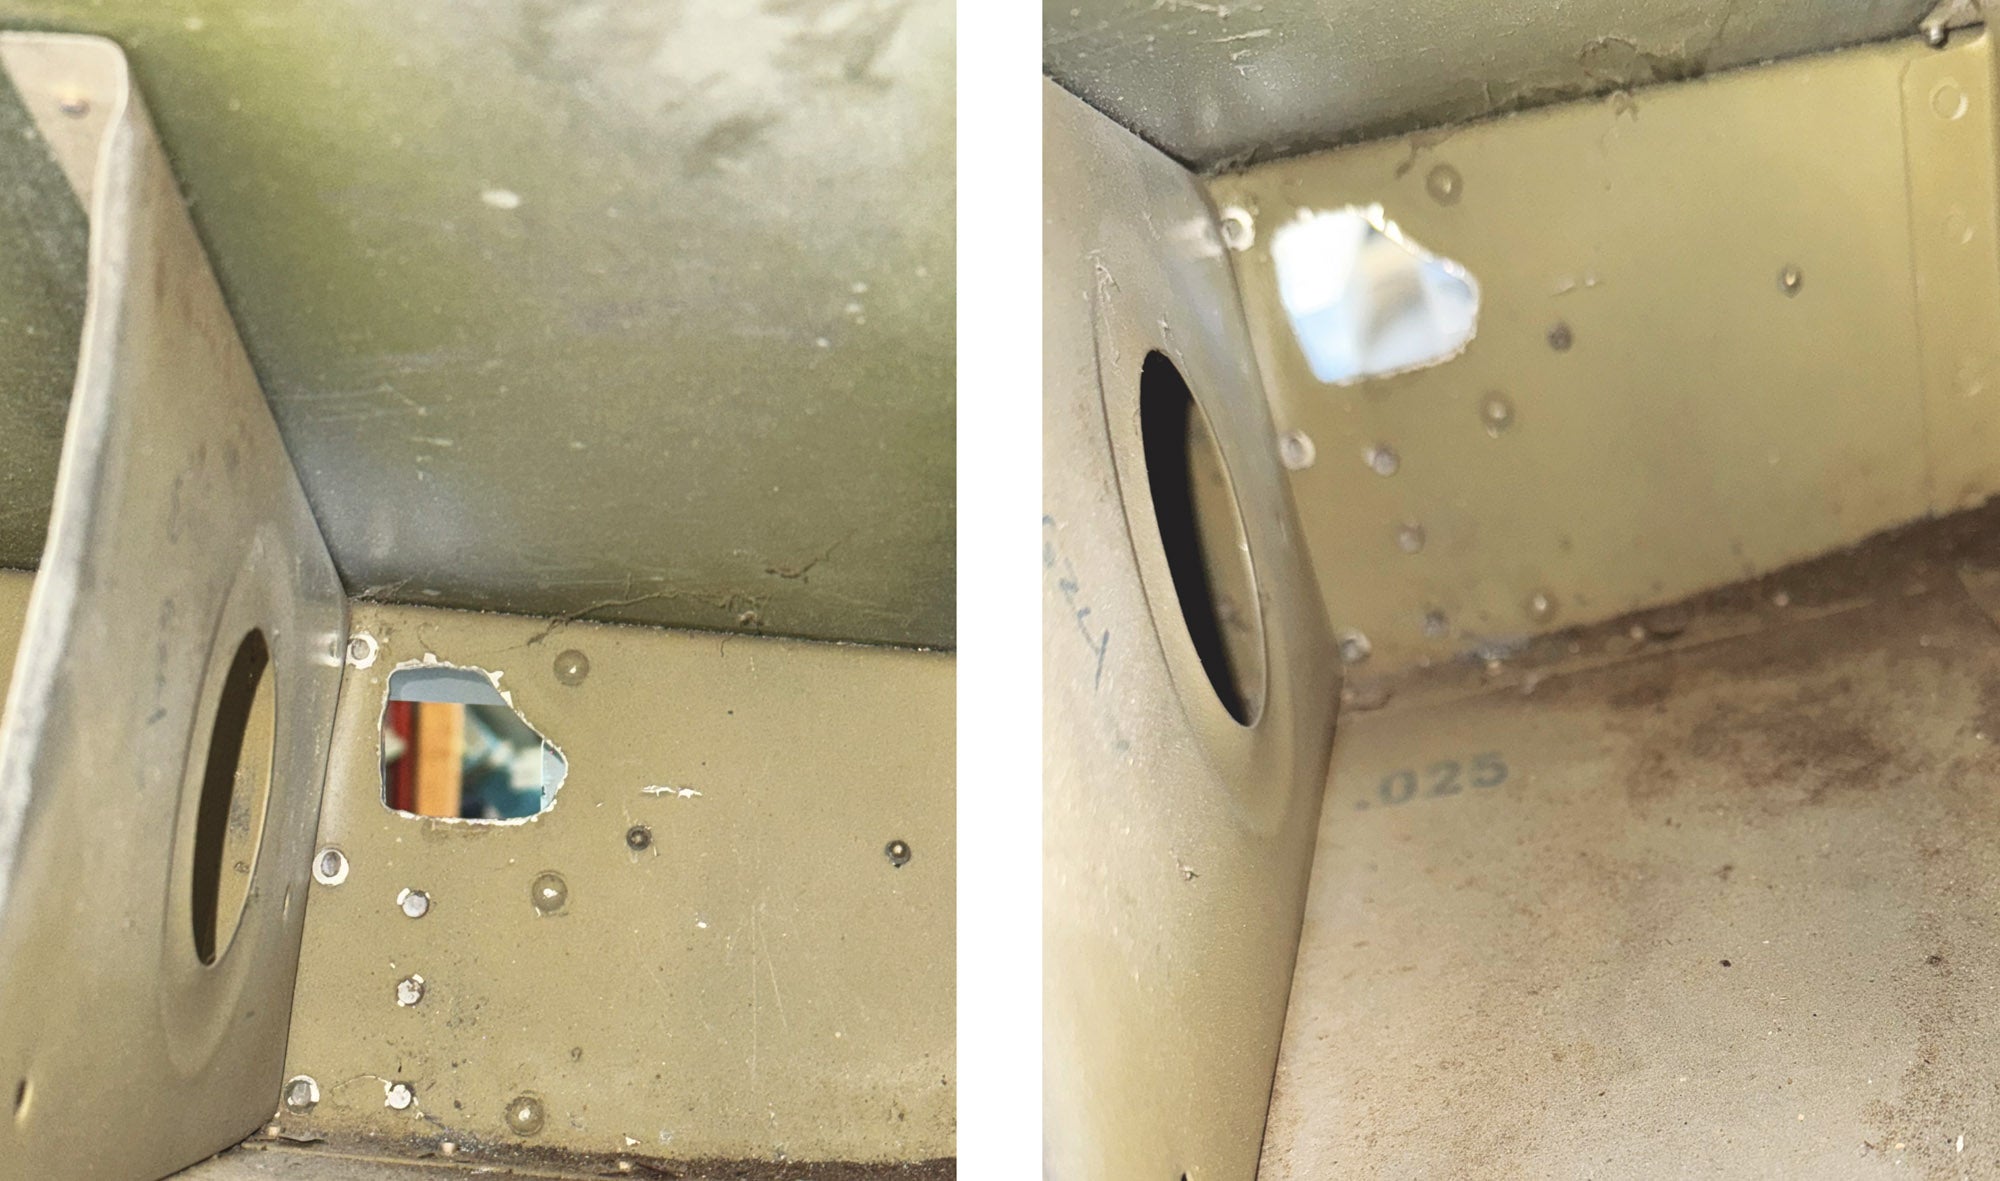
He brought his borescope, a tool we haven’t really used much recently. Together, we focused on our most recent dilemma—the holes in the rear spars of my wings where the aileron pushrods go through. As Kerry noted not long ago, “Those are big enough for a cat to go in.” So, we have been researching what to do and if they are truly an issue. In the borescope pictures, we unfortunately ended up finding a small crack.
So now there are two problems. Big holes in the rear spar and a mysterious crack. I reached out to Van’s Aircraft for support. After a lot of back and forth conversations with them and Stan Lawrence, my CFI and adopted grandfather, we realized that first we needed to find the crack.
But first off, where in the world is that crack? Van’s pointed me in the direction of a service bulletin when I showed them the picture of the crack. The service bulletin pretty much states that if you have cracks in the spars, then you need to reinforce them using the fix-it kit they provide in SB 16-03-28-46. Yes, we’re talking about the spar, one of the most important parts of the airplane. However, after assessing the borescope pictures, my spar is not actually cracked, and in the RV-6 cracking in the spar isn’t common anyway. So, where was the crack we saw?
To find out, we removed the ailerons and flaps. Yet again. After looking carefully with flashlights and mirrors, we found it! The crack was much smaller than the original borescope picture made it look and it was next to a rivet in the aileron. This was a nonstructural piece. But now that we had it all apart, we had a decision to make.
To Fix or Not To Fix?
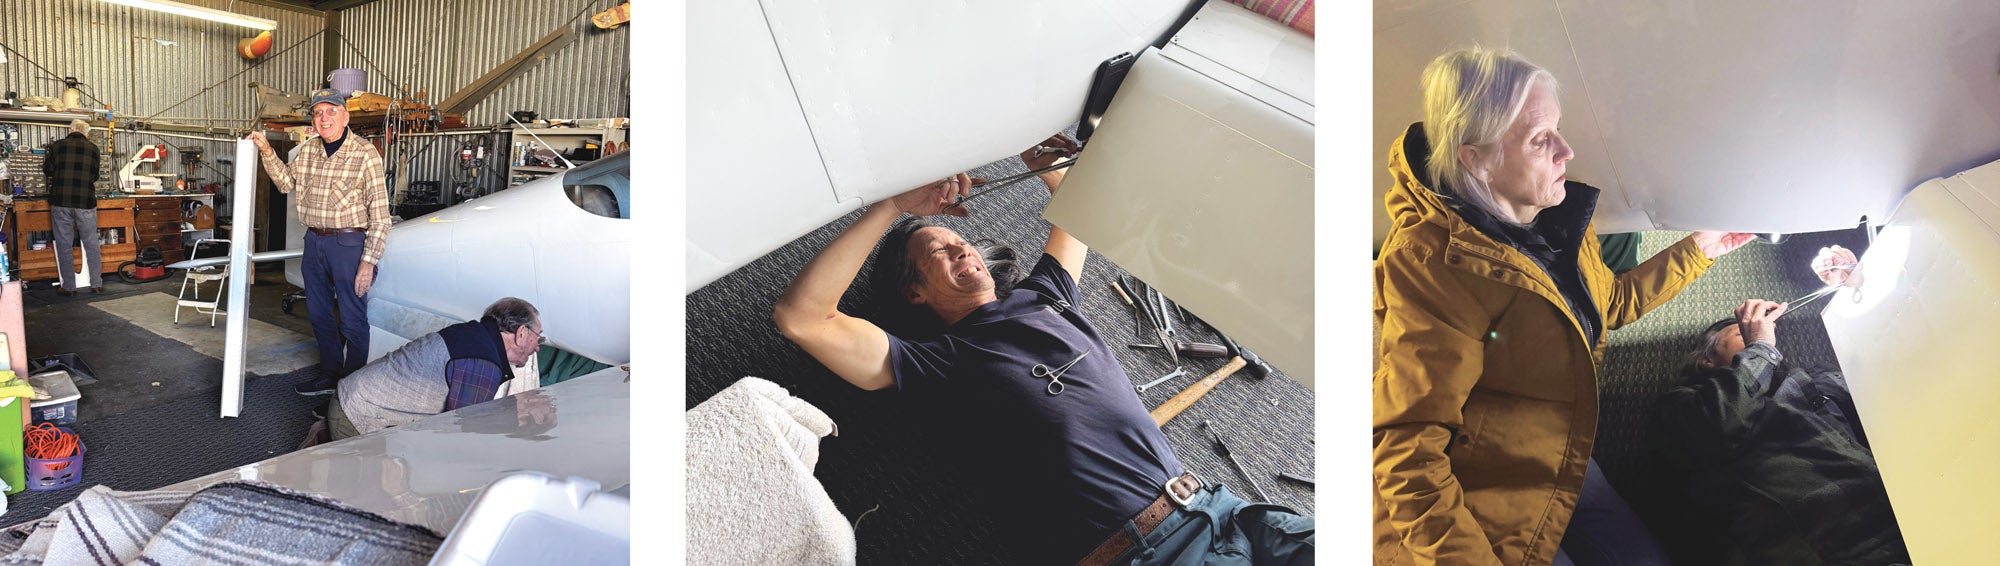
Stan Lawrence, Kerry Richburg, Bill Lagrassa and I spent the morning assessing the task ahead. Looking at the service bulletin and the big holes in the spar, we had done our research and we were ready for the challenges that were to come. However, assessing the situation more closely, we realized that trying to fix these things may do more damage than good.
SB 16-03-28-46 was for cracks near the rivets that attach the aileron hinge to the rear spar. The parts provided in the kit include angled pieces that we would install to help prevent the spar from cracking in the future. The service bulletin doesn’t apply in this case, but we had the option to do it to help strengthen the area. Taking into account that the cracks don’t typically happen in the RV-6 and that we didn’t have them anyway, we chose to not worry about it for now.
Then there’s the next question. How do we solve our original problem? The giant holes, also known as Kerry’s cat holes! We planned to create two custom doublers (one for each side of the spar). These doublers would further strengthen the spar and allow us to re-create the holes to be the proper size.
We knew what we could do to fix the hole size, but would it be worth it and would it be necessary? We made a plan to put the aileron back on then make a template for how big the hole should be. We needed to unrivet the doubler from the skin and remove the aileron hinge bracket to determine how much room for movement was required in the hole.
In an ideal world, we could put the doubler on the inside of the spar to give it extra strength. That, combined with the service bulletin, will give N2165U super strength! However, in reality, messing with the wing and spar could do more damage than good. Taking into account that the magnification of the borescope in the picture made the holes seem bigger than they were, we decided it would be better to just leave it as is.
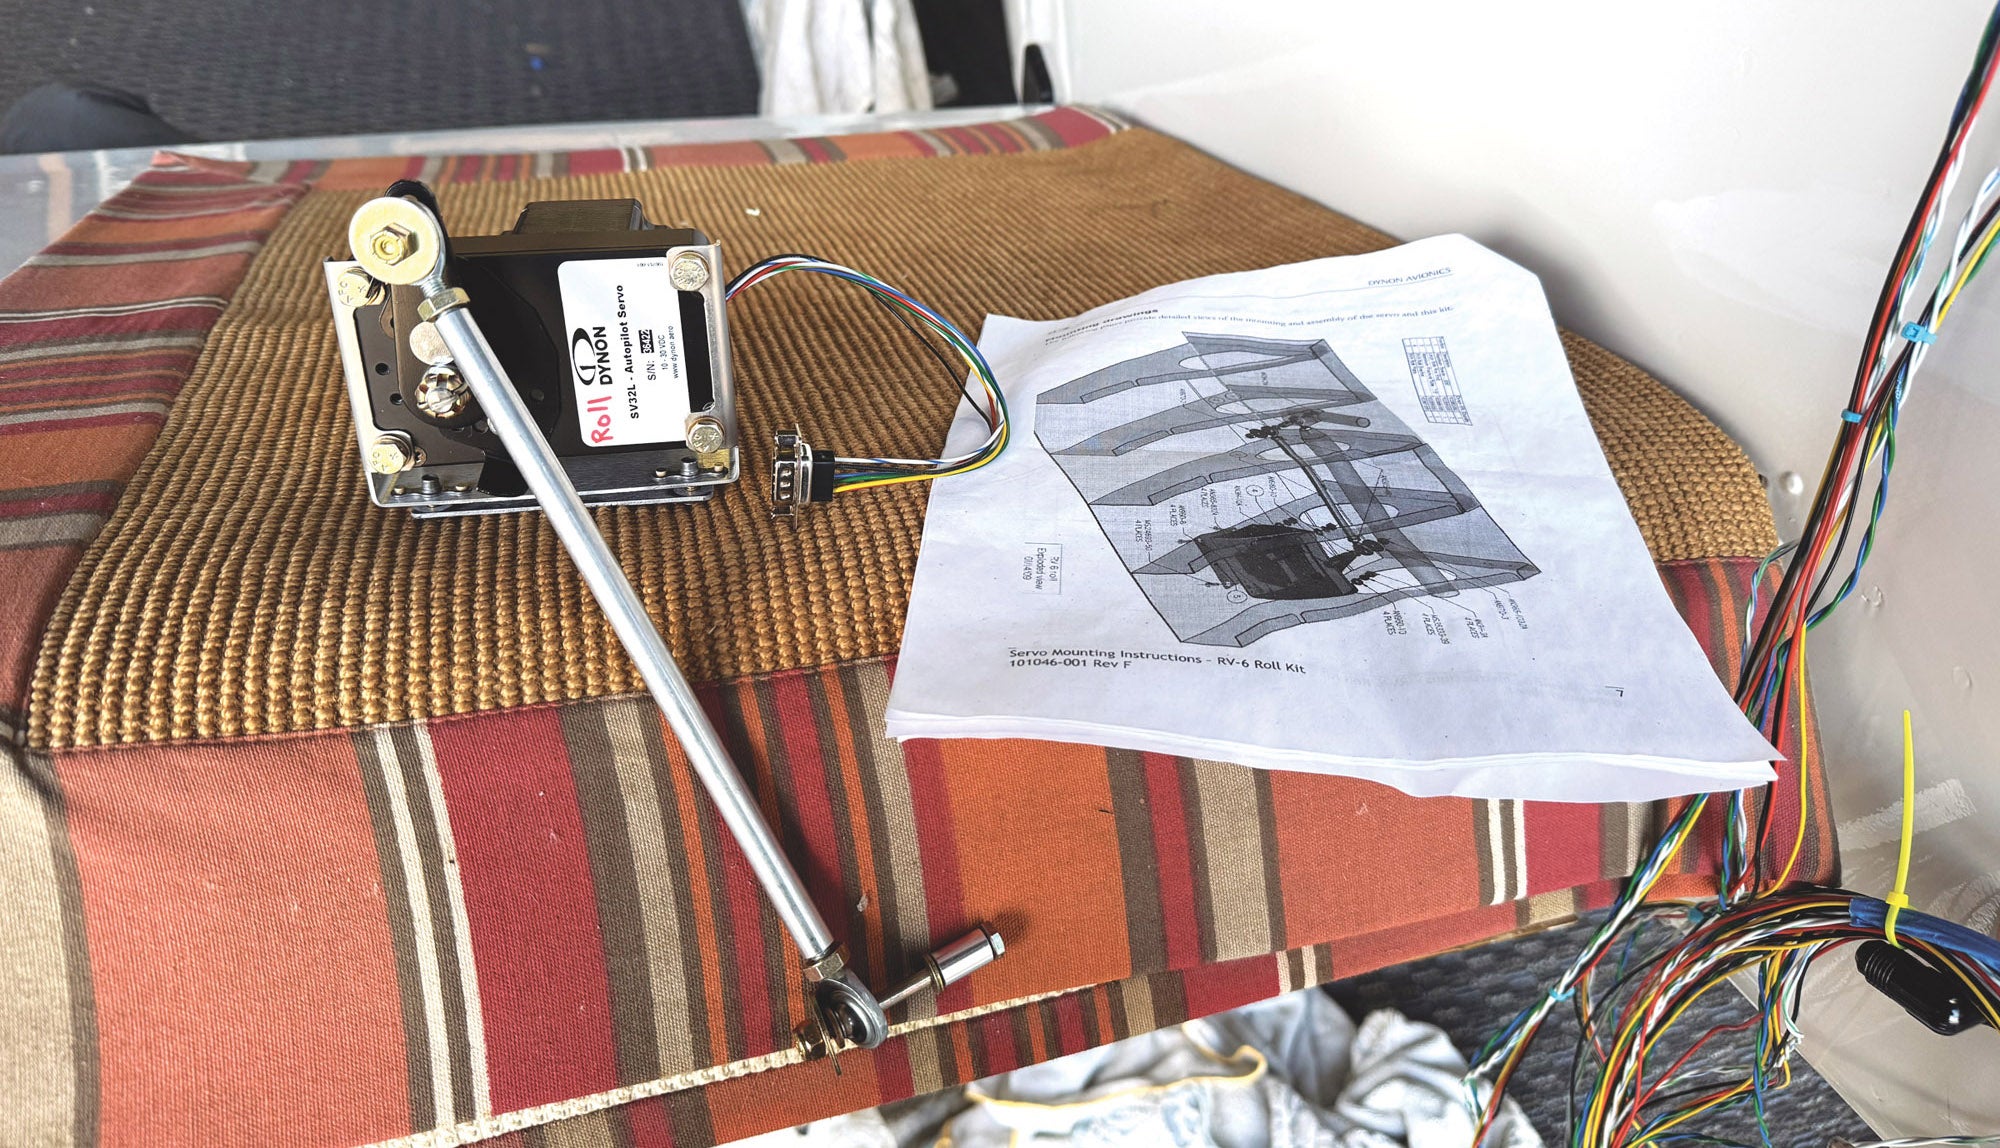
Autopilot Servos
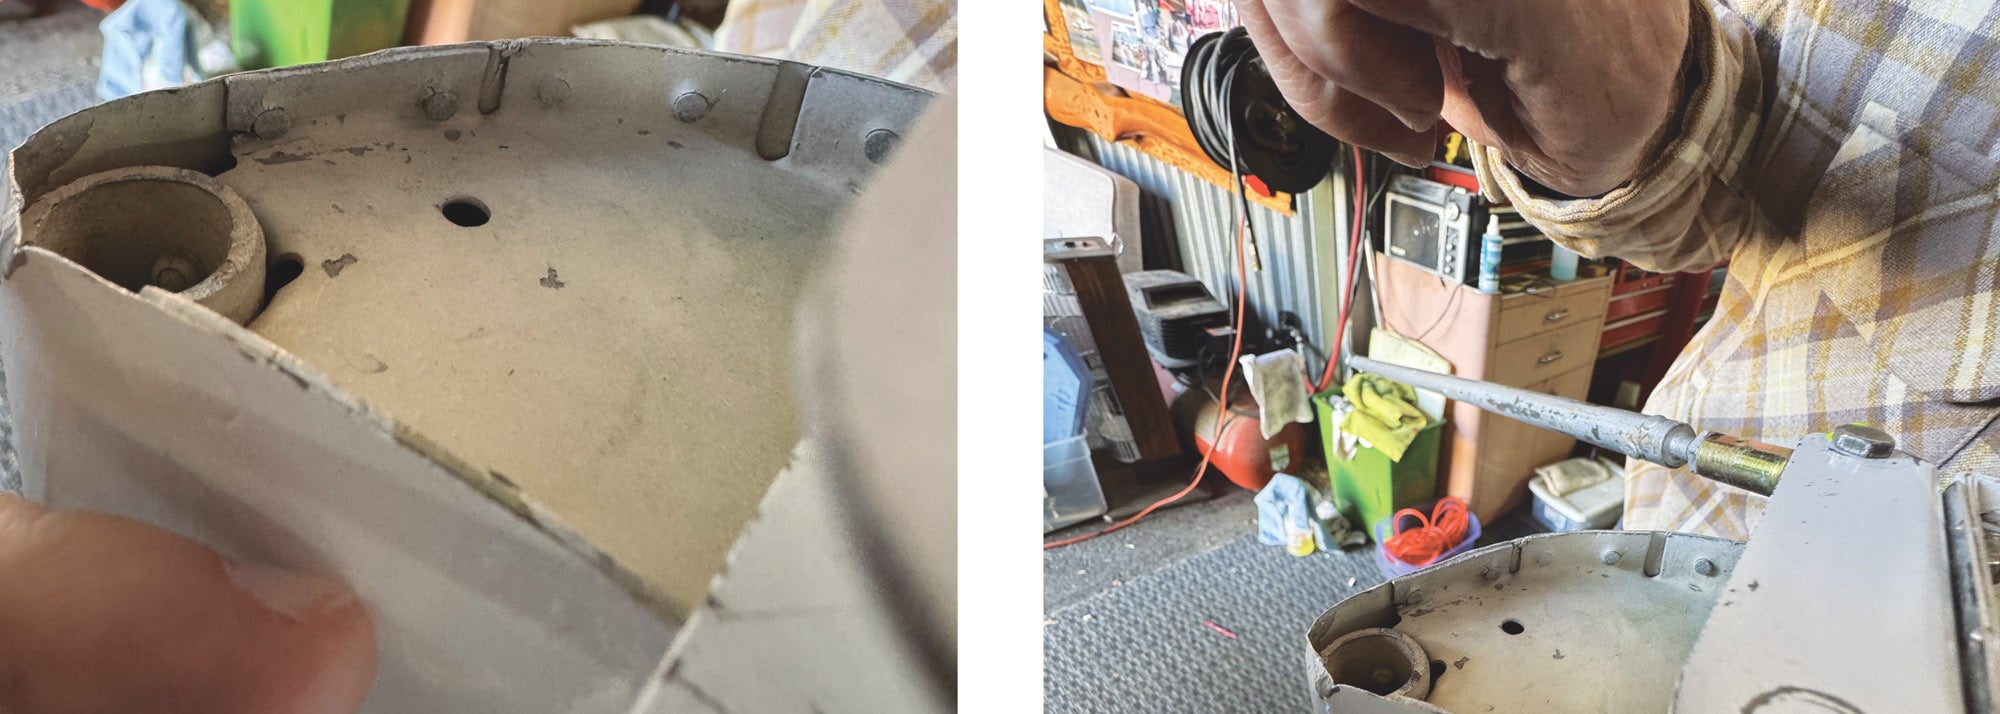
After spending so much time on the spar issue, I was in need of a more inspirational project. I recruited Kyle Rodrigues and Zach Lauzon to help me install my autopilot servos. Kyle brought the beer and we all got to work on mounting the roll servo onto the belly skin using the supplied doubler.
For the roll servo, Kyle and I placed the bracket where we wanted it, then using a center punch proceeded to center punch the first hole. With Zach on the floor holding a wooden block to the bottom of the belly skin, Kyle and I used a #30 drill bit to drill a pilot hole in one of the corners. Afterwards, Zach enlarged it from the bottom using a 0.156-inch drill bit so it would be a tight fit for the #8 screw. After that, we secured the bracket using the one hole we drilled and then, using the bracket as a template, we center punched the remaining three holes and repeated the process of drilling the pilot hole then enlarging to the final size.
After that, we remounted the servo, securely fastened the bracket and mounted the pushrod to the bottom of the copilot stick. And of course, it wasn’t going to be a straightforward installation. The pushrod rubbed against the inside of the holes in the underseat rib. We decided that we will need to make a spacer to move the pushrod away from the rib. We may need to enlarge one of the holes in the underseat rib for further clearance. Yet another reminder that homebuilt airplanes are truly unique. There’s a good chance no two are exactly alike, so interference like this can be expected.
Once we sort out the roll servo, we will need to install the pitch servo. Then, we will be installing the floor supports, floorboard and carpet and continuing to connect things to the panel. This includes the AHRS, electric trim, navigation lights, strobes and landing lights. We also need to do the control sticks and finish the fuel system.
If it feels like this project is moving slowly, well, it is. Upgrading panels and avionics is one thing, remedial work another—sometimes the two come together to make a simple project a lot more complicated. The answer is patience and never giving up. I know this very well by now!


