
It started simply enough. With a mistake. OK, maybe just a misapplication of learned behavior. I’ll back up a couple of steps to explain.
Roughly a year ago, in the midst of a comprehensive instrument-panel rework in my GlaStar, I’d decided to apply a lesson taught to me by my Sportsman way back in, oh, 2008. Then, I’d finished a similar panel rework and decided I would act like the pros—prime and paint everything before I put it back together and, surely, enjoy the shiny fruits of my labor soon after.
If only. The whole mess got into the airplane and, in part because I was prototyping some components, panel sections and avionics were in and out so often it was almost impossible to keep the finishes nice. No amount of protective tape did the trick. Or course, once you see a scratched panel you can’t not see it. Ever.
So this time, as the steam gauges came out and the full Dynon setup—dual HDX screens, autopilot, control heads—went in, I decided to leave the panels in raw aluminum. Because, surely, I’d be tweaking and massaging the system for a few hours before it was functioning just the way I wanted it. No sense making it pretty right away.
Funny thing about expectations—they’re not often met. Perhaps this is just a reverse-Murphy. But the entire panel worked perfectly from the first flight on. Every tweak I made was in setup and software only. The hardware worked flawlessly, including the integrated autopilot. (It even flew the airplane well on the baseline settings.) After massaging some of the software settings—though really not very much—and a whole lot of playing around with screen layouts—the Dynon setup was functional and stable.
I sat there watching it all work and grousing about looking at a bare-metal panel. But not too long. Only, um, about a year.
Paint or Powder Coat?
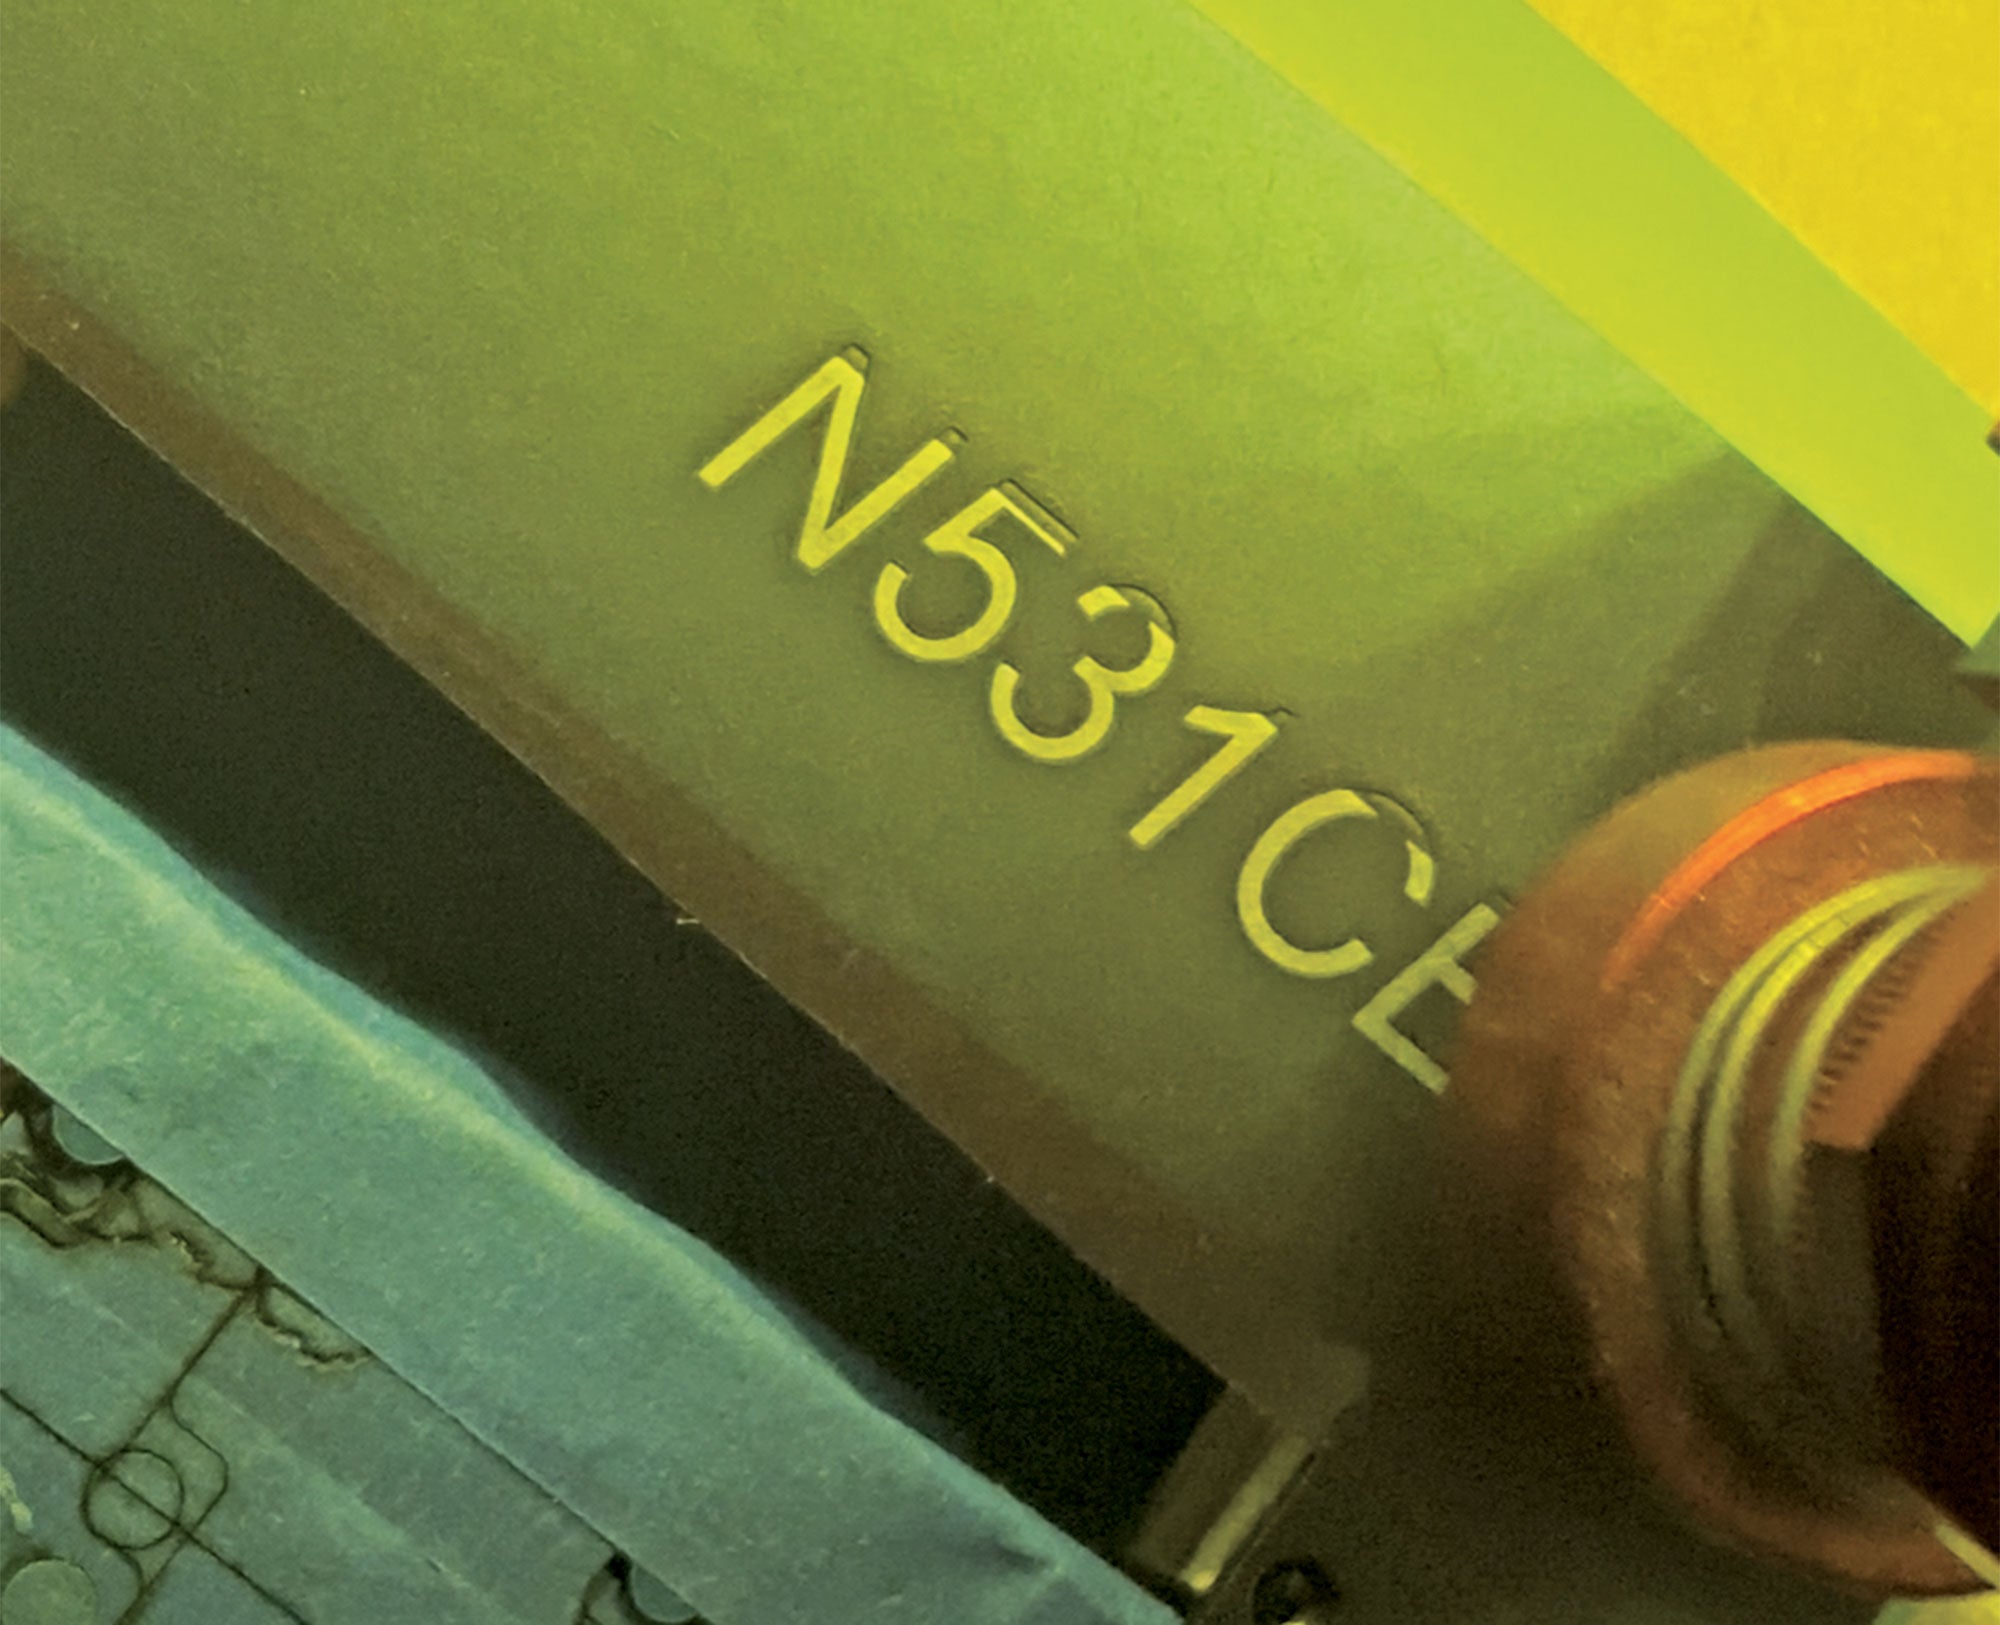
With the crappy-weather season upon us in Oregon, the panels came out and, since it’s too cold to paint and, well, I’m lazy, I trucked them over to Advanced Flight Systems, where they were put in a big batch to be powder coated and then, back at the shop, laser engraved. No more sticky-back labels for me.
All of which should have been an easy daylong job. Three of the four panels were extracted in about an hour.
The fourth is the small one carrying the engine controls, and that’s a whole different deal. Everything forward of the firewall had to be disconnected—throttle, mixture, oil-cooler shutter door and cabin heater—and brought through the panel toward the cabin. If I ever did this again, I’d do a small subpanel that would let the cabin end of the controls float free of the main panel. Sometimes you just live with what you’ve got.
Of course, having come this far, it wasn’t hard to work on a few minor squawks along the way. First, my mixture control had begun creeping in flight, slowly working toward the lean end from a small amount of engine vibration at the panel. I’d fly along, usually at lean-of-peak mixture settings, and notice the airplane slowing down. Twist back in a sixth turn and off we go. Wait, repeat.
Then I wanted to change out the control for the butterfly valve that sits in the inlet of my oil cooler. The cooler is bigger than it needs to be and if the valve weren’t there, I’d never get my oil temps up in the winter. That control was the only one I had on hand when I installed it and it had a red handle. That color really should be reserved for the mixture or, in the case I bought it for originally, a fuel-cutoff valve. So the replacement was ordered only to discover the center cable was larger than standard.
Pro tip: The McFarlane push-button controls on the Aircraft Spruce web store aren’t shown with the center-cable specs, and mostly the larger controls have an 0.062-inch wire. The McFarlane unit has an 0.071-inch wire.
Then there was the cabin heater, which always leaked a bit of warm air into the cabin. I’d purchased a replacement a few years ago but it’s always been a slightly down-checklist item. The replacement was, of course, a different footprint that needed a cable mount to be fabricated. And, of course, it had a larger inlet-hose size, from the 1.5-inch previously to the more standard 2-inch duct. Hello, Aircraft Spruce? Gonna be needing some 2-inch SCAT, STAT.
Totally Worth It
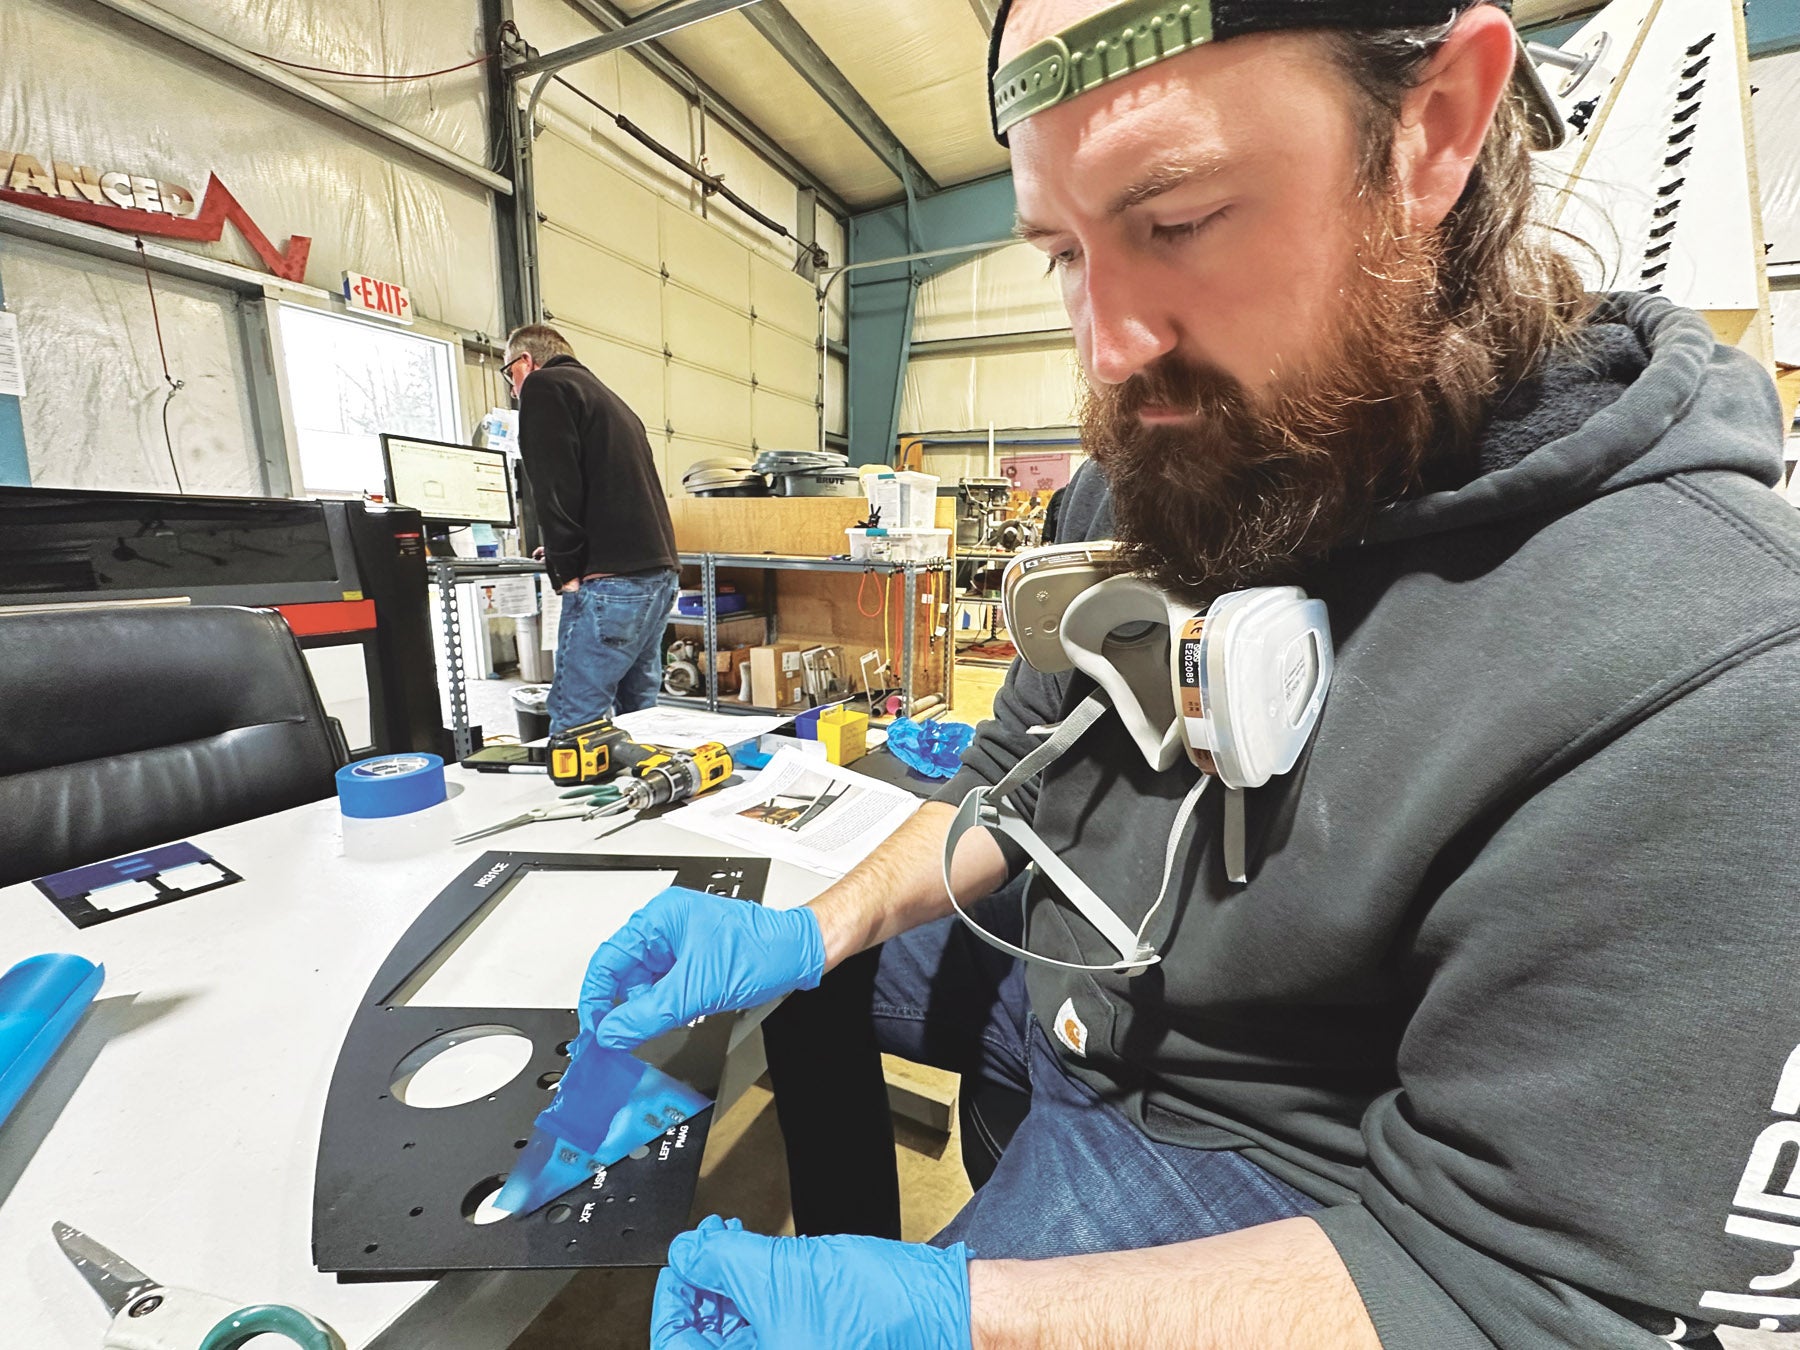
Watching the laser-etching process is fascinating. It does such a nice, neat job it’s hard to imagine wanting to do dry transfers or any other method. Yes, it did take Kyle George a bit of time mapping the letters out in CAD software, but he already had the panel blanks in the system, which saved a few steps. After a little bit of refinement and typo-catching, the computer drawing was ready.
Like anything, the key is preparation. AFS has the laser plot some elements into a backing that is used to make sure the actual panel is correctly positioned. The panels themselves have thick vinyl overlays on the areas to be engraved. This functions as a paint mask. In their process, the panels are fully powder coated front and back. Then the laser does its job. With the vinyl masks still in place, the panels are painted in the lettering color with an airbrush.
The final step is to remove the vinyl mask, which is complicated by having to remove the “dead zones” inside of D’s and P’s, for example. There is some important hand work committed here.
Better yet, the engraving and powder coat are durable. Plus, the instrument panel is one of the first places any curious pilot looks. Mine has suddenly gone from “oh, a work in progress?” to “hey, that looks really sweet.”
Does this mean the next big panel retrofit will revert to the build-paint-fly routine? No way. I know when I’ve been lucky. And when to not count on luck as a strategy.


