Last month I wrote about AN washer usage. This month I’ll take on AN bolts—specifically, their grip length. Riveting stuff, huh? No? Somewhat captivating? Mildly engaging? I’m out of puns so I’ll move on. Weekly I received emails from Sonex builders seeking permission to make bolt length substitutions or expressing concern that the bolt length callout in the plans was wrong. Those familiar words were invoked: “What am I missing?” I cursed that level of detail in the plans. In covering this topic I wish to give you the knowledge—and permission—to install the proper length bolt regardless of what a kit’s assembly documentation calls for.
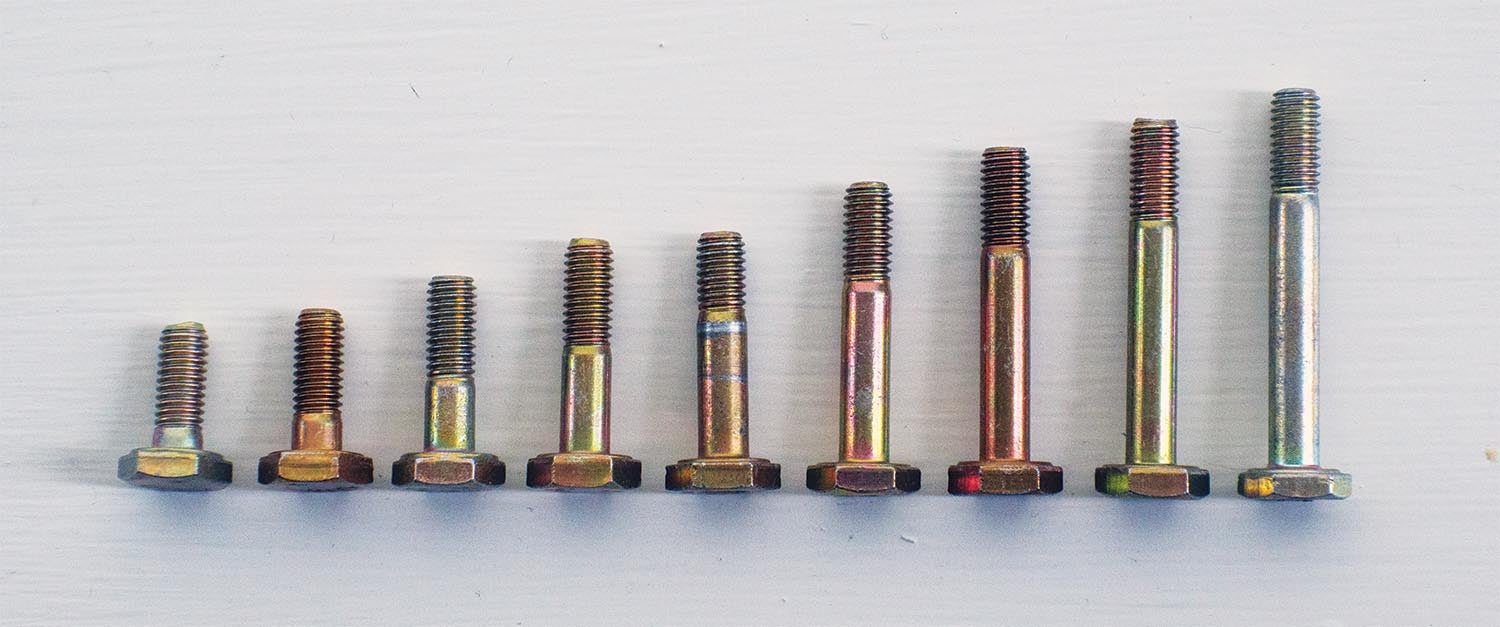
Engineering Considerations, Briefly Considered
Nearly every fastener in an airframe is working in shear. That means the loads they experience are trying to tear through them like a wire cutter through a wire. As such, the diameter of a given fastener is selected to endure the expected loads, which requires engineering calculations. While I wish to bestow on you permission to choose the correct grip length, regardless of what the kit documentation may say, I caution you to not change a bolt’s diameter without consulting the kit manufacturer. Oversizing a bolt hole to accommodate a larger diameter bolt diminishes edge distance, potentially weakening an assembly. Bigger may not be better.
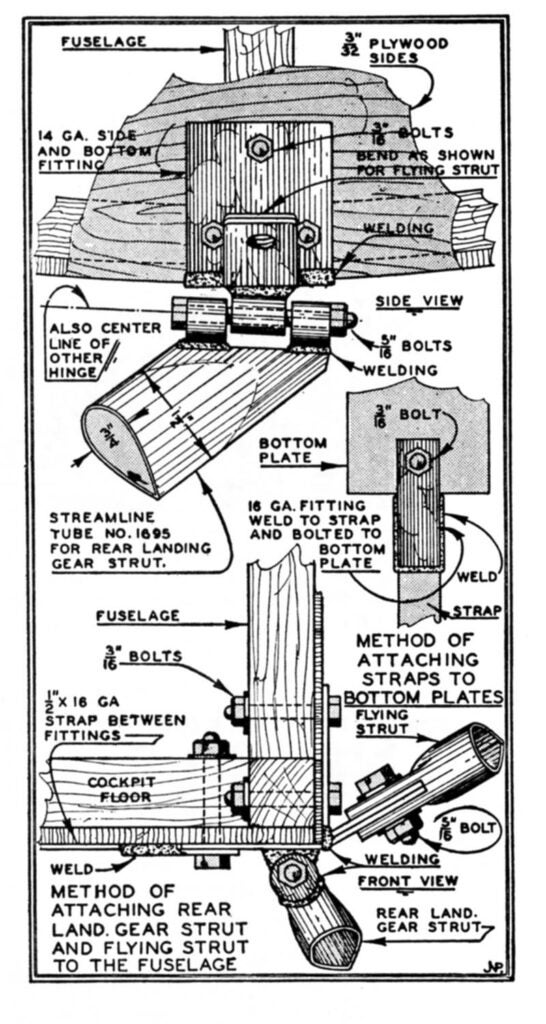
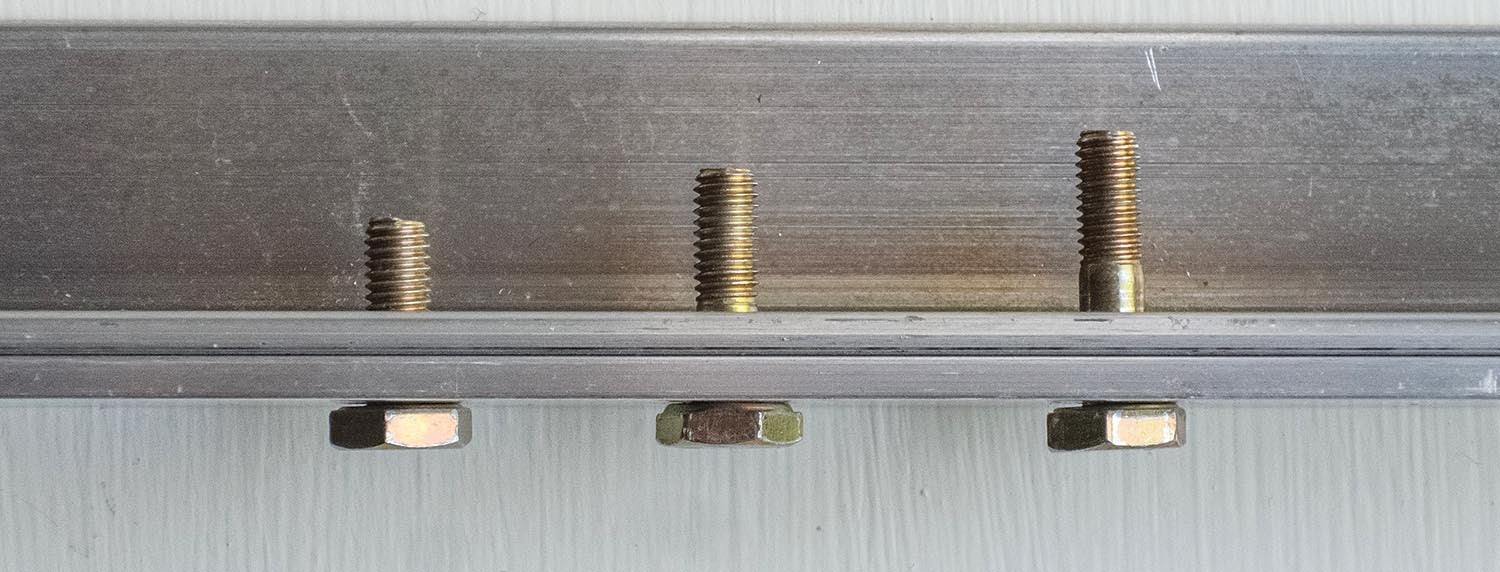
The length of a bolt is determined by the total thickness of the parts being fastened. That only requires eyesight, not an engineering degree. The smooth shaft of the bolt—the grip—must extend fully, if just barely, through the parts being fastened. A longer bolt doesn’t add strength, so there’s no point in using a bolt that is longer than necessary, but a short bolt can add weakness. The threads of a bolt, like perforations on toilet paper, are stress risers—weak spots where a crack or break is most likely to occur as stress builds. The threads of a bolt aren’t meant to carry any shear loads.
What the Homebuilder Resources Say
As I mentioned last month, the homebuilder’s bible is Advisory Circular 43.13-1B, Acceptable Methods, Techniques, and Practices—Aircraft Inspection and Repair. Section 3, on the subject of bolts, states: “In general, bolt grip length of a fastener is the thickness of the material the fastener is designed to hold when two or more parts are being assembled. Bolts of slightly greater grip length may be used, provided washers are placed under the nut or bolt head. The maximum combined height of washers that should be used is 1/8 inch. This limits the use of washers necessary to compensate for grip, up to the next standard grip size.”
My 1991 edition of the Standard Aircraft Handbook has this to say: “Grip length is the length of the unthreaded portion of the bolt shank. The grip length should equal the thickness of the materials being bolted together. However, bolts of slightly greater grip length can be used if washers are placed under the nut or bolt head.” I’ll point out that the total thickness of “the materials” will almost never conform to the polite system of AN bolt grip-length progression. There is an infinite number of total material thicknesses possible and a finite number of available bolt lengths. For that reason, plan on having at least one washer under the nut.
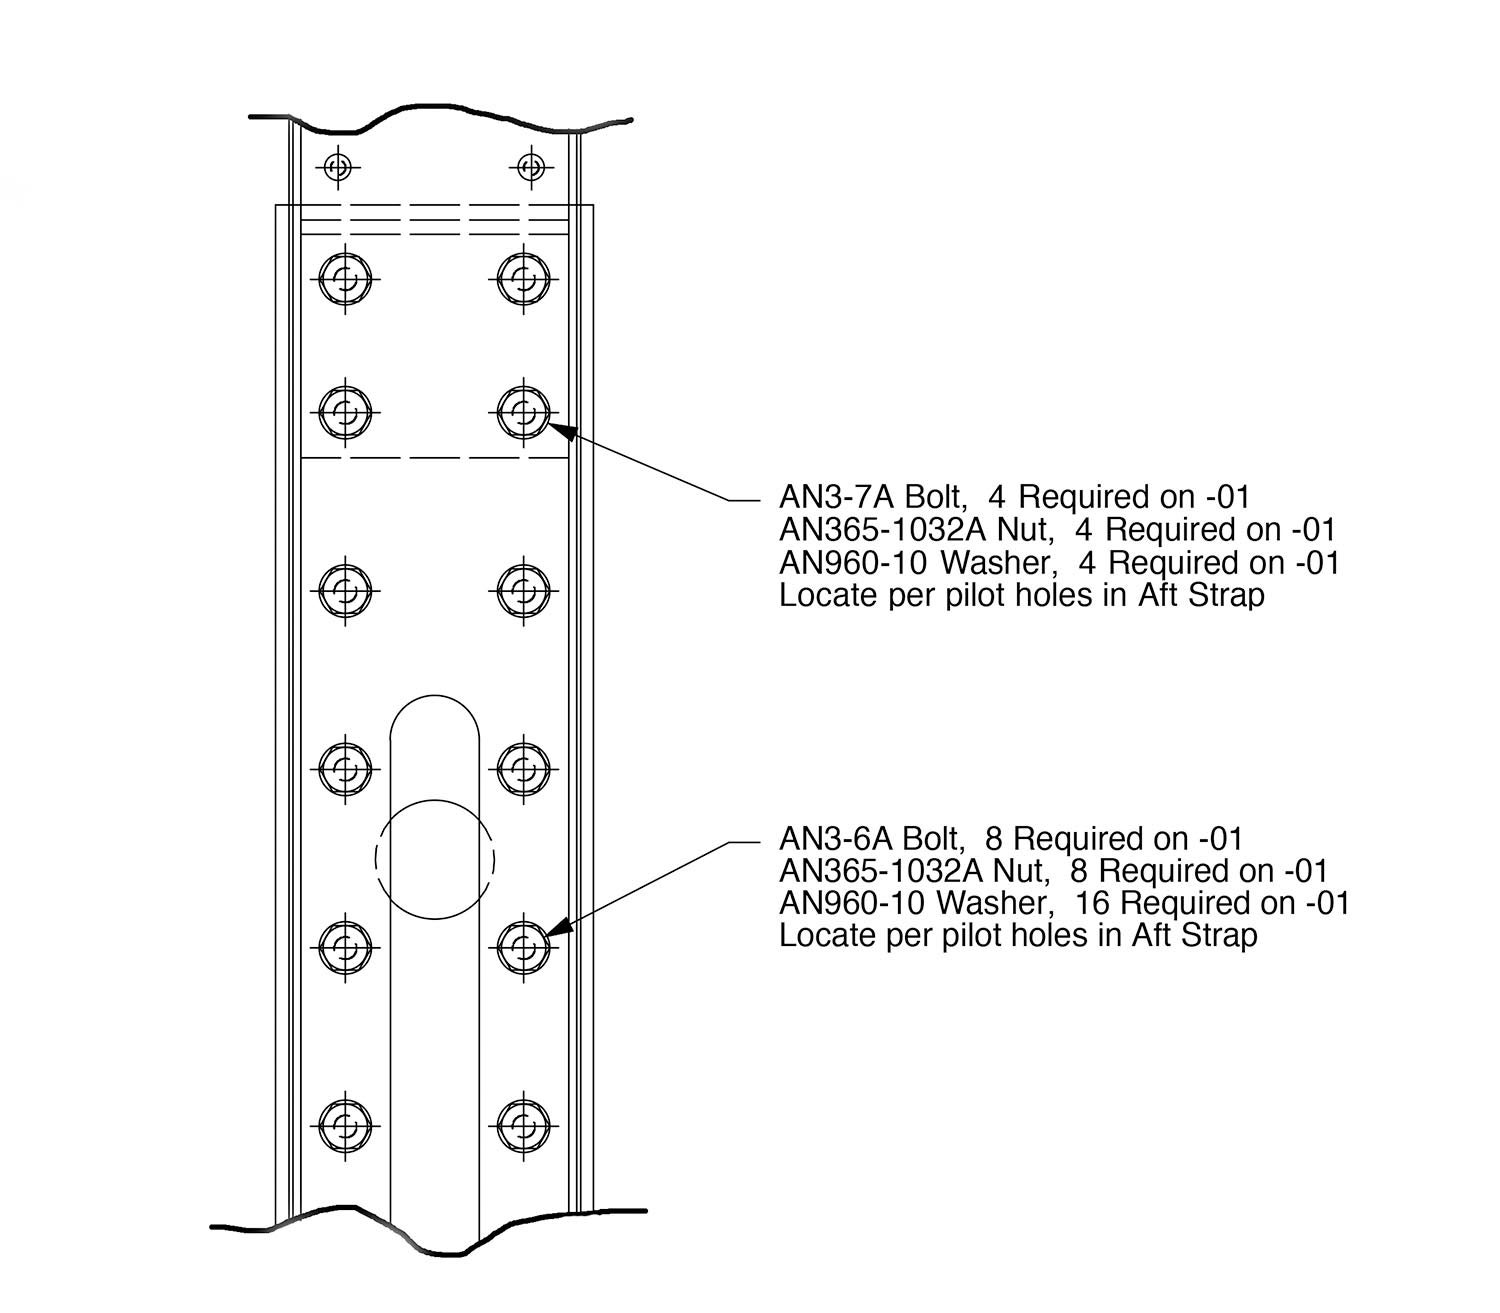
Times Change. Tolerance Stacking Doesn’t
In the late 1970s, Frank Christensen introduced the Christen Eagle II with the promise the kit included everything needed to complete the airplane. That included fasteners, of course, and the detailed documentation necessary to deploy those fasteners about the airframe. I don’t know how well that worked for individual Eagle II builders, but I know from my years at Sonex that the very specific hardware callouts in the airframe plans caused far too many builders anxiety when a bolt callout proved too short or too long for their particular assembly. “You must have sent me the wrong parts.” ”You owe me an AN3-10. The AN3-11 in the kit is too long.” In the days of yore—your dad, your grandpa, your great-grandpa—bolt lengths were often absent from airplane plans. It was assumed best practices would lead each builder to the correct grip length. But the homebuilding market changed, plans became kits and both became far more detailed than necessary, which introduced new challenges for many builders.
Why are there—and why will there always be—variations from one seemingly identical kit to another? Two words: tolerance stacking. Loosely defined, tolerance stacking is the impact the acceptable tolerance range of each part has on the total thickness of the stacked parts. Every raw material and manufactured part you conscript into service for your homebuilt has a manufacturing tolerance. The grip length of an AN bolt has a manufacturing tolerance of plus or minus 1/64 inch. That means you could have two “identical” AN bolts, both within the manufacturing tolerance range, whose comparative grip lengths differ by 1/32 inch. That 1/32-inch comparative difference means little to a 3-inch-long AN3-33 bolt, but becomes significant to the total length of an AN3-3 bolt, whose grip length is only 1/16 inch to begin with.
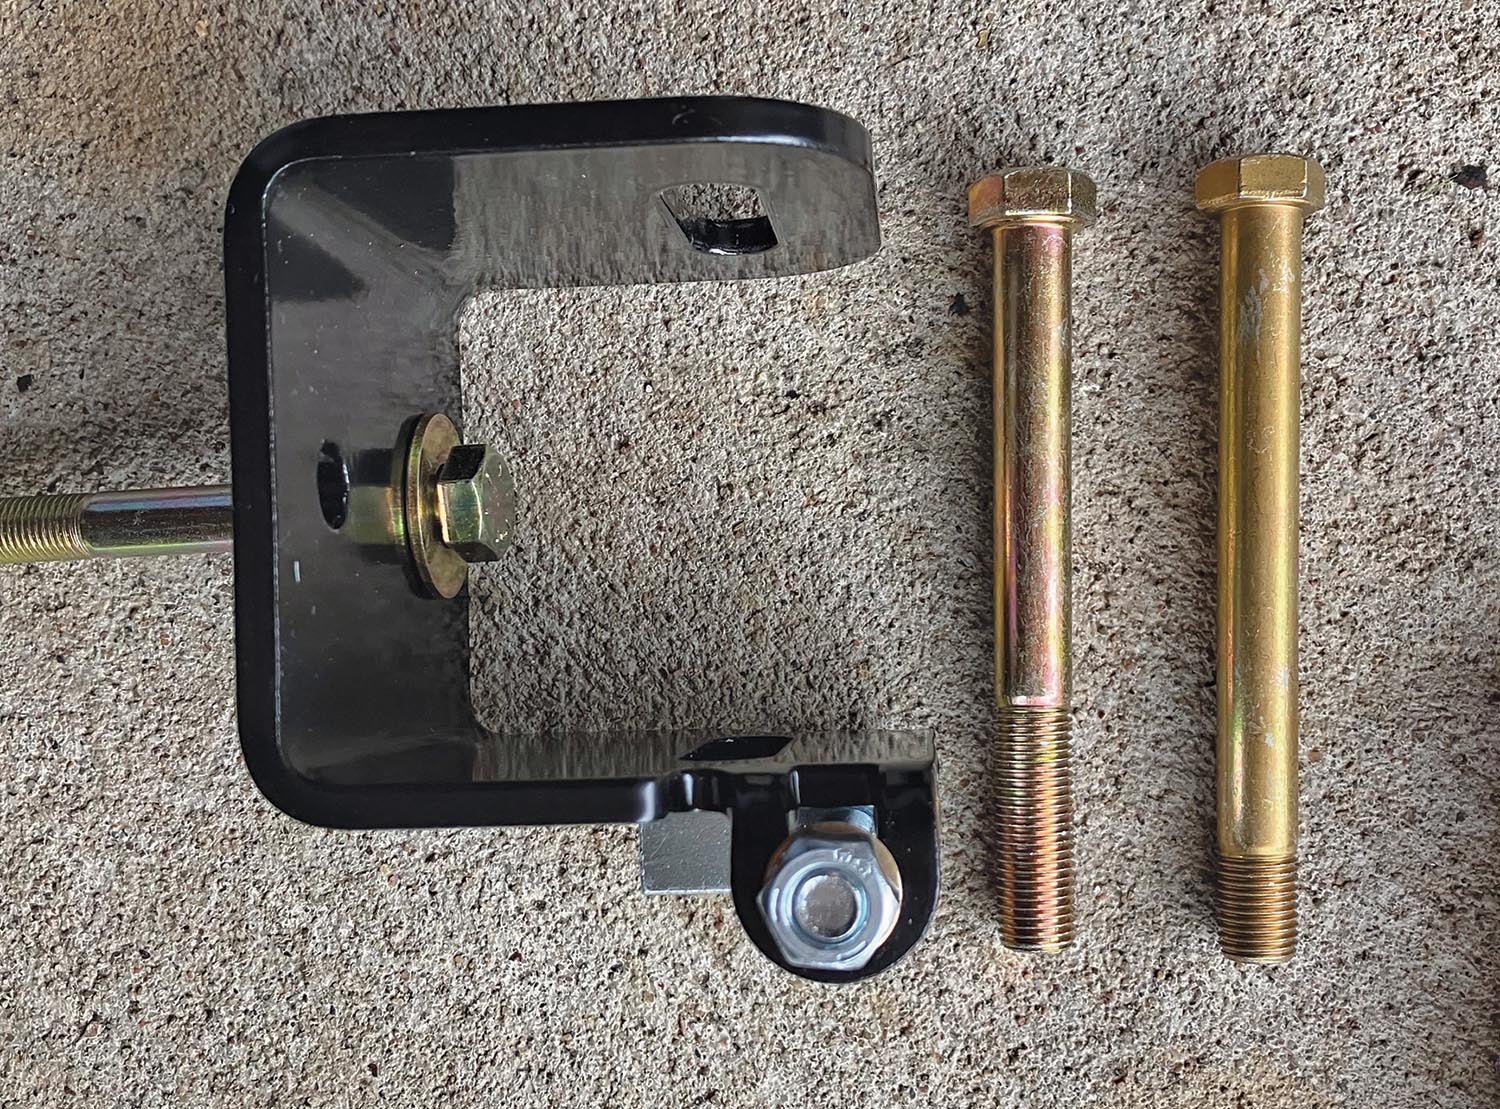
The perfect world depicted in documentation doesn’t account for the imperfect world in which we live—the world in which Elvis passed away way too young. Even the holes you drill for the bolts can impact grip length if you fail to deburr them. One Sonex builder, who sent me more than 337 emails for tech support in the first 466 working days he owned his kit, suggested the thickness of each part of every kit—each part, of every kit—be measured and the plans and hardware kits for each kit be modified to eliminate mismatches between the hardware defined in the plans and the real-world needs of each airframe. I’ve been retired since July, but I still twitch at night.
Eyeball Engineering Is All That’s Needed
Choosing the correct grip length is one of the easiest things a homebuilder can do. Everything above was a wordy preamble to the simple steps that follow (as well as an opportunity to mention Elvis and work in a much-requested tech support anecdote). Here are the steps I suggest:
1. Make sure all the correct parts are in all the correct places. This includes making sure each part is made from the proper thickness material.
2. Make sure the parts—both the edges and the holes—are deburred.
3. Decide if you are placing a washer under the head of the bolt. One is seldom necessary, as I covered last month in this space.
4. Select the shortest bolt whose grip length extends at least minimally through the parts being fastened. Sometimes it will barely poke through, sometimes it will poke through nearly 1/8 inch.
5. Employ as few AN960 and/or AN960L washers as necessary to keep the nut from bottoming out on the shank of the bolt.
6. Tighten the bolt in place by rotating the nut, whenever possible, not the bolt.
It’s that simple. You could mix bolts of every length in a coffee can and still achieve proper bolt installations without knowing if you installed an AN3-7 or an AN3-10 in a particular hole. It would be painfully slow, however, so keep your bolts sorted by diameter and length to speed your project along. I feel I should end this as I began, with a pun. But I’ve written on this topic at length; there’s nothing to gain by extending it. In short, length matters for columns, too. Fasten-ating, huh?


Ahh- you ended with 6 puns, the plans only called. out for one! Is this okay?