IV Tube for Crankcase Ventilation

Home shop machinist.

0
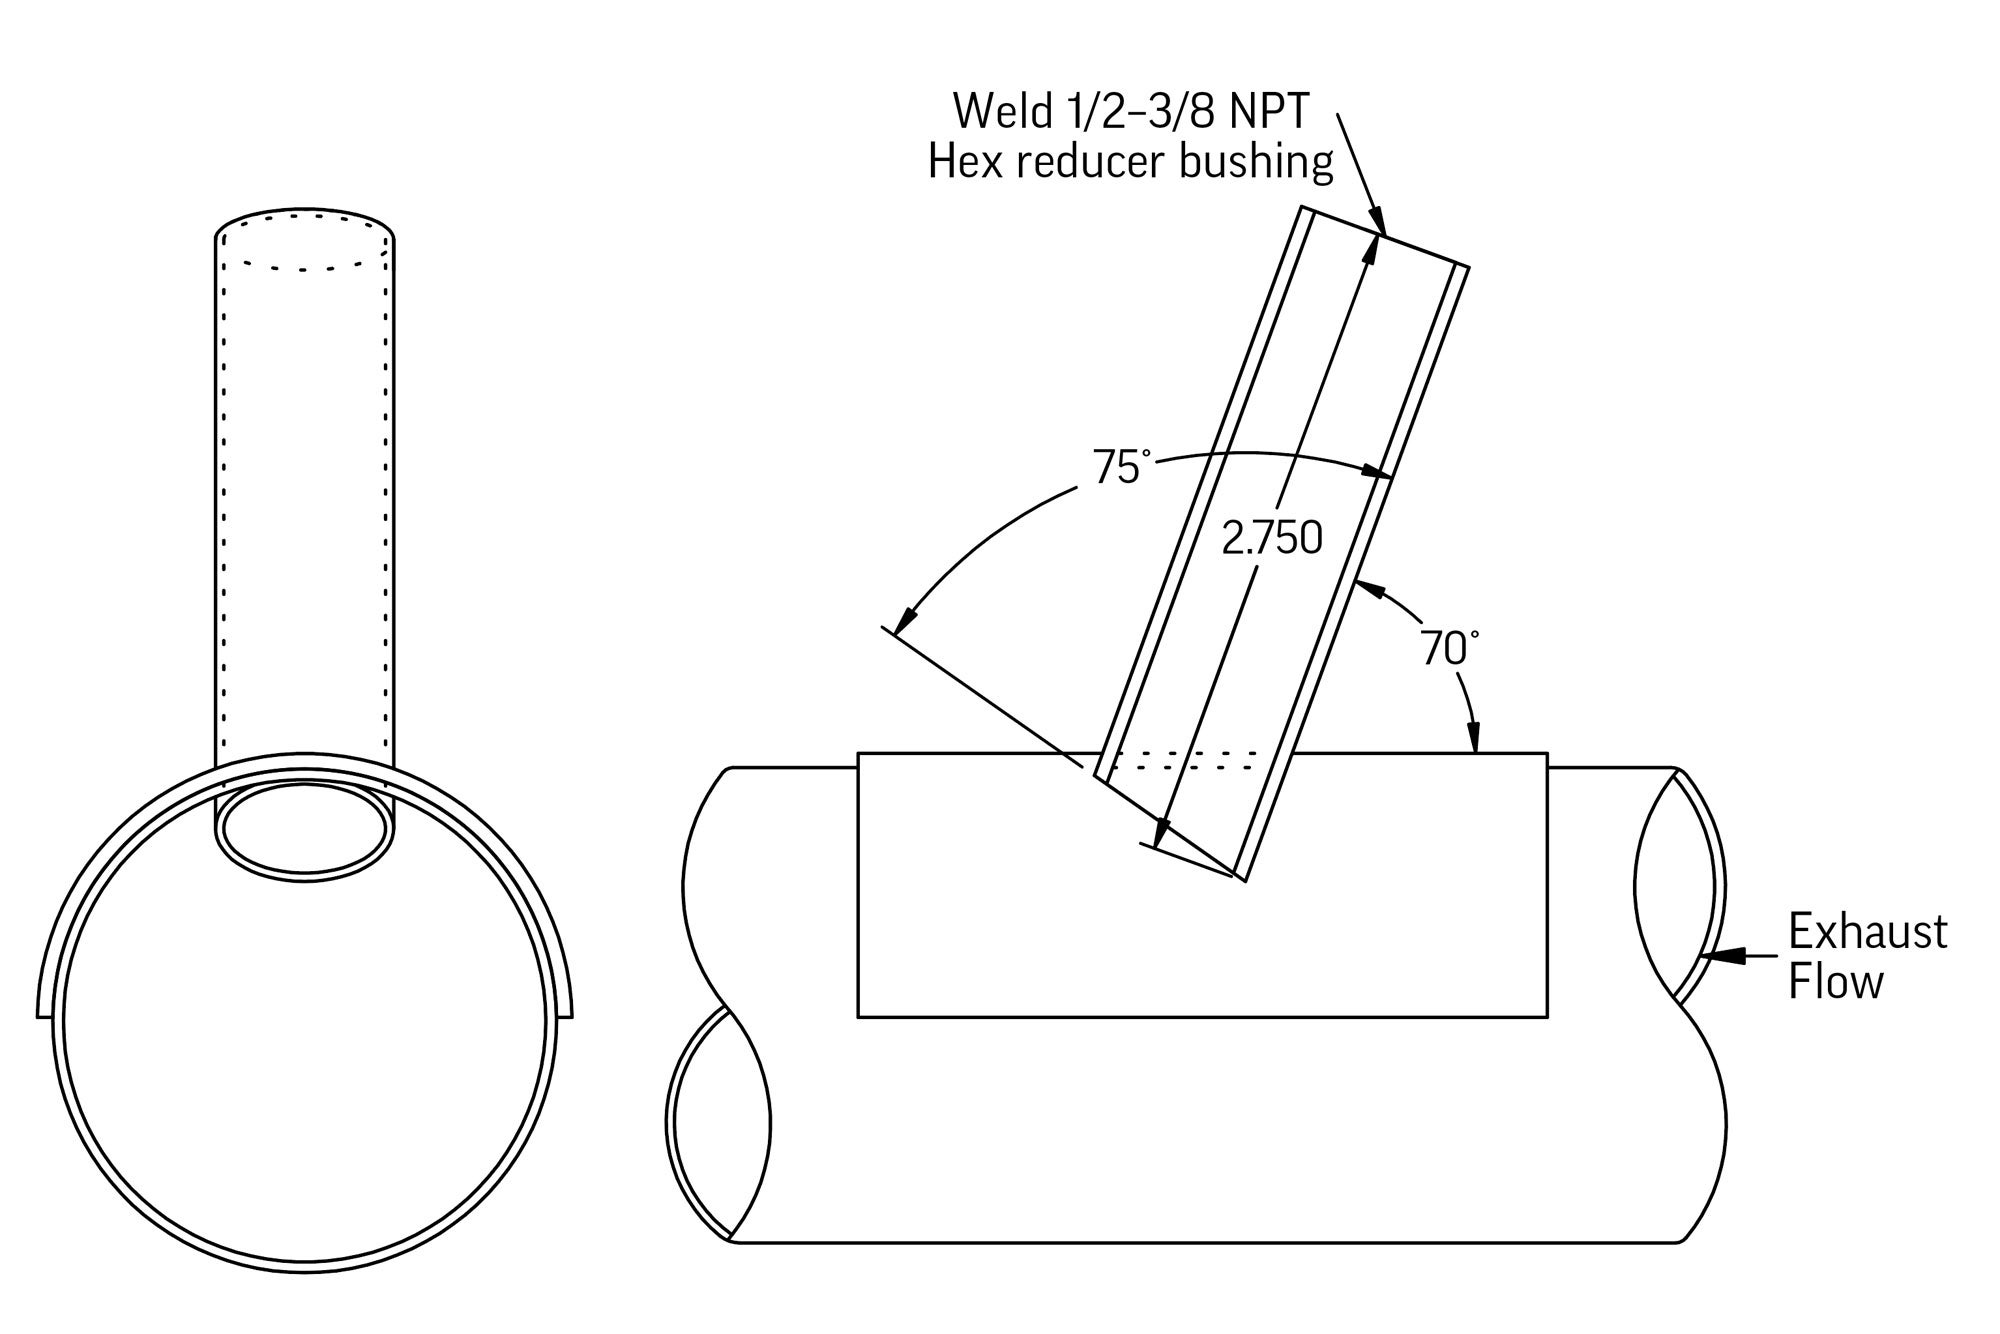
The exhaust pipe has to be drilled to allow the IV tube to protrude into the exhaust stream. The saddle has to be long enough so it can be clamped to the exhaust pipe with stainless steel hose clamps.

My neighbor, Ed, and I have a system: If he needs a part for his RV and I can help him, he pays me with food. Usually I get the better end of the deal: a home-cooked meal or a nice evening at J’s Bistro, the local five-star restaurant.
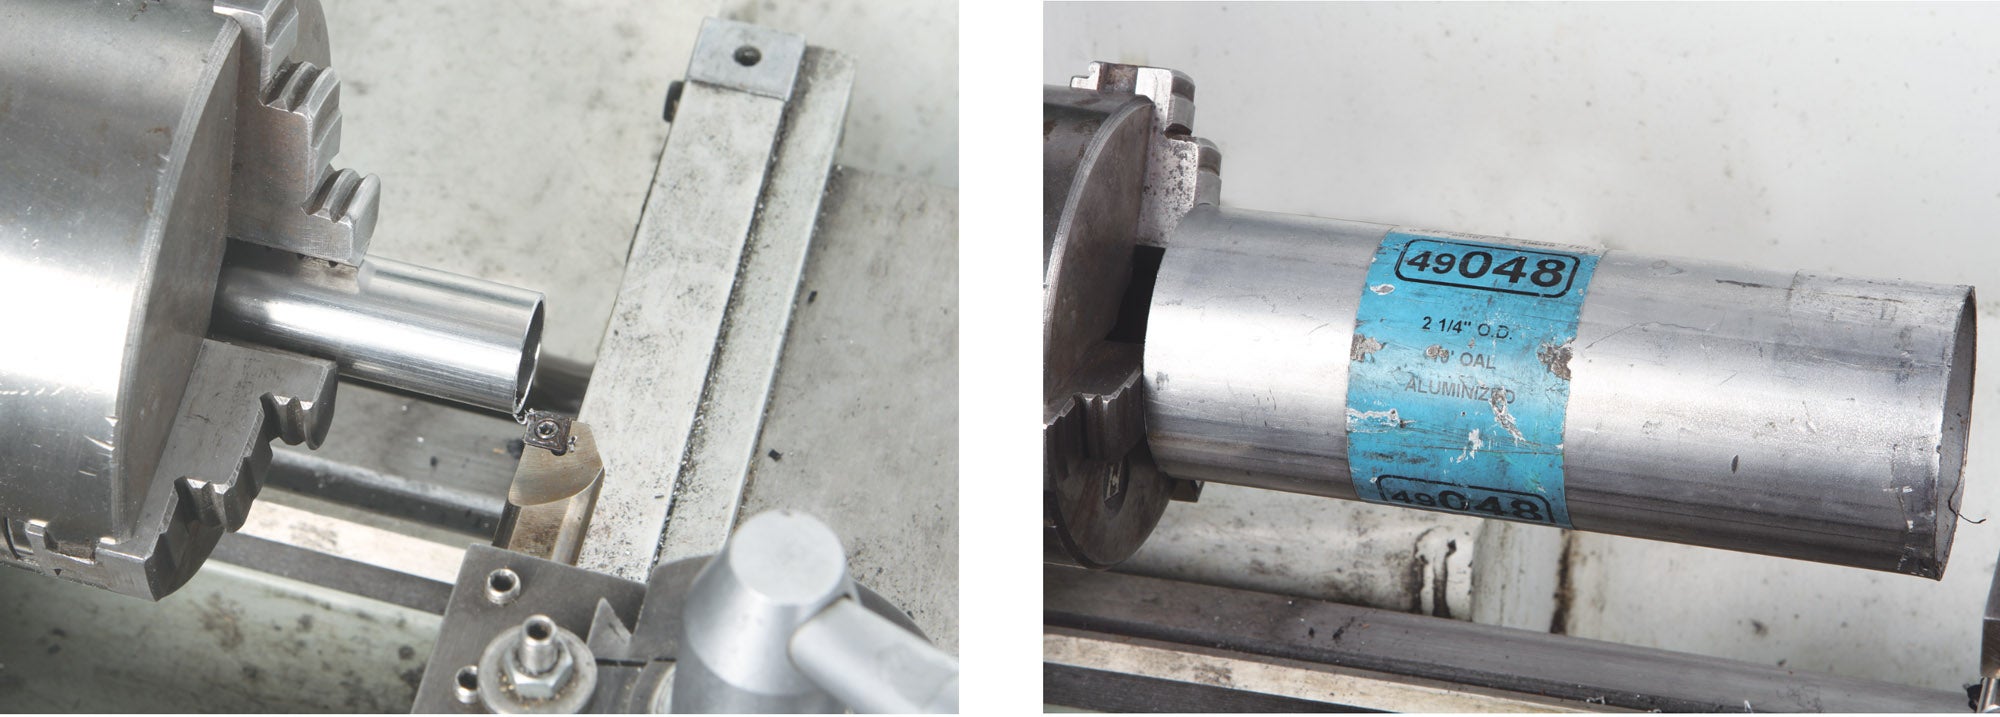
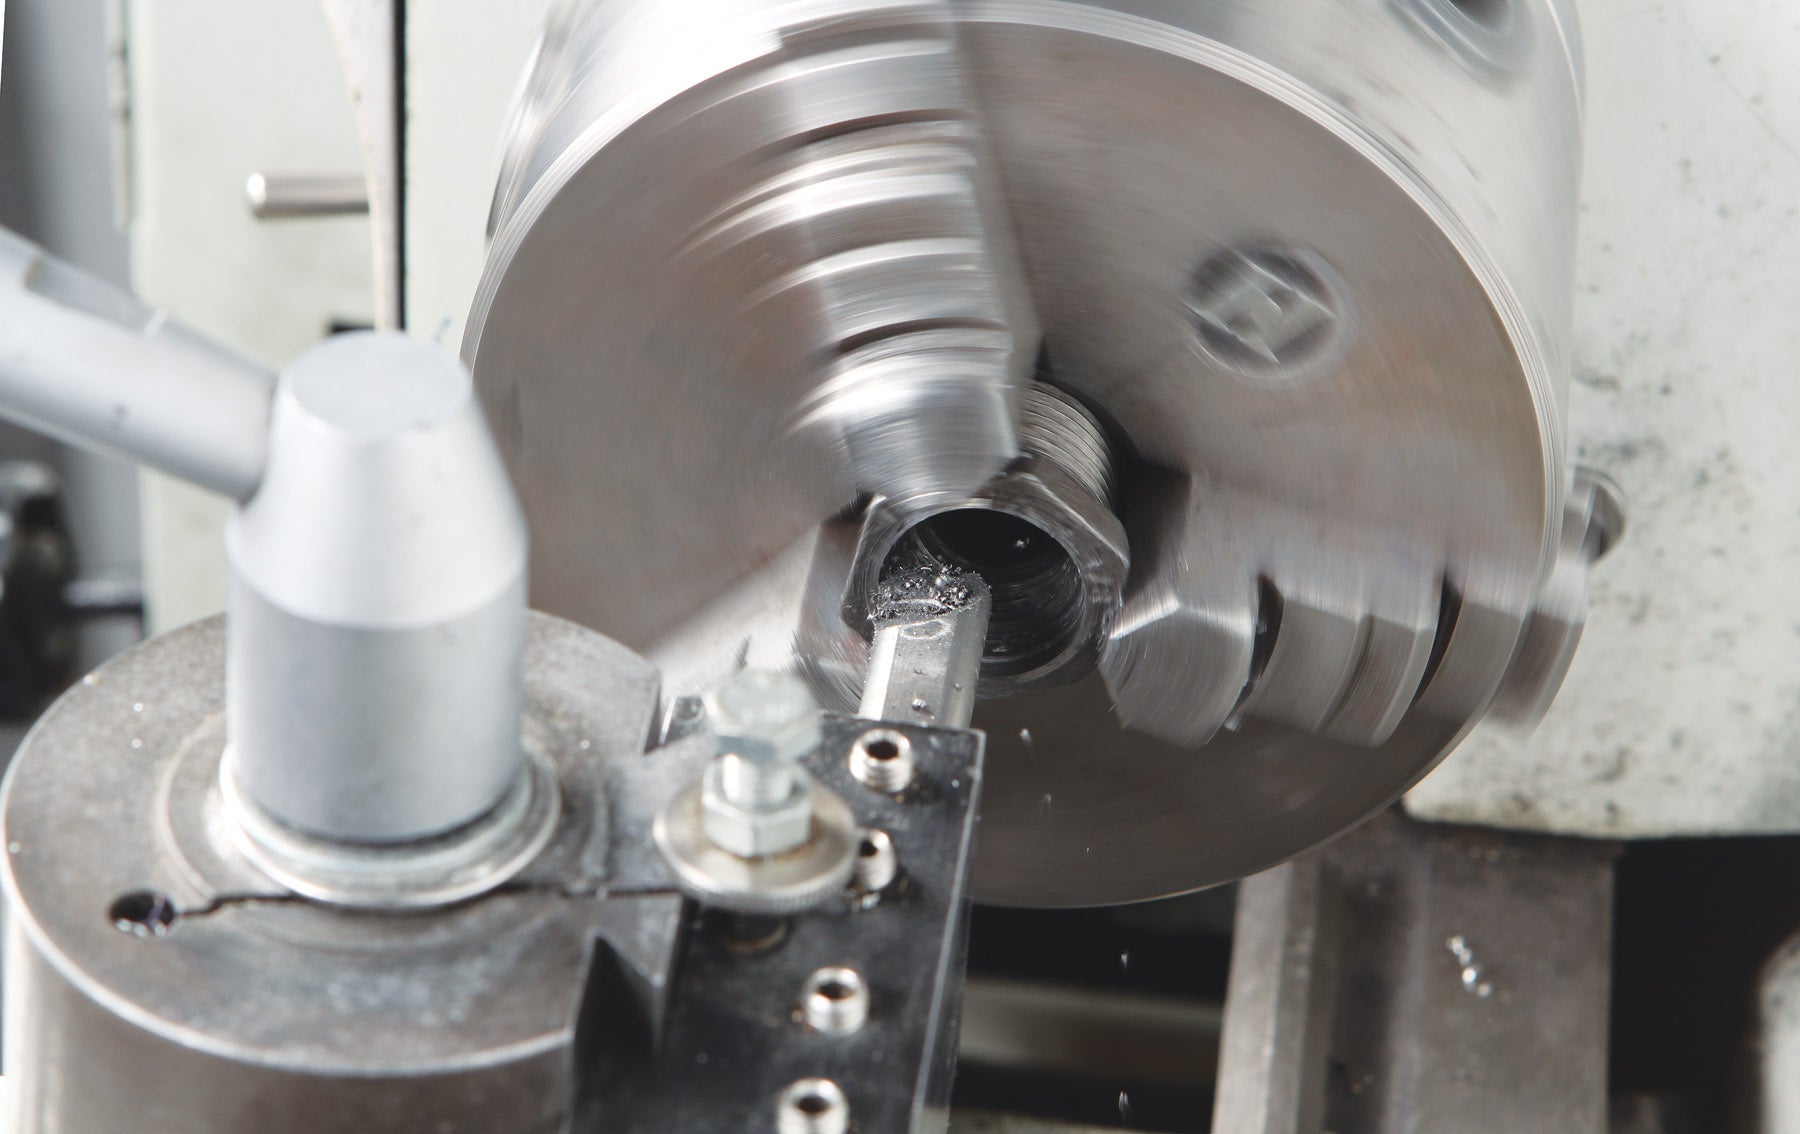
The IV tube was cut to length, then faced and deburred on the lathe (left). The label on the auto exhaust pipe clearly identified the material as aluminized steel (right). The aluminum coating provides protection from corrosive exhaust gases. The pipe was chucked on the lathe at this point, not for machining but to hold it so a hot air gun could be used to soften the adhesive on the label.

Recently, Ed needed a part to upgrade the installation of his crankcase breather/oil separator kit. Not being an RV guy, I didn’t know anything about the kit, but according to Ed, it is a popular accessory. In any case, the piece Ed needed was a weldment consisting of a tube with an NPT thread at one end and a half-round saddle at the other. The saddle end of the tube is beveled and gets extended into the exhaust stream of the tailpipe. The tube, combined with the rear-facing (to the exhaust stream) opening, create a venturi-effect vacuum source, the purpose of which is to evacuate fumes from the crankcase.

A 3-inch section of the 2¼-inch exhaust pipe was rough cut on the chop saw for the saddle (left). See KITPLANES August 2023 issue for the lowdown on steel-cutting chop saws. Using the lathe, the length was trimmed to 2⅞ inches and each end was faced square (center). The inside edges of both ends were aggressively deburred with a hook tool (right). The outside edges were deburred using a hand file (not shown).
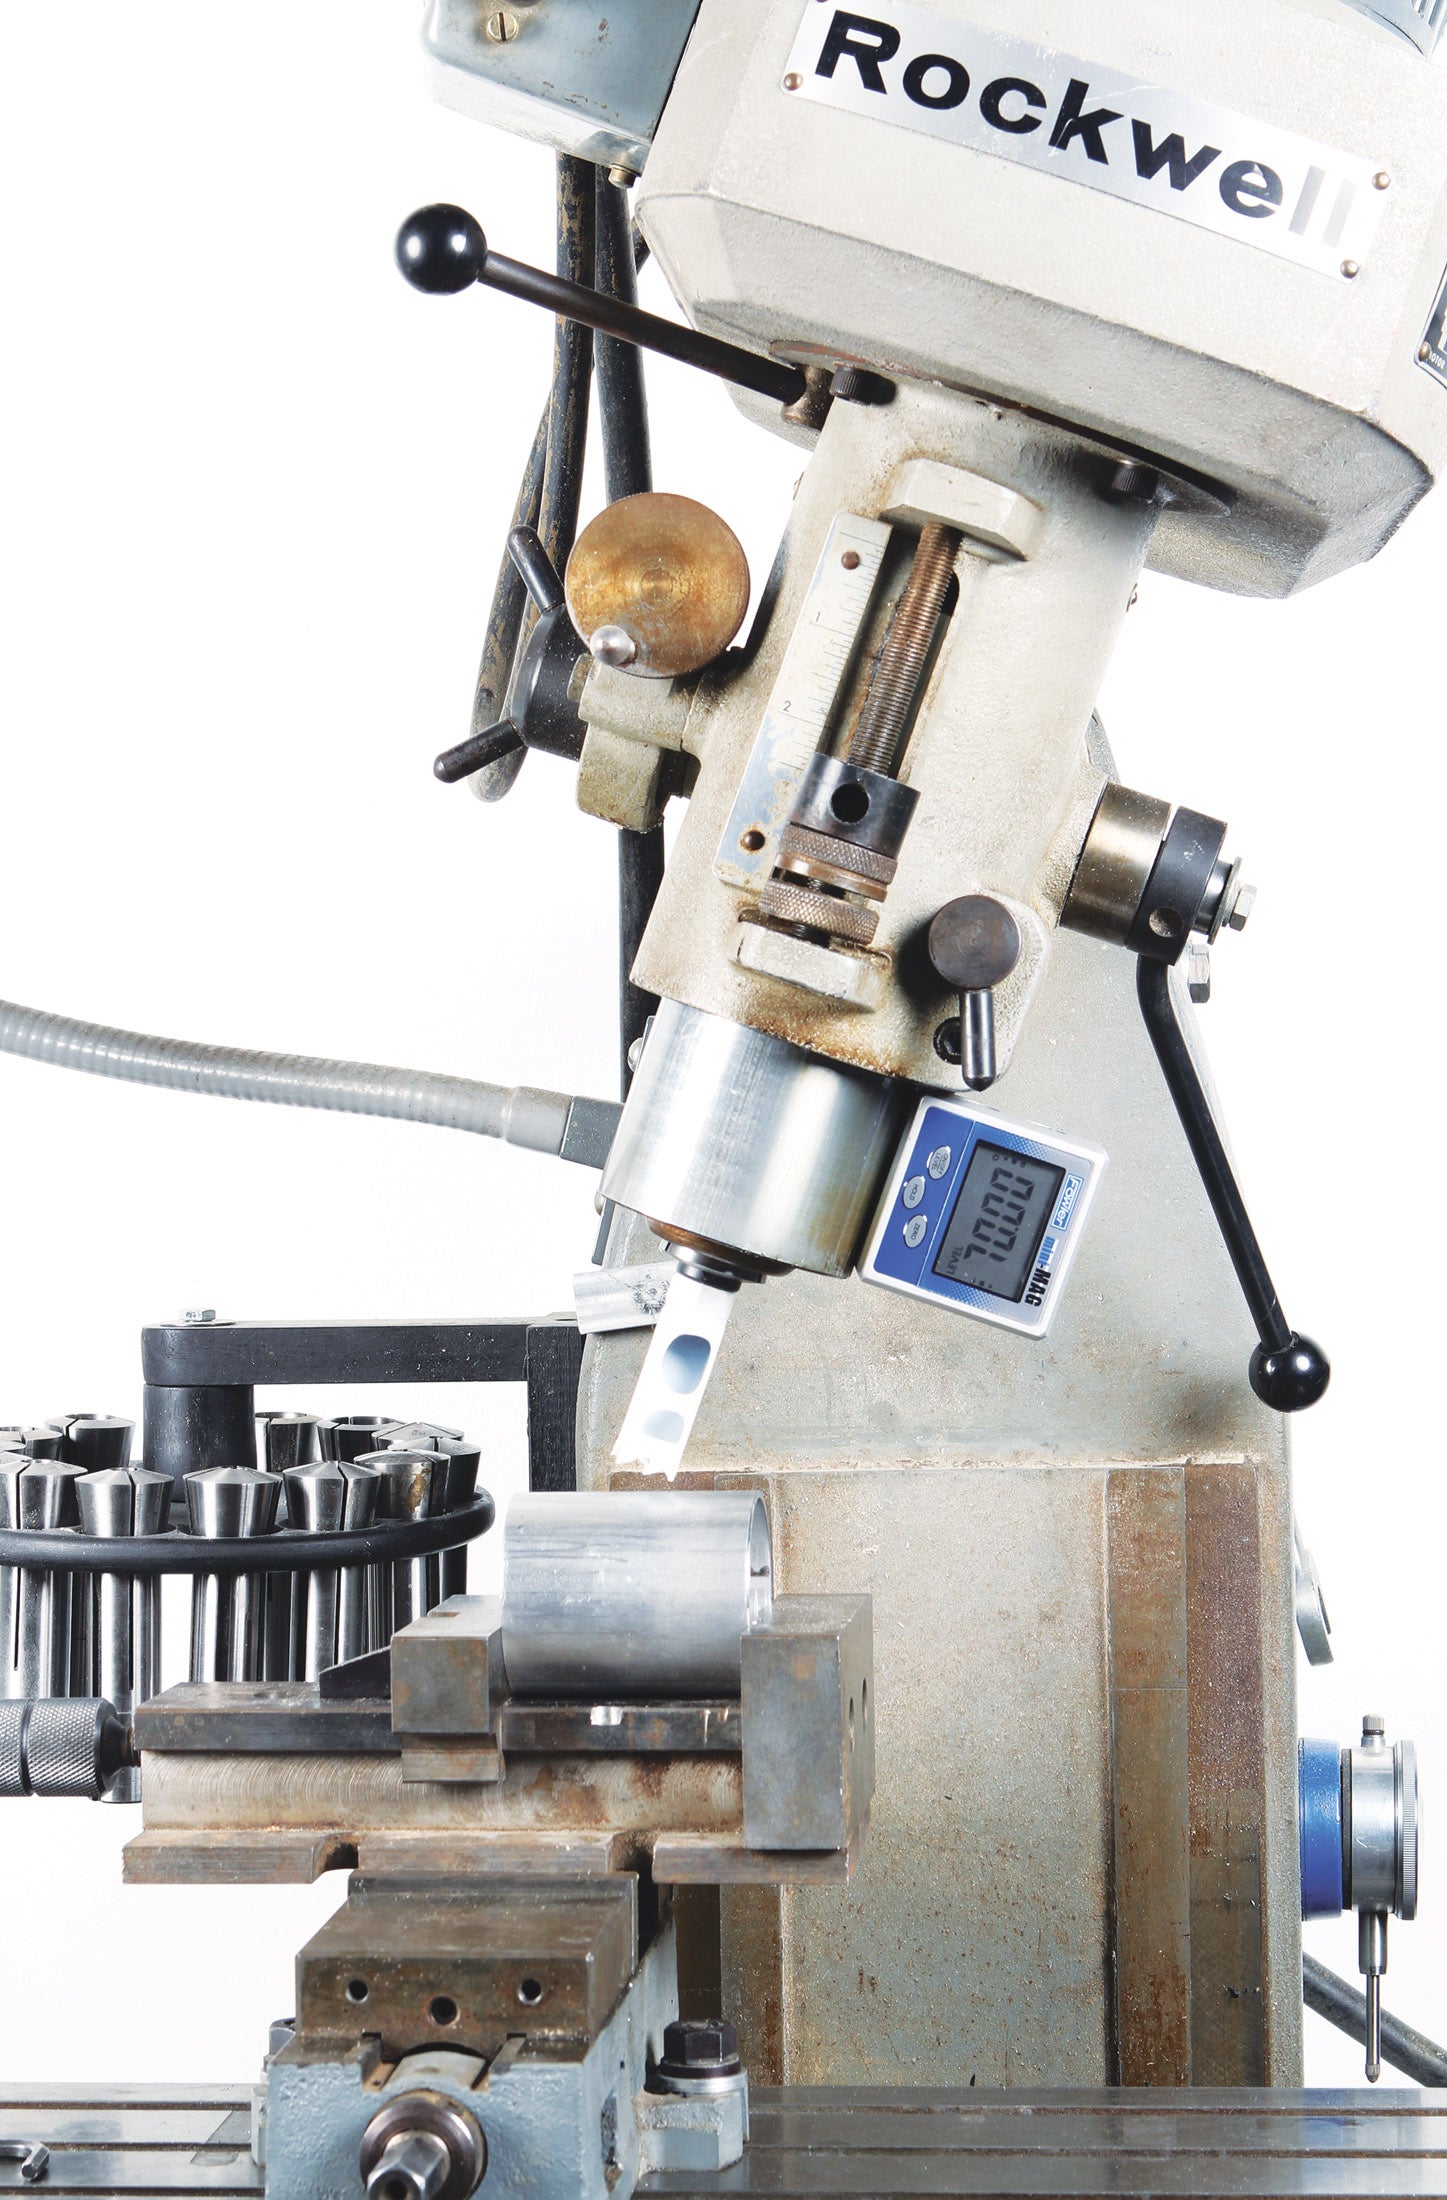
The angled hole in the saddle for the IV tube was made on the vertical milling machine using a hole saw. The mill head was tilted to 70° and locked into position. Note the secondary vise clamped to the main table vise so the pipe could be secured end to end.

Most engines have some sort of system for this. Most cars (except electric) have a positive crankcase ventilation (PCV) system that uses the differential pressure (aka vacuum) from the intake manifold to recycle crankcase fumes (mainly blowby). My Jabiru has a bevel-ended, rear-facing draft tube that is connected to the oil separator. The end of the draft tube extends below the cowling at the firewall. It works on the same principle; the vacuum is created by the slipstream flowing around the tube. The basic difference is a draft-tube system generates very little vacuum compared to the in-the-exhaust system.

In between the draft tube and the engine is usually an oil separator of some sort. The separator condenses oil vapor back to liquid and either stores it until it can be manually emptied or, as in the case with the RV kit, there’s an option to plumb the condensed oil back into the crankcase. Regardless of type, the primary function is to vent blowby gases from the crankcase. Recycling oil or keeping the belly of your airplane clean—though highly appreciated—is a side benefit.
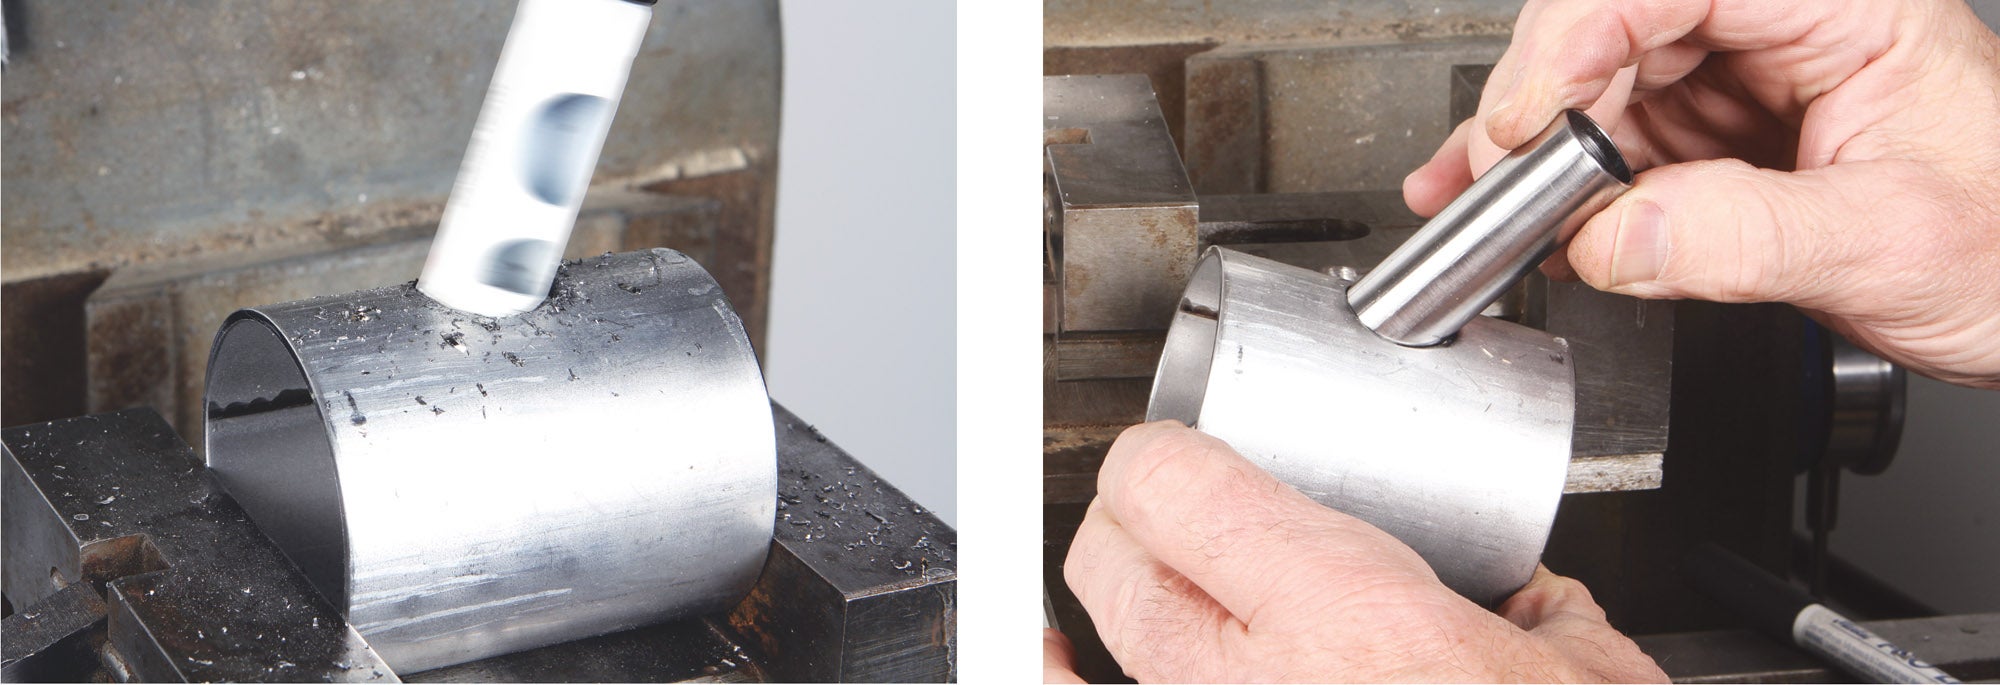
A very light feed and medium spindle rpm (about 700) was used to make the hole (left). Test fitting the IV tube (right). A second hole was made 180° from the first to have a spare saddle after slicing.
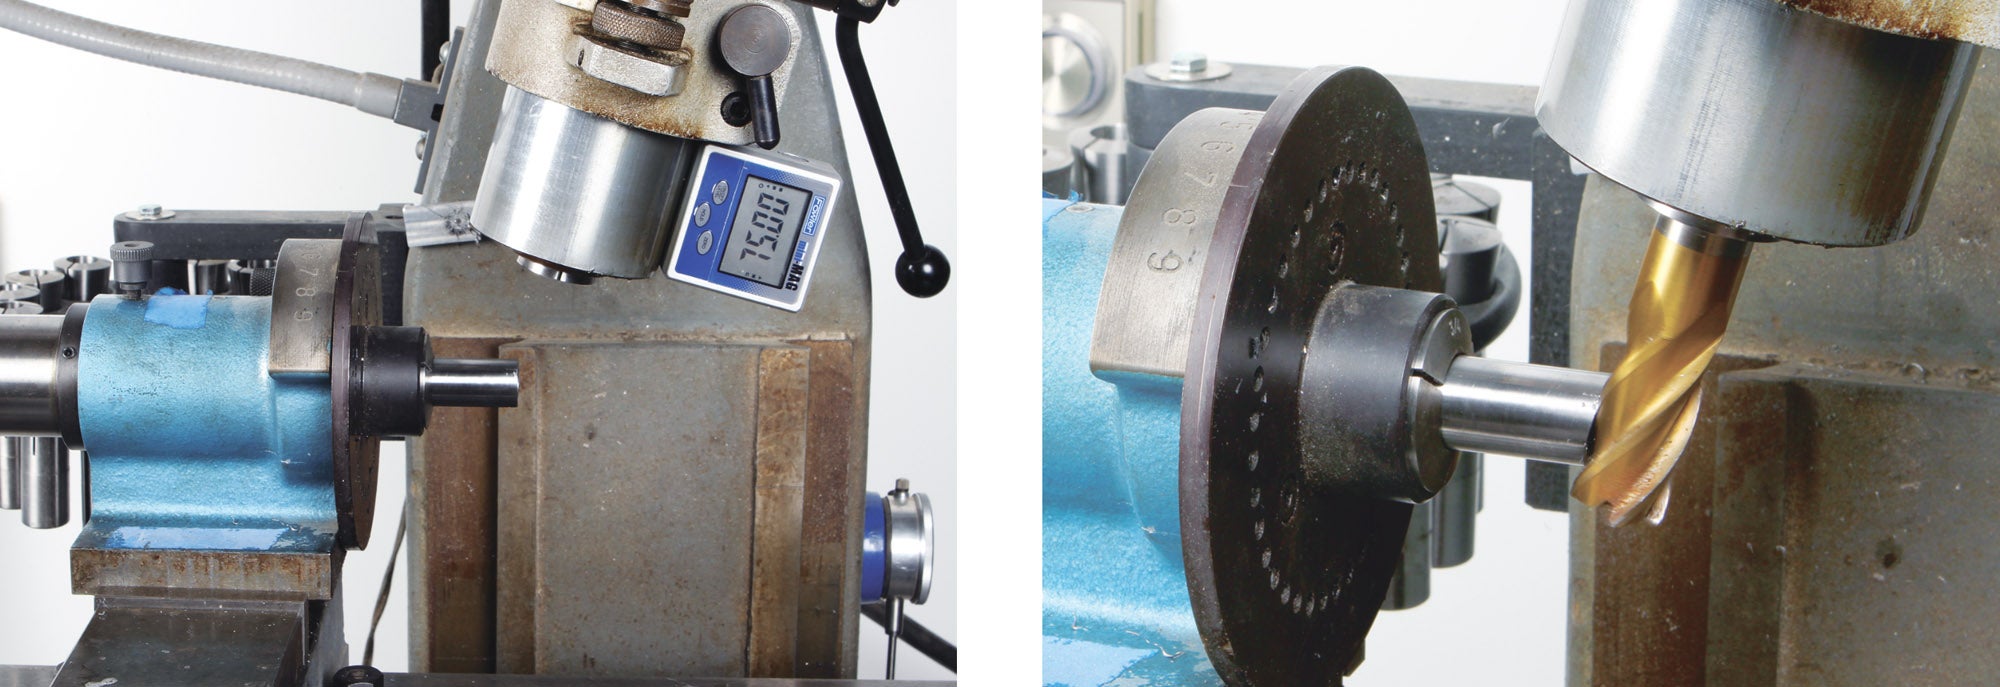
The milling machine head was then set to 75° to make the bevel cut on the IV tube (left). A 5C collet indexer was used to clamp the tube securely for milling the bevel, which was done using a four-flute ¾-inch end mill (right).
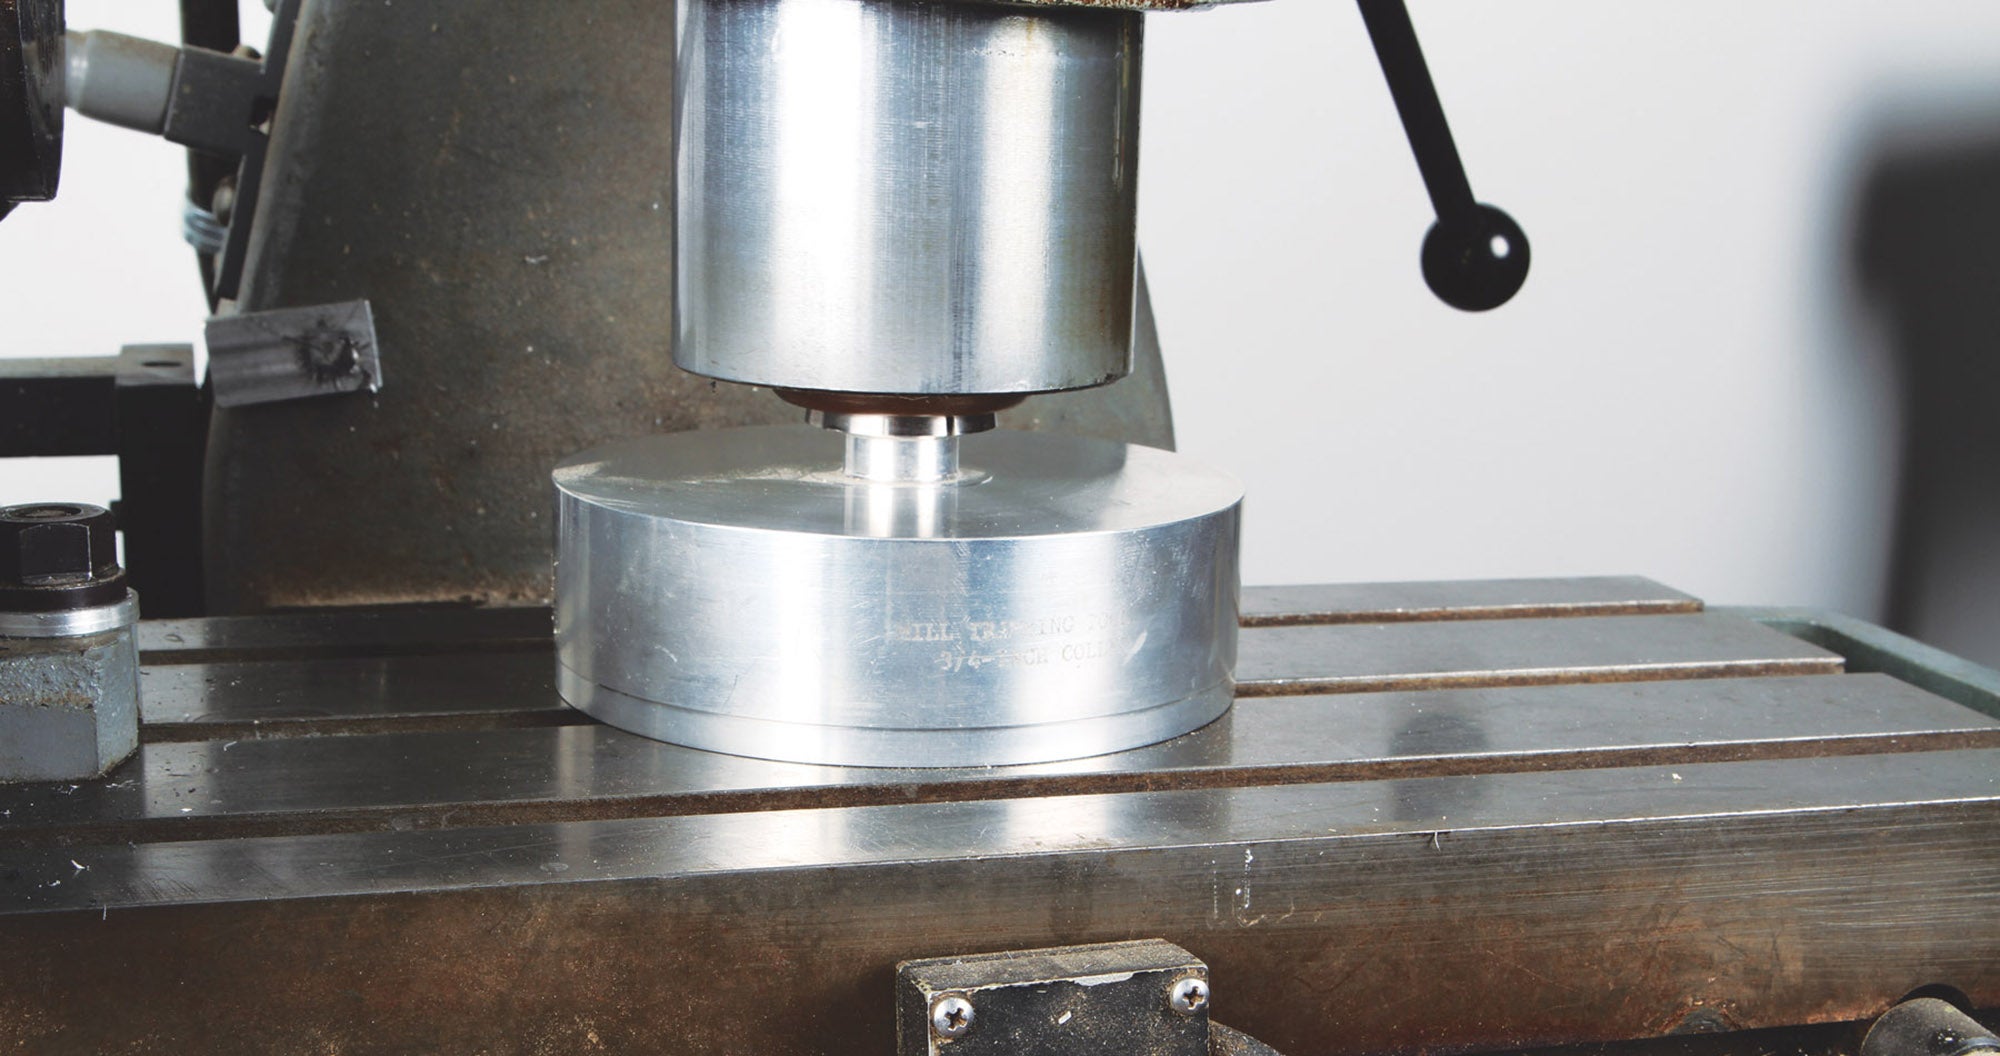
After making angled cuts, it’s important to set the milling machine head back to square. There are various ways to do this, but the quickest way is to use a “tramming” tool, which can be in the form of a precision T with dial indicators or simply a shop-made precision disk with a stem for a collet (shown). When there’s no gap between the table and the disk at any point, the head is square to the table.

As far as specifications for making the part, the only thing we had to go on was a basic sketch. Ed rounded up a section of 2¼-inch aluminized steel exhaust pipe from a local muffler shop for the saddle—the ID of which perfectly fit the 2-inch OD of his tailpipe. We determined that the vacuum suction tube, the tube that gets inserted into the exhaust stream, was in the neighborhood of ¾-inch diameter. I’m calling this the IV tube because it looks like an oversized IV drip needle!
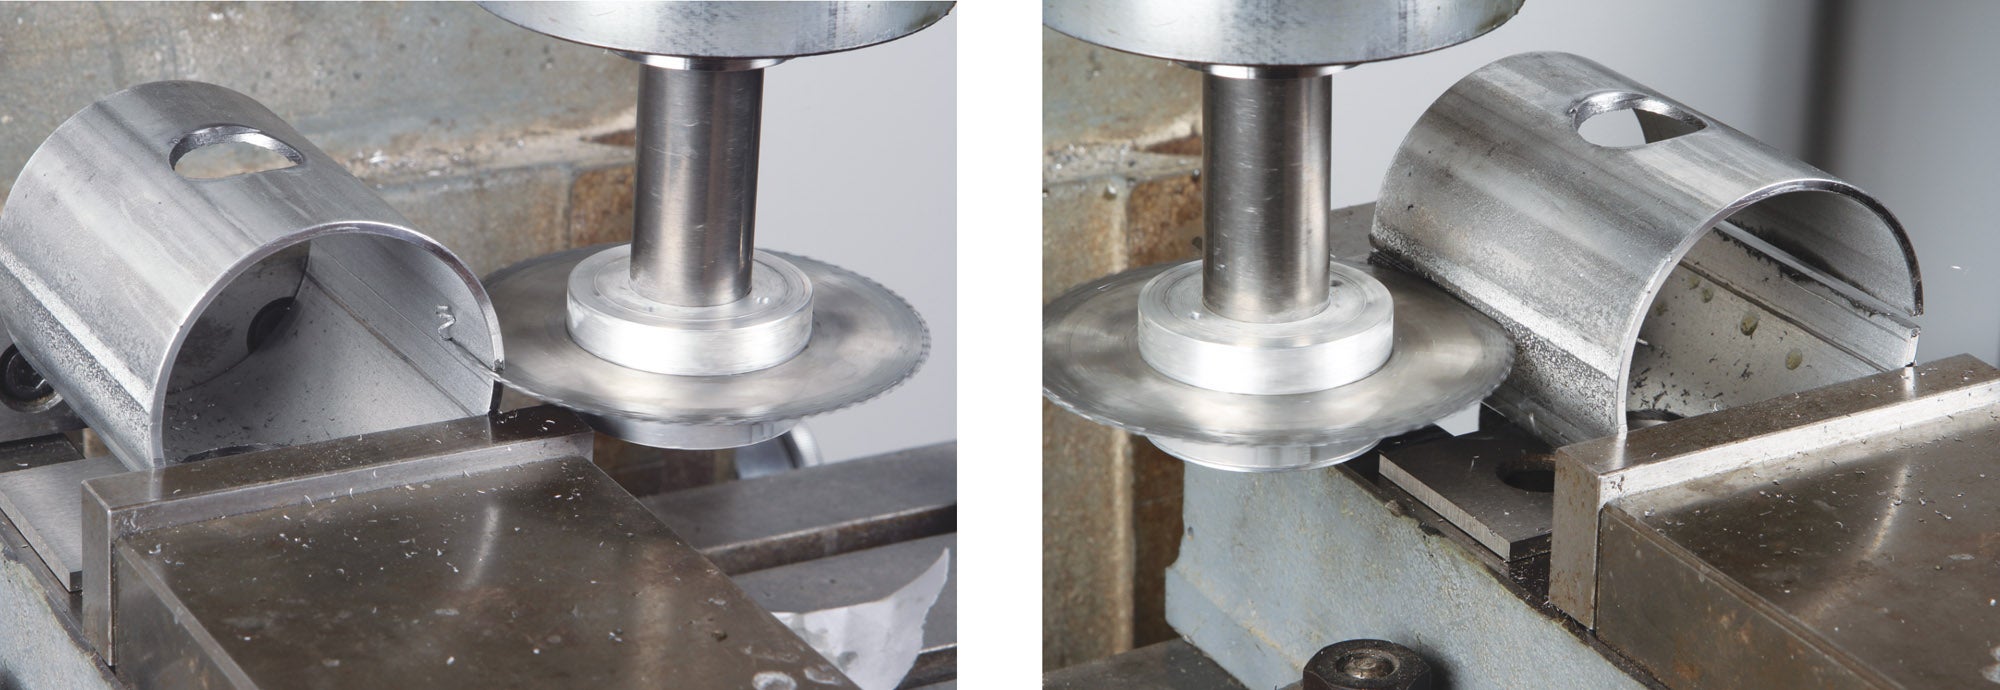
A slitting saw was used to sever the exhaust pipe into two saddles. This could also be done on a band saw or with a hacksaw, but nothing beats a slitting saw for making straight cuts.
The Hex bushing was counterbored on the lathe to create a recess to index the IV tube both on center and square to the fitting.

I happened to have a short length of ¾-inch stainless steel tube, so we were 90% there. One thing we needed was a ½-inch NPT thread to interface with the one-way valve that goes between the IV tube and the oil separator. Ideally, this should be stainless steel, but since our local hardware store only sells black iron and galvanized iron fittings, we settled on a black iron ½-to-⅜-inch NPT hex reducer. It was no big deal to make a second saddle (see the photos) and a spare IV tube just in case the iron fitting has problems. We have ordered a stainless steel reducer and will make another one in case Ed needs to do a swap-out sometime down the road.

ERCuSi-A silicon bronze was used with the TIG machine to braze “weld” the iron fitting to the stainless tube (left and center) and then the stainless tube to the aluminized saddle (right).
Ready for installation (left and center). Note the corners of the saddle were rounded over and all edges were polished smooth. Test fitting to the RV tailpipe (right).

That’s it for now! Time to get back in the shop and make some chips!

Previous articleMaster Caution
Bob Hadley
Bob Hadley is the R&D manager for a California-based consumer products company. He holds a Sport Pilot certificate and a Light-Sport Repairman certificate with inspection authorization for his Jabiru J250-SP.

LEAVE A REPLY

Please enter your comment!
Please enter your name here

This site uses Akismet to reduce spam. Learn how your comment data is processed.