The longest on-going debate in aviation is the contention by mechanics that aircraft engineers have no idea what they are doing when they design things. Impossible to reach fittings, bolts that you can’t reach with a torque wrench, and drains located to ensure a good bath in engine oil now and again are examples given to support this argument. Now as homebuilders, we are liable to a bit of schizophrenia – we design, build and maintain – and often have no one to blame but ourselves! This probably accounts for the high percentage of beer in workshop hangars…
Which sets the stage for today’s lesson. The little Sonex jet is a lesson in structural simplicity. The wing tips are really just fiberglass panels that close out the angled opening at the end of the metal structure. Since there is nothing inside the wings to work on, they are generally not removable, and are simply riveted in place, with some resin and micro added to blend them in – permanently. Now, wing tip lights are optional, but since I wanted strobes and nav lights, I decided on a good LED package that would never give me any problems – as a rule, I don’t think I have ever seen one fail (unless abused). So I mounted them permanently, with screws and bolts before attaching the wing tips. I use the same method on our other planes… but of course, they have removable tips!
You know what’s coming. The strobe on one side stopped strobing a while back. Nav worked fine. Like most lights, these come with about six inches of wire. I had used solder seals (heat-shrink with solder inside) to splice longer wires to those, and run those wires to the wing attach point (all of four feet) to good Canon connectors, for when the wings are removed. Hoping that I had a problem at the connector, I rung out the circuits, and had power to the connector from the switch for both Nav and strobe, and good continuity across the connector. So either the strobe LED had gone bad, or that permanent connection had proven to be otherwise… and there was no way to test that unless I literally cut the light out of the wing tip! Of course, if I did that, I’d want to make sure I had a spare, or the airplane could be grounded while I chased one up.
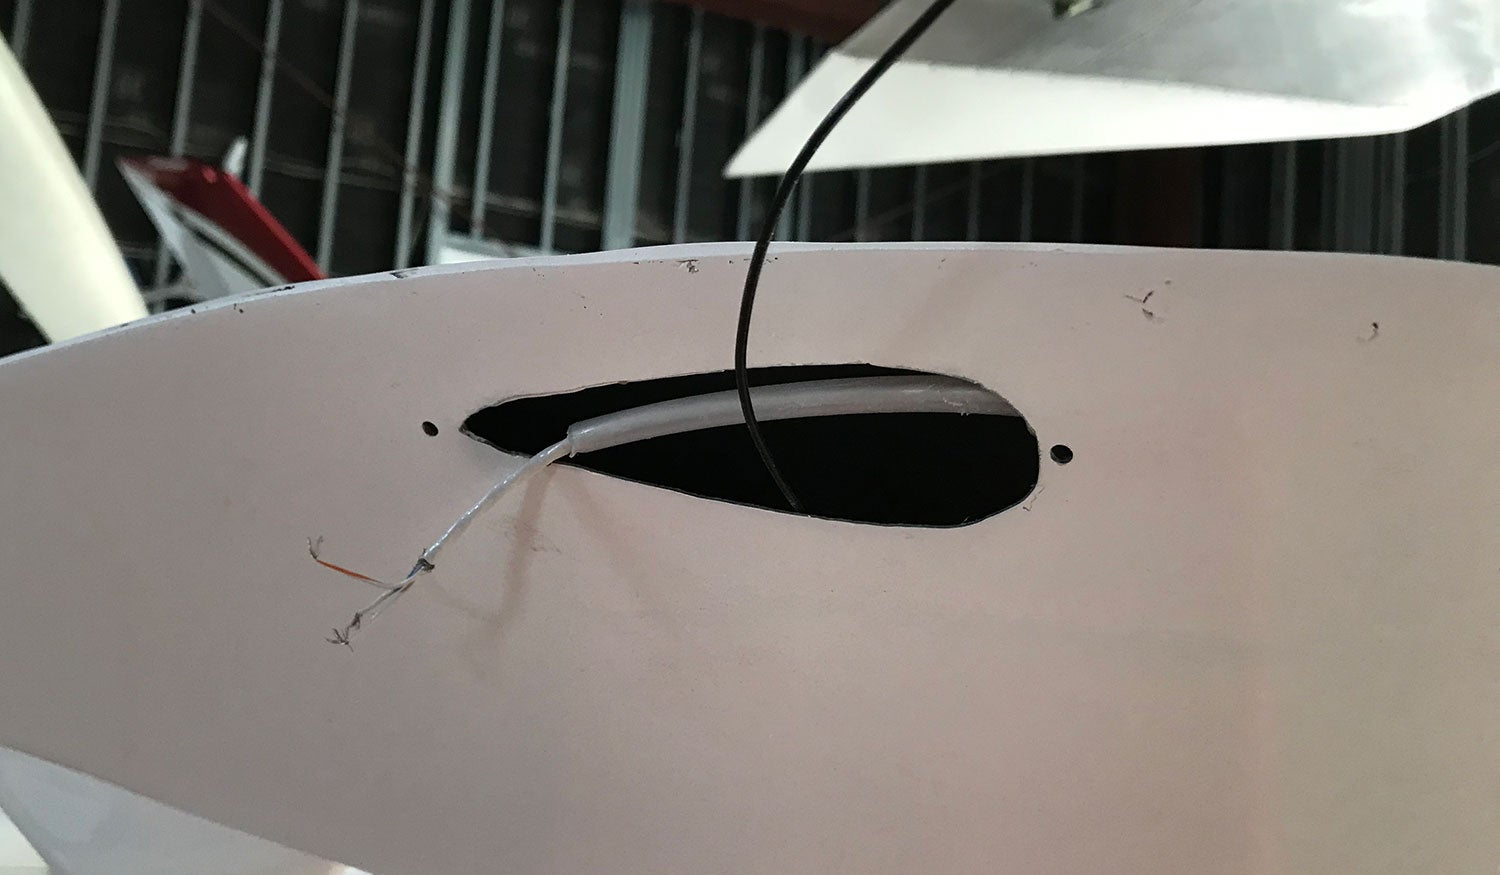
 The folks at Aveo graciously offered to send me a replacement before I sent them the bad one, so when that arrived, I set up for surgery, and cut the fiberglass right up close to the light with a Dremel tool. That left a nice light-shaped hole in the tip, and the light dangling from the wires I had thoughtfully left slack inside. I cut the light off and sure enough – voltage was coming on the strobe wire from the cockpit—bad light! My elation, however, lasted only a minute, until I attached the light to my branch power supply, and the strobe winked merrily away in my face. So nope – Aveo was totally innocent, and I had a joint that worked for about six months and then quit!
Well now I had a hole in the wing tip, but that was easily corrected with a light-shaped plate, painted to match the wingtip, and a coupe of nut plates so that it can be easily removed next time. Except there won’t be a next time, because we’ll test the heck out of a new connector between the light and the wing wires, and it will never fail again.
Remember – always design for maintenance – especially in places that you can never imagine maintenance being performed, or required!


