
Flat tires seem to come in clusters. You can go years without getting one, then for some reason, “boom” (actually, more like “psssss”), more flats in a month than a year or years. Just days after I finished dealing with my nosewheel flats, a local RV-12 pilot we call Bob #1 (I am Bob #2) got a flat on his port side main one morning while taxiing out for a flight. The flat rendered the plane immovable, so he fetched a wheel dolly to put under the offending wheel. During the process of hoisting the wheel onto a dolly, something didn’t go quite right and the next thing he knew, the wheel pant bracket had disassociated itself from the axle. What gave way were two AN3-40A bolts that pass through an extension and fix the outboard support bracket to the axle. One of the bolts broke off flush to the face of the axle and the other broke off two or three threads inside the threaded hole.
A couple of days later Bob #1 mentioned he was still grounded. He had no luck extracting the broken screws and was thinking he might have to purchase a new axle. Drilling pilot holes for a screw extractor proved fruitless as the jaggedness of the fractured bolts kept deflecting the drill bit into the aluminum axle. Not good. I offered to try, figuring that I might have more luck holding the axle in the milling machine and using a stub drill or miniature end mill to “bore” a hole instead of drilling.
Extracting broken bolts is something every mechanic eventually has to deal with. Typically the issue is fatigue and/or corrosion. A good example is a rusty old exhaust stud getting “welded” to the nut. When you go to remove the nut, the stud snaps off. With luck, the break will be just behind the nut and the leftover part is long enough to grip with pliers. Often the stud will also be frozen to the base and pliers will not be enough. In that case, soaking the threads with penetrating oil and heating the area with an oxy/acetylene rig or propane torch is usually enough to remove it.
All fine and dandy for broken bolts with exposed shanks. When a screw or bolt breaks flush to, or deep inside, a threaded hole, the process can be a bit more complicated. This is where screw extractors come in handy.
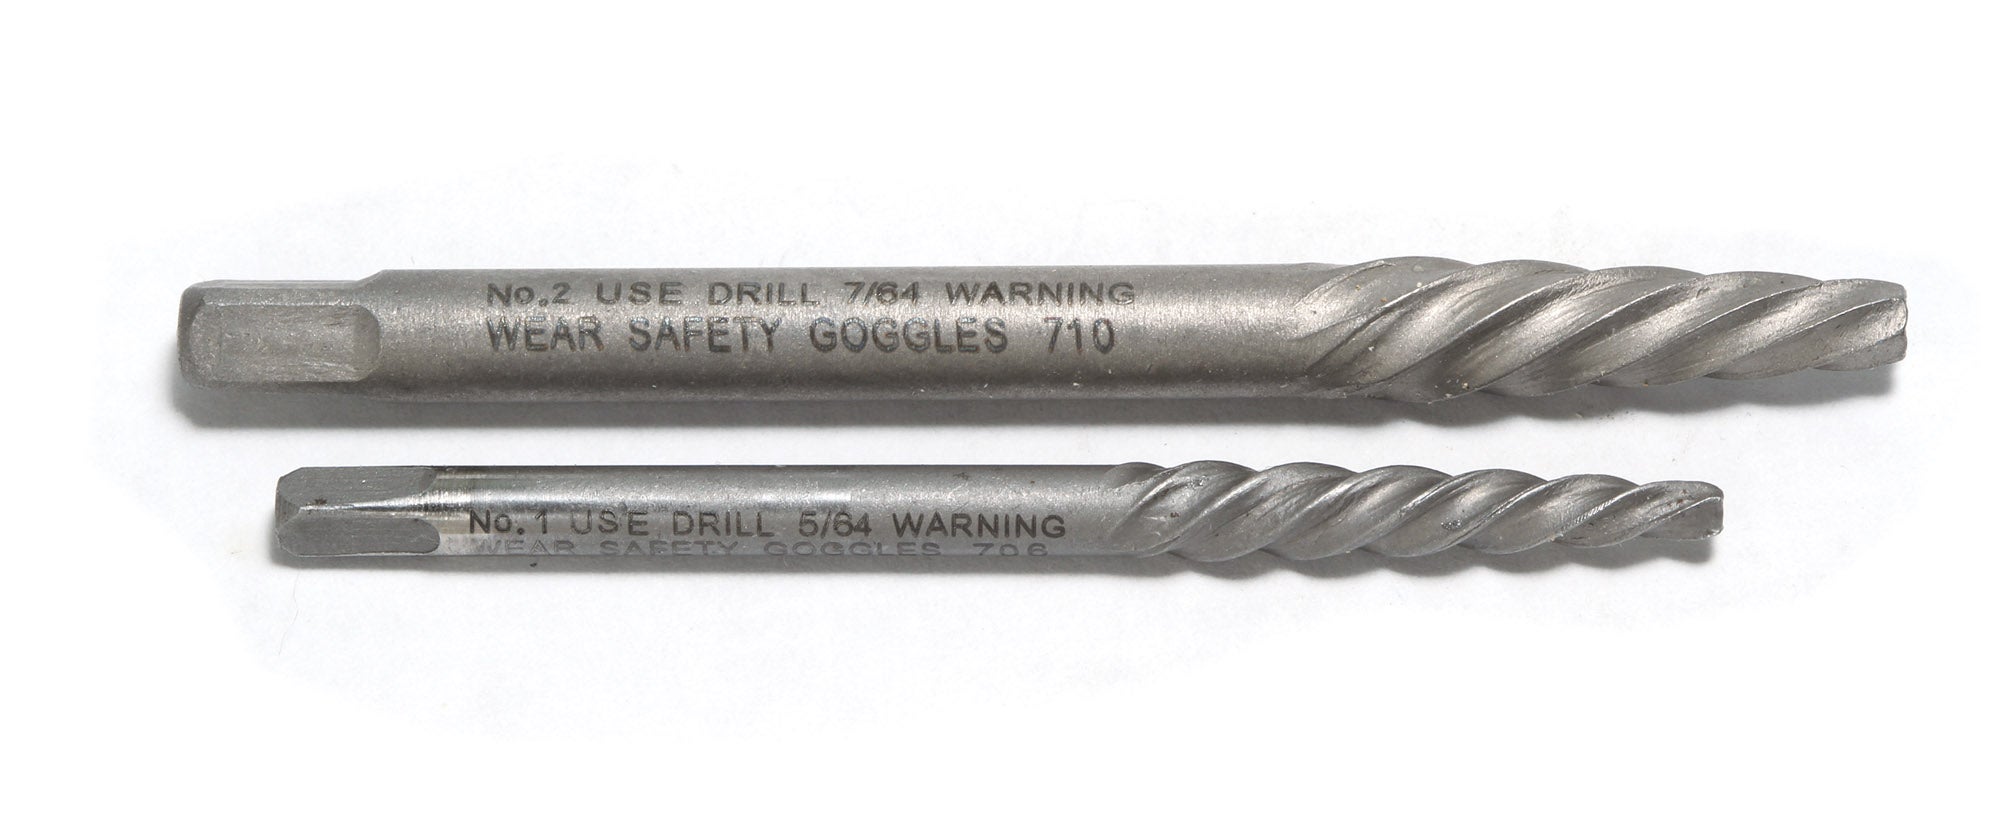
Screw extractors look a bit like a tapered twist bit or end mill, except the spiral is left-handed (i.e., backward) and much more coarse. To use a screw extractor you have to drill a pilot hole into the broken screw. While the pilot hole doesn’t have to be dead center of the screw, the closer you are to center, the less likely you are to damage the original screw threads. Once a sufficient hole is made, you twist the extractor into the hole counterclockwise (with the aid of a tap handle) and the broken segment will, hopefully, unthread.
Factors that might impede the process of removal include Loctite on the threads, rust or jagged fragments of the broken screw. If a broken screw absolutely refuses to come out, you can try fixing it by drilling out both the broken fragment and the original threads and installing a Heli-Coil insert.
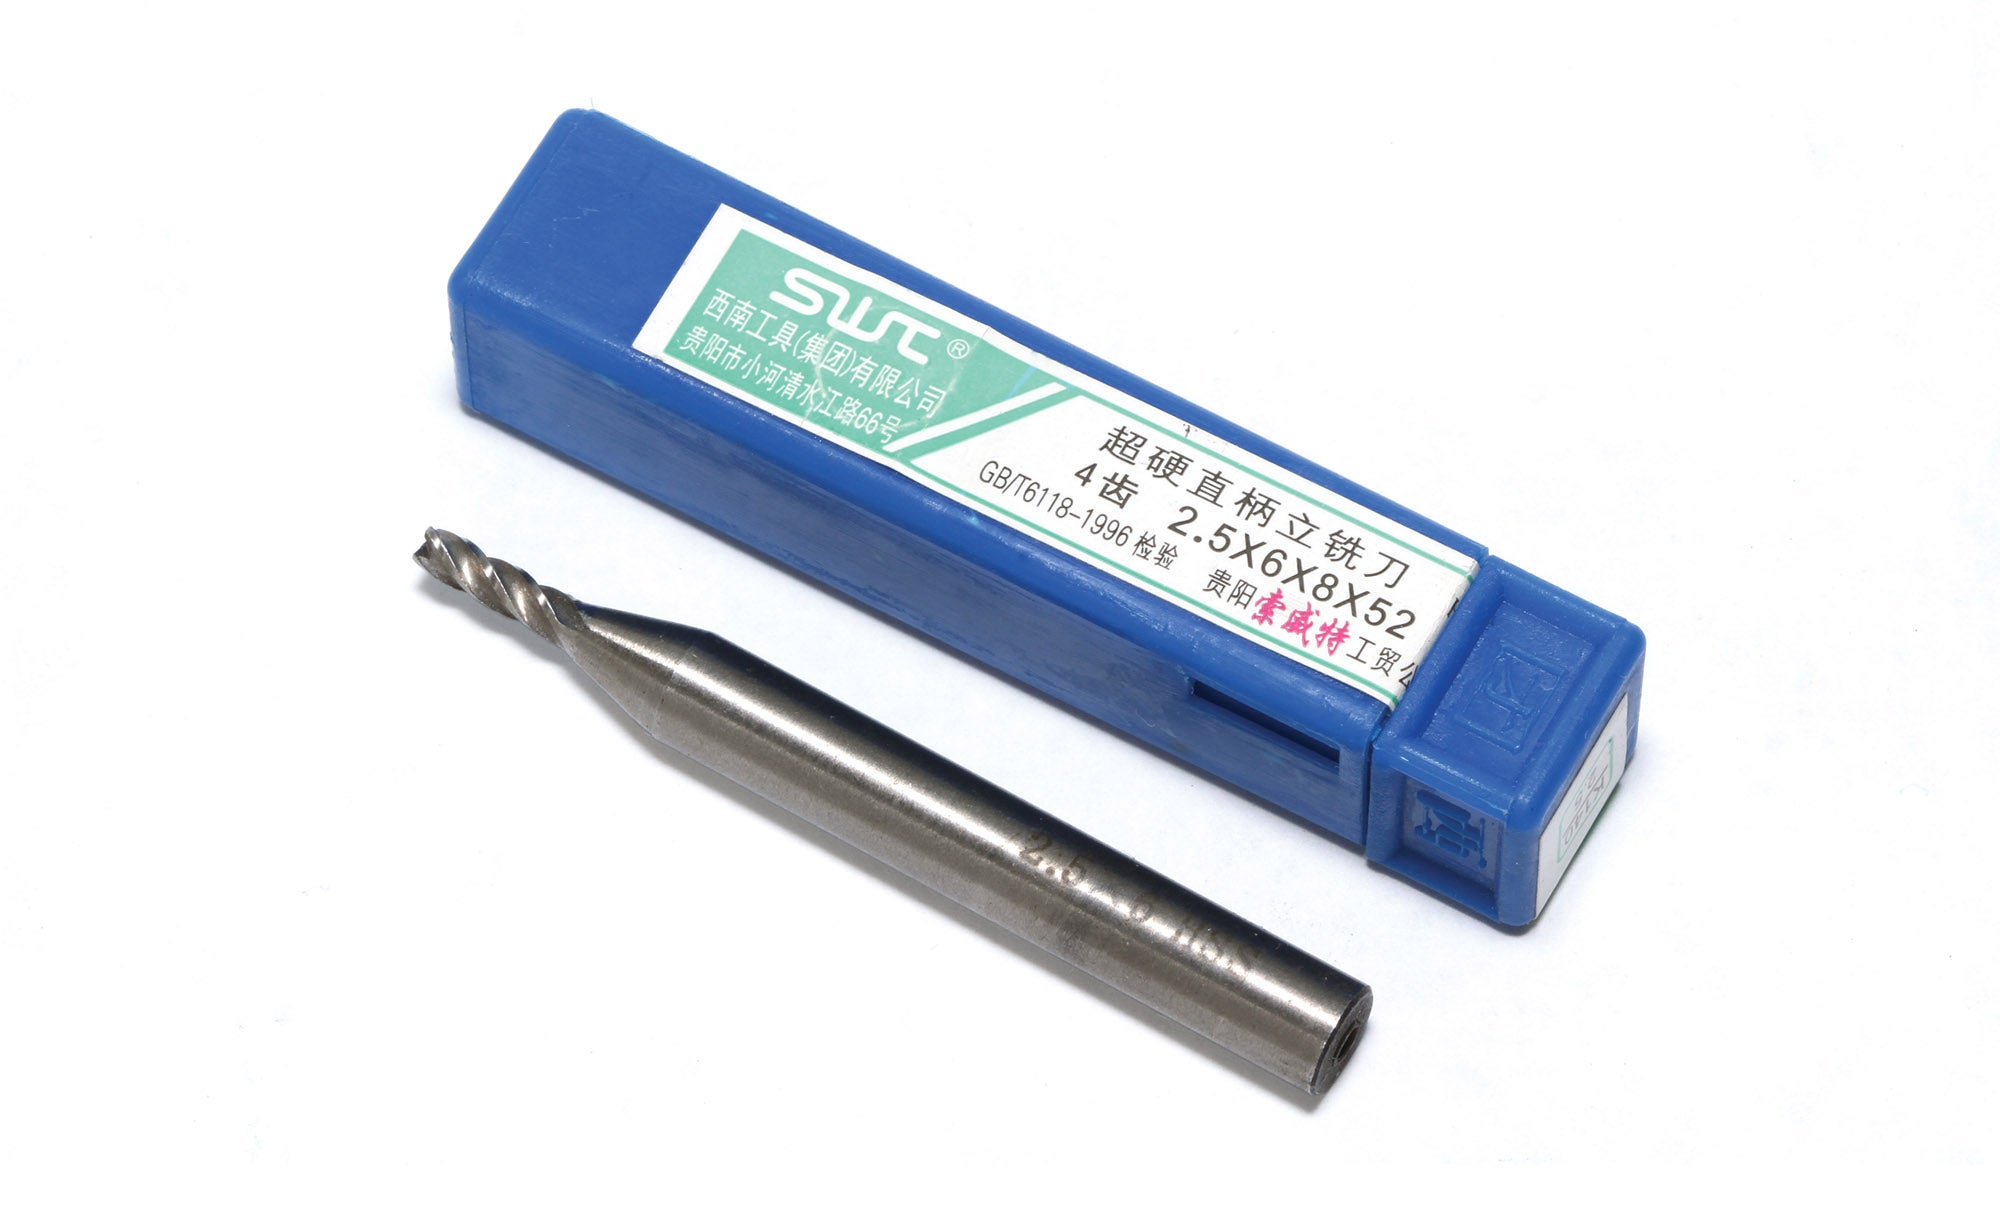
Back in the shop with Bob’s axle, I was lucky enough to have on hand a couple of 2.5mm (0.098-inch) diameter miniature end mills. I remembered buying them but forgot what the project was! Some quick math showed that my end mill would make a clean hole in an AN3 bolt without disturbing the original threads.

My tiny 2.5mm end mill bored into the bolts with no problem. I set the spindle rpm to 1000 and fed the cutter very slowly and carefully. I “pecked” down to the full length of the cutter (8mm/0.315 inch). I wanted the hole to be deep enough so the screw extractor wouldn’t bottom out before engaging.
Using a tap handle to drive the No. 1 Vermont American screw extractor, I was able to unthread both fragments with no problem. There was some minor damage to the mouth of each hole, so I ran a 10-32 tap into each and then tested the fit with a new AN3 bolt to make sure the threads were snug and as good as new.
That’s it for now! Time to get back in the shop and make some chips.

 Wordless Workshop")


