 Building an airplane takes time, we all know that. It also requires some skill, certain tools and abundant patience. Truth is, not all who want an Experimental/Amateur-Built airplane, with the flexibility that comes with it, have the time, skill, tools or patience. This is why builder assistance has long been part of our landscape. For years, independent shops with expertise in certain types of aircraft have done well assisting builders with difficult aspects of the project—and know that every airplane, no matter how good the kit, has a few of those.
At the heart of the matter is that builders all have to sign an affidavit testifying that they did the “majority” of the work, which itself is defined by tasks and not by hours spent or the number of times you’ve drilled through your thumb. Those who have the entire airplane built by someone else and sign their name put themselves in a tricky spot. Then there are programs like the now-shuttered Glasair Aviation Two Weeks to Taxi, which took a very sharp pencil to the FAA-approved task list to reduce builder involvement (and time) as much as possible while still ticking all the boxes.
Cub Crafters’ builder-assist program might appear similar but it is actually the flip side of TWTT. Where the Sportsman-based project leaned heavily on the builder doing assembly projects with basic parts that were as complete as possible, Cub Crafters takes the opposite approach: Have the builder be part of the production process and do a lot less assembly. In other words, it’s heavily biased toward fabrication and steered away from assembly, using the same task list but ticking off a completely different set of boxes.
Firsthand Experience
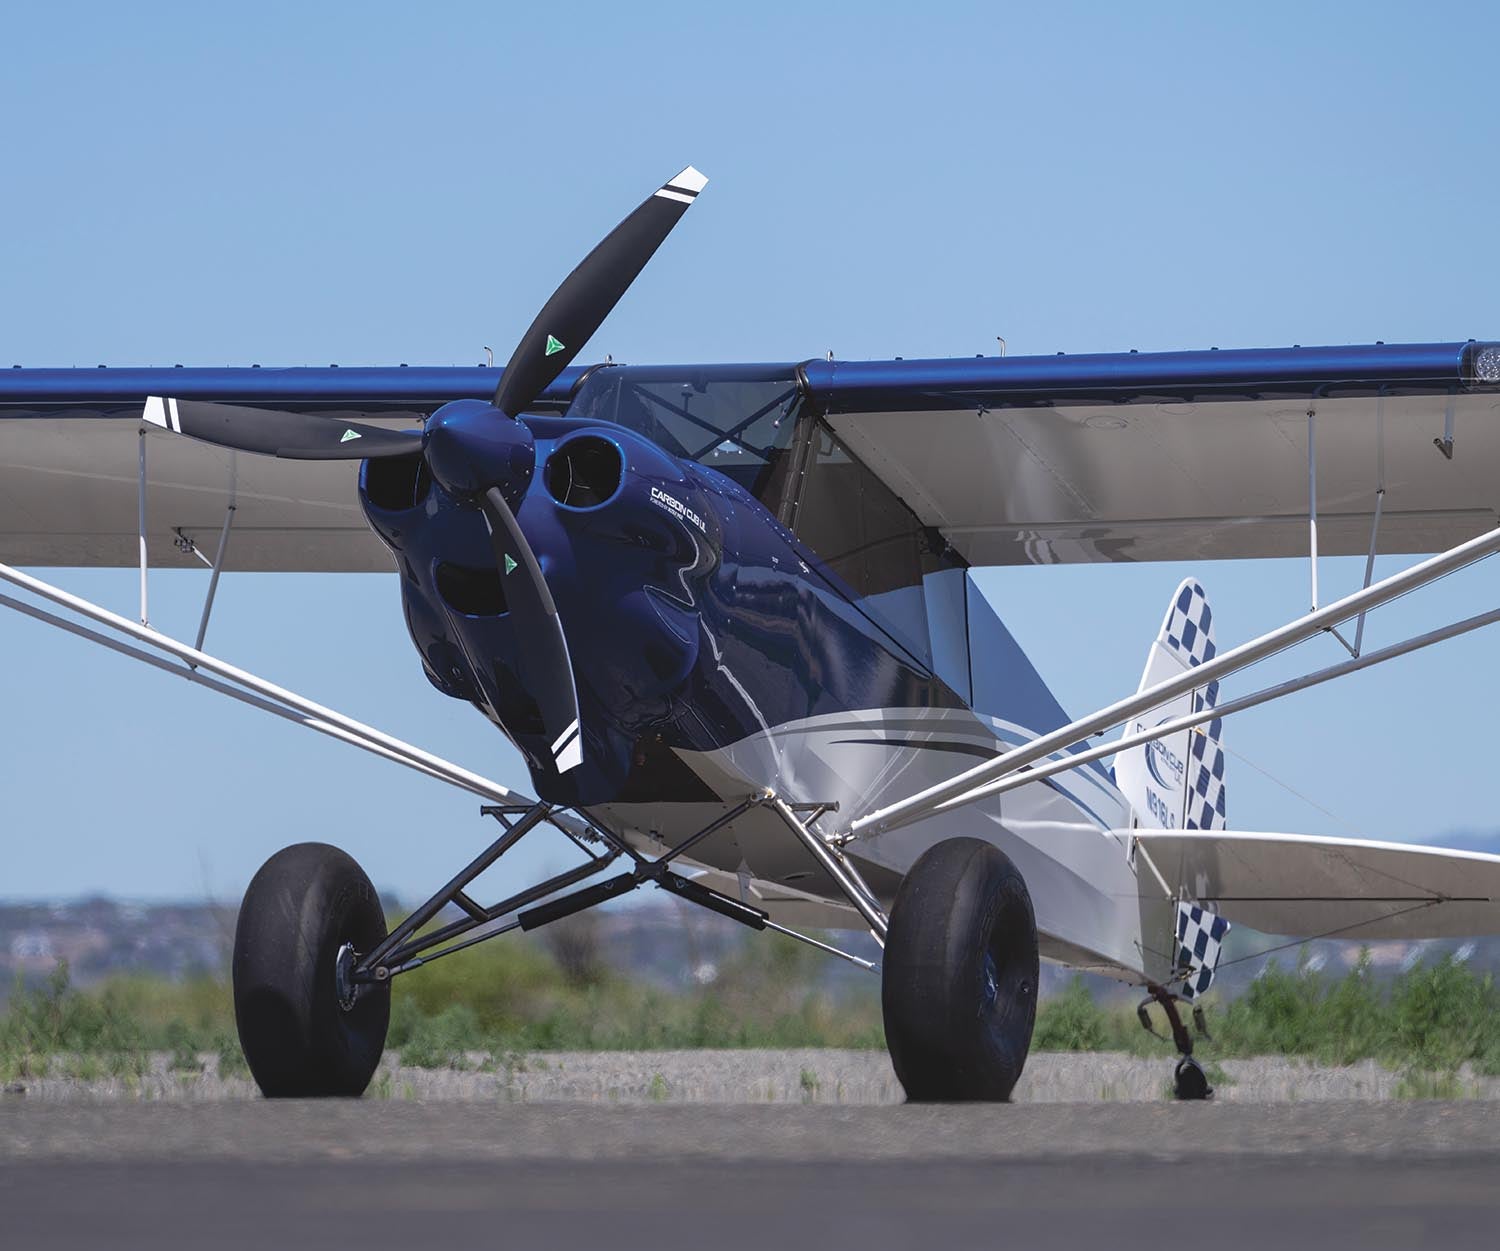
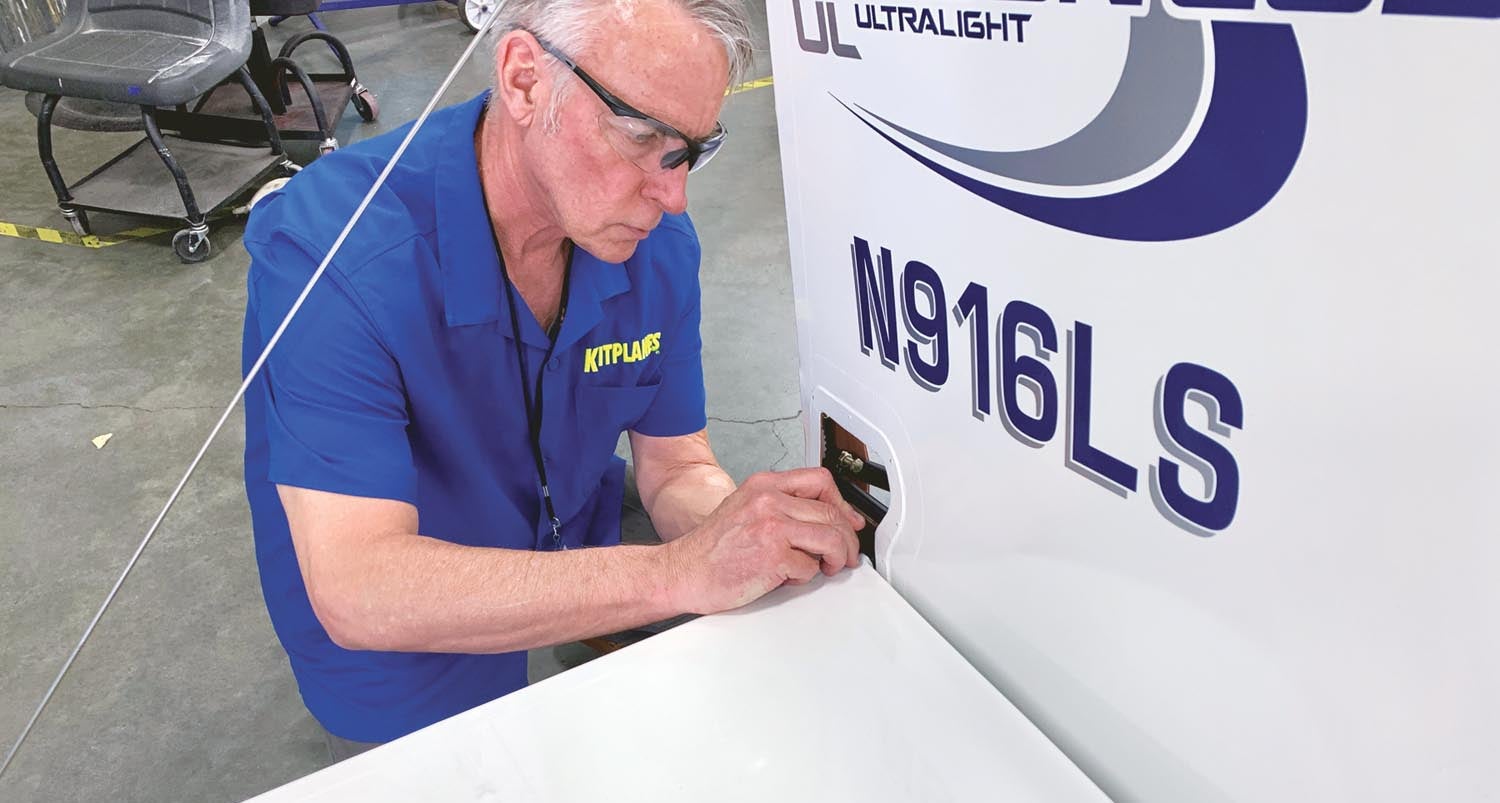
I was invited to participate in the build of a Carbon Cub UL (the new model with the Rotax 916 on the nose). In fact, I became the builder of record for an airplane that will function as a test article and dealer demo. (Sadly, I was not gifted the airplane after the build, though I am negotiating for visitation rights.) The build took place over two sessions several weeks apart—normally the gap between the first week of work and the final couple of days doing assembly tasks is much shorter, but this airplane was still undergoing engineering changes so it was slow-tracked compared to the regular process.
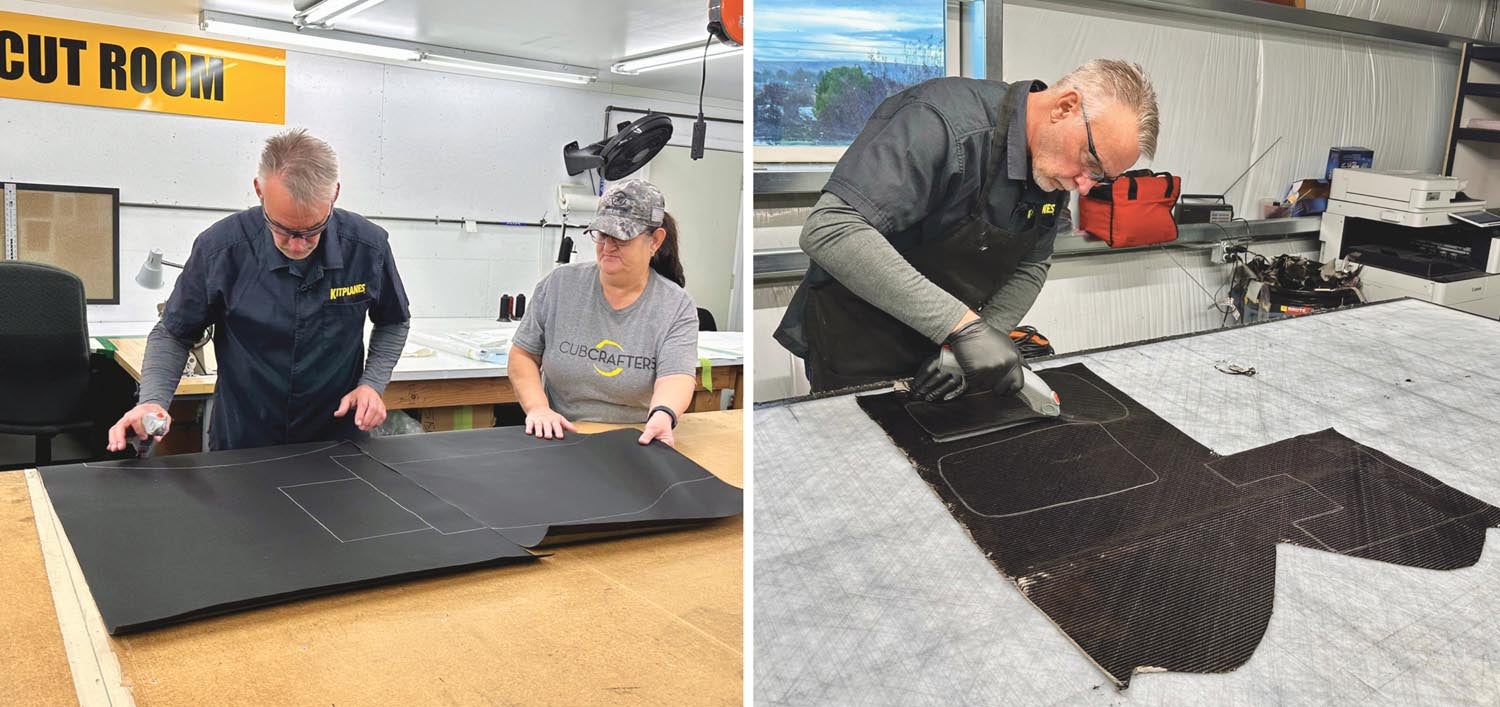
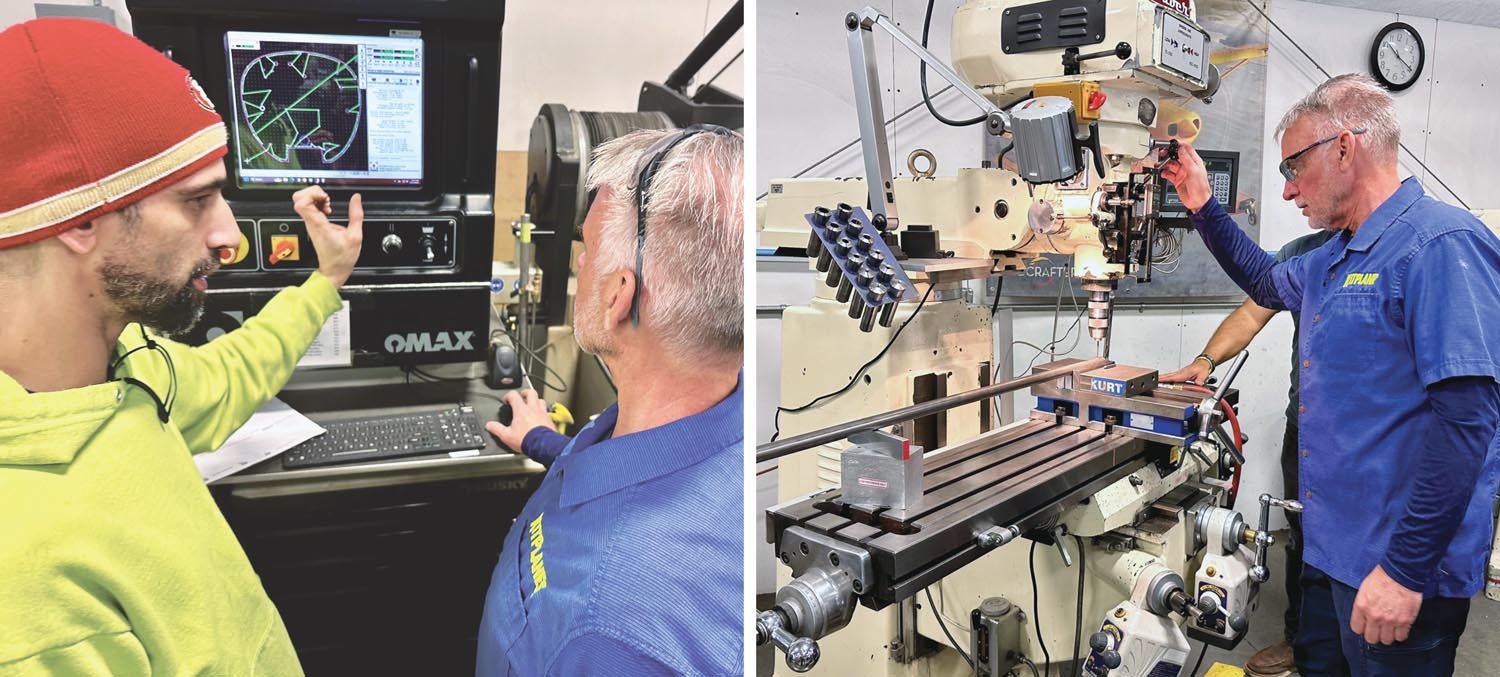
As mentioned earlier, the CubCrafters program relies heavily on the customer doing fabrication projects. What’s more, these are done alongside the normal processes employed with the production-line Carbon Cubs. It’s not like there’s a dingy shop in the back where builders come to labor. No, you work directly with the same guys who build the certified parts, on the same mostly high-tech machines they use. You’re assigned a guide for the whole process; in my case it was the ever-cheerful Gracie Main. Her job was to photograph my efforts, thereby documenting my education, and then move me from one project to the next. While the process is highly choreographed, it does at times feel scattershot as you move from trimming carbon-fiber cloth to cutting steel tubes to pushing a button on the CNC router to drilling holes in things. (This time, never my own digits.)
It’s worth noting that because CubCrafters is an FAA Part 23 aircraft manufacturer, your parts are always carefully segregated from the rest of the system. Computer-based tracking ensures that, say, the tail members you carefully bent will actually reach your airplane, though the care taken with each piece is the same as if it were going on someone else’s certified example. For that matter, the parts themselves are identical, so what you end up with is an airplane registered as an Experimental/Amateur-Built but made with certified-quality parts.

What You Touch
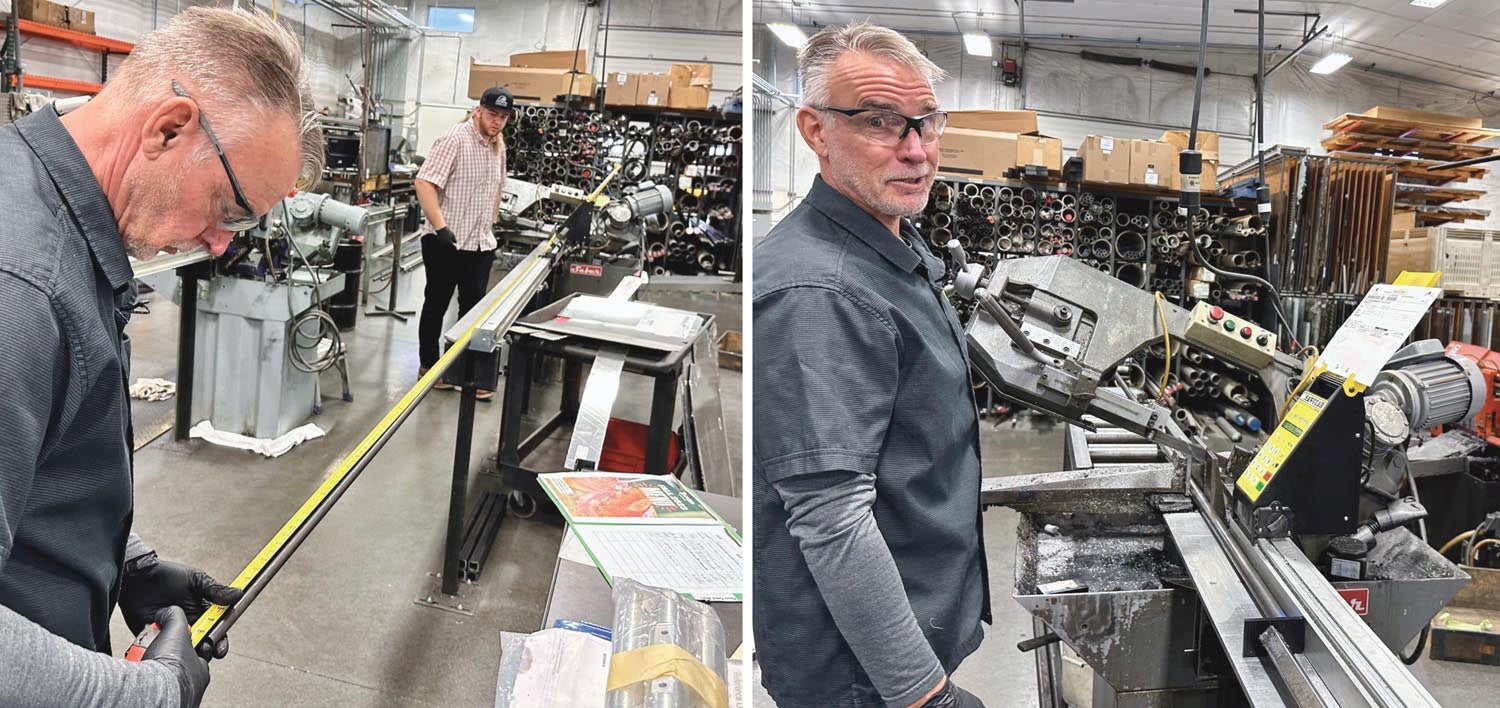
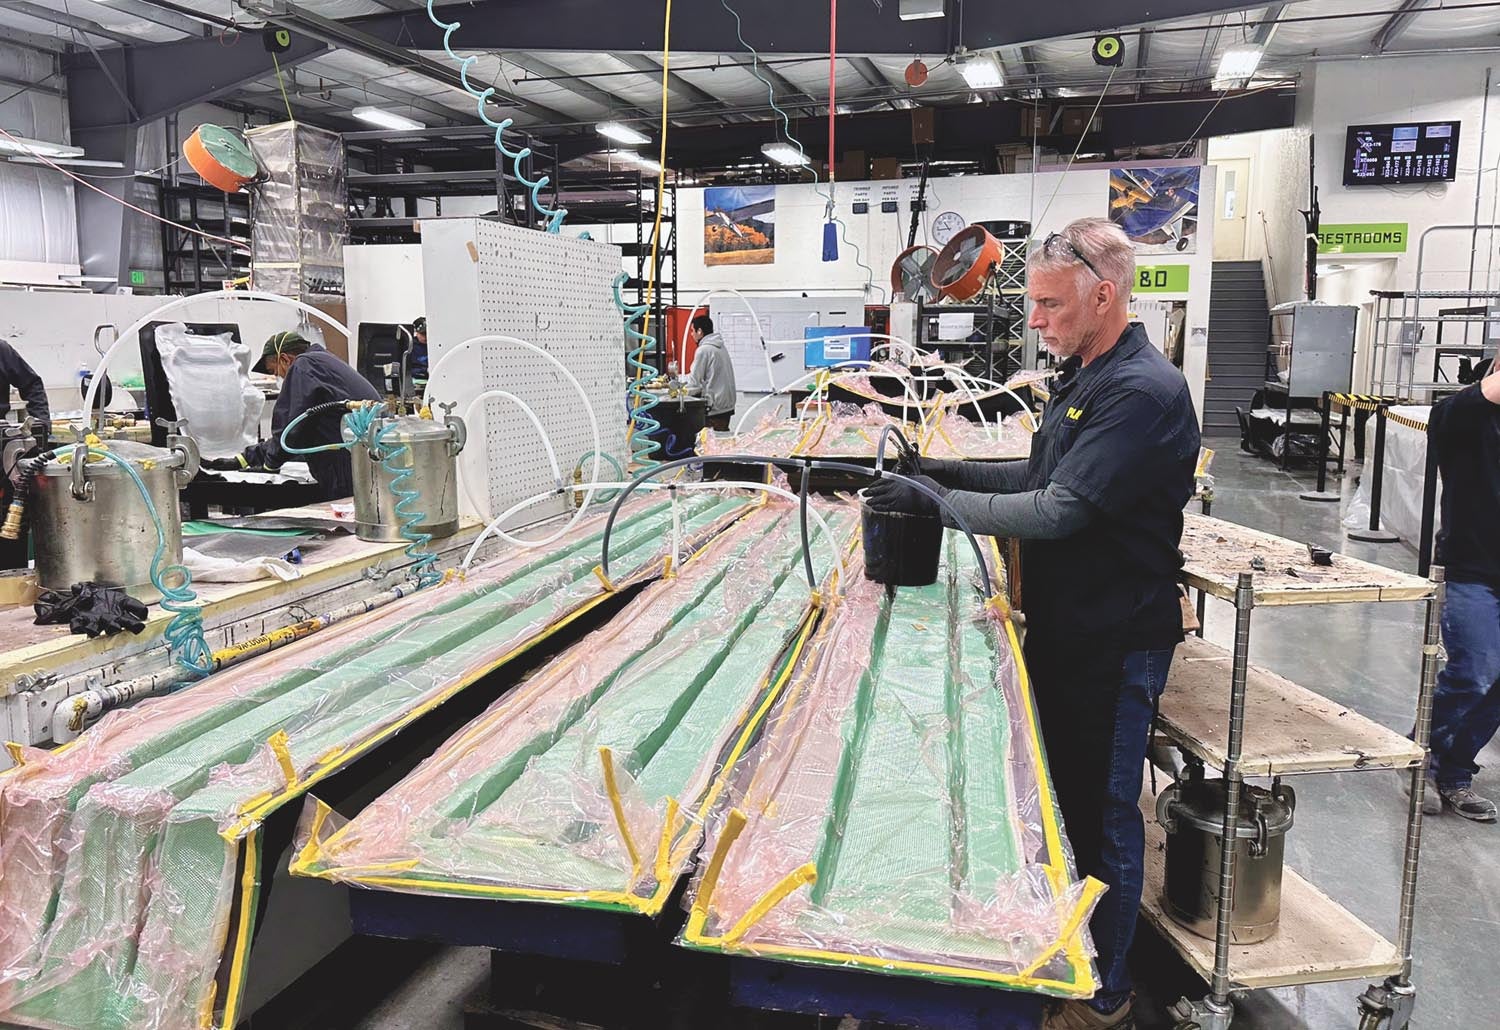
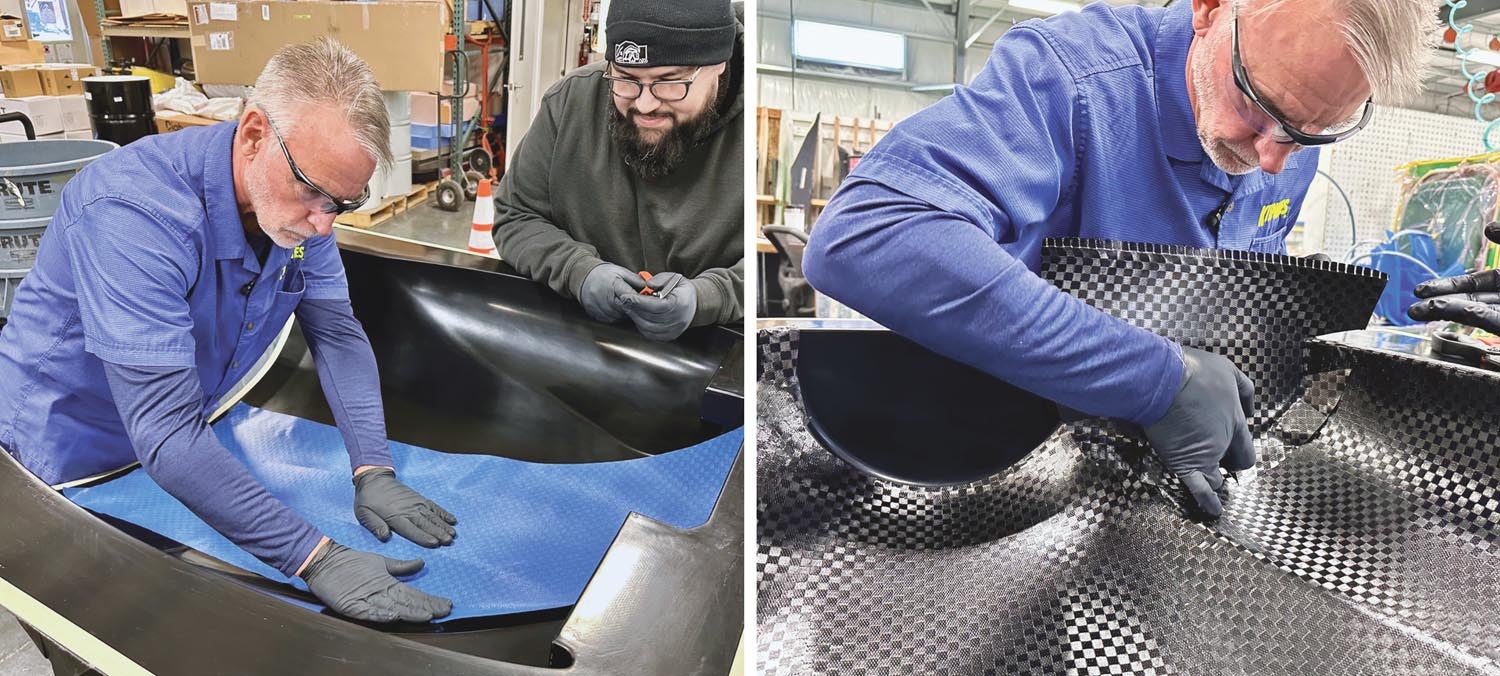
The first day started cutting carbon-fiber cloth to existing patterns; it would later be used as part of the floorboard and seat base. You’ll get halfway good with the little electric scissors by the time you’re finished. Then it’s on to a simple tubing cutter, where you’re responsible for chopping a dozen or so pieces of chrome-moly steel that will become part of your fuselage frame. A digital stop ensures the lengths are all correct. Man, how I’d love to have some of this equipment. From there, you move over to the composite shop, where key pieces of the airplane have been laid into molds and fitted with a vacuum-bag system, ready for you to start the infusion process. This was arguably where I was most comfortable but it was plenty obvious that the composite-shop staff had done all the hard work. It’s a bit like a pro electrician doing the wiring while you show up to flip the switch. That’s called management, right?
It’s not all performative, that’s for sure. I spent a few hours over the course of five days on a hydro press. Many components are first CNC-cut out of aluminum then formed over a mandrel in the press. There’s something really satisfying about getting the parts placed accurately—helped greatly by tooling holes in the part and low pins in the form—then pressing the button to hear the press groan and form a near-perfect part. A few of them required a bit of hand work or finessing to get them off the tool but it was an almost Zen-like process. I’m sure the guy who does this 8 hours a day, five days a week is plenty over it, but I found it fun.
I also got some extracurricular work back in the composite shop, mainly because I’d worked with the material extensively. The Carbon Cub UL was debuting a pre-preg carbon fiber cloth for the cowling and the guys were still working out how best to apply the layers into the mold. I got to learn along with them, and it cemented the idea that they were really serious about their business and cared about the quality. You usually get the happy patter when management is around, but I got to dig in with a couple of the guys and found them to be uniformly cheerful and dedicated. And patient. Very patient.
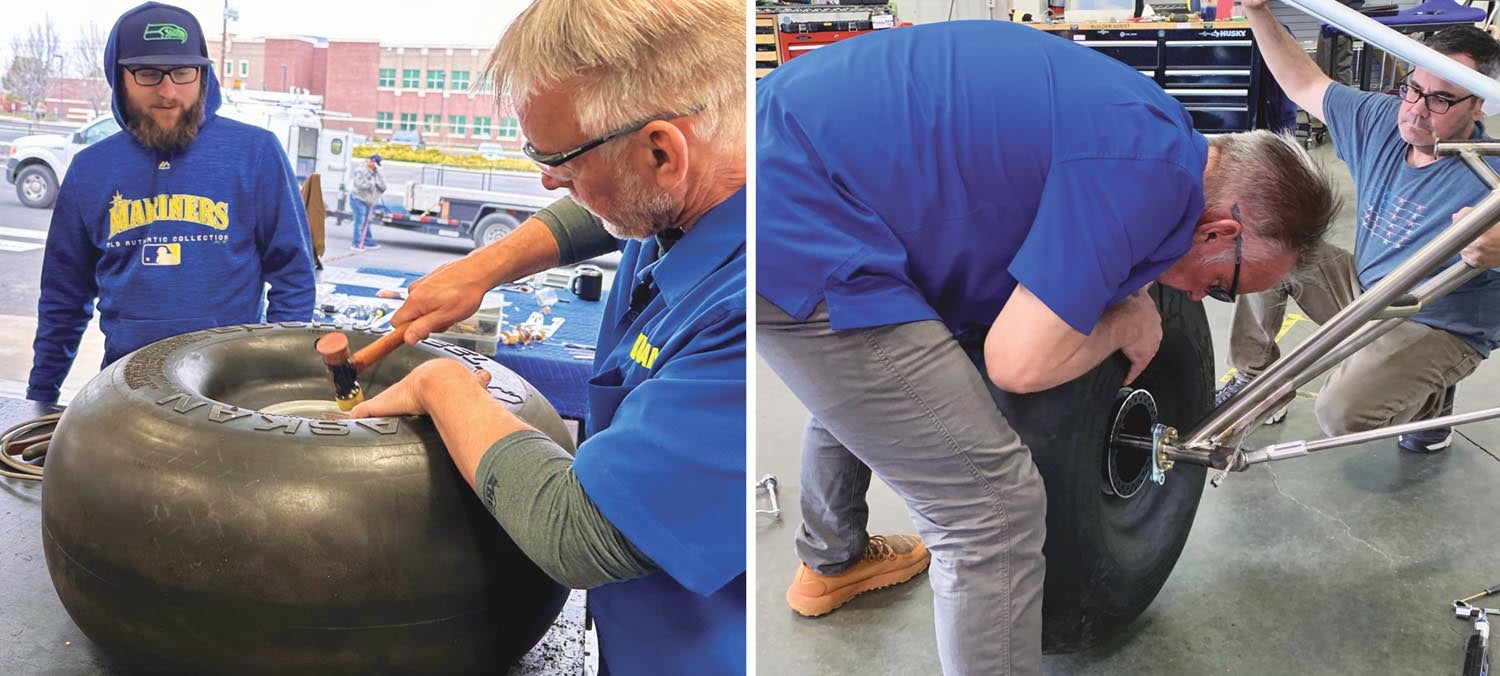
Over the course of the project, you get to do fabrication big and small: from making bushings for the control system—in fact, you fine-tune and dimension-check parts that were done in CNC machinery—to bending steel stock for the tail feathers. And while you don’t get to do any welding, you do participate in loading jigs for both the main fuselage and the horizontal stabilizer. It’s amazing to me how much is done by modern standards—the carbon fiber elements and all the really lovely CNC-machined aluminum—yet how much remains hand-bending metal into jigs that wouldn’t seem out of place at Piper of the 1940s. When asked, I was told it’s because some of these processes are still the best way. Who knew?
Return for the Assembly
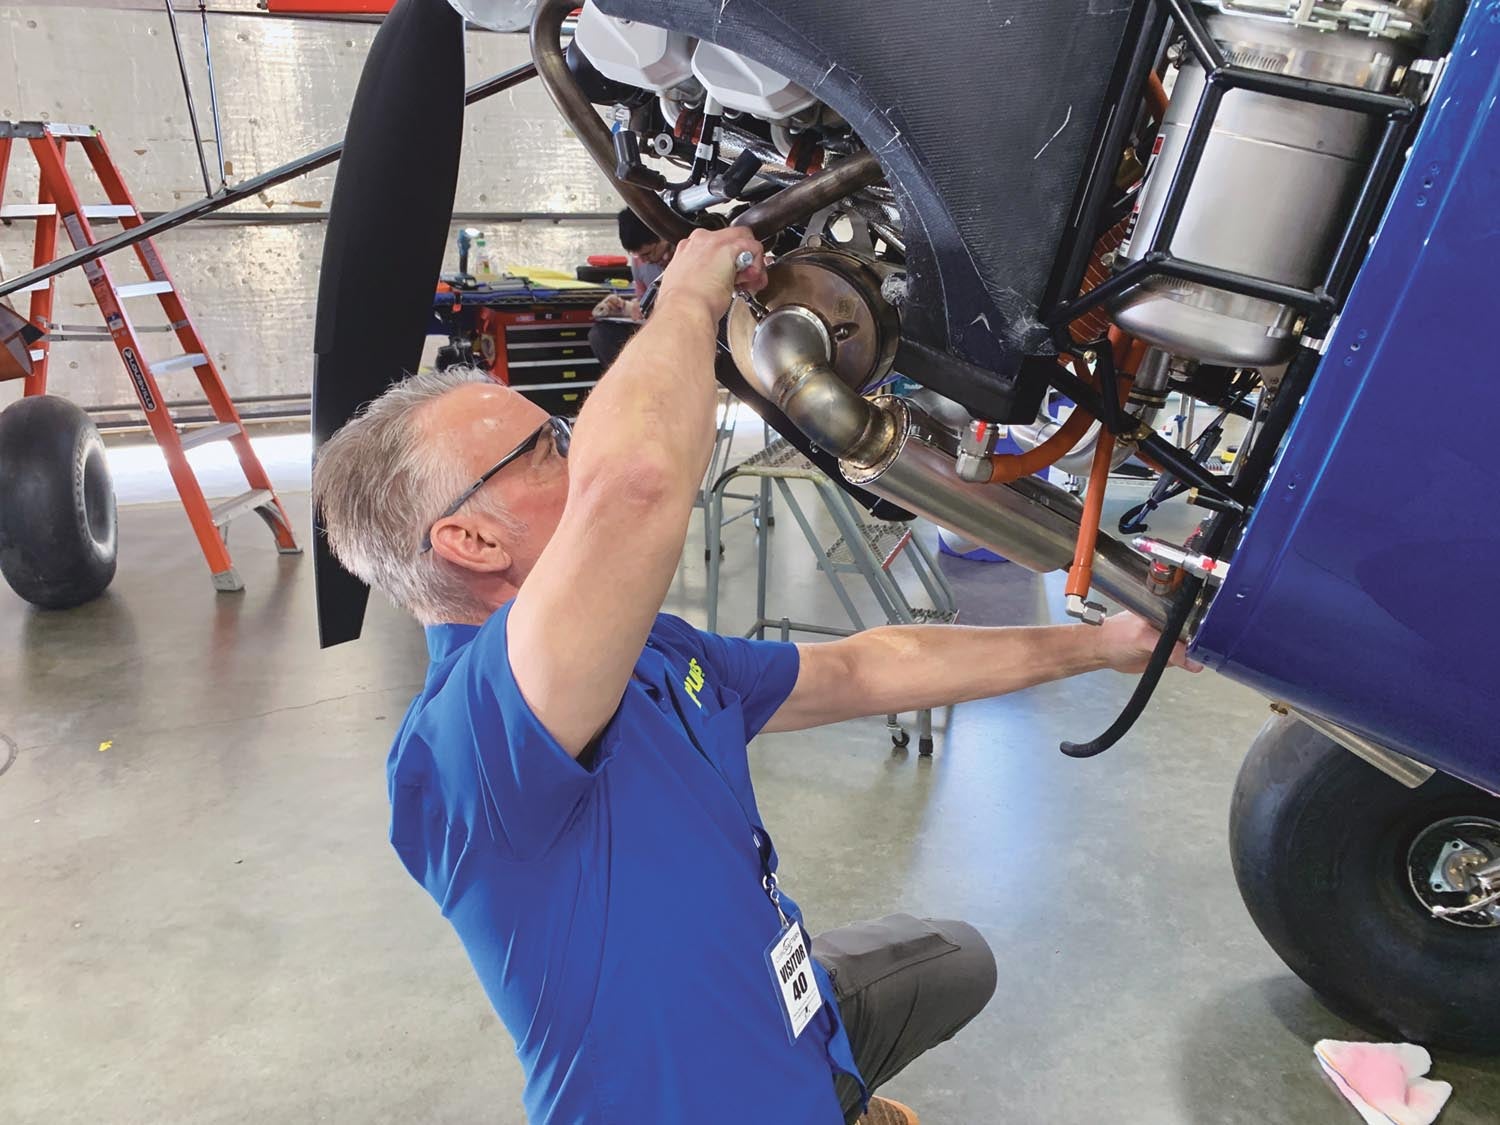
After the first visit, which runs Monday through part of Friday with days that rarely ran past 3 p.m., I returned to perform a few assembly tasks. While I was gone, the airplane was basically built: airframe welded and QC’d, fabric installed and painted, instrument panel and interior nearly completed, engine hung and myriad other steps taken by the very same people who build these for a living. When I returned, we mounted the three-blade constant-speed MT propeller, finished a few steps firewall-forward and then, with assistance, I helped mount the flaps, ailerons and tail feathers. There were a few other small operations, but none would be what I call critical. All the important stuff was done by the factory.
In the end, I sat down with the local DAR and using the company’s preapproved task matrix we checked off all the operations I was a part of. And it’s not like you have to do the task from end to end. For example, stamping one rib gives you credit for fabricating them all. This is not new to CubCrafters’ interpretation of the rules, but it’s definitely used to the absolute limit here. The final paperwork says that I performed 51.016% of the required tasks, putting me over the “majority” limit and allowing N916LS to be licensed as Experimental/Amateur-Built.
So the question on your mind: Is this really building? No, it is not. Moreover, because the builder in these cases wouldn’t have enough experience with systems—and literally none with the fabric—he or she would not have the grounding to maintain the airplane, in my view. For that reason, CubCrafters very strongly discourages builders from applying for the Repairman Certificate. I agree completely here, especially since the reality is that your typical Carbon Cub owner who has the money to build can afford professional maintenance. I did chat with another builder going through at the same time and he noted that the main reason he wanted the E/A-B license was to enable him to make simpler modifications in the future. “I really don’t want to build this from start to finish,” he said. For that customer, CubCrafters’ program is a good way to go. And, it should be said, you can get a Carbon Cub in true kit form and do it all at home. If what you really want is the traditional building experience, that’s the better choice even as the speed and ease of this program can, at times, be compelling.


