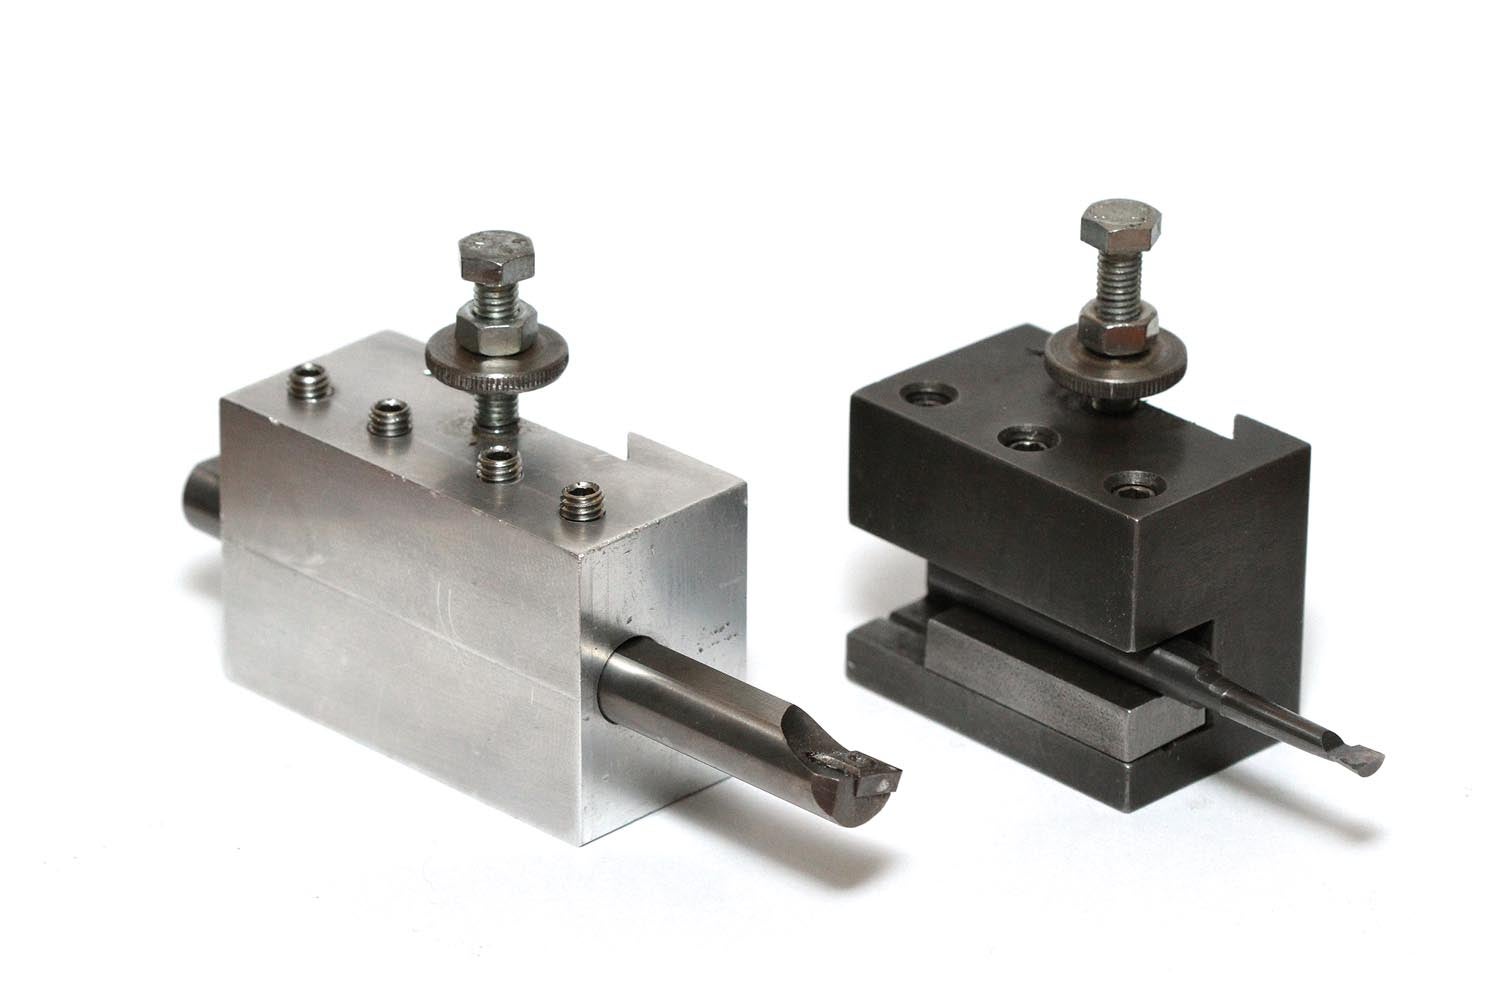
All machined things (parts, tools, etc.) eventually have to be “finished” in one way or another. This may include tumbling, sandblasting or burnishing, but if rust or corrosion is to be prevented, the options start with paint and advance from there toward chemically applied finishes, such as plating and passivating, or in the case of aluminum or titanium alloys, you can add anodizing to the mix.
The chemistry of metal finishing has always been a fascinating, yet mysterious, subject to me. I have a grasp of the basics, but beyond that, it’s all magic. I gave up trying to figure out how it all works and contented myself by focusing on where and when the various methods are best applied.
Although there are DIY procedures for at-home plating and anodizing, I have avoided them mostly because of the noxious chemicals involved. I know people who do it and I know the process can be safe. It’s just not something that appeals to me.
I make an exception for one type of chemical finish: black oxide. Black oxide is used on all kinds of hardware and tooling. Virtually all commercially made tool holders for lathes are finished with black oxide. For years, I have been using a DIY product called Tool Black from Precision Brand. Tool Black can be found in better hardware stores and at most tool suppliers. The kit, which costs about $160 to $180, consists of pint bottles of cleaner, blackener and sealer solutions. Although pricey, it’s a fast (about 5 minutes for most small parts) and convenient way to corrosion-proof shop-made steel parts and tools without affecting the dimensions. Application consists of cleaning, then swabbing with the Tool Black solution. After about 30 seconds, rinse with water, lightly buff and then seal with a penetrating oil. Depending on the type of steel, surface finish and exposure time, the resulting finish will be anywhere from dull brown to blue to glossy black. It’s worth noting that most “gun blue” finishes on firearms are a light application of black oxide.
A long time ago, I made a quick-change tool system that included several tool holders for my bench lathe. I treated all of them with black oxide. In addition to corrosion protection, a black oxide finish no doubt enhances the curb appeal of shop-made tools. Sometime later, I augmented my collection of holders with a shop-made boring bar holder. Unlike the original tool holders, which were steel, this one was made out of 7075 aluminum. Since my black oxide kit is for steel only, the shiny aluminum holder stood out as an odd duck in the tool drawer. “Someday,” I thought, “I’ll get that anodized.”
Time went by and I never got around to anodizing that tool holder. Then, one day while at a local sporting goods store, I discovered Birchwood Casey Aluminum Black in 3-ounce bottles. At only $10 for the blackener and $6 for a bottle of degreaser/cleaner, it was worth a try!
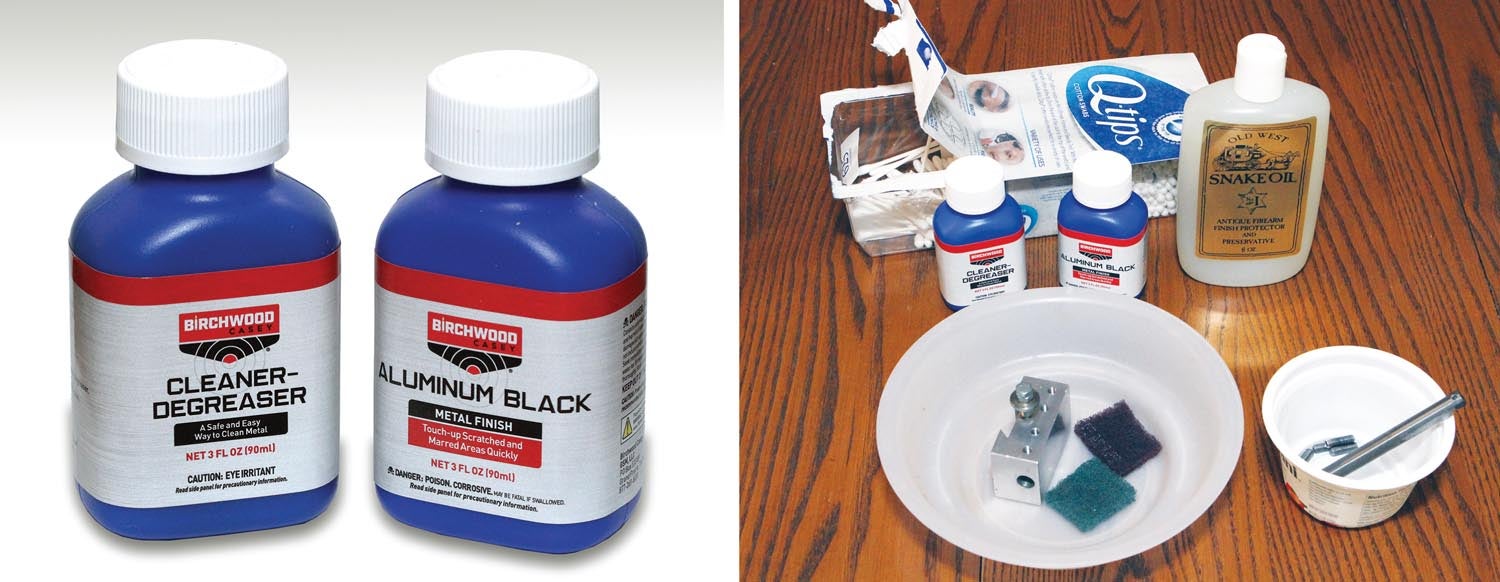
The process is basically the same as steel: clean, swab on the blackening solution and let it do its thing. Rinse, buff and seal. It’s worth mentioning that Birchwood Casey also sells a steel blackener called Super Blue in the same 3-ounce size, as well as Super Black touch-up markers for both steel and aluminum. These seem like a good choice for treating small parts in the home shop as well as for restoration and repair. If you really get into it and plan on applying black oxide to dozens and dozens of jobs, then it makes sense to get a Tool Black kit from Precision Brand (Insta-Black from EPI is another option), but if you are only doing a few small items here and there, the 3-ounce sizes make more sense.
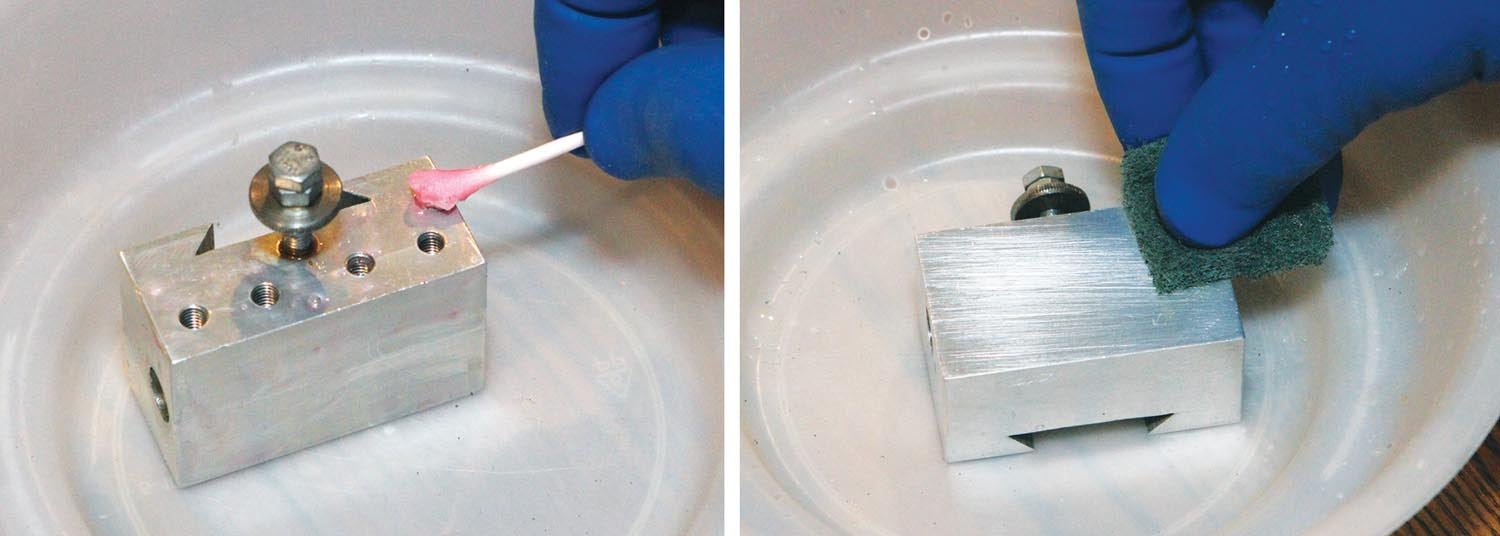
How did it work? I was a little disappointed with the finish on my tool holder. After two tries, it still came out a bit uneven and splotchy. I suspected the issue was a combination of the part not being perfectly clean and possibly the alloy itself. The procedure requires the surface to be both clean and oxidation-free. Oxidation can be problematic on older parts such as my boring bar holder, which was made several years ago. The instructions suggest using steel wool to brighten the surface and remove any oxidation. I used Scotch-Brite abrasive pads and, after the first application, it was obvious where I didn’t get all the oxidation off. So I scrubbed all the black off and started over. The second try went better, but wasn’t 100%, which I attributed mostly to the uneven removal of surface oxide. That made me suspect that the ideal time to apply Aluminum Black would be immediately after the machining process and before any surface oxide has formed. To test that theory, I turned a test piece on the lathe and, after cleaning with the degreaser and a quick polish with a fine Scotch-Brite pad, swabbed on the Aluminum Black. The results were much darker and much less splotchy, though not 100% perfect.
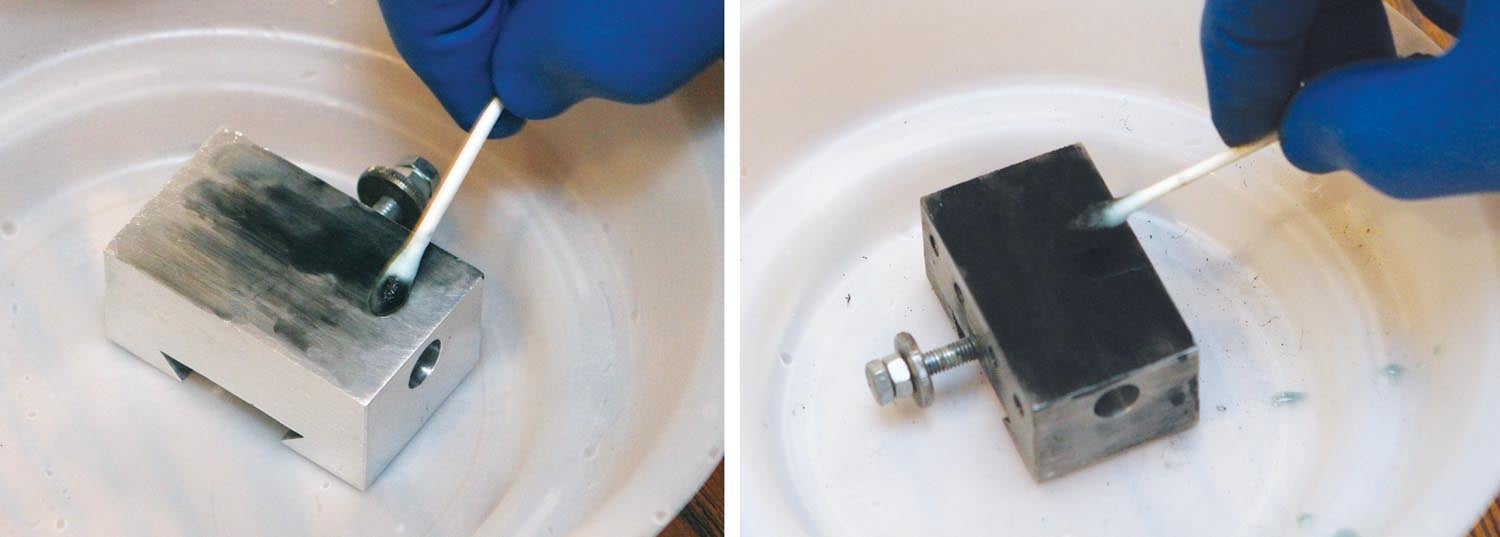
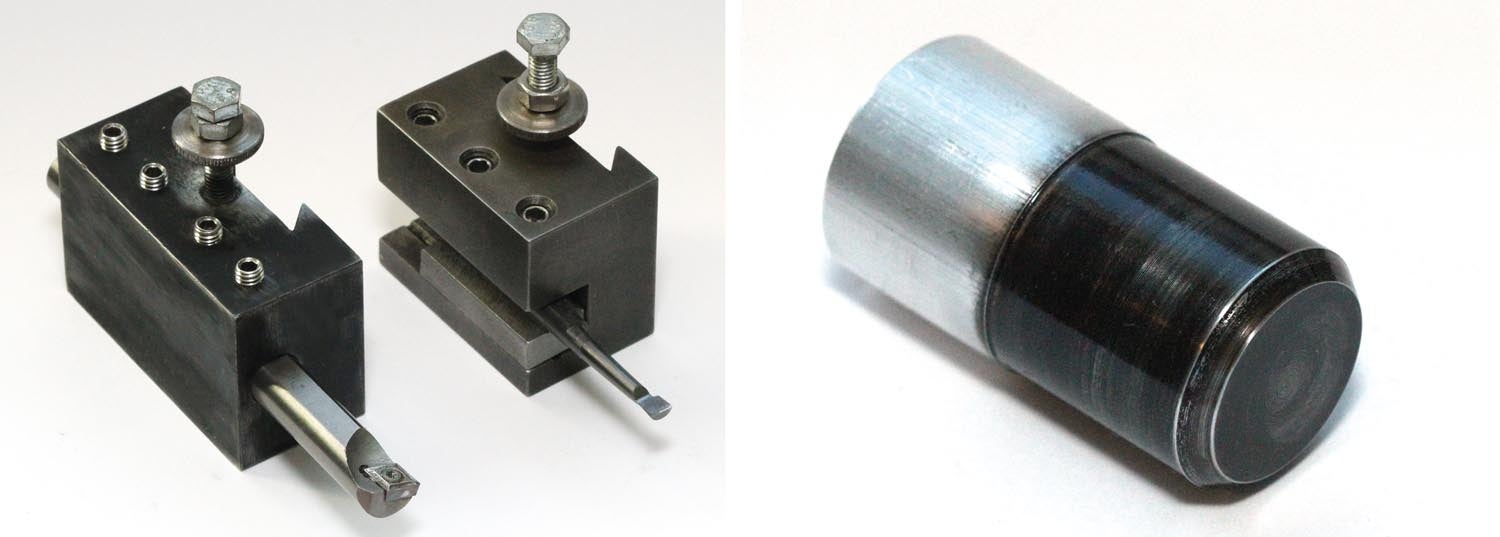
My conclusion is that it is tough to replicate the success of professional plating or anodizing in the home shop, but if you spend the time cleaning and deoxidizing, you can get reasonably decent results.
That’s it for now, time to get back in the shop and make some chips!
Additional Reading: Before anodizing aircraft parts, I suggest reading “Anodizing and Fatigue Life” by Stuart Fields in the November 2016 issue.


Have you compared to the Cerakote process? There are oven as well as air cure processes.
I was not familiar with the Cerakote process so I checked out their website. It is interesting and definitely worth trying.
Hi Bob, I want to turn my steel wire black without losing it’s conductivity… Would you recommend black oxide or the birtchwood product?
thank you in advance!
Black oxide is not conductive. Other than black chrome, I don’t know of any other black finishes that would be conductive. I found a thread on black oxide conductivity on http://www.finishing.com. That’s a good place to start if you want to look up more infiormation.