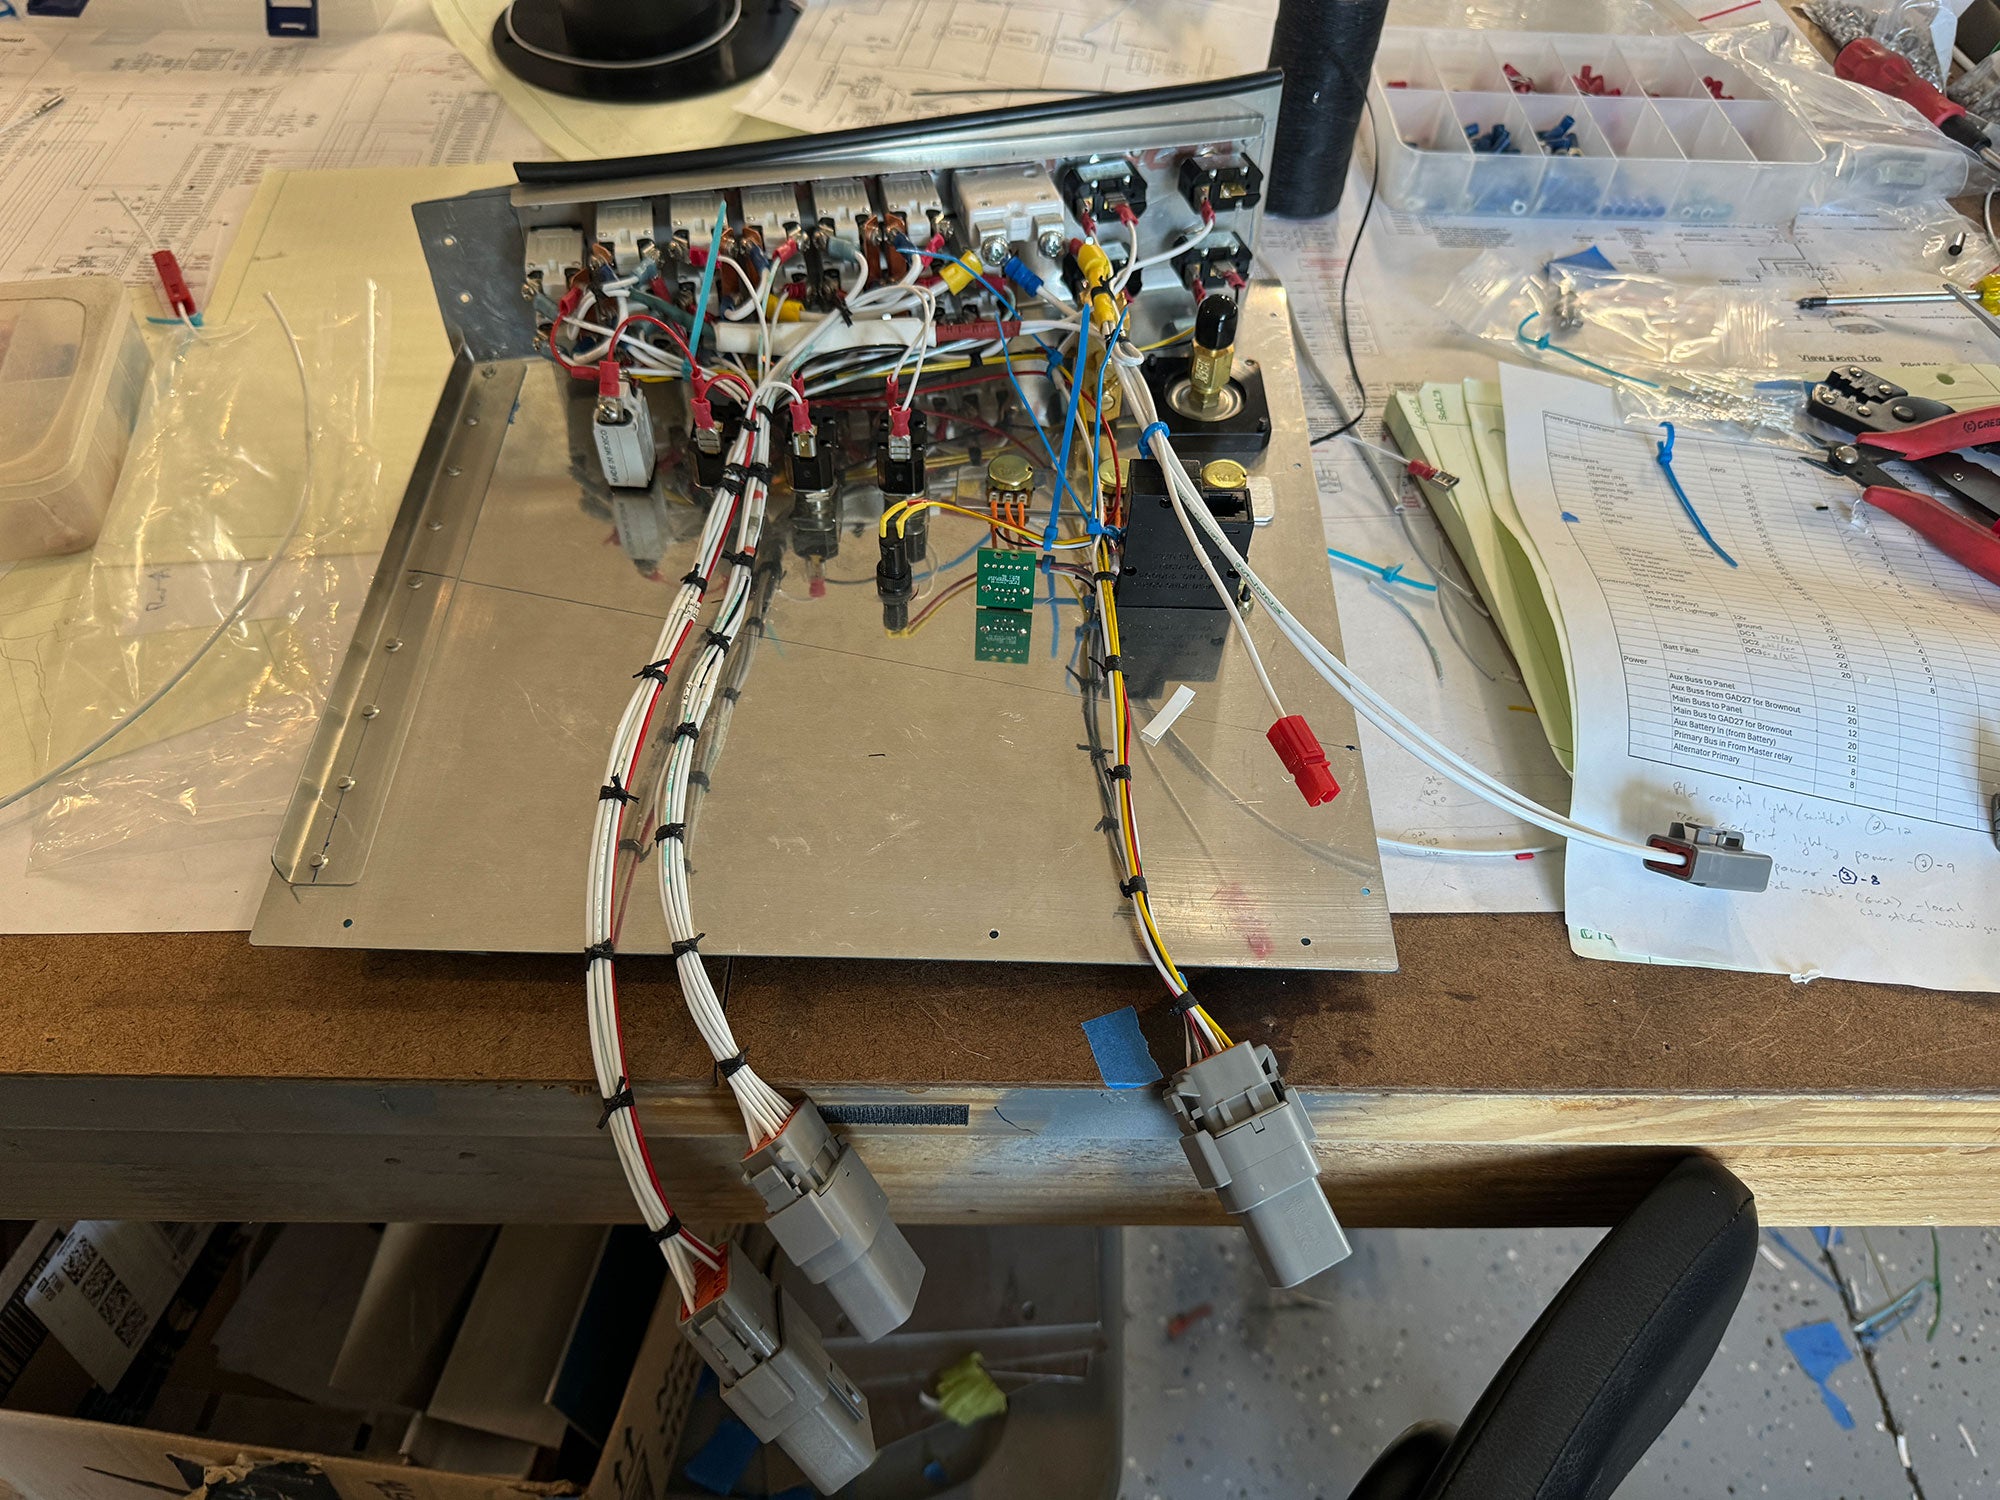
When it comes to building a custom wiring harness, there are multiple way to do it. The first is (if your kit manufacturer gives you the option) to buy a completed harness and install it. The second is to buy a similarly-complete panel and just wire the rest of the airframe. The third is to lay out a complete design for a harness and build it on the workbench, then transfer it to the airframe. And the fourth is to build it in place. I tend to combine the third and fourth options for my projects – and either way, the way I do it requires lots and lots (and lots) of cheap, colorful cable ties.

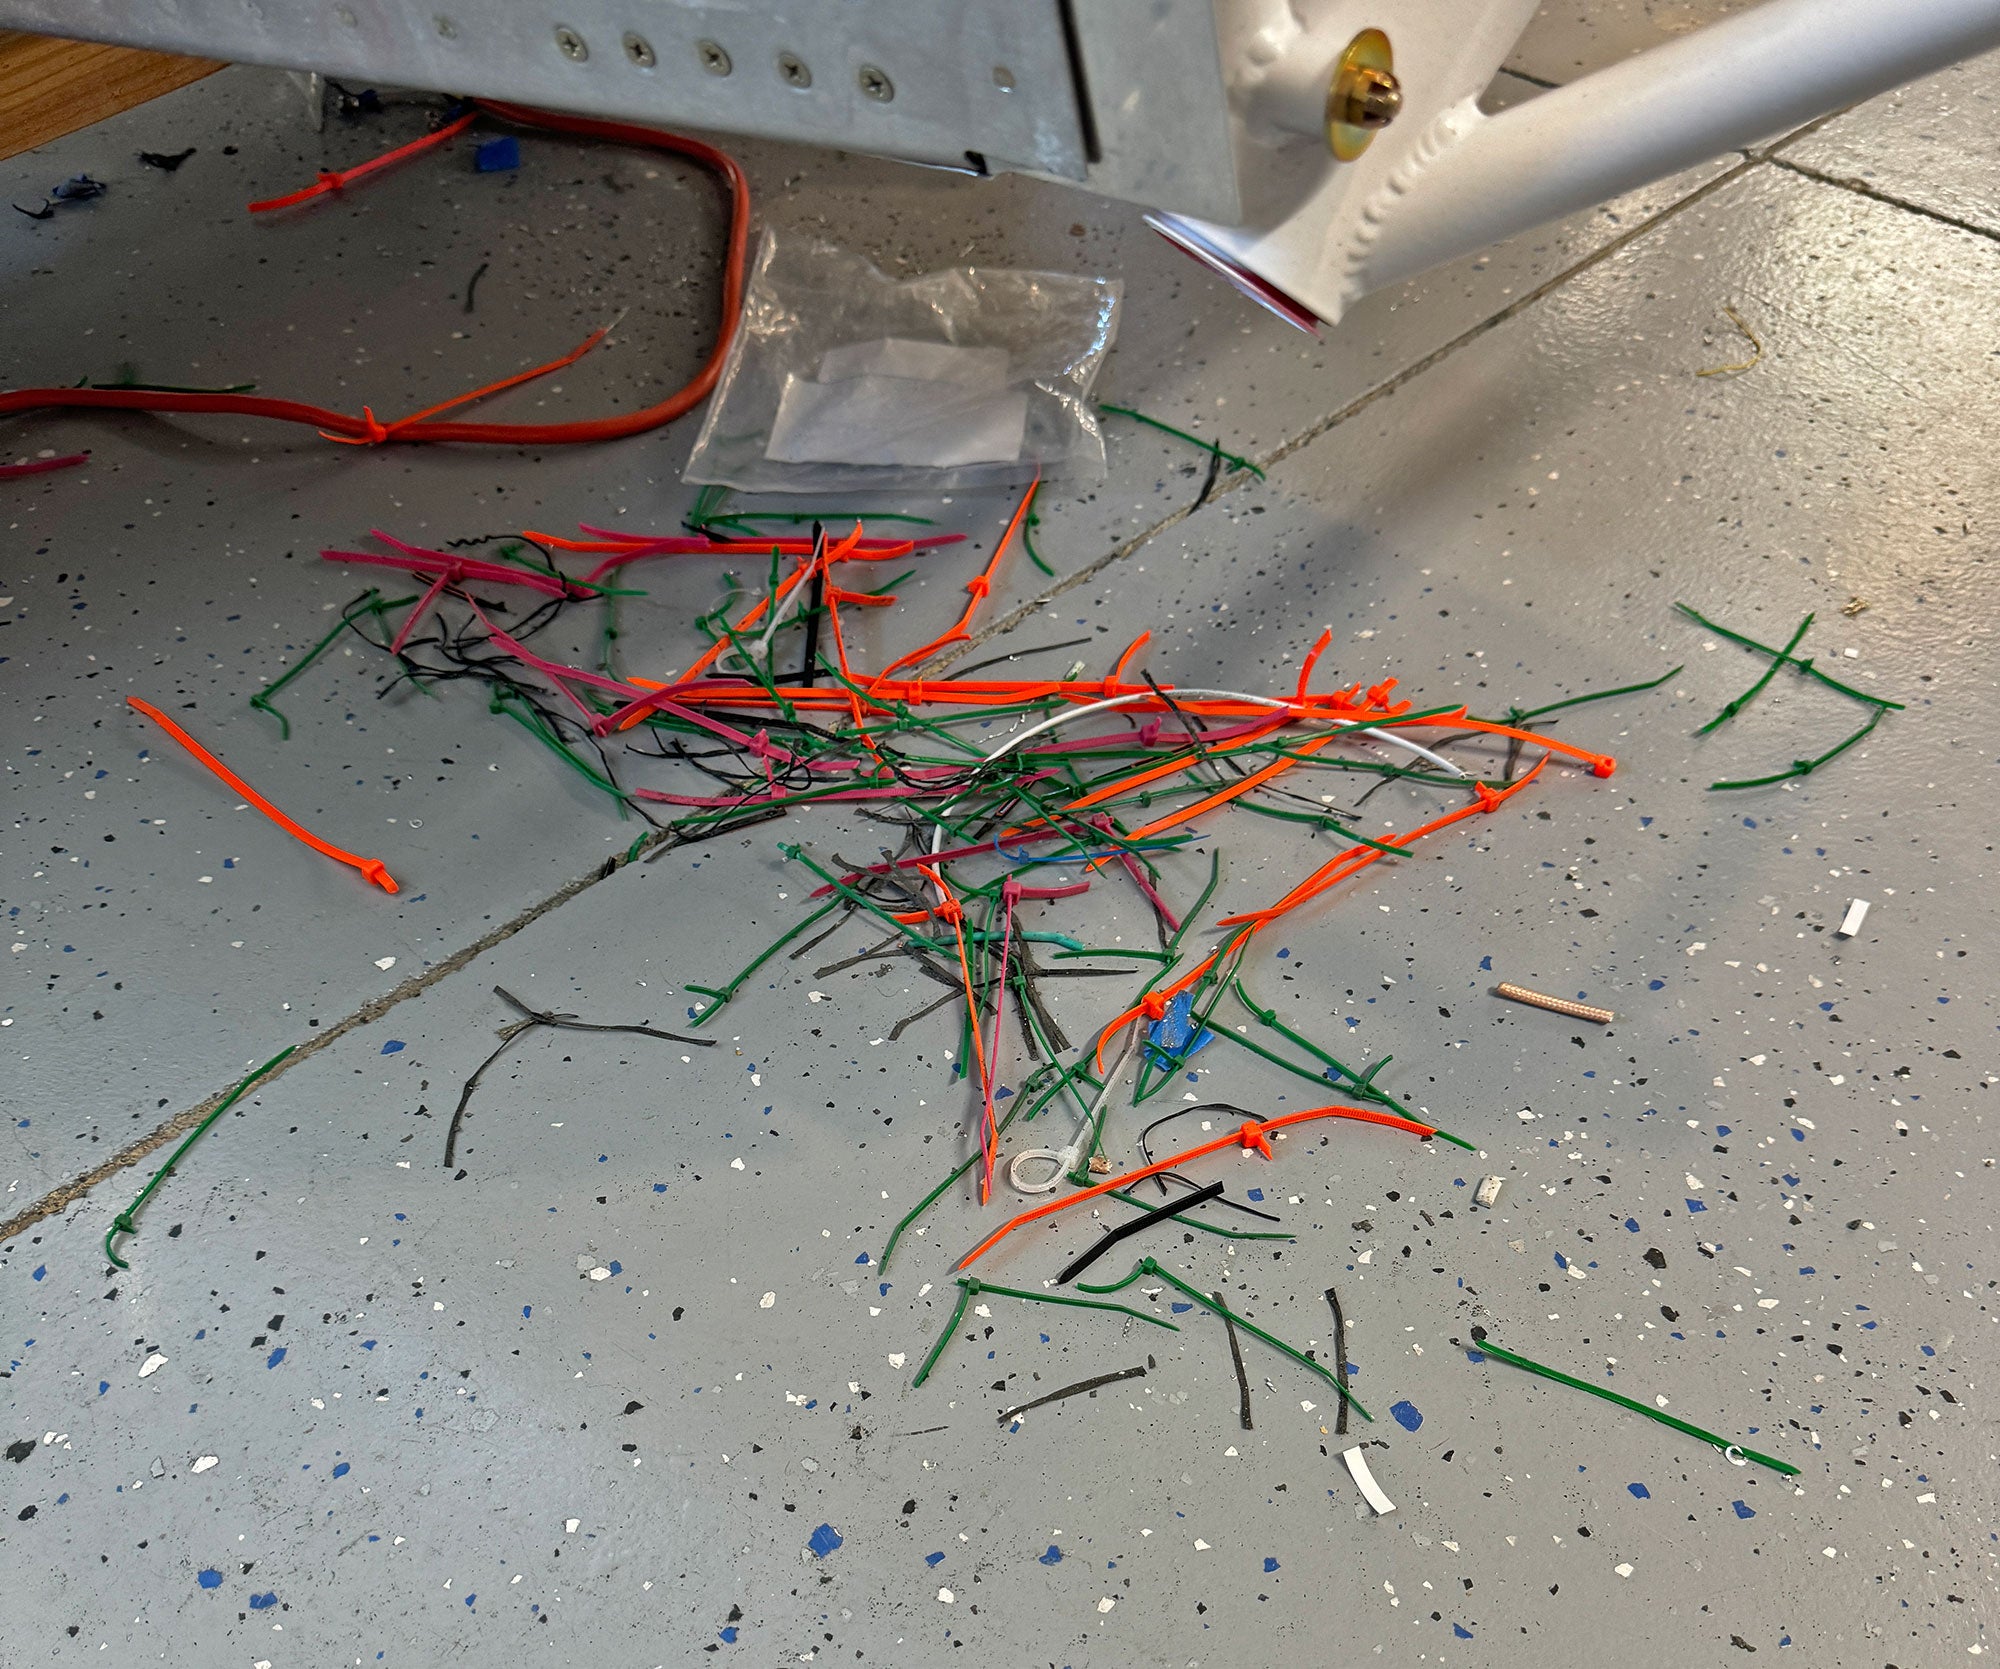
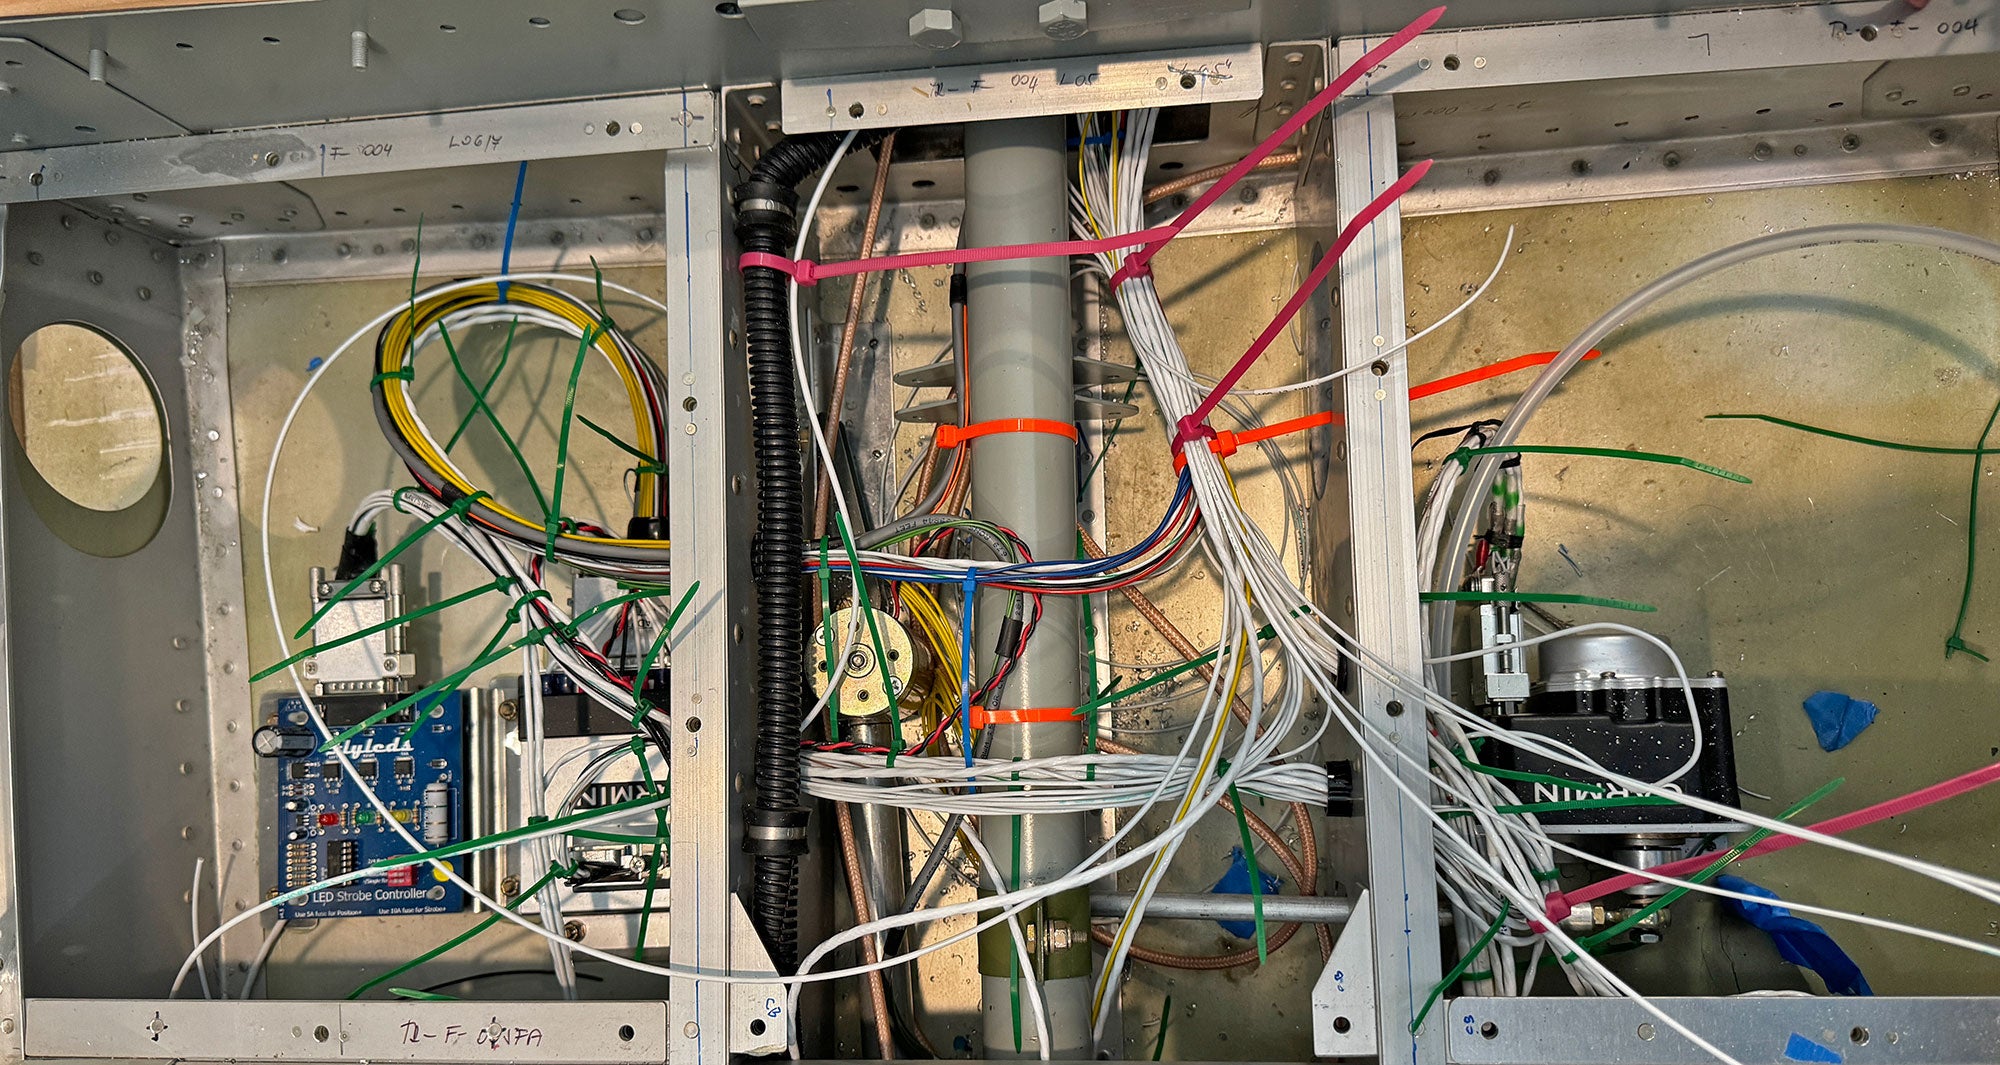
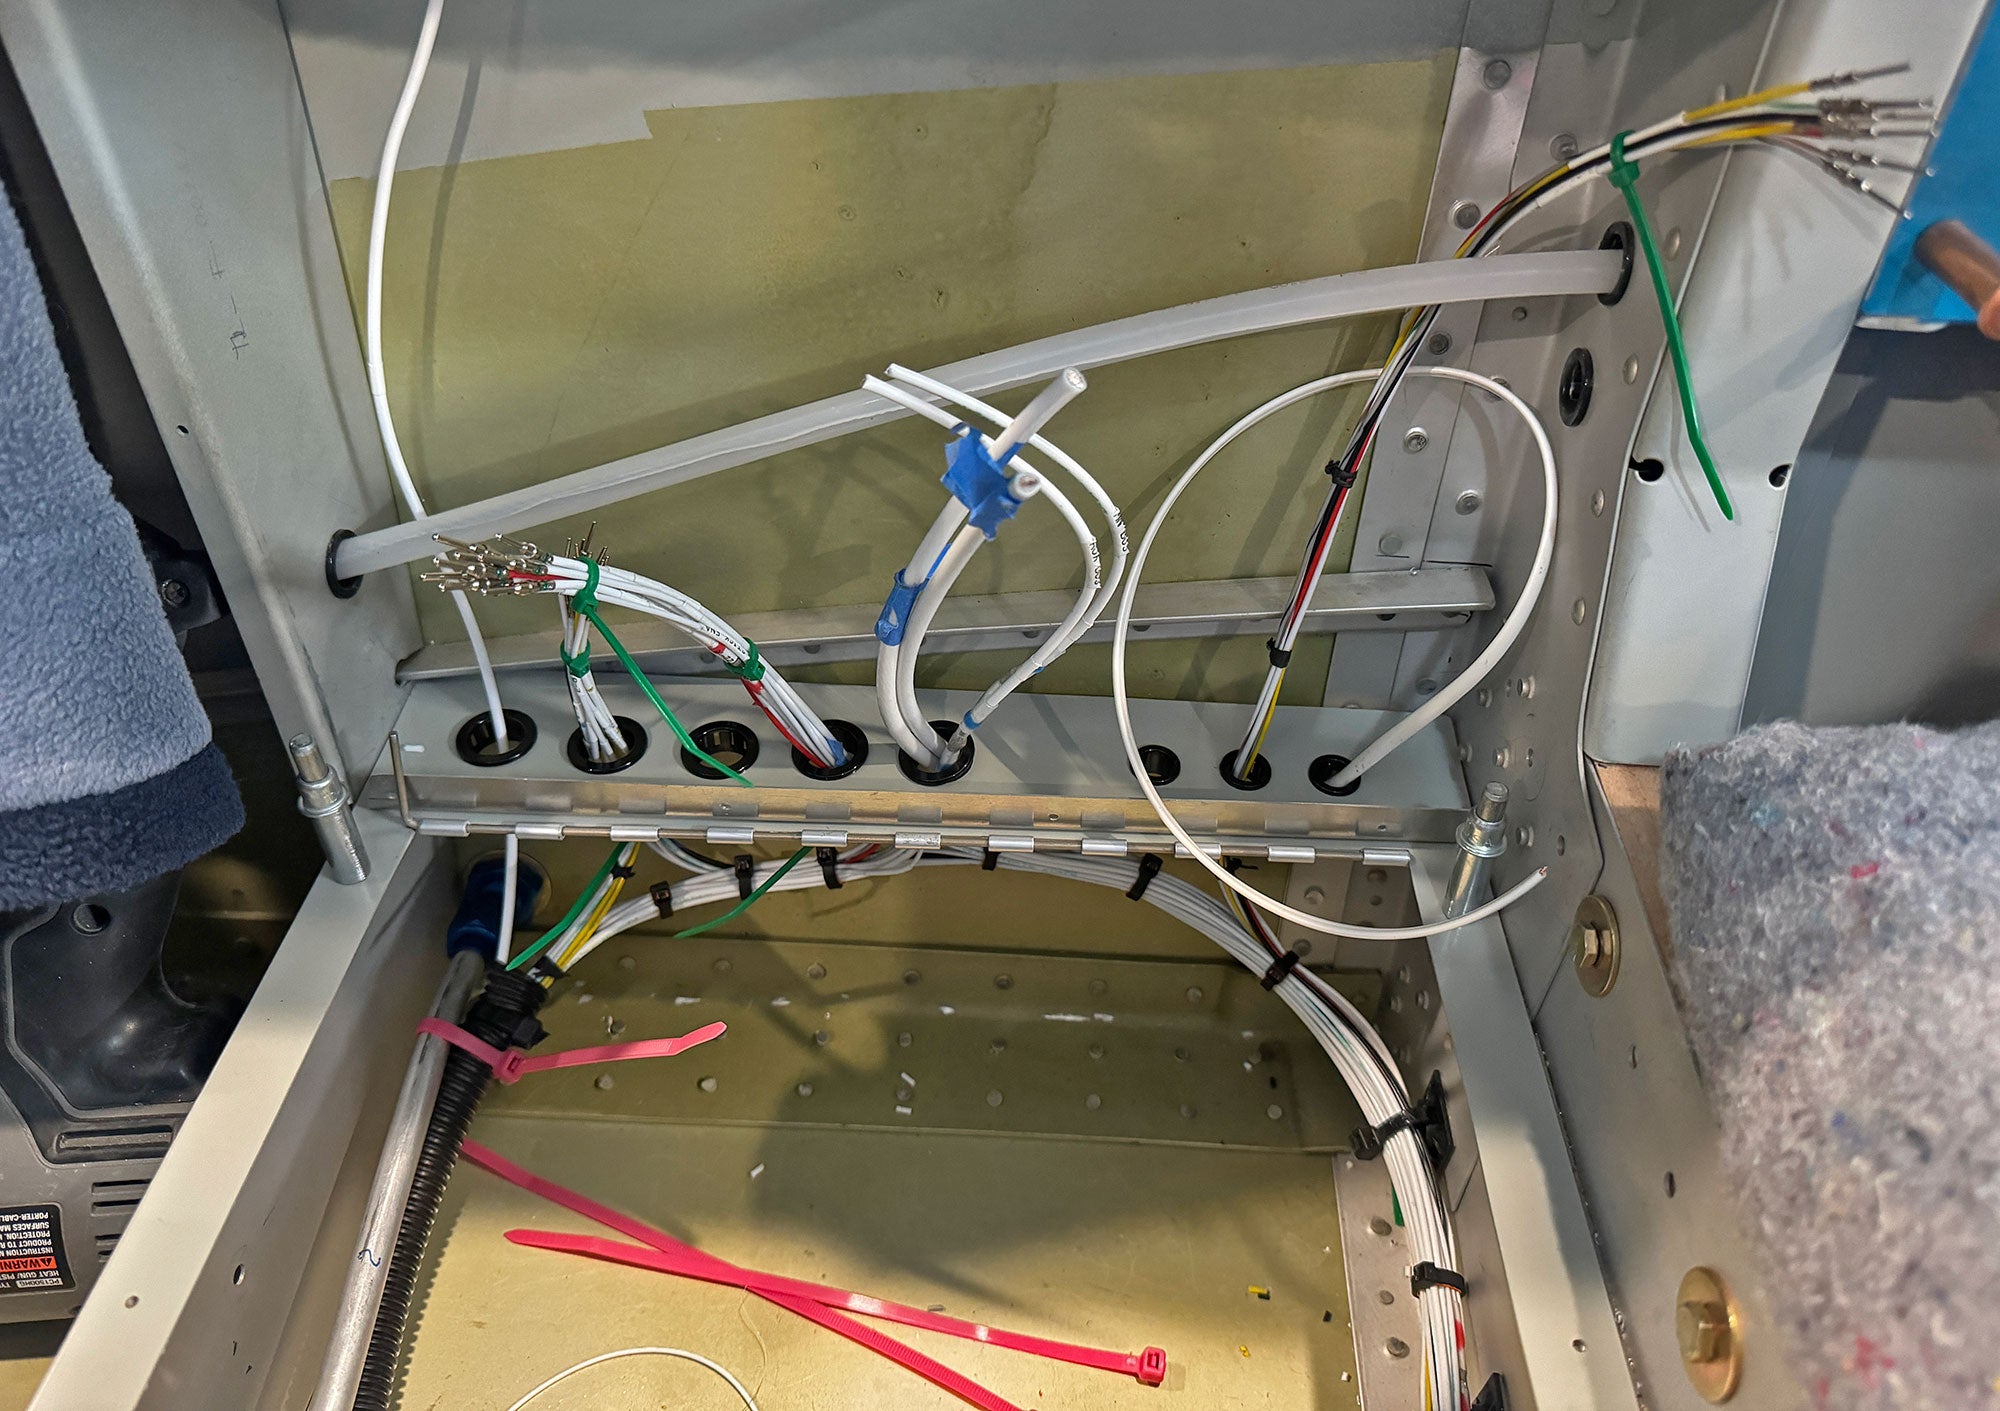
Why cheap? Because I put them on, cut them off, and throw them away! Why colorful? Because I don’t want any of the cheap cable ties in the completed airframe – so if there are cable ties come inspection day and they aren’t black, out they come! I use the big colorful packs of ties you can get at Harbor Freight or at a flea market for this purpose. When I add a wire, I tie it in place. Sometimes I might put it on and cut it off when I add the next wire two minutes later. Never mind—they are cheap!

Building up the harness this way creates a lot of scrap, but it keeps wires contained and going the direction I want, and helps me keep them all parallel which leads to really nice looking bundles when you tie them up for good. I am a “lacing cord” kind of guy, preferring lacing to cable ties in the finish airplane. I do use some cable ties—good quality ones in the finished ships where it is too hard to tie cord, or when I want a large bundle carefully secured to an anchor point (and an Adel clamp isn’t appropriate).

Cheap and colorful ties: there is a place for them in the building process… just not in the finished airplane. And yeah, buy the thousand pack—you’ll need them!


I do the wiring for a guy that contract builds kit plans and have wired almost 40 airplanes. I hate the waste of cutting off zip ties every time you want to add a wire so I bought a bag of removable ties, the kind that have a little tab you push to release them. When the project is done I replace them with permanent ones and get to reuse them on the next airplane.
I’ve got some re-usable ones, but when I got to release them, I end up with the release tab stabbing me under my fingernail! You don’t have to do that many times to be wary…. But re-usable can work sometimes – as do clothes-pins. I just take the cheap and easy way out.
I discovered Gear Ties by Nite Ize a couple years ago and bought a ton of them. Reuseable, different lengths/colors, with a bit of practice can be put off/off with one hand, and you don’t have to worry about nicking a wire when you cut them off.
And since they’re reuseable you only have to buy a hundred pack, not a thousand.
These kind of removable ties. Easier to remove and doesn’t stab under your fingernail
https://a.co/d/7yr5ect
Paul: the power panel showed an approach to my “current” problem of connecting power to a fuse panel; are those Deutsch DT connectors?
thanks for this, and all the KITPLANES articles, videos, columns… great resources!
Yes – actually a combination of DT and DTM connecotrs, depending on the wire size. I use CPC Amp (TE COnnectivity) conenctors for most signal applicaitons (connecting the panel to teh airframe, or avinics boxes to each other where disconnects are required), but for power, the Deutsch (style) connectors to a good job and are realtively inexpensive. I’ve had my fill of Molex connectors, and hope not to use them ever again….
Thanks!
Great article, Paul. After stumbling half way through my RV7 wiring I came to the same conclusions. I like lacing in the end, because it is lighter, cheaper, easier to get in tight spaces, stronger, holds the bundles tighter and has a higher temperature rating than standard spec black zip ties with the stainless tang. A piece of glove or a wrap of tape on the tightening finger makes it painless too. Along the way, cheap-disposable ties are definitely the way to go!! Bundle-zip-add wire-clip and do it again.
Keep these great tips coming Paul.