With this, our last chapter of the Affordaplane build, I will describe how an engine mount was created to complete the last major step. As a quick recap of the previous chapters in this series, I was attempting to plans build a legal ultralight using common tools and store-purchased materials. For example: No welding allowed! So, now the biggest challenge confronting me was creating an engine mount needed for the engine installation.
First, what engine should be used in this project? This decision could not be made until we were nearly finished with the entire project. Why? The choice of engine is determined by how much weight remains after deducting the aircraft’s total weight from the 254-pound limit imposed by the FAA ultralight regulations. With the wings and tail attached to the fuselage, I weighed the entire structure. Without an engine, the scales read very close to 200 pounds. This meant that in order to remain legal and not exceed the 254-pound legal limit, I needed an engine that weighed in at less than 50 pounds. An additional weight margin is needed for various items in addition to the engine such as a mount, propeller, throttle, gauges and plenty of miscellaneous parts. While I had wished for a greater engine weight allowance, which would have made it possible to use a bigger engine, I was still happy we were seemingly on track for making our overall final weight target.
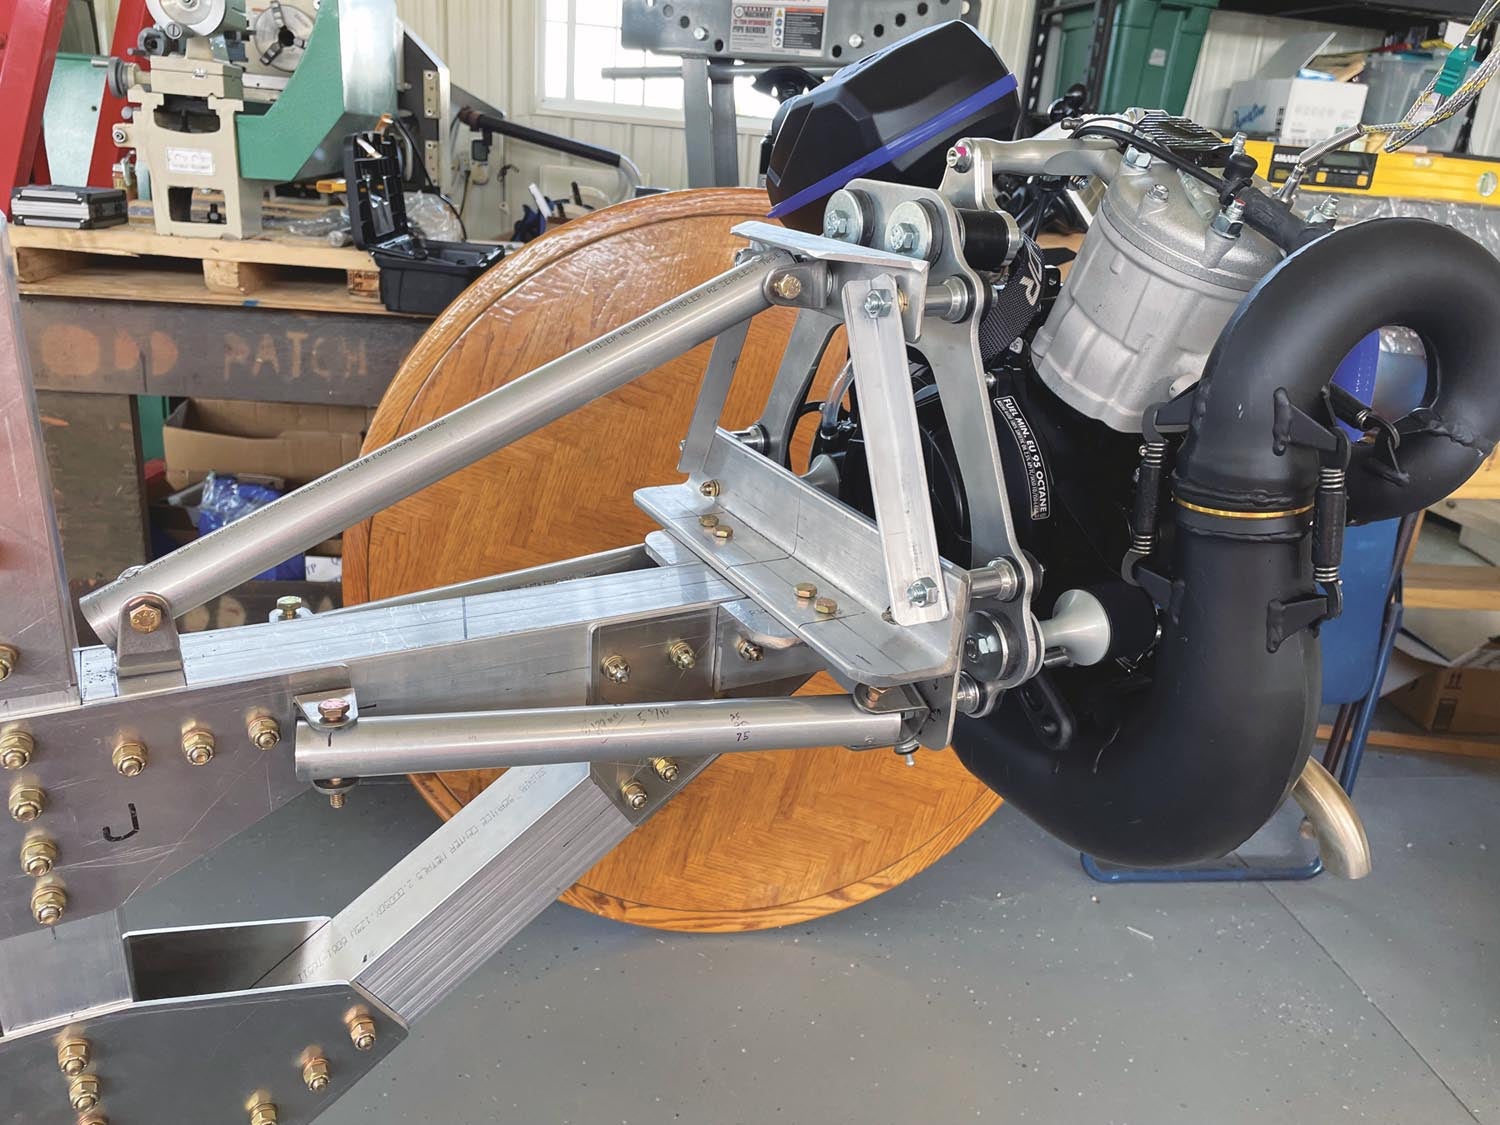
For the sake of brevity, let’s avoid a lengthy discussion about the details of choosing an engine that suits our purpose and weighs less than 50 pounds. The choice was made to go with the Polini Thor 202, a 33-hp, water-cooled, two-stroke engine weighing in the neighborhood of 40 pounds. This is a popular powerplant used in the paramotor arena (large fan strapped to your back with a parachute). It is also suitable for tractor configuration, according to the manufacturer. Based on my experience flying ultralights back in the 1990s, a Rotax engine would have been my first choice. However, all their small two-stroke engines have long since been discontinued. It was a goal of this project to make sure that all parts needed were readily available to all builders. So, no obsolete parts allowed! Another reason for going with this choice was that the next larger engine in the Polini product line shares the very same engine mount.
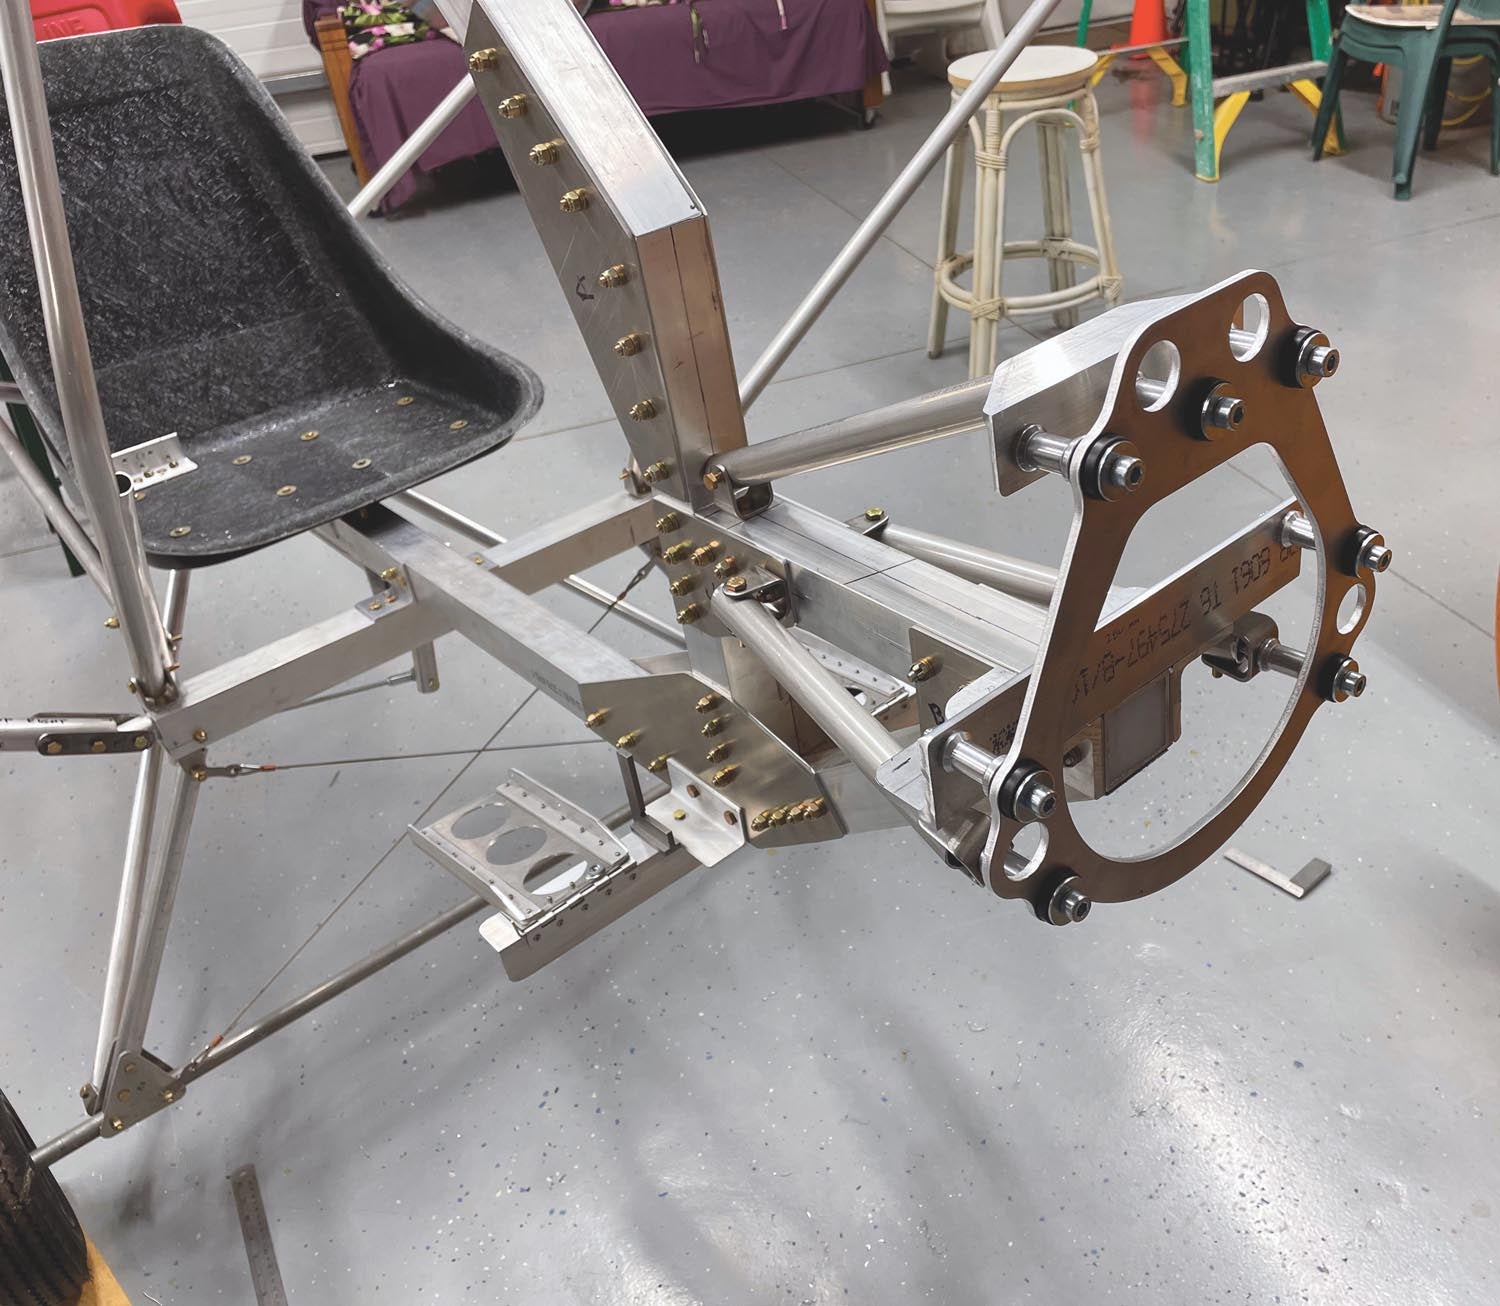
Having selected the engine, a suitable engine mount was needed to interface the Polini to the airframe. Keep in mind that no such engine mount exists—it is not provided by Polini unless you want to strap the engine to your back! Looking at engine mounts in general, it is no trivial matter creating such a device for any airplane. Plus, have you ever seen one that has no welds? Highly unusual for sure. This mount had to be designed in a way that any builder could fabricate it without special skills. The Affordaplane plans do have a design for Rotax engines. For all others, you are on your own.
Builder Assistance
As luck would have it, a fellow builder, Oscar Zuniga, was following my YouTube channel where I documented this Affordaplane build and wrote to me offering his expertise in creating a mount. It just so happens he is a professional mechanical engineer and has built several Experimental aircraft in his day. To make a long story short, I simply sent him the specs of the mounting ring from the Polini engine and from there he went to work. Using his creativity and technical knowledge, he came up with a simple and elegant design that utilizes materials and components we were already using. Simple to build and strong. Never underestimate the talent and resources of your audience! The last major building hurdle was now in the past.
After building the mount, the Polini engine was hung. A prop matched to this engine was installed and a minimal set of instruments needed for safe operation was included. It cannot be emphasized enough how much weight accumulates when adding all the peripheral parts required: throttle and cables, fuel lines, brackets and more. There is no documentation for a custom installation like this, so I used my experience for wiring and plumbing the engine systems. Plenty of effort went into breaking in and testing the engine while monitoring rpm and temperatures.
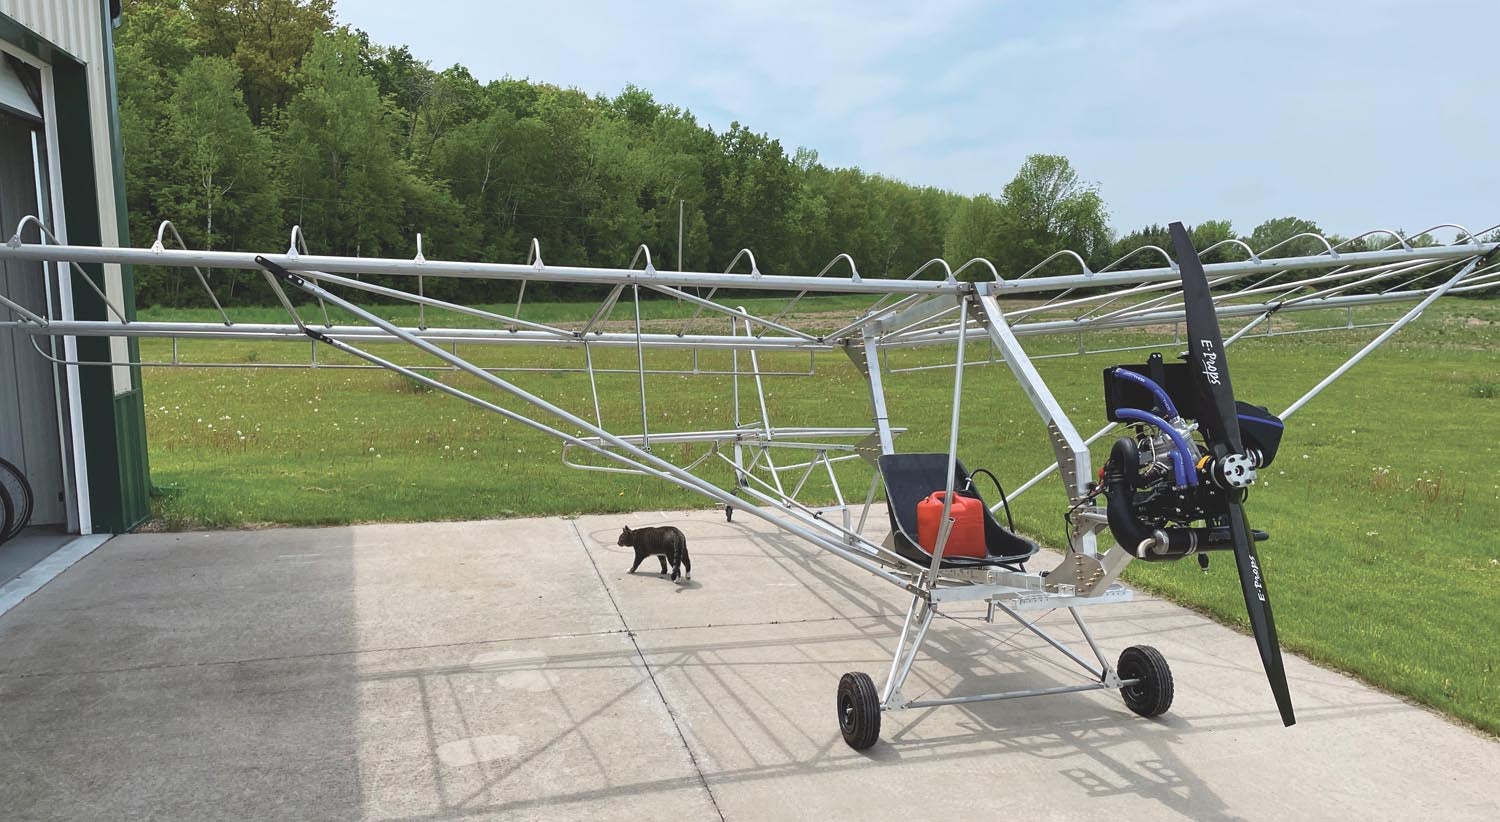
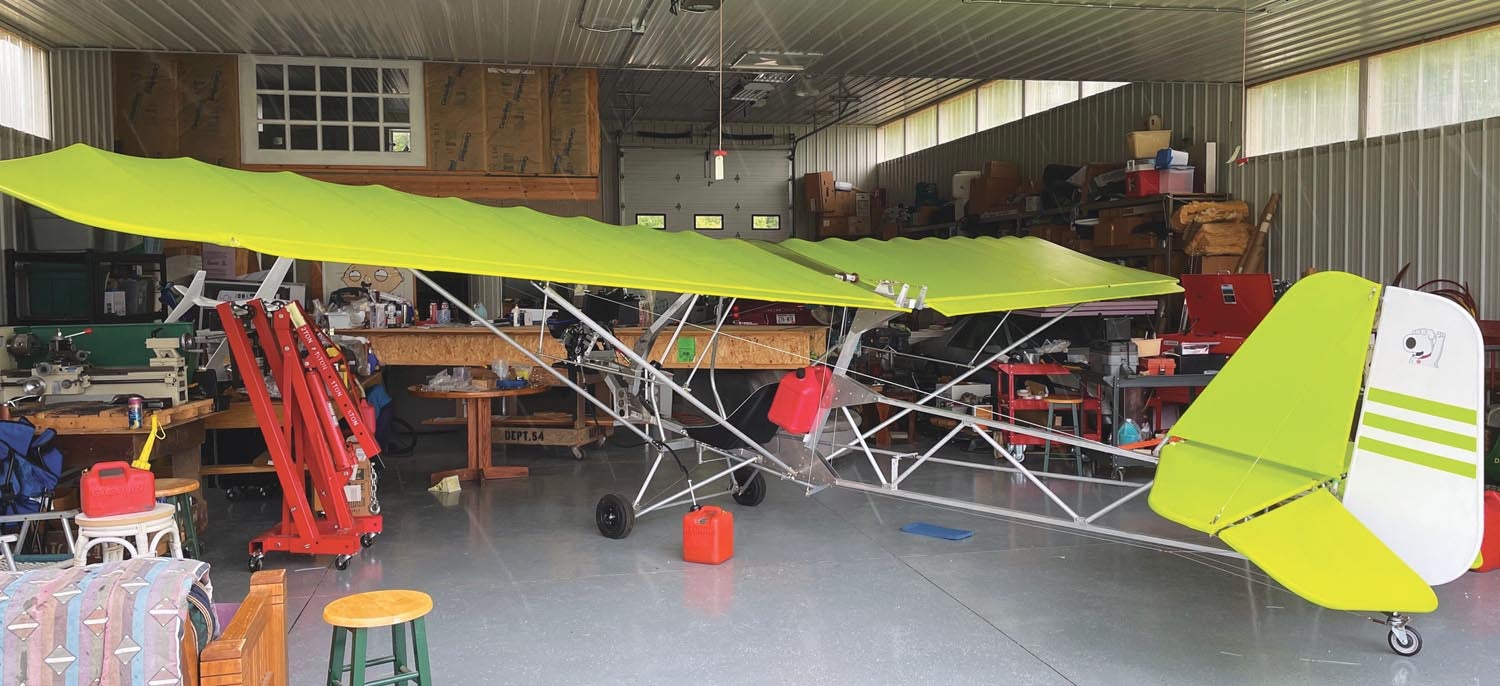
With the preliminary engine operations completed, the wings and tail were removed for fabric covering. As I mentioned in the prior chapter, fabric covering can seem intimidating if you never have done this operation before. But with a step-by-step video and a water-based adhesive system—it becomes not much of a big deal! The next step was to final assemble the wings and tail surfaces back onto the fuselage along with control cables and every other part and piece that is required for flight. A gap seal was added above the wings where they come together as per plans. Reaching this point in the build process after all this time meant that we were ready to now weigh the aircraft!
With the aircraft in a ready-to-fly configuration, it was carefully weighed. At this time, I performed the weight and balance exercise. It is a somewhat pleasant task with an ultralight to do this calculation as you can plug your personal body weight into this single-seater and get your balance numbers without many variables to consider. The good news was that the final weight was in the ballpark: 258 pounds. While I would not call it bad news, we were 4 pounds overweight compared to our goal of the legal limit of 254. I would call this a success for the following reason: It demonstrated that an ultralight could be built from inexpensive plans (not a kit) without special skills (no welding). The 4 pounds that need to be reduced can be addressed by carefully looking for ways to trim weight (for example, substituting a fabric seat for the fiberglass model I used). We can find multiple places to reduce weight by small amounts. It all adds up. The regulations regarding calculating total weight state that items not required for flight that can be removed are not included in this total number. In any case, we are dealing with a relatively small number so there is little concern about reducing the weight to get it spot on.
First Flight
Does this Affordaplane fly? It is beyond the scope of this article or this pilot to give a flight analysis. However, I would never allow another person to fly my creation for the first time! After taxi testing to become familiar with handling and a couple of crow hops, the next step was to fly the length of my small grass strip about 5 feet off the ground. After a couple hundred feet the aircraft lifted off the ground smoothly. I kept it at about 5 feet or so and eventually brought it down. The 33 hp is clearly adequate power to fly. This flight down the runway exhibited stable, level handling. This is what I needed from this initial “flight.”
I recommend this project to anyone who has an interest in building their own ultralight. Of course, without flight training, it would be dangerous to jump in and fly. But, for pilots looking to have fun building and flying their own creation—this would be hard to beat. No inspections; fly when ready! As mentioned in previous chapters, the build process is available to watch for free on YouTube so you can judge for yourself. The plans are about $25 and can be found at affordaplane.com. What an extraordinarily inexpensive, low-stress way to get familiar with building and flying. Plane and simple!

 Wordless Workshop")


