 OK, I’m just going to start off by quickly repeating what I’ve said a few times before. If you don’t want to spend an obscene amount of time building your Zenith airplane (or any airplane, for that matter), refrain from drifting away from their current plans and the way the demo airplanes are built. You can order practically every single part of their demo planes directly from the Zenith factory. Just build it quickly, with less hassle, and go fly it!
That being said, I am still working my way through tons of self-inflicted modifications and custom-built components. It seems like almost all my recent work is going toward parts and pieces that are highly modified and will very rarely be seen. Completion of components like the exhaust system and the intercooler have taken some of the dreaded items off of the long to-do list. All these custom parts are time-consuming and give little visual progress when looking at the whole picture.
Some of this extra time consumption is also commonly experienced by the perfectionists or believers of “the devil is in the details.” Meticulous builders spend hundreds of hours deburring, rounding corners, smoothing edges and making things fit “perfectly” before final assembly. Motivation can lag when you spend so much time doing things that may not help the plane fly any better—and may not even make it look better, at least not to the usual onlooker. It is even worse when you spend all the hours/days on these things and there is literally nothing extra that is assembled on the airplane.
For instance, you can easily spend weeks/months building the wings or fuselage and not feel like or see that you have really made any progress toward the final project. But once the completed wings are sitting next to the completed fuselage and you spend one single day mounting the wings, the visual progress is taken to a whole new level! When this happens, usually motivation experiences an amazing boost as well.
Morale Arrives in a Brown Truck
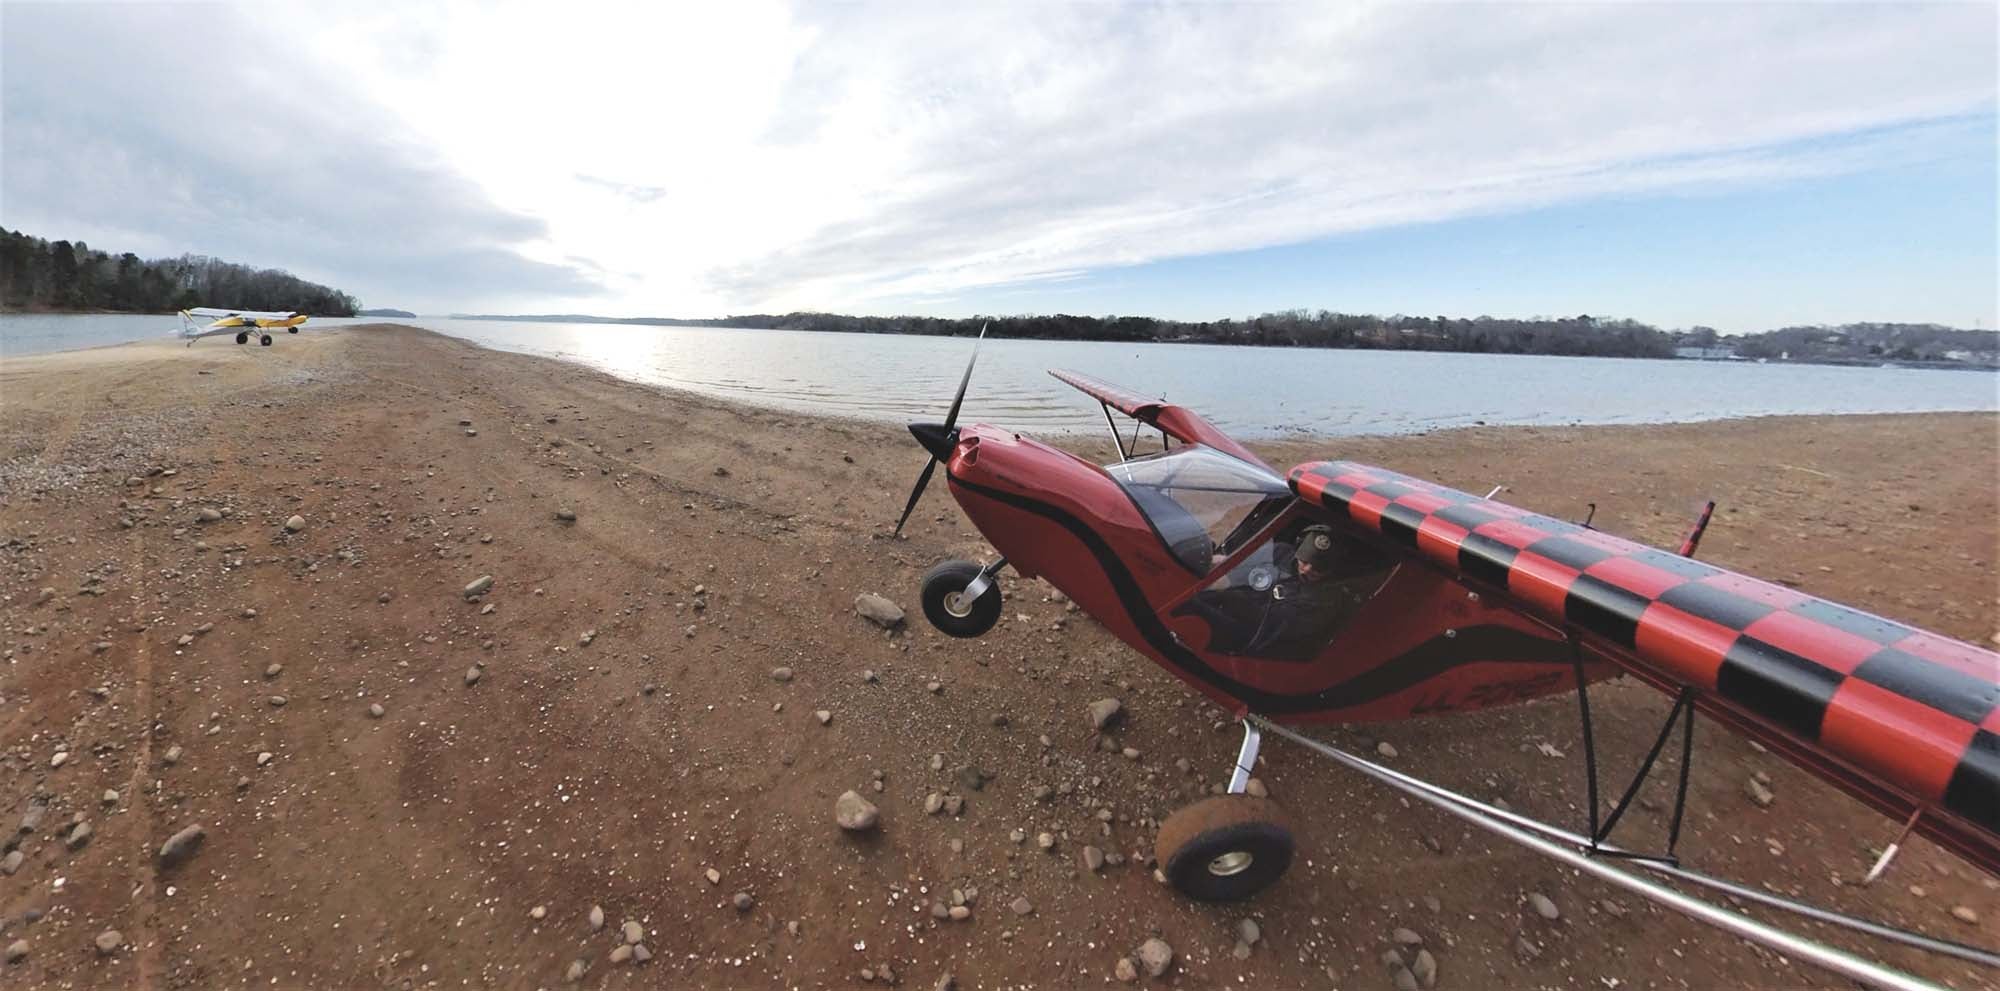
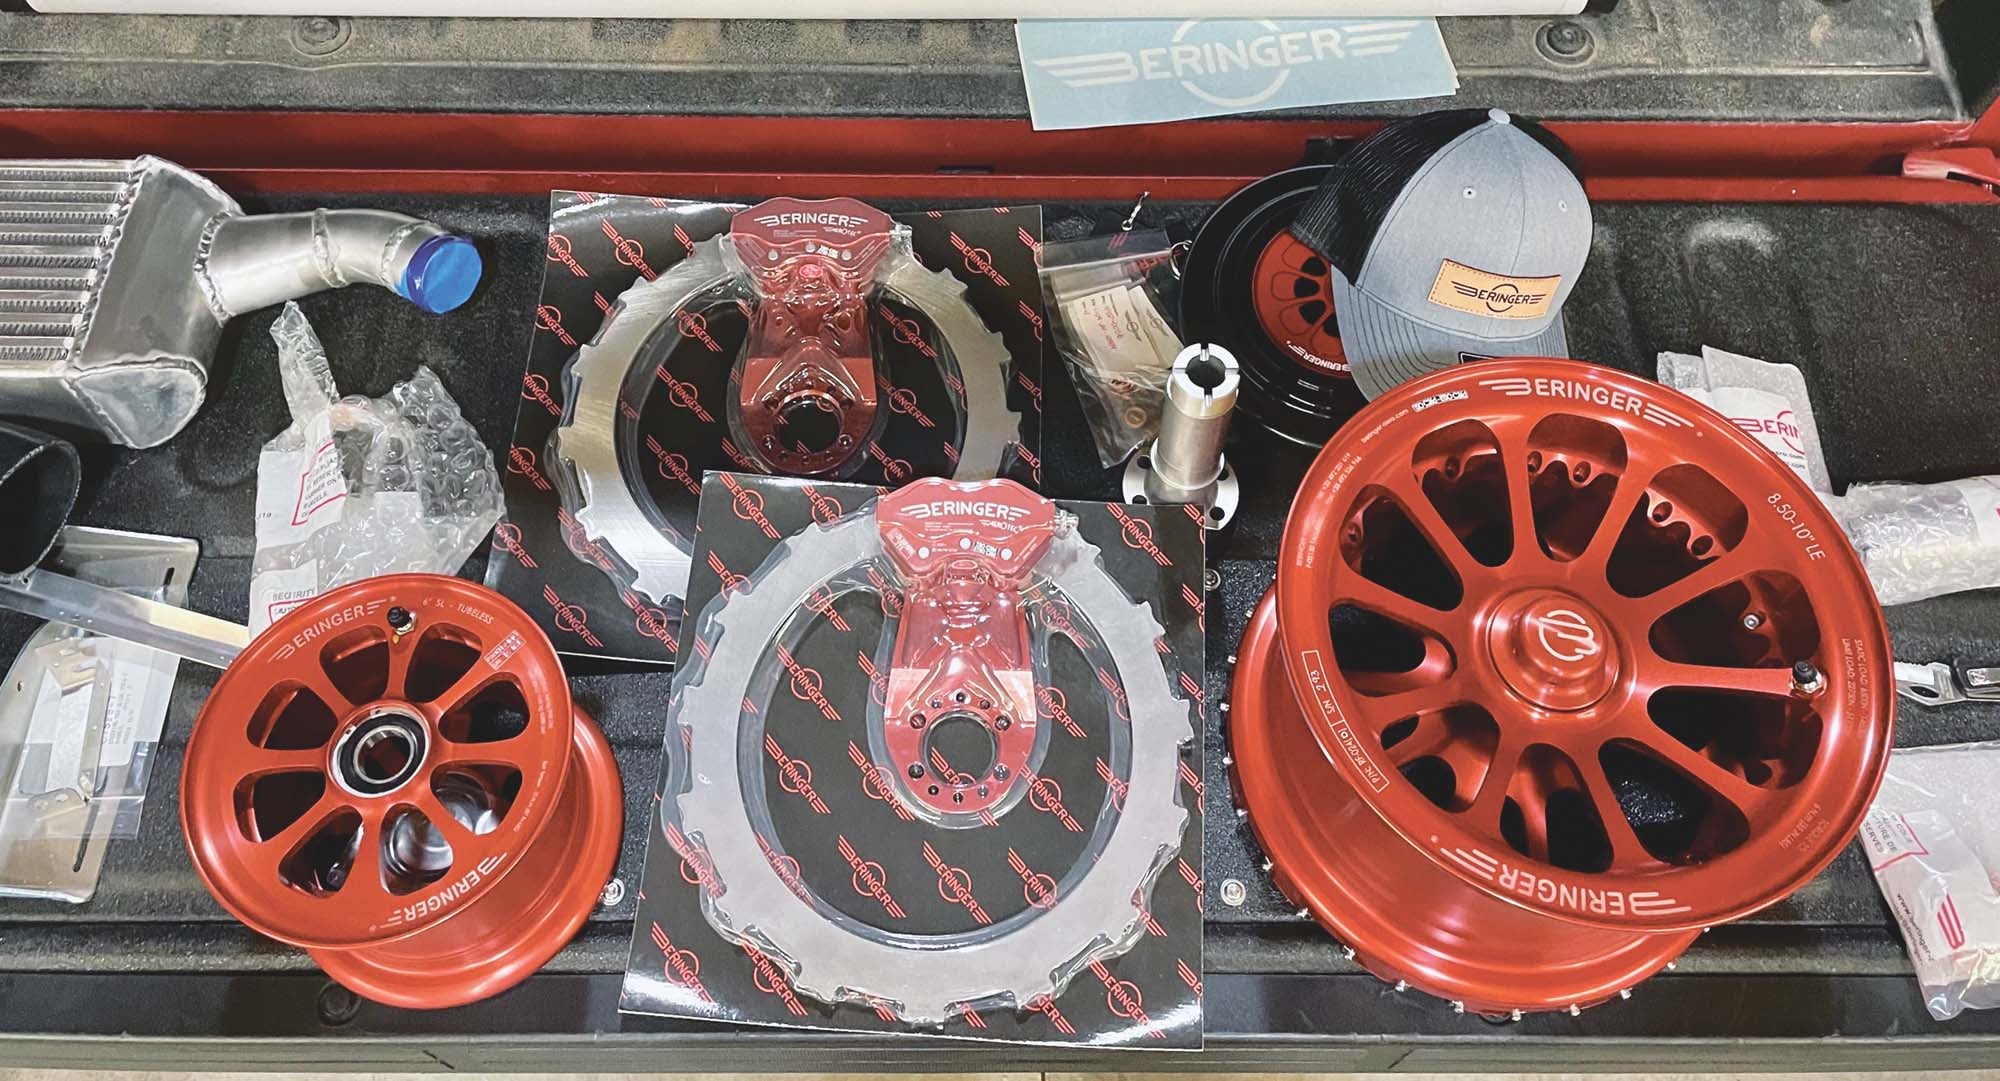
I am in the stage of spending huge amounts of time without seeing much visual progress, but I am still chugging along with the build. The last morale boost from visual progress came with meeting the UPS truck for the delivery of my Beringer wheels and brakes. It is always exciting to get a big box of airplane parts. The tires, wheels and brakes have been on my mind ever since I decided to build the Zenith 750SDX. While I like the look of the factory demo on the 27.5-inch main tires and the standard wheels, I knew that I wanted mine to be different. The Beringer wheels and brakes have caught my eye maybe because they are different and aesthetically pleasing or maybe because I have heard so many good things about their performance. Or it could even be the Beringer Red they use as their standard color. Some of you have probably already guessed that red is my favorite color. Wait, I shouldn’t be so discriminating on colors, so let me rephrase that: I like any color, as long as it’s red.
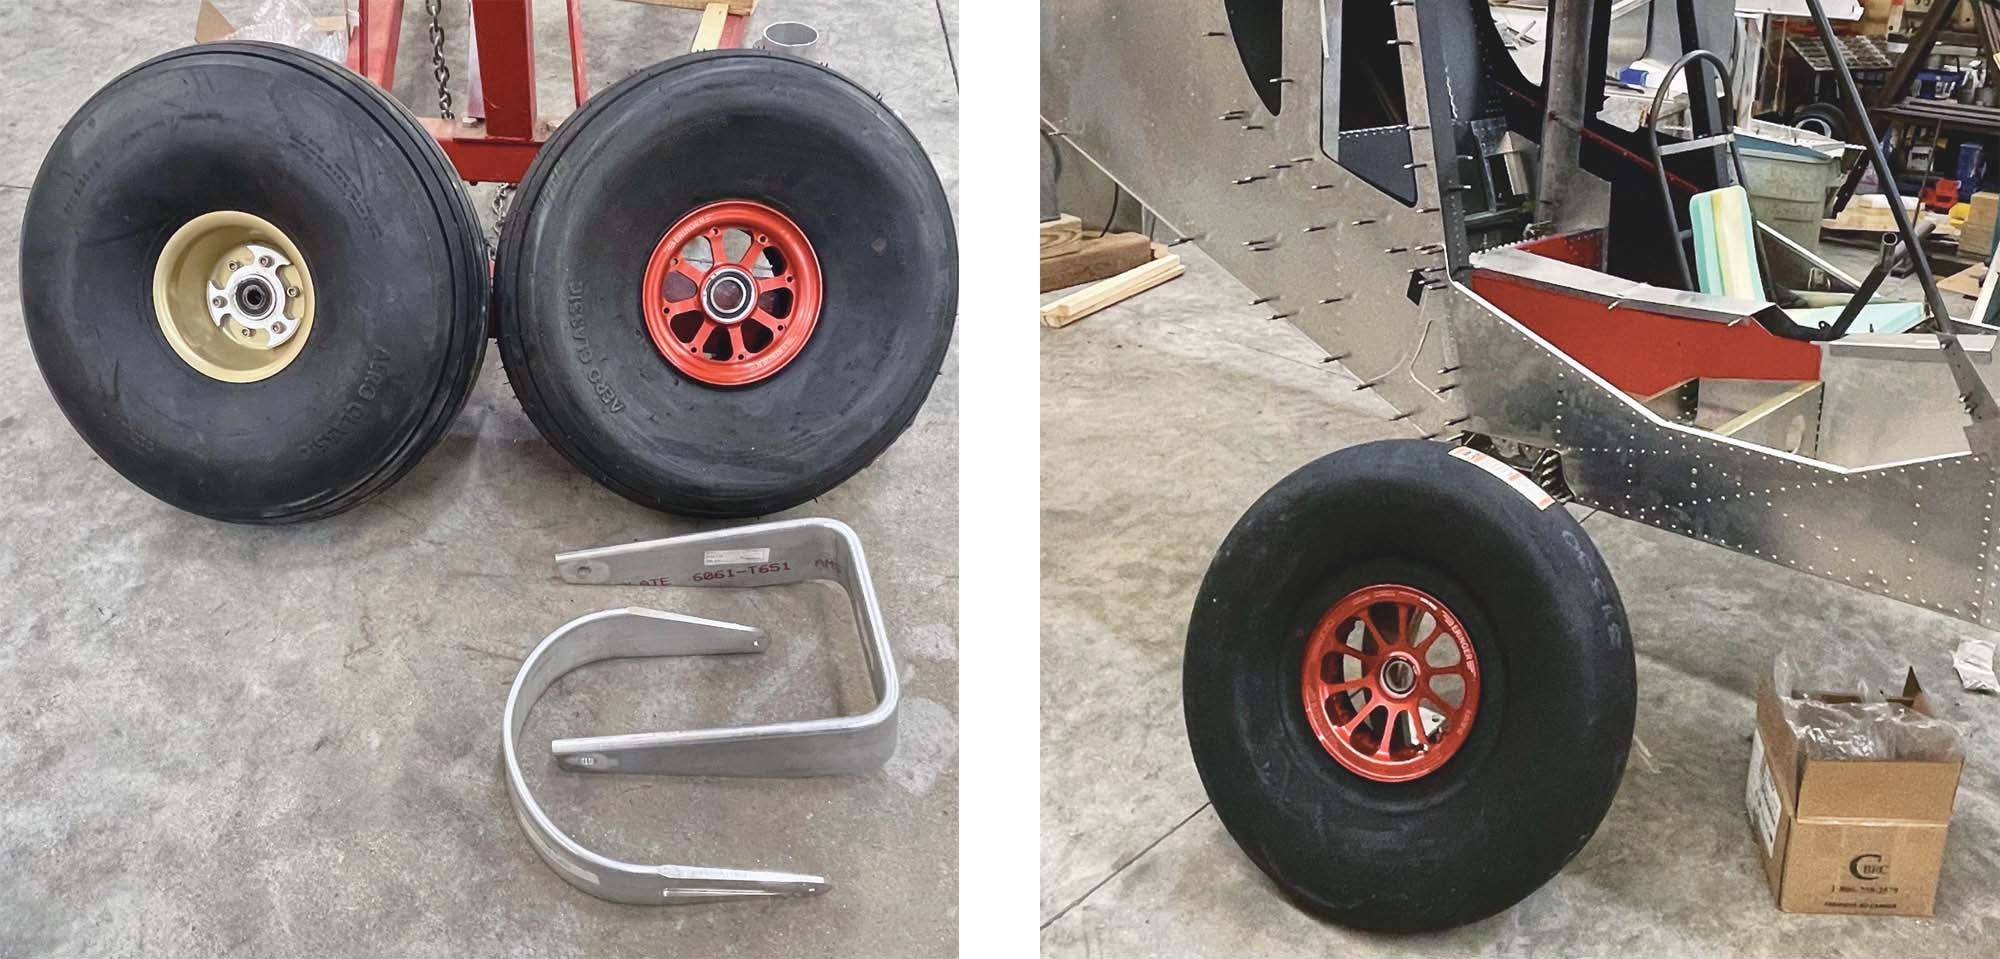
Anyway, even though the Beringer system isn’t mounted yet, it is motivating to hold the red Beringer wheels up to the tires and have them next to the airplane so I can visualize what it will look like once it is up on its own feet. It did take a while to nail down exactly what I wanted for this plane. The stock setup for the main gear on the Zenith CH 750 SD uses Matco 8-inch wheels along with 27.5-inch Desser/Aero Classic tundra tires. I was OK with the tire size because I mostly land on moderately rough farm fields, grass strips and sandbars—I very rarely land anywhere near the larger rocks/boulders where 31- to 35-inch tires are needed or required. However, after talking with Beringer for quite some time, I finally decided to go with the larger 10-inch wheel/brake setup. It is way overkill for the braking and load capability needed for the 750SDX, but this is one area that I would like to “install it and forget it” as much as possible.

Once we got all the technicalities finalized, I am left with figuring out the tires. I didn’t mind sticking with the 27.5-inch tires, but they are for an 8-inch wheel. The next closest size and lightest weight tire I have found for my 10-inch wheel is the Desser 29-inch tire. Desser also has 31-inch tires, but I really do not need or want the extra size, weight and increased drag by going all the way to a 31-inch tire. You might ask why I am sticking with the Desser tires instead of another brand. It is my understanding that Desser takes new Aero Classic ribbed aircraft tires, grinds off the ribs, then buffs the tire to a smooth finish for the “tundra tires” that I will be using. They still have plenty of rubber and hold up very well to all kinds of wear and tear, both on and off asphalt.
Plus, I had good luck with the 22-inch smooth Desser tires on my Super701. I feel like they were a huge improvement over the stock tires when the aircraft is being used for off-pavement operations. I think they are the best compromise for handling moderately rough off-airport sites without sacrificing lots of extra weight and drag and I would recommend that setup for anyone with a Zenith 701. I installed the 22-inch tires without tubes and with a small amount of silicone adhesive applied to the tire bead when installed. This has worked great for me, even when I have aired the tires all the way down to 3.5 psi for several abusive ops, and I have never had any sign of the wheel slipping inside the tire or any trouble with the bead coming loose from the wheel. It is like landing on pillows after I installed the 22-inch tires.
In case of a flat, these tires can usually easily be plugged in the field without special tools for removing the tire/wheel or without having to disassemble and mess with a heavy tube. Since these have worked so well for me, I plan to do the exact setup with the larger tires and wheels on the 750SDX. The next step is to figure out how to mount this setup to the Zenith aluminum main gear legs. I will go into this in better detail next time, as there are still a few uncertainties to work out with the install.

Nosy Business
As for the front/nose tire setup, well yes, I am modifying that also. Keep in mind that not all tires of the same labeled size are actually the same physical size. For instance, the standard Carlisle 8.00-6 tire that is included in the Zenith 701 kits is quite a bit smaller than the Aero Classic 8.00-6, and the Zenith 701 requires a new fork or a fork extension modification to work with the Aero Classic tire. The Zenith CH 750 SD comes with an Air Hawk 8.00-6 tire that very barely fits inside the nosewheel fork. I have opted to increase this to the larger Aero Classic 21×8.00-6 tire that is ½ inch wider and around 1.5 inches taller than the Air Hawk. I think the nose tire is the limiting factor for using these Zenith airplanes when “off-roading,” so it doesn’t make sense to increase the main tire size without adding a little extra rubber and floatation capability to the nose tire as well. Hence, another major modification. I have also mentioned previously that a new nose gear strut assembly with full shock capability is in the works. The second prototype is getting ready for release and I hope to have it installed soon. I have a new nose fork getting ready to be produced by a local machine shop that should work really well to couple the larger Aero Classic 21×8.00-6 tire to the new front suspension strut. I am hoping all of this will make the perfect sweet spot for the 750SDX and what I desire to be able to do with it. I’ll share a lot more info about all the landing gear setup in the upcoming articles.
Panel Mods
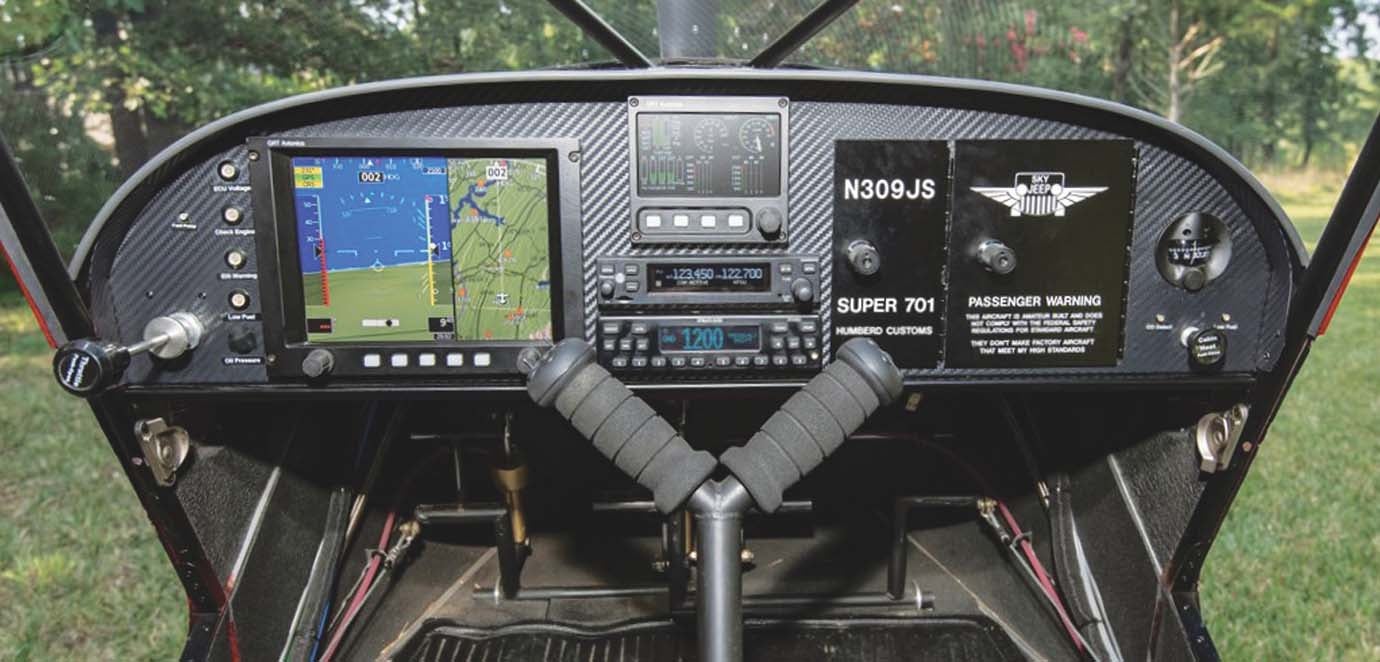
As with everything else that is modified on this bird, the instrument panel is going to be one of a kind and take a tremendous amount of time to complete as well. A fair amount of this time has already been spent sitting in the cockpit or in my chair beside the airplane brainstorming ways to make it work the way I want. Several people have mentioned how clean the “switchless” and breakerless panel is in my Super701. All the necessary switches are hidden behind a small access door and I use the Vertical Power electronic breaker system.
While I have thoroughly enjoyed this setup in the Super701, I intend to make the 750SDX panel cleaner and smaller to allow even better visibility. The Vertical Power setup has worked flawlessly and I like how it integrates all the electrical system information and functionality into the EFIS. You can see everything that is turned on or off and the amount of power each circuit is consuming, set alerts, turn circuits on/off and even reset them if needed, directly from the EFIS. I will go into the Vertical Power system more as I get closer to the wiring phase of the build.
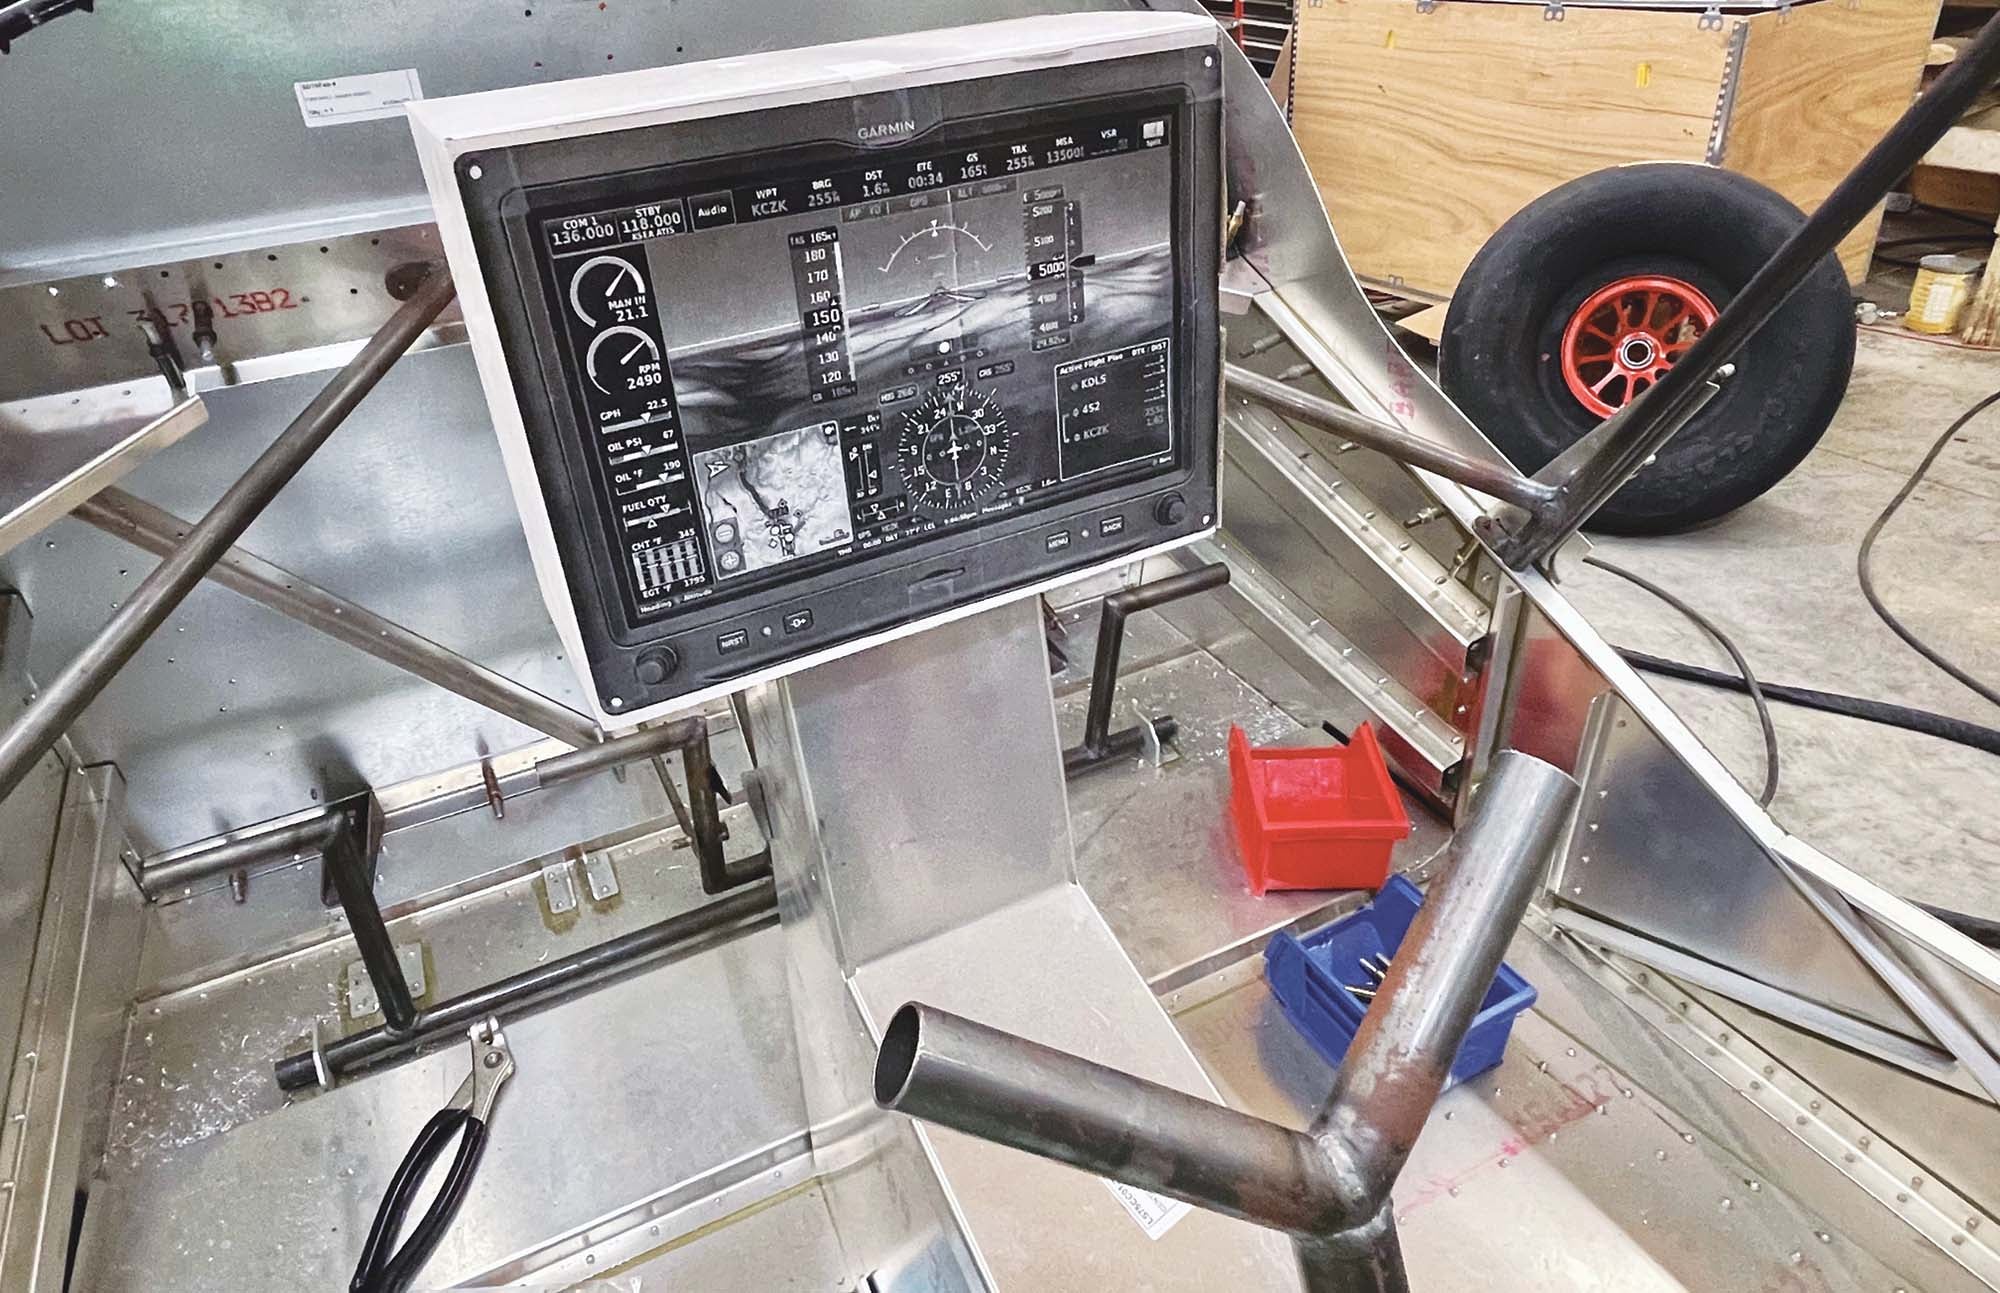
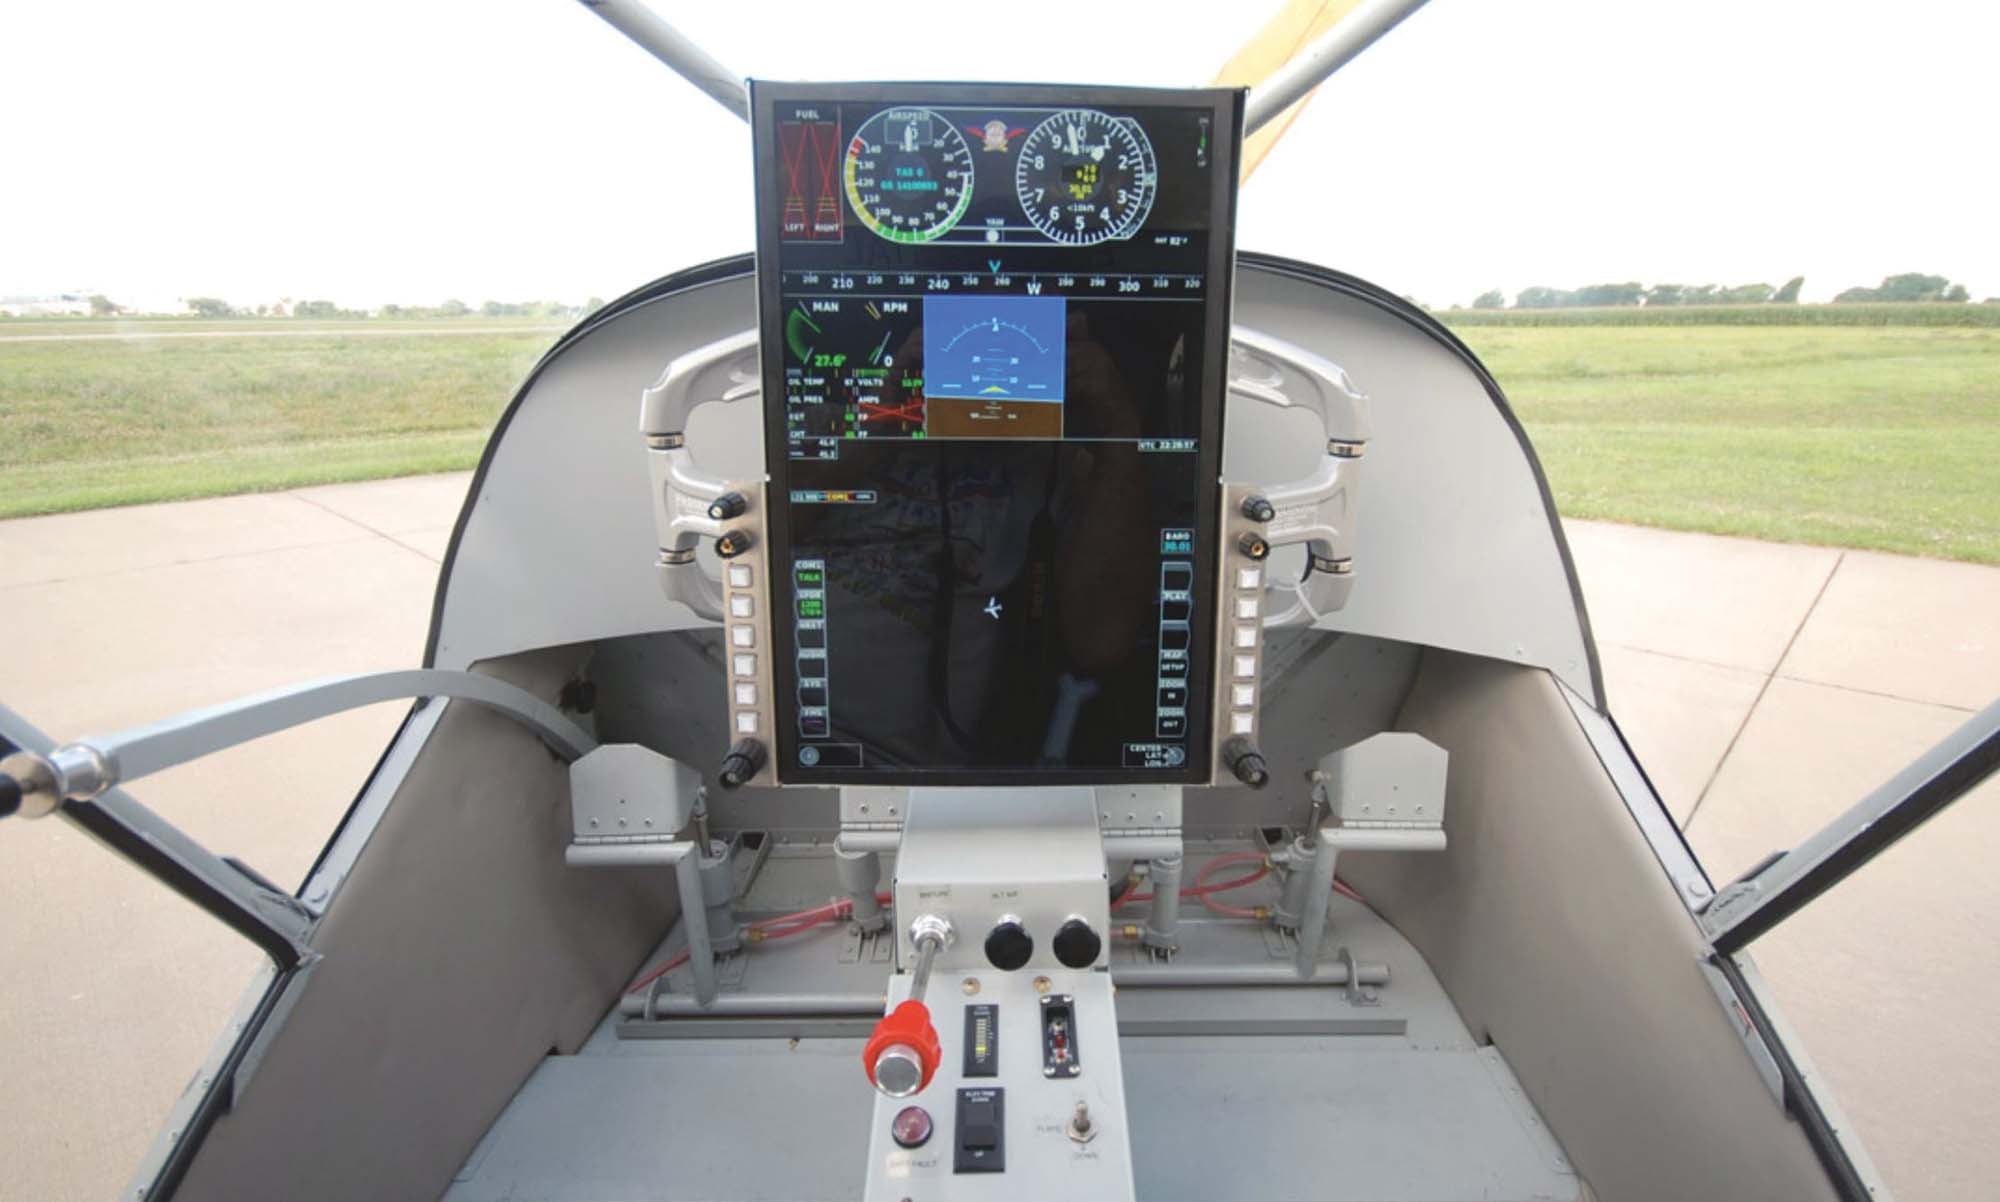
I’m matching the Vertical Power system to a Garmin EFIS, in part because it’s the only system I have found that will allow me to control the entire electrical system through a single EFIS touch display. My main panel will have no switches, lights, extra gauges, breakers or anything else to clutter up that space in the cockpit. The switched circuits will be controlled either through the Vertical Power system that is coupled to the Garmin screen, startup/backup switches underneath the main panel or the switches that will be located on the hand grips.
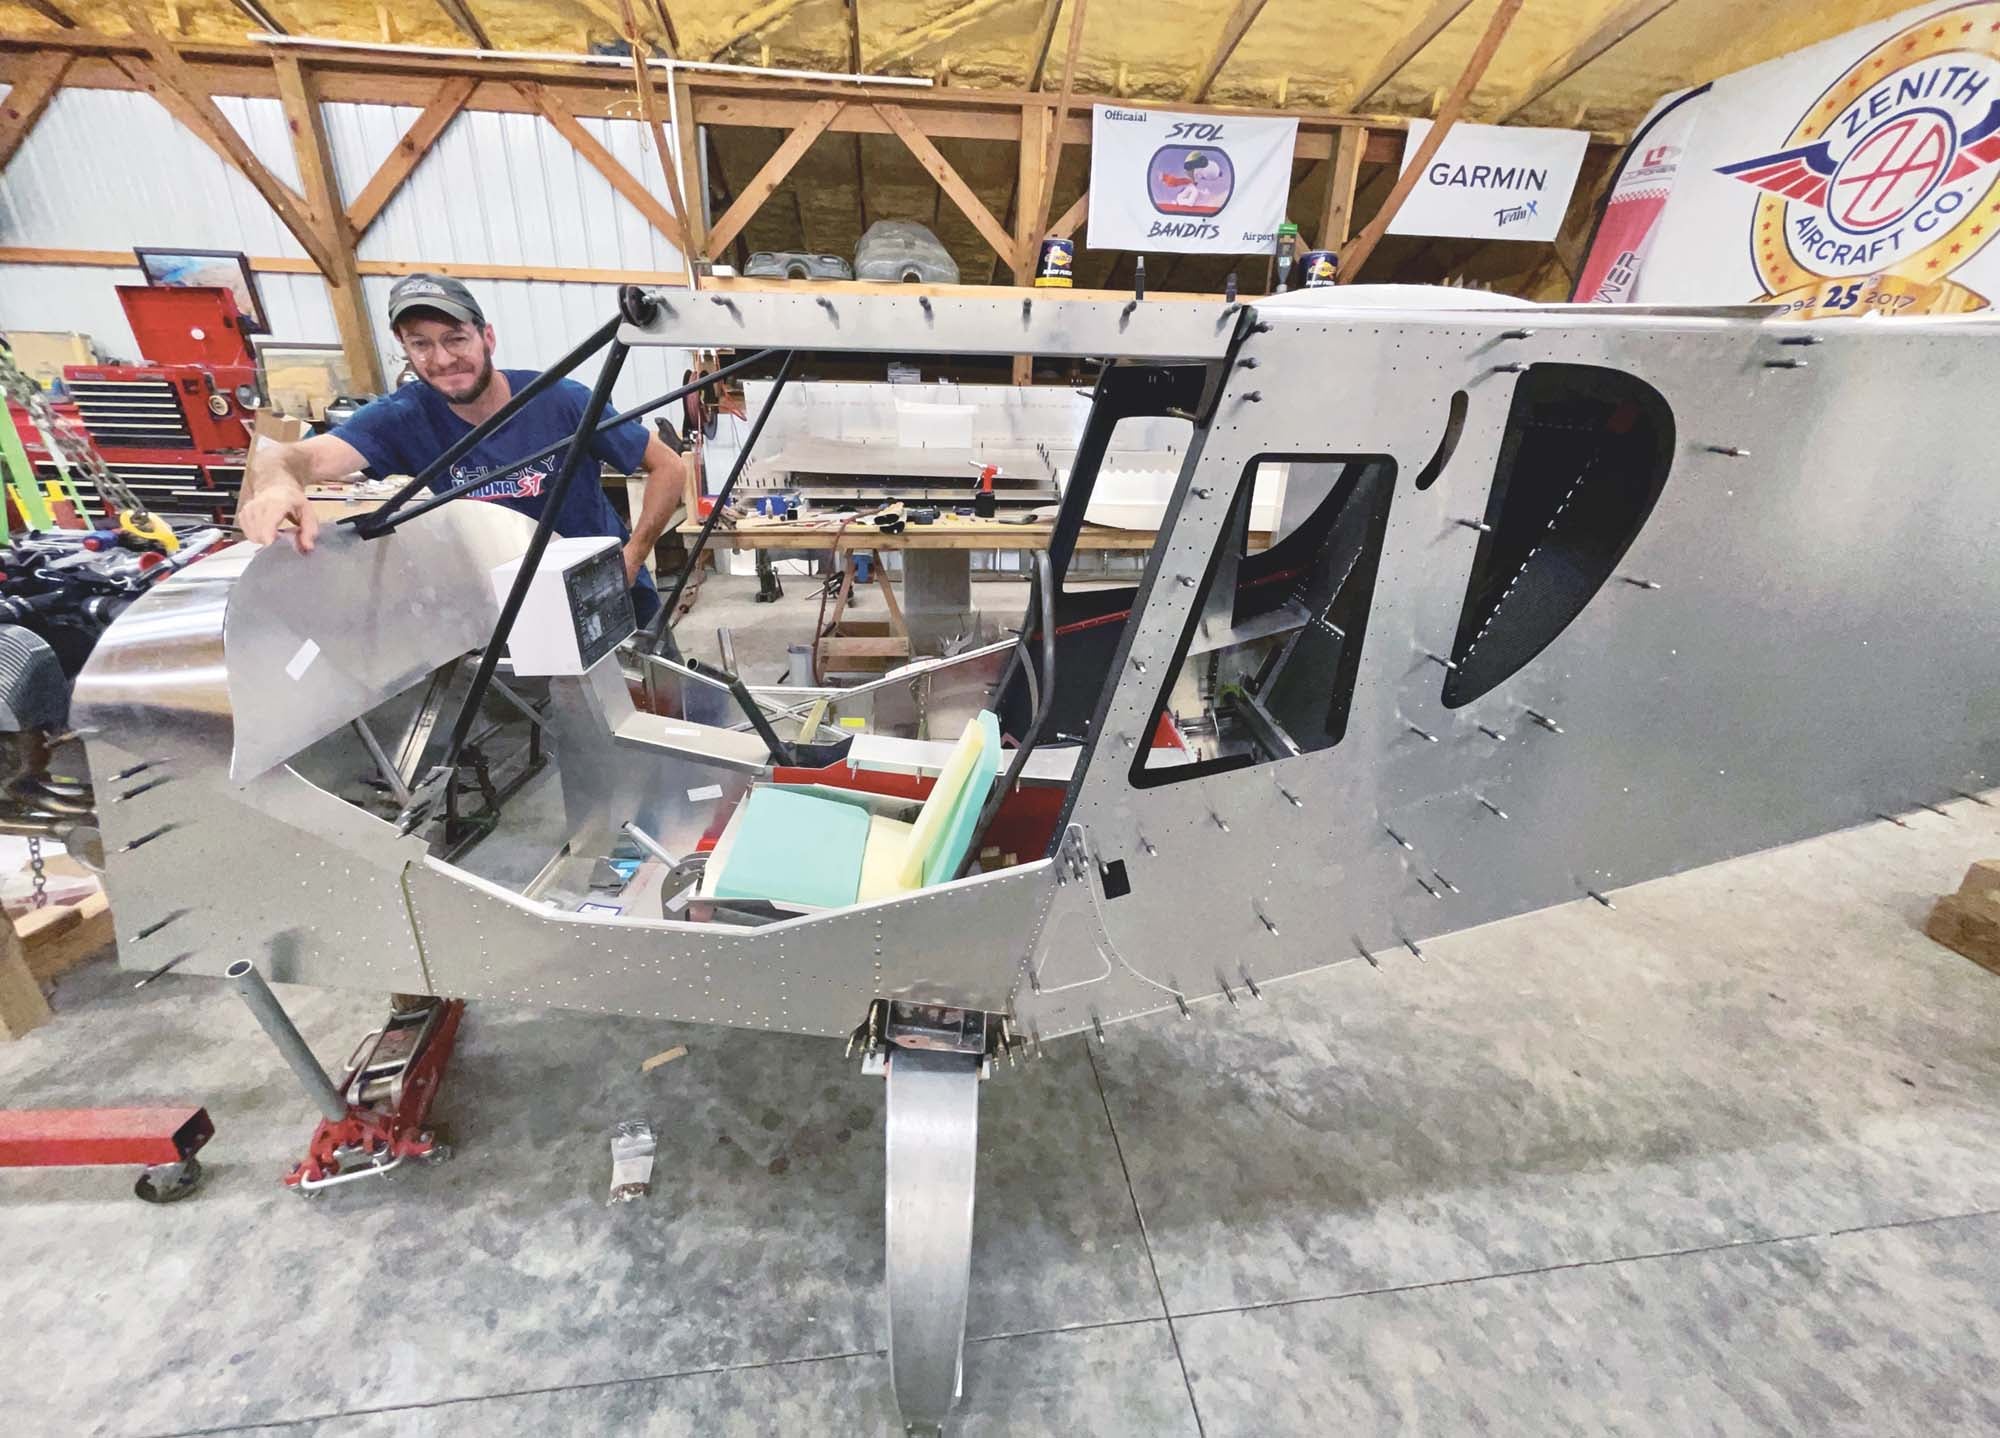
The Garmin radio and transponder will also be controlled through the Garmin EFIS screen. There are a lot of logistics involved with figuring out how and where to install and make all of this work, but I am confident it can be done nicely and reliably. To begin implementing the framework, I will be starting out with some of the Zenith components used with the Unpanel setup in the factory demo CH 750 SD. I will not be using the large articulating arm because it is fairly heavy and I do not desire the extra positioning offered by it. I will basically be building a center pod-style panel that is stationary. My EFIS may not be in the perfect line of sight for the best “take a quick glance” and I should probably go ahead and point out that this will only be a VFR rated airplane. I firmly believe that while flying a STOL (short takeoff and landing) airplane, the pilot should develop a good feel for the plane and spend almost all the flying time looking outside the cockpit.
When building these kit airplanes, you just have to be persistent enough to continue putting pieces together until you run out of pieces and try not to let things that may seem difficult get you into a slump. If done correctly, someday it will be a flying aircraft and the reward will be epic! That’s what we have to keep telling ourselves. So stay motivated and build on! Until next time…


Nice work Jon…