This month’s home shop project is a bead breaker for separating stubborn tires from rims. Here’s the backstory:
It was a routine 10-minute flight to fill up with gas for the weekend. (My airpark community does not have fuel facilities.) I taxied to the self-serve pump and shut down behind a local gassing up a beautiful vintage Cessna. A few minutes later he took off and I pushed my Jabiru into position. Moving a Jabiru around on flat ground is easy. You push the tail boom down to wheelie the nose gear and you can steer it around on the mains into almost any position.
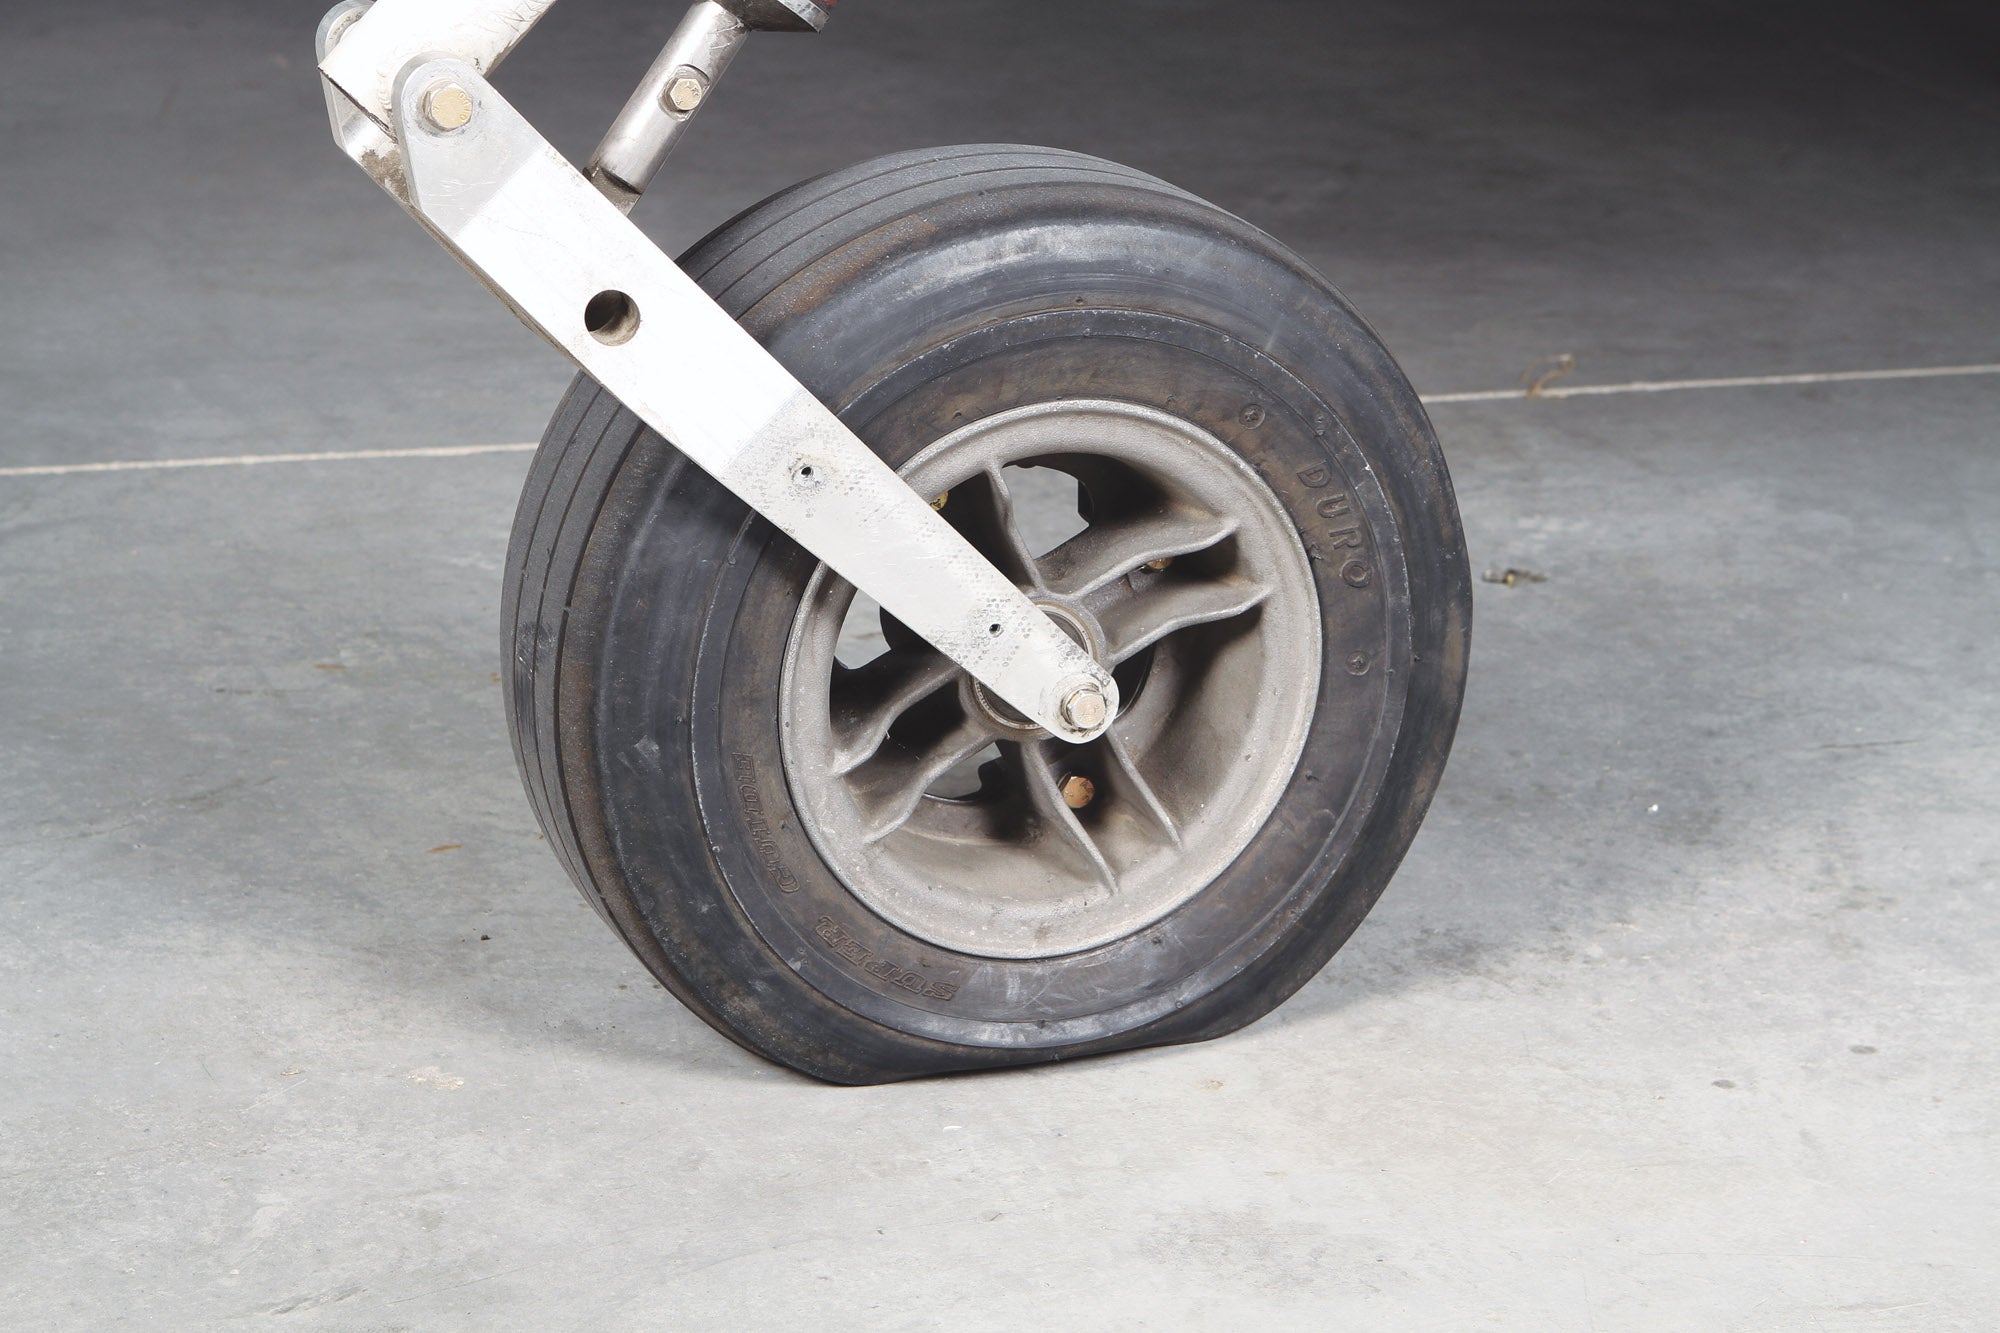
After filling up, I pushed the Jabiru away from the pump and hit the porta-potty. In the 20 minutes or so between shutting down, fueling and coming back from the loo, my front tire went completely flat. Hmm. Away from home. Sunday afternoon. No tools and no spare tube. Worst case scenario, I could tie down the airplane and get an Uber ride home (20 miles). I lucked out. My buddy Jere was nearby and could come and get me. In the meantime, I found a traveling A&P working on a jet in a nearby hangar who took pity on me. He not only loaned me a couple wrenches and a screwdriver, he came out and held the nose gear off the ground so I could remove the wheel.
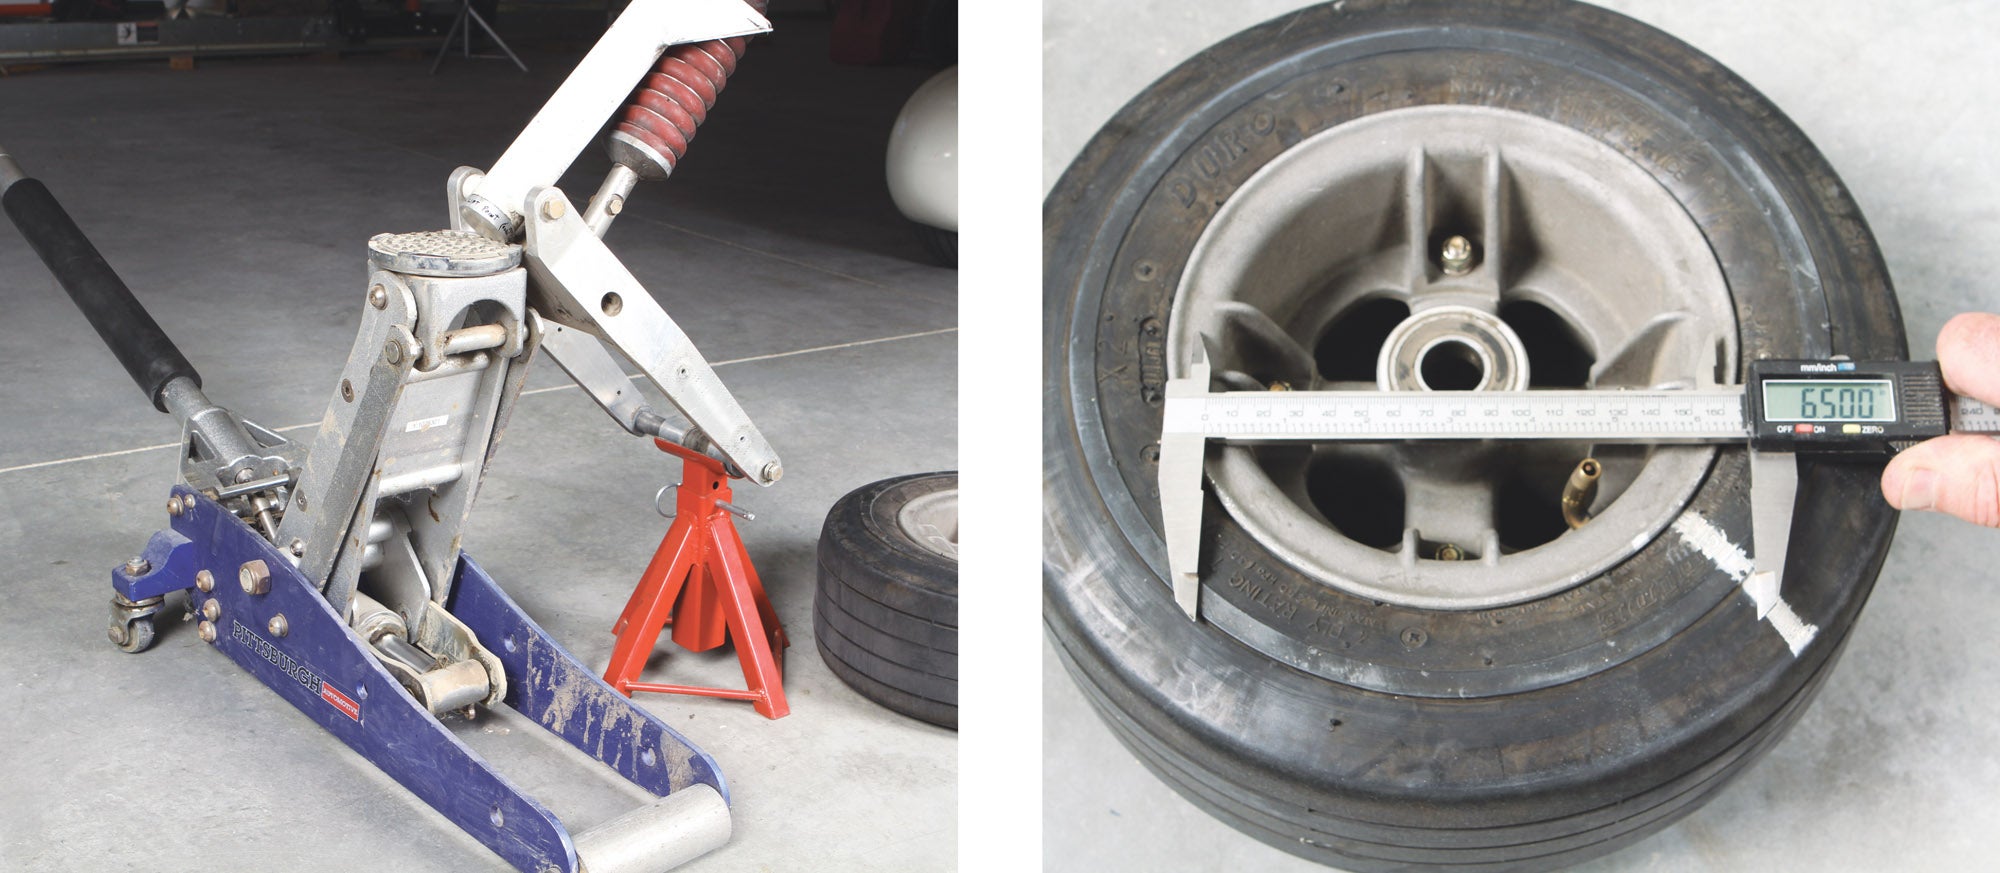
With the wheel off and the nose gear resting safely on some two-by-fours, I set about disassembling the wheel to remove the tire and tube. I got as far as splitting the rim, but the tire was so firmly seated to the rim that no amount of pushing, pulling or cussing would separate them. Luckily, Jere arrived and we took the wheel over to his hangar where, horror of horrors, the only “pry tools” on hand were some large screwdrivers. I eventually managed to pry the tire off (with the aid of some soapy water), but I put a few scratches on the rim in the process.

The tube had a small pinhole on, of all places, the sidewall. With no spare tubes available, the only choice was to patch it, and the only Sunday afternoon option was the local Walmart. With the tube patched and everything reassembled, I made it home a mere 3 hours later. I immediately ordered a couple of spare tubes from Aircraft Spruce and also looked up “bead breakers” and “tire levers” to find a good screwdriver-free solution for prying that tire off the rim.
Of the dozens or maybe even hundreds of tubes I’ve patched (mostly bicycles), most have been reliable. So I wasn’t worried if the patched tube would hold air or not. In fact, I did a couple of flights with no problems. To be sure, flying on a patched tube is not ideal, so I planned on swapping the repaired tube for a new one in due course.
About a week after my last flight I came out to the hangar and found the tire was half flat. Whether the patch was leaking or it was a new puncture didn’t matter (the patch was leaking); I was glad that I had some spare tubes!
One thing I was not going to repeat was using screwdrivers to unseat the tire from the rim. I needed a bead breaker, so I decided to make one. While not as fancy as some of the tire changing tools you’d find in a repair shop, it works and that’s what counts.
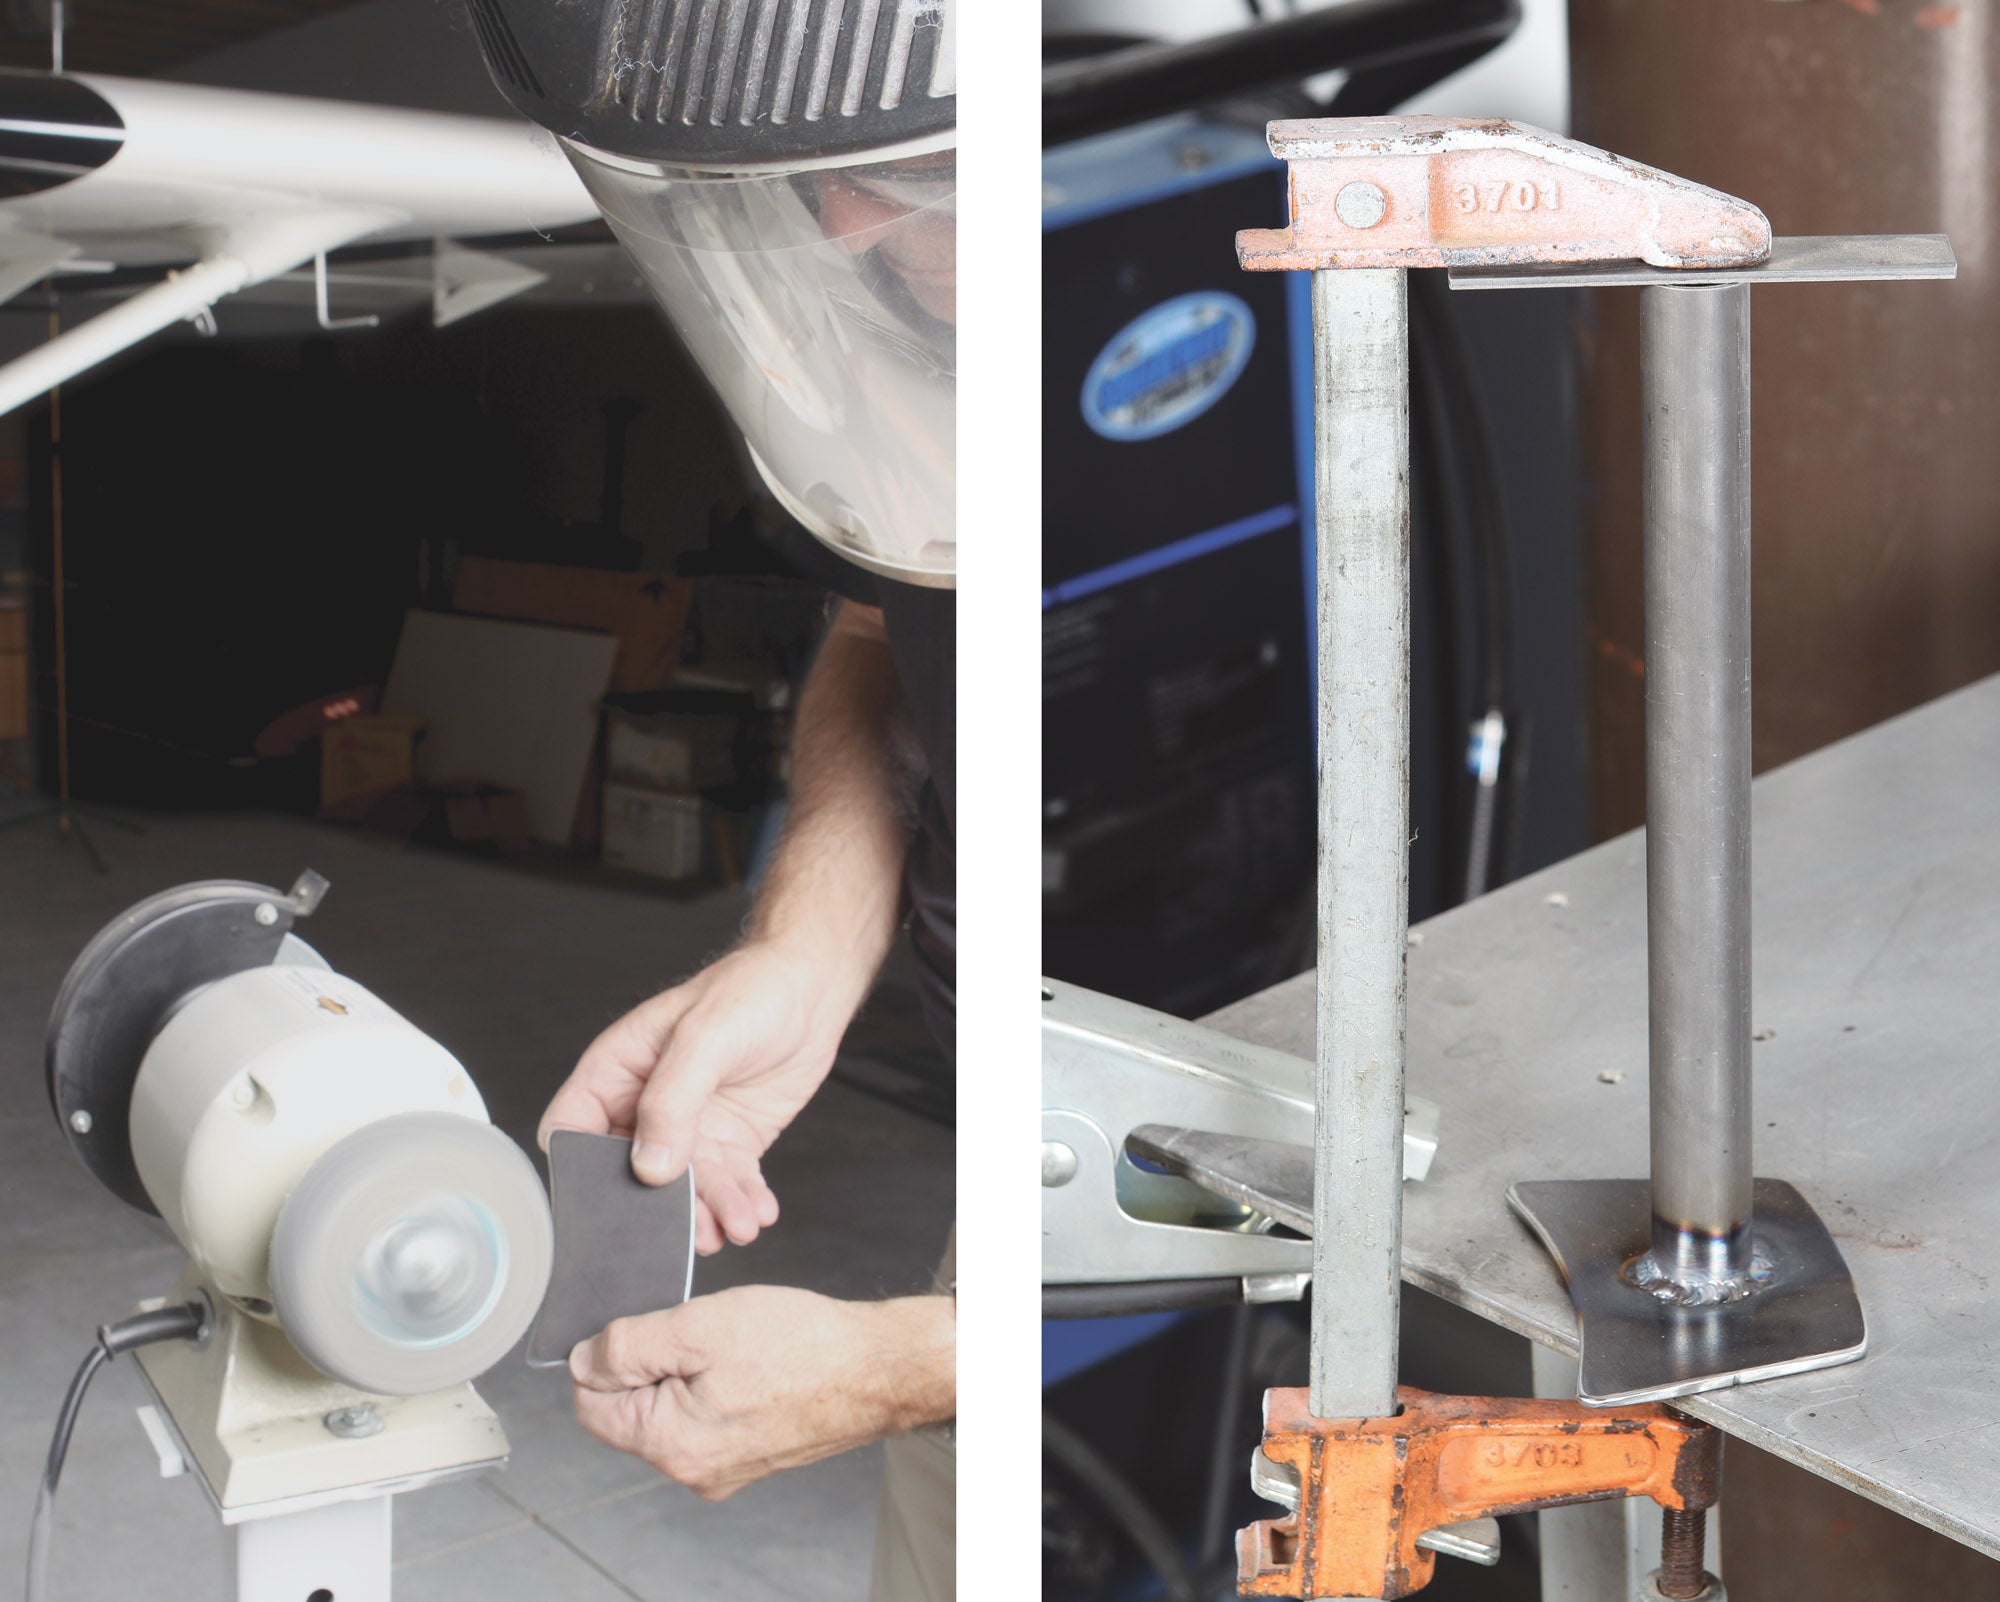
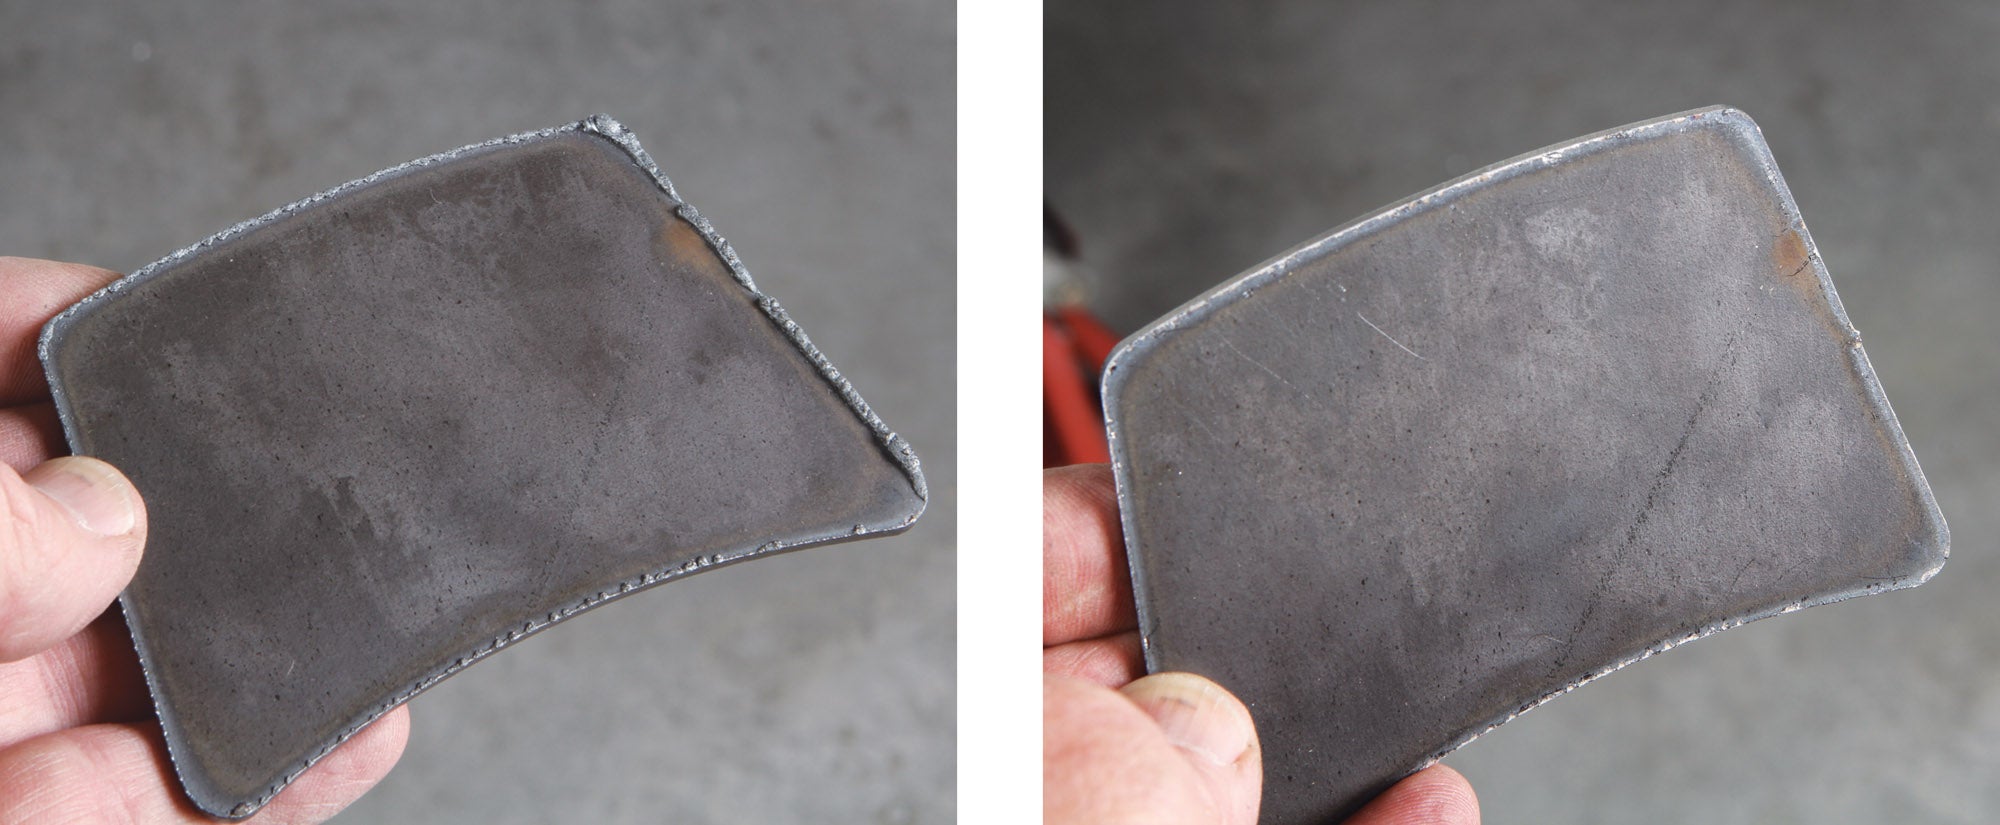
The material for the lever plate was made from 1/8-inch steel plate and the handle was made from ⅞-inch 4130 steel tubing. The tubing came from a “bargain bag” purchase from Aircraft Spruce. The bargain bag (part number 03-15900) consists of random sizes and lengths of 4130 tubing. The batch I got consisted mostly of ⅞ x 0.049 tubes 12 inches long.
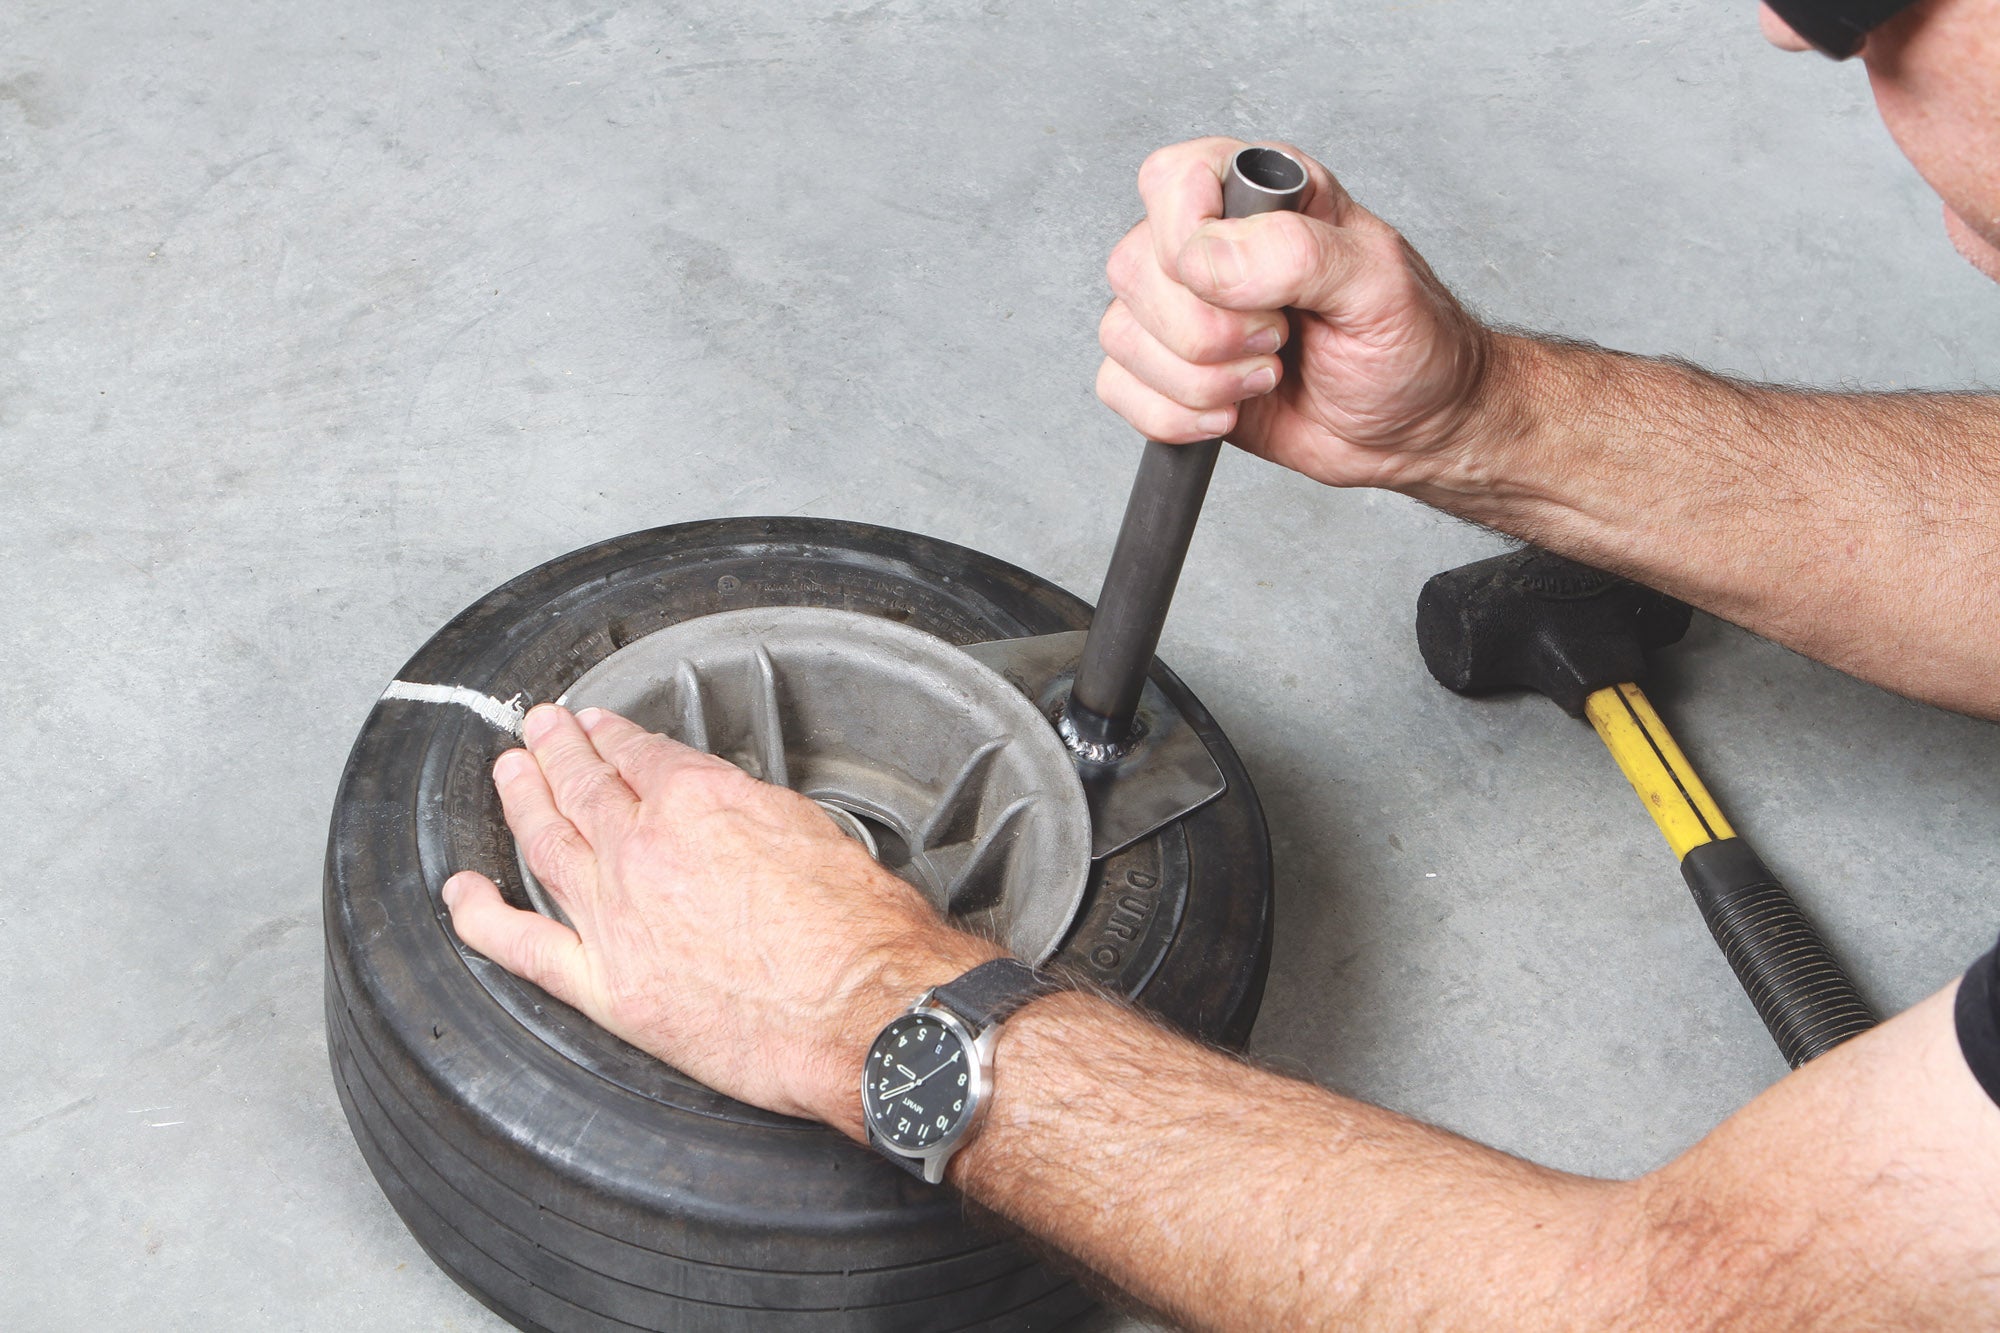
I happened to be in the middle of making a bunch of yard art signs with a kitbuilt Torchmate CNC plasma cutting machine, so that’s what I used to cut out the lever plate. Plasma cutting is a fast but somewhat crude method of part making. It’s sort of a poor man’s laser cutter. In any case, for this project you don’t need a plasma cutter: a hacksaw or band saw and hand files can do the same job.
That’s it for now. It’s time to get back into the shop and make some chips (and sparks)!


