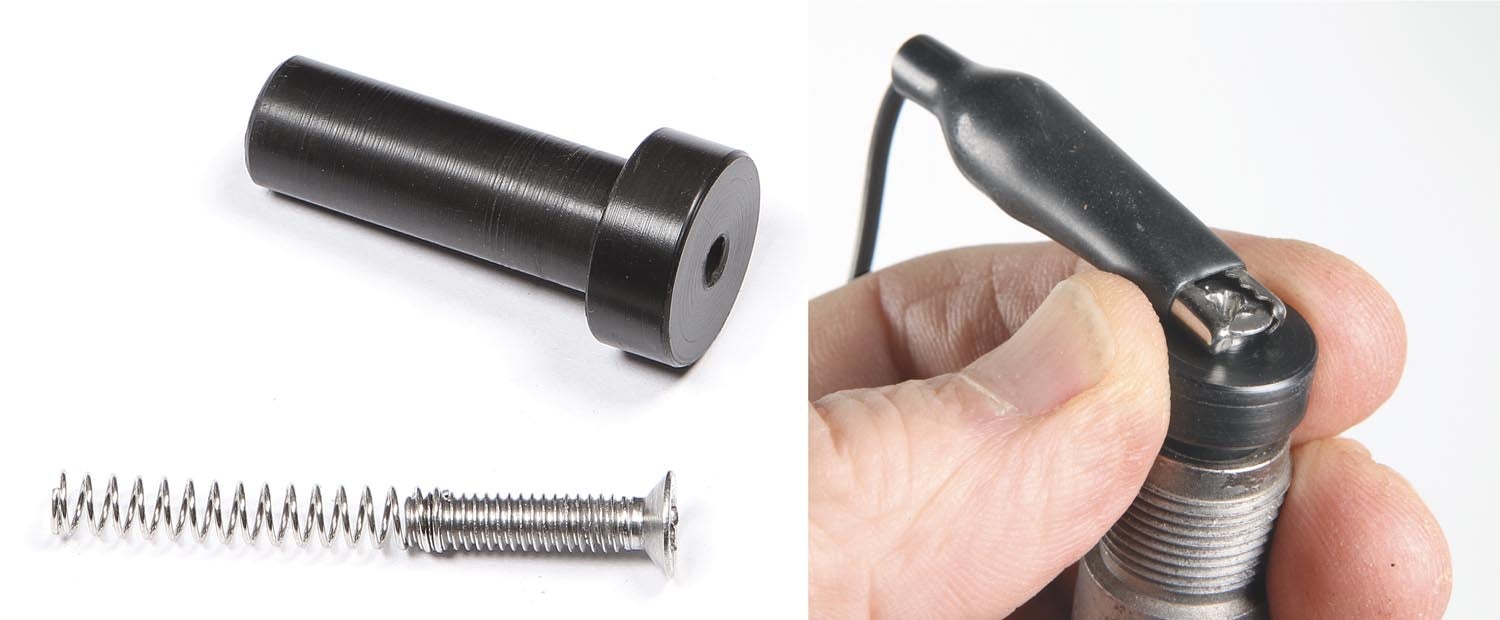
This month’s home shop project was suggested by Matt Burch. Matt sent a couple of photos of a cool time-saving tool he made to probe the center electrode of aviation spark plugs when measuring their resistance values. Mechanics call this type of tool a “third hand,” which simply means it provides the services of a third hand. In the case of checking plug resistance with an ohm meter, this little guy eliminates all the fumbling and bumbling associated with the job.
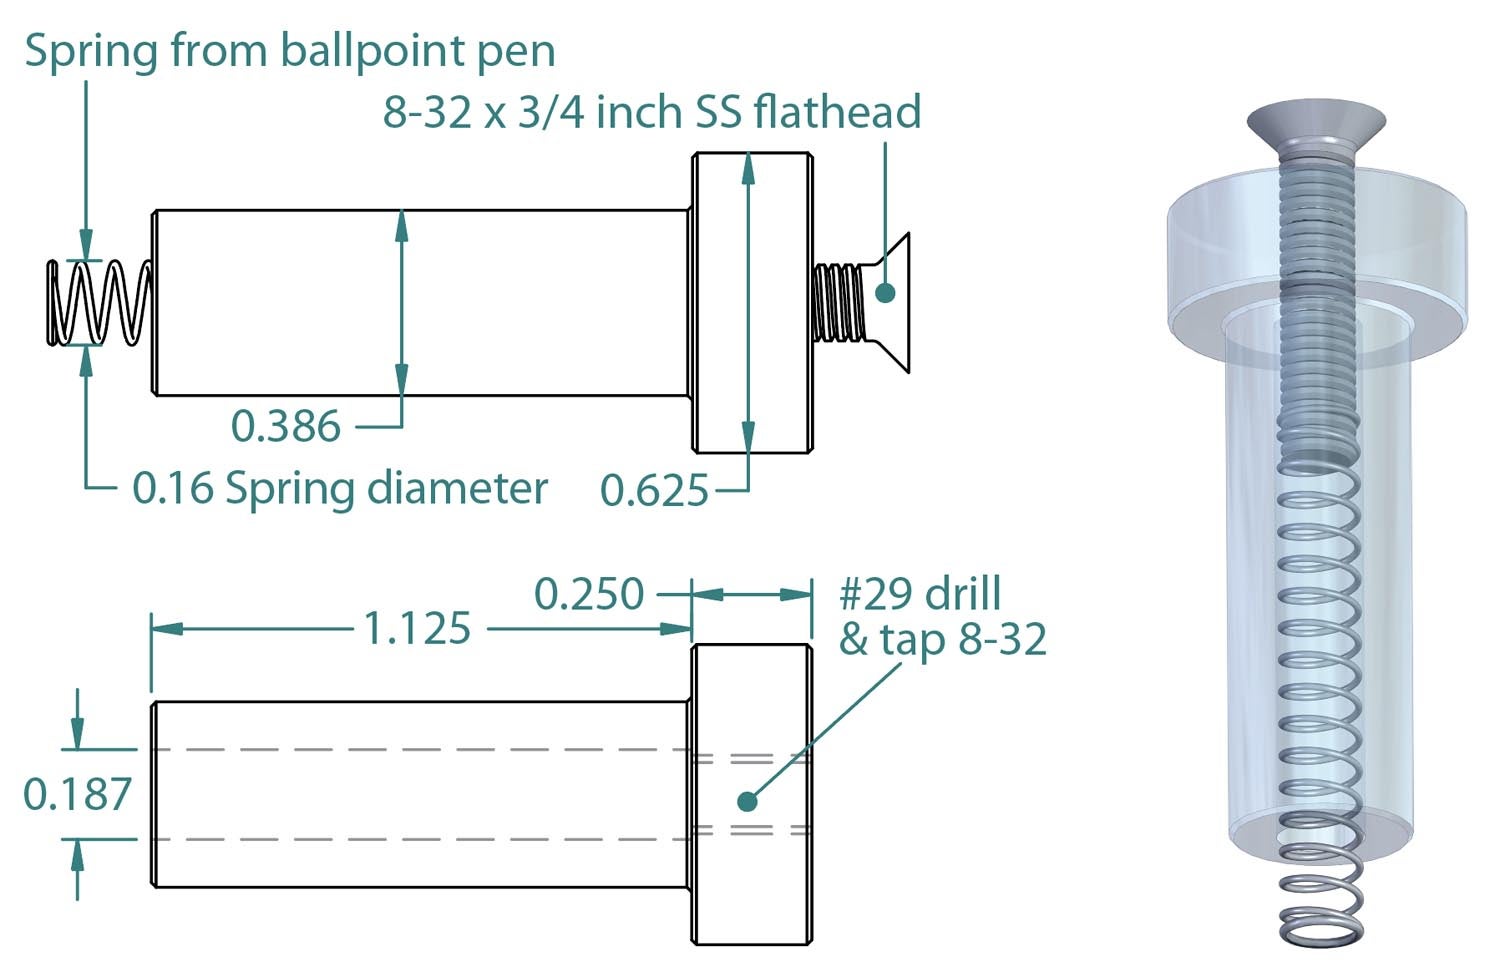
The design itself is both supremely clever and ingeniously simple—an insulator with a spring and screw center conductor. The screw is a common 8-32 stainless steel flathead and the spring is a 1-inch-long by 0.160-inch-diameter right-hand-wound compression spring from a ballpoint pen. The spring can be found in many Parker and Paper Mate pens. The spring “threads” onto the end of the screw and once assembled inside the insulator, it’s pretty much on for good (think Chinese finger trap). The flathead screw provides a place for the probe to make contact, or if you have an alligator clip for your ohm meter/multimeter, a place to clamp to.
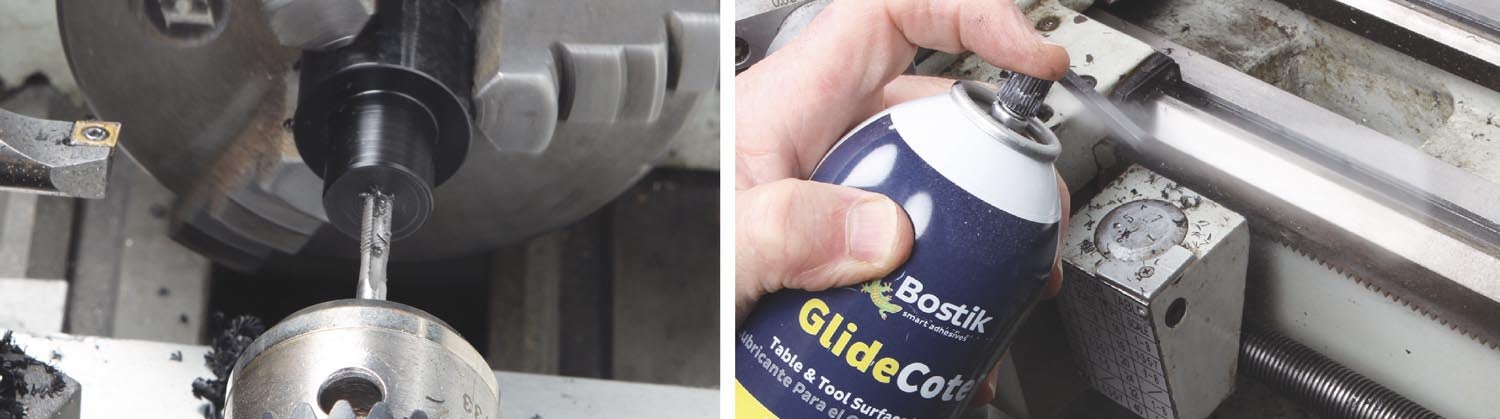

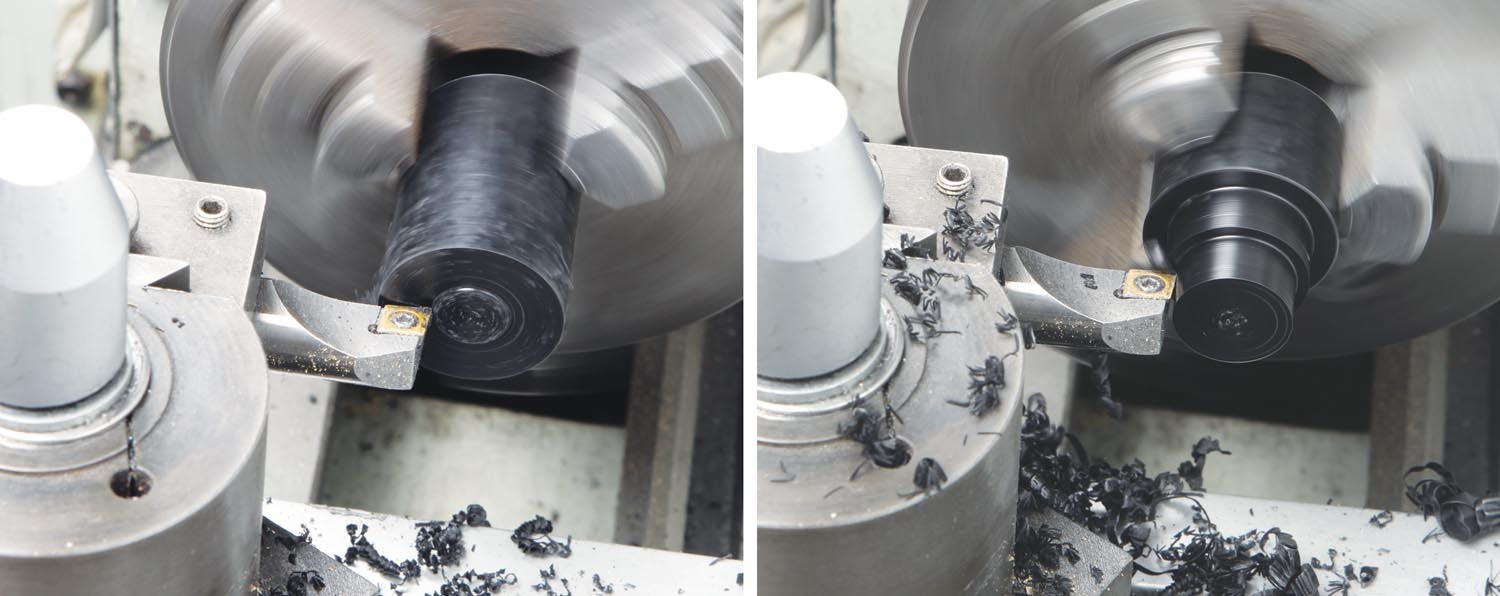
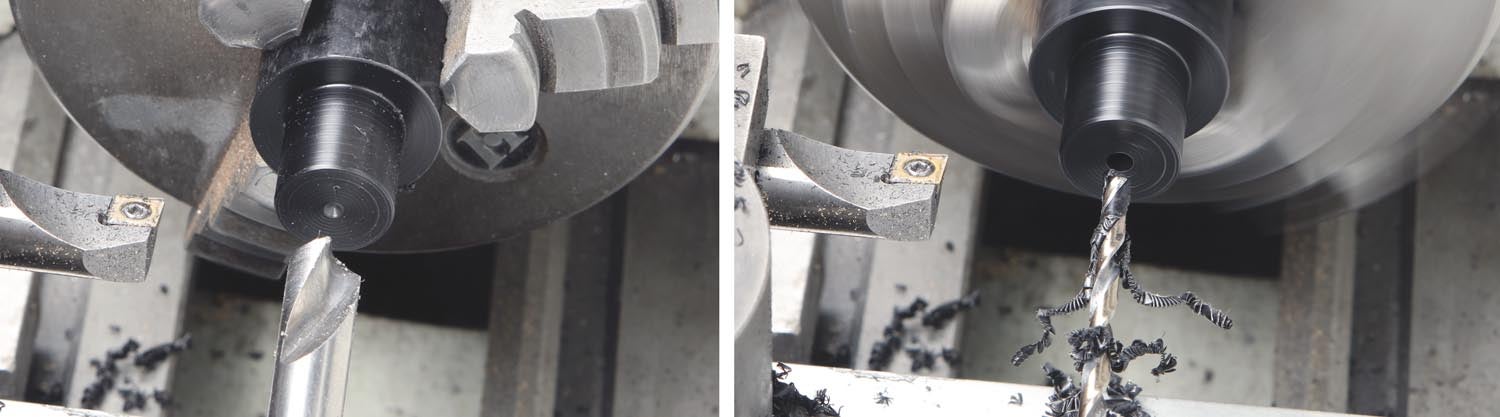
While the tool itself will be of little interest to owners of engines with automotive plugs (Rotax, Jabiru, et al.), this project is perfect for someone just getting into, or thinking about getting into, machine work. As an introduction to basic lathe techniques, it covers the basics of facing, OD turning, drilling and thread tapping. The material used for the insulator is Delrin, which is a DuPont brand of nylon that is particularly fun to machine. It cuts cleanly and you can take aggressive cuts even with an underpowered benchtop lathe or mill. And, where some plastics are prone to melting and gumming up drill bits and cutters, shavings shear off Delrin like peeling a potato. Even in the worst-case scenario—taking too big a cut at too fast a feed rate—Delrin simply tends to go from peeling to slivers of plastic flying off the cutter as the material fractures away from the surface. Yet even with the most aggressive cuts, the machined surface usually still looks fine. The one caveat is when drilling: It’s best to peck drill to keep the flutes from clogging with plastic.
That’s it for now. It’s time to get back in the shop and make some chips!


 Wordless Workshop")


Cool tool! I just drew the plastic part up in CAD and then 3D printed it in both PLA and then PC-ABS. Takes about 30 minutes to print each. Can’t wait to try it out. Thanks!
I just finished checking my plugs without this and it’s a PITA. I’ve got both a lathe and 3D printer and think I’ll go Chris’ route and 3Dprint it in ABS. Great idea!
I’ve found it fairly easy to hold the probe inside the barrel. The difficult part is getting a good electrical connection to the corroded center tip of the plug. I have to scrape the probe on the tip to get a good reading, which should be in the range of about 1,000 to 2,000 ohms [ 1k to 2k ].
A high resistance plug, GT than 3k-4k, can cause the voltage to rise to a point that there is a flash over in the mag distributor, which then can cause a misfire…
Delrin(r) is an ACETAL resin, not nylon. You could use nylon or PVC…they work on the lathe about the same and would be acceptable for this application.
Thanks for the correction and my apologies for the mischaracterization. Readers are always welcome to point out a mistake like that!