The cordless hand drill is a marvel of engineering. Lightweight and powerful, it can do just about any drilling job on an airplane. But one thing it can’t do, at least without some help, is drill a perfectly straight hole. All hand-drilled work is going to be off a fraction, no matter what.
To be sure, most of the time it is not necessary or even desirable to be perfect. You know the old saying, “Perfection is the enemy of good.” Rivet holes are a prime example. As long as you use the correct bit and hold the drill reasonably straight, it’s not an issue. Considering there are over 16,000 rivets on an RV-7, if every rivet hole had to be perfectly square, it would be intolerably tedious. The speed and convenience of hand drilling help make homebuilding a doable proposition.
Rivet holes aside, there are some jobs that require perfectly straight holes. My preferred method is to take the part to a drill press or milling machine. But sometimes you can’t. The April 2016 Home Shop Machinist column, “Drill Guide for Canard Install,” was about one such circumstance: drilling accurately positioned (and straight) mounting holes in the firewall for the canard installation on Phil Hooper’s Velocity.

This month’s project presented a different challenge: drilling holes in the ends of the axles on Kevin King’s experimental SQ2000 to mount wheel pant brackets. Normally, one would buy axles with bracket-mounting holes already there. This SQ2000 was originally supposed to be a retractable, so the axles weren’t intended to accommodate wheel pants. Long story short, other SQ builders reported so much trouble with the gear retract system that the builder (not Kevin) decided to make it a fixed-gear version.

The two options were to hand drill them in place or jack the plane up and remove the axles and take them to the drill press. I suggested to Kevin that, with a drill guide, we could do just as good with a hand drill as a drill press and save a lot of work. To be sure, it was “just” four holes, but even if it were only one, if I wasn’t 100% confident the job would be on par, I would have suggested taking the axles off regardless.
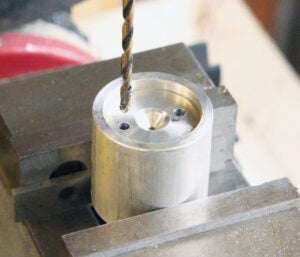
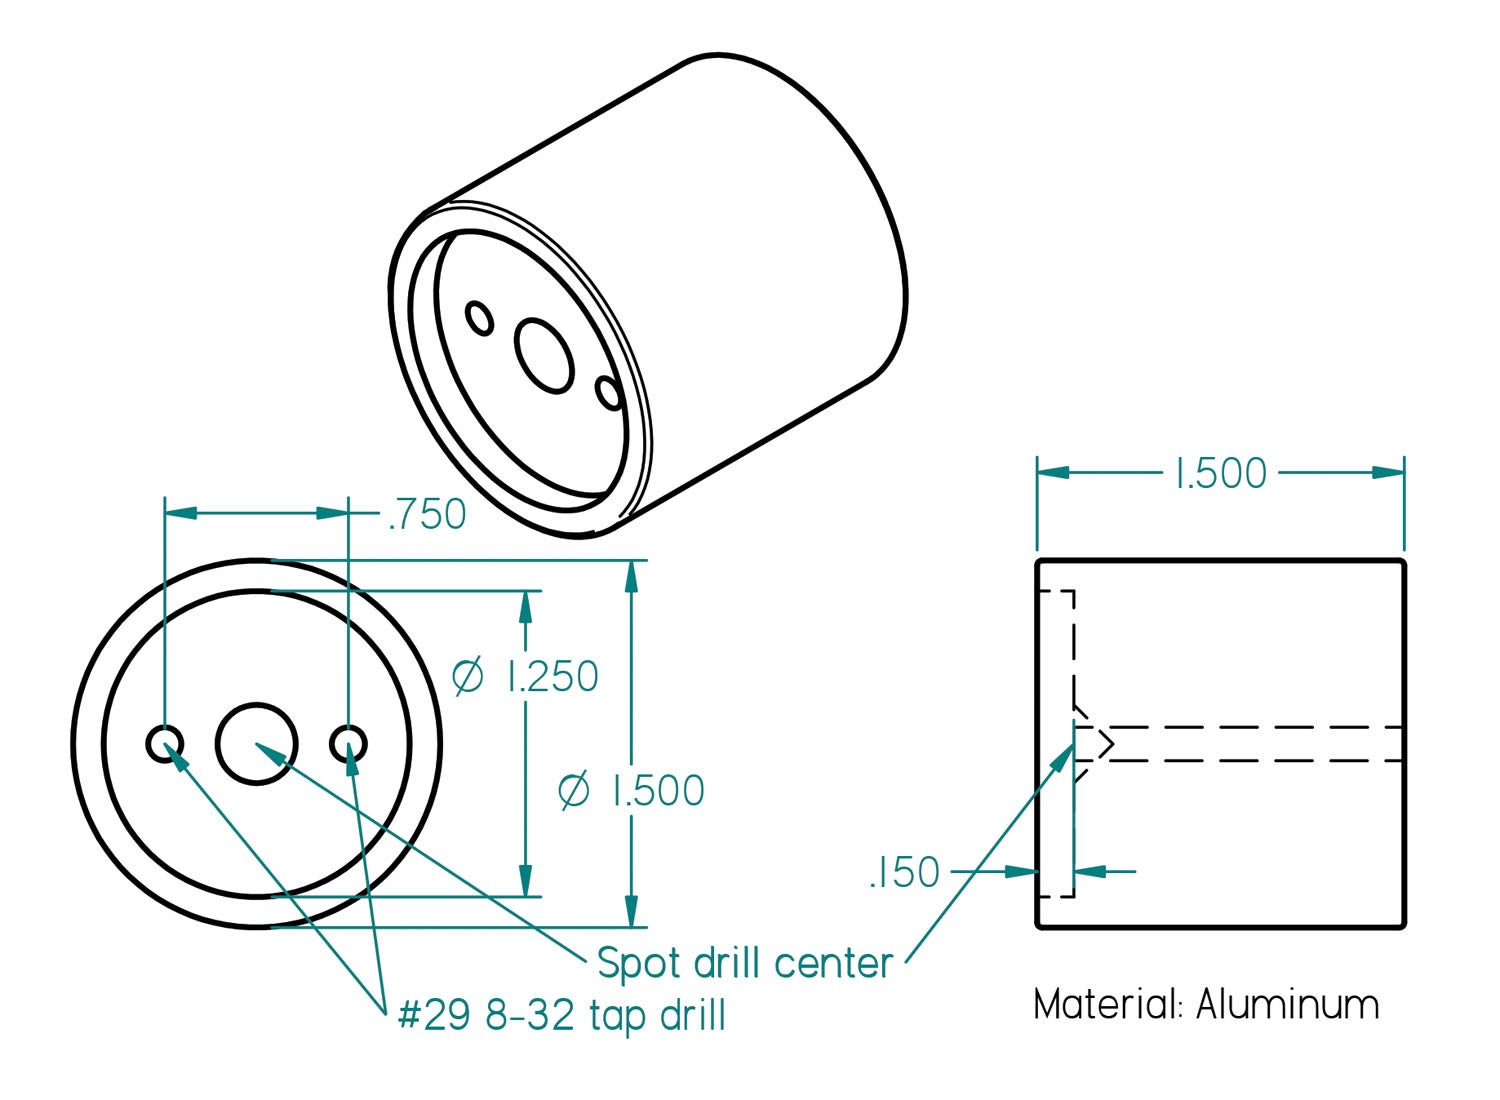
After taking the basic dimensions of the axle (diameter, length of exposed thread and the position of the hole for the cotter pin) and rummaging through the scrap bin for a suitable blank, I sketched up an idea for the drill guide.

The most basic feature of any drill guide is that it must be able to stabilize the drill square to the work. To do that, a guide has to be long enough to thwart the bit from flexing or tipping. At a minimum, it should be at least four times as long as the drill diameter and, if possible, longer. In fact, the longer the better. Another consideration is how to hold (or clamp) the guide in place. Since this was going to be a handheld guide, some extra length was added to the design. In fact, I made the guide long enough that I could set the bit in the drill chuck and drill the hole to full depth (1/2 inch) using the guide as a depth stop against the drill chuck.


Thanks, Bob: SO using both these ideas, especially the hinge drill jig, as I do production hinge making for pilot vent windows from extruded piano hinge; it will save a ton of time.