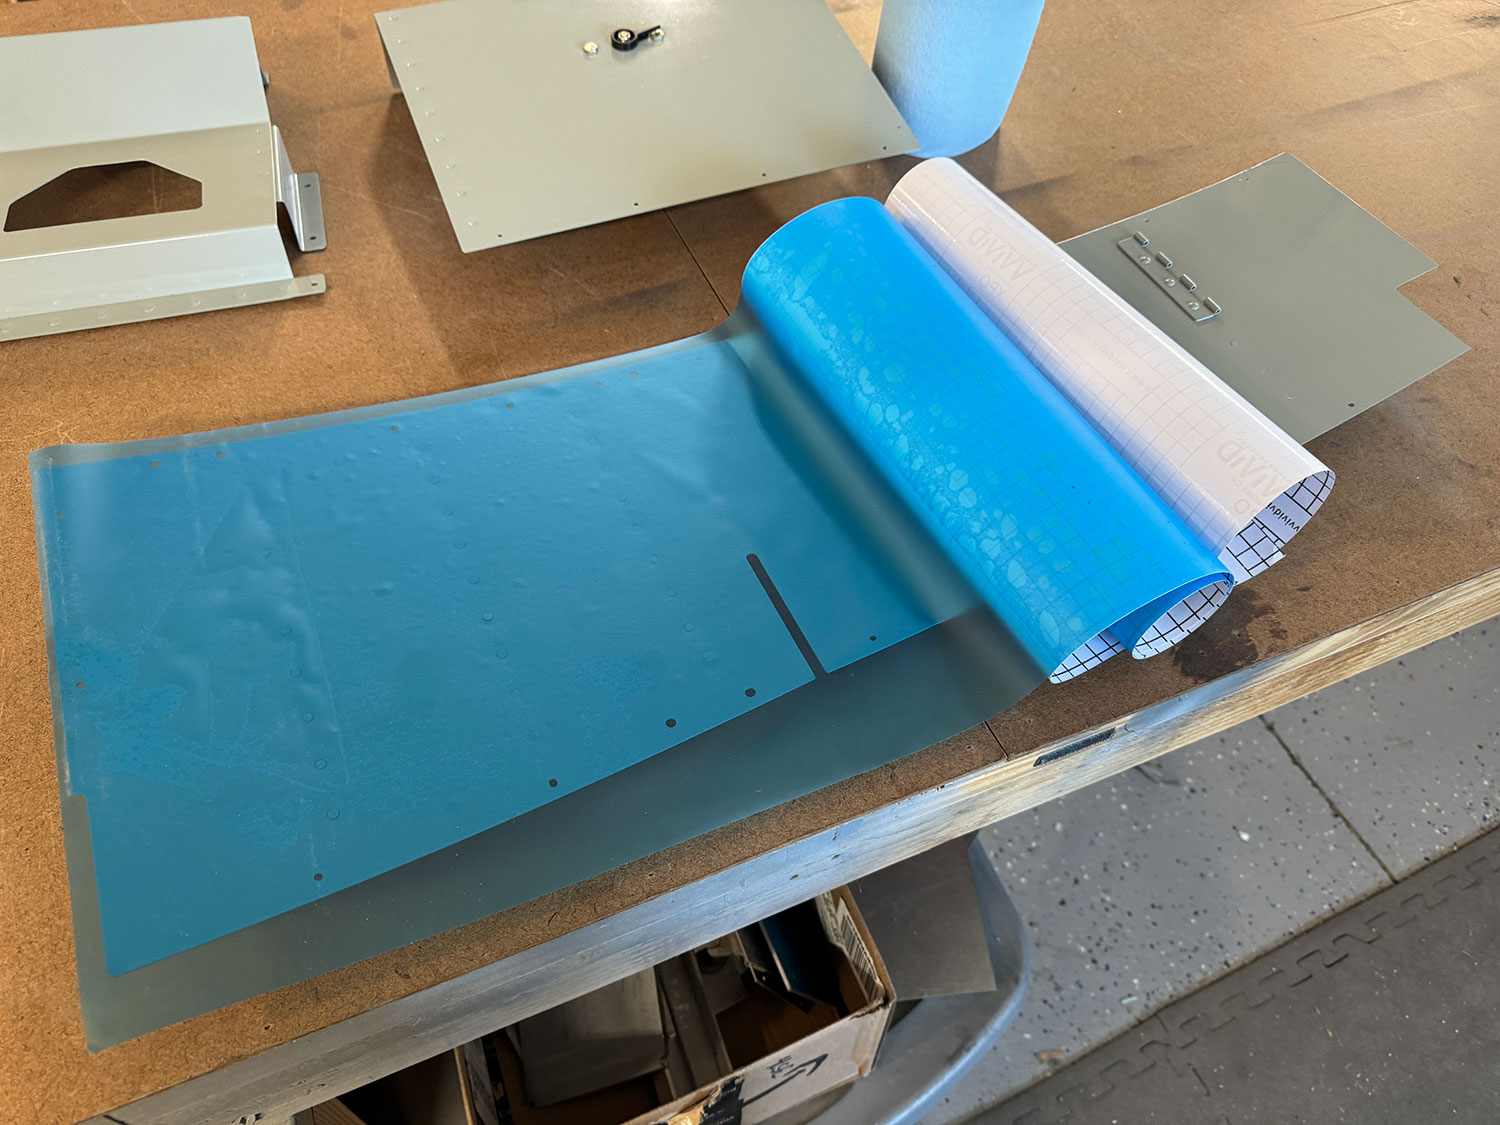
One of the decisions you have to make when building an airplane is when to paint the interior. If you’re like me, you spend a lot of time getting the interior built the way you want it, but in order to do that, you assemble a whole lot of things that will have to be disassembled in order to apply paint. Yet if you paint interior components early in the process, you will almost certainly scratch them up during later stages of building—unless you can protect them.
I have played with various ways of keeping the interior nice over my past builds, and this time I seem to have settled on a technique I learned when I bought my most recent car. When I saw the car before “dealer prep,” all of the interior painted panels were covered in blue vinyl, which was peeled off before they handed me the keys and took my check. That made me think… ”Hmmmm… Blue vinyl… where have I seen that before?” Well in the art department, of course!
What you are looking for is vinyl with a “low tack” adhesive—in other words, an adhesive that isn’t very good, like the stuff on a Post-it note. Easy to peel off, yet just good enough to keep the plastic film in place. And before the RV builder out there start raising a fuss… it’s nowhere near as aggressive as the blue plastic on all the aluminum that came in your kit. This stuff peels off reliably and easily (although I haven’t left it on for years).
Amazon is the place we got it—there are many different types to choose from. A 30-foot roll took care of pretty much all the removable surface area in our Rocket, including the floors. Don’t worry about the bubbles; this is not permanent—and that’s the point! When the airplane is close to finished, peel it off and you’ve got a new airplane! I haven’t checked, but it might even smell like a new car!
All the interior panels in the Rocket took less than a 30 foot roll – and will look new when the plane is finished.
If you have a panel (like this floor) that is too wide, just overlap two swaths—it’s not a permanent finish.


