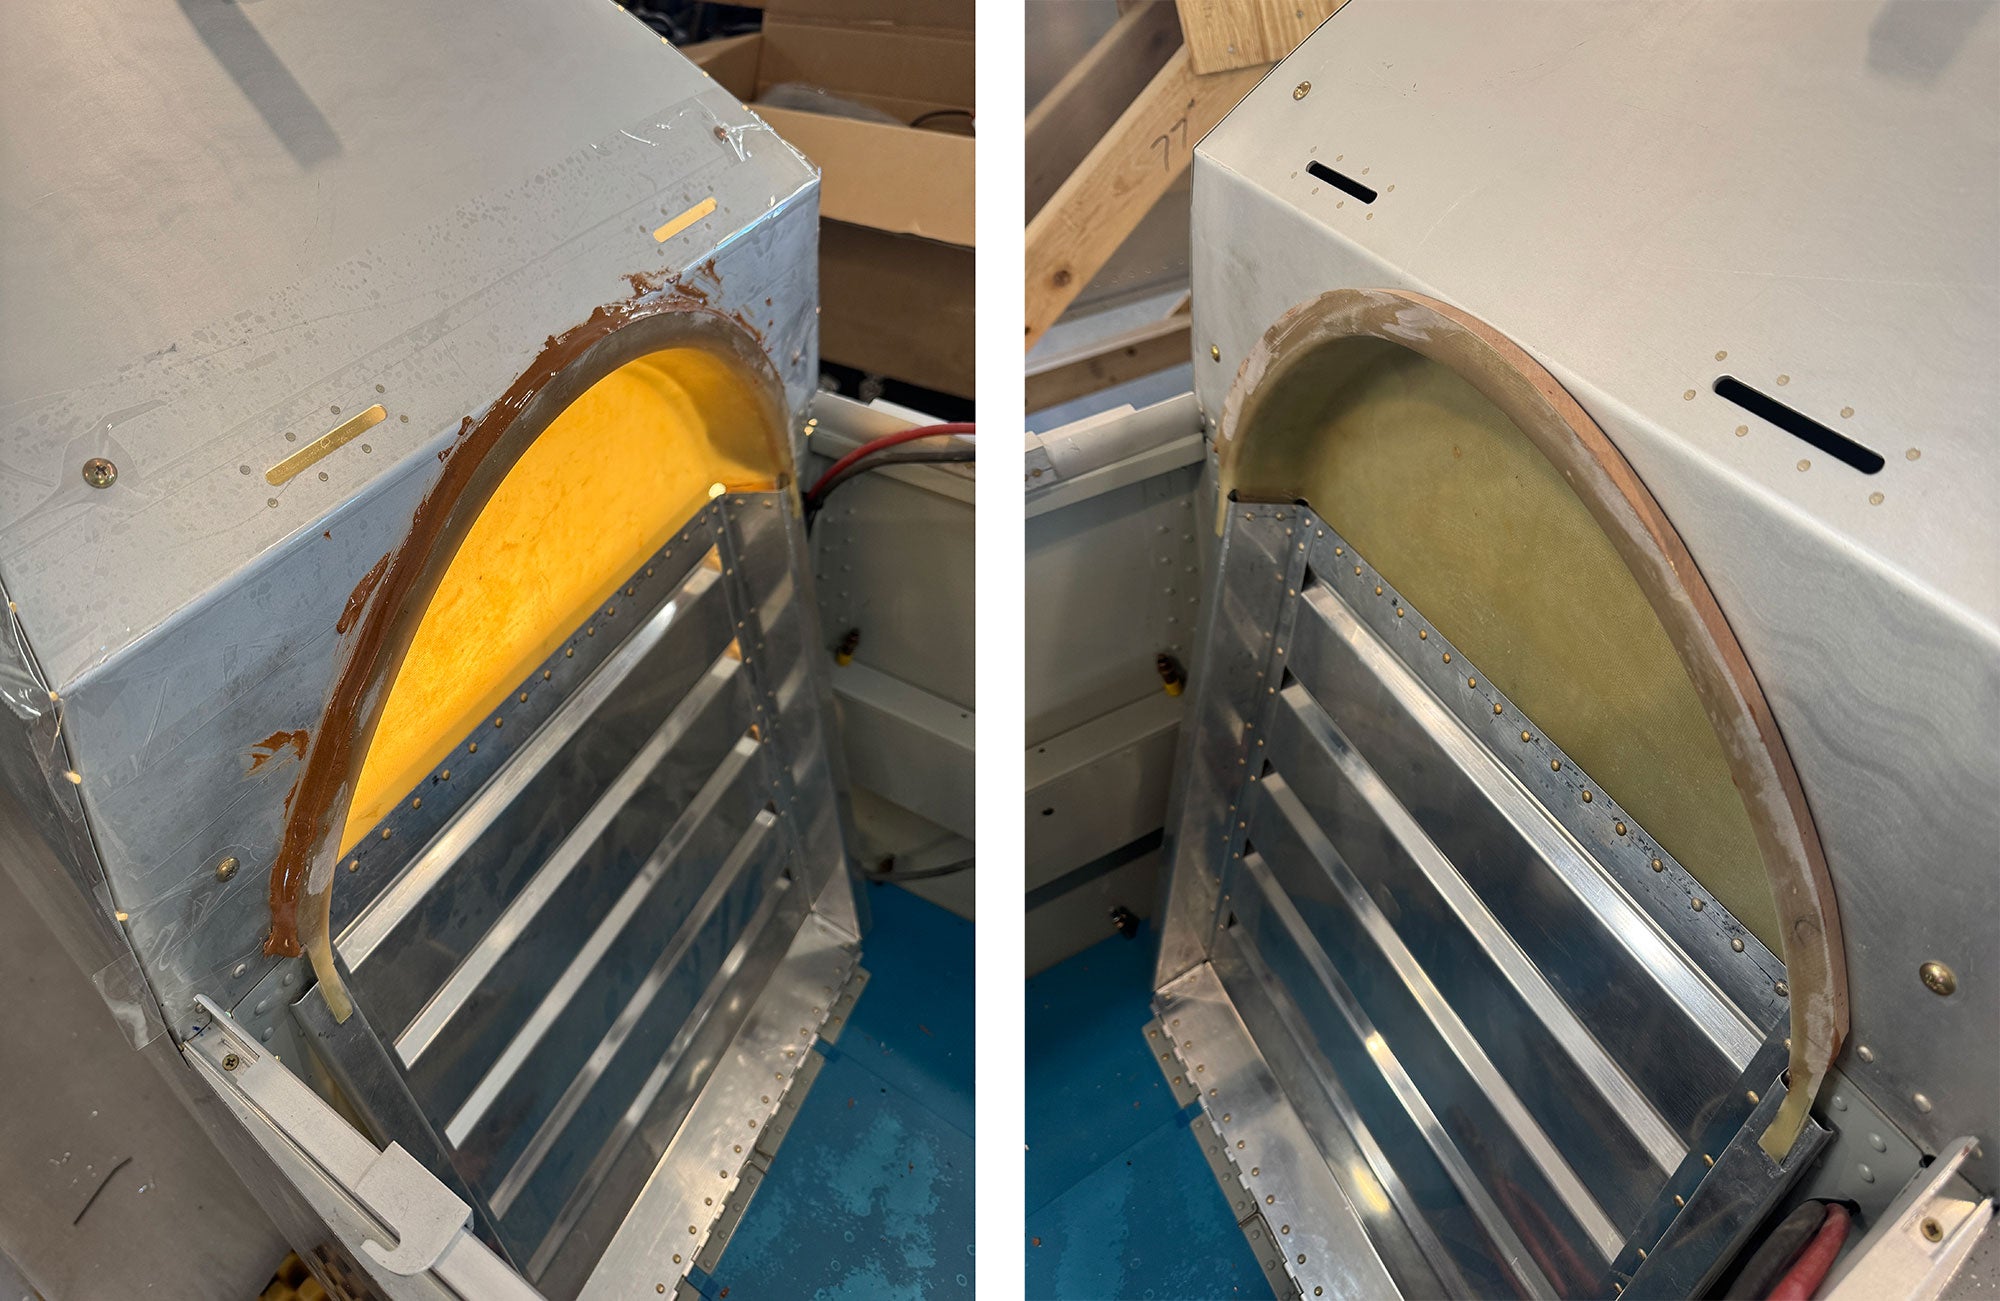
I’ve done this once or twice—making the rear seatback fiberglass in an RV-type tandem fit nicely. This is on our F1 Rocket project, where the seatback consists of a rectangular aluminum lower section topped with a half-circle fiberglass upper dish. Getting the angle between the two pieces exactly right is almost impossible—and frankly, building up the flange that overlaps the rear bulkhead slightly makes the assembly more substantial anyway.
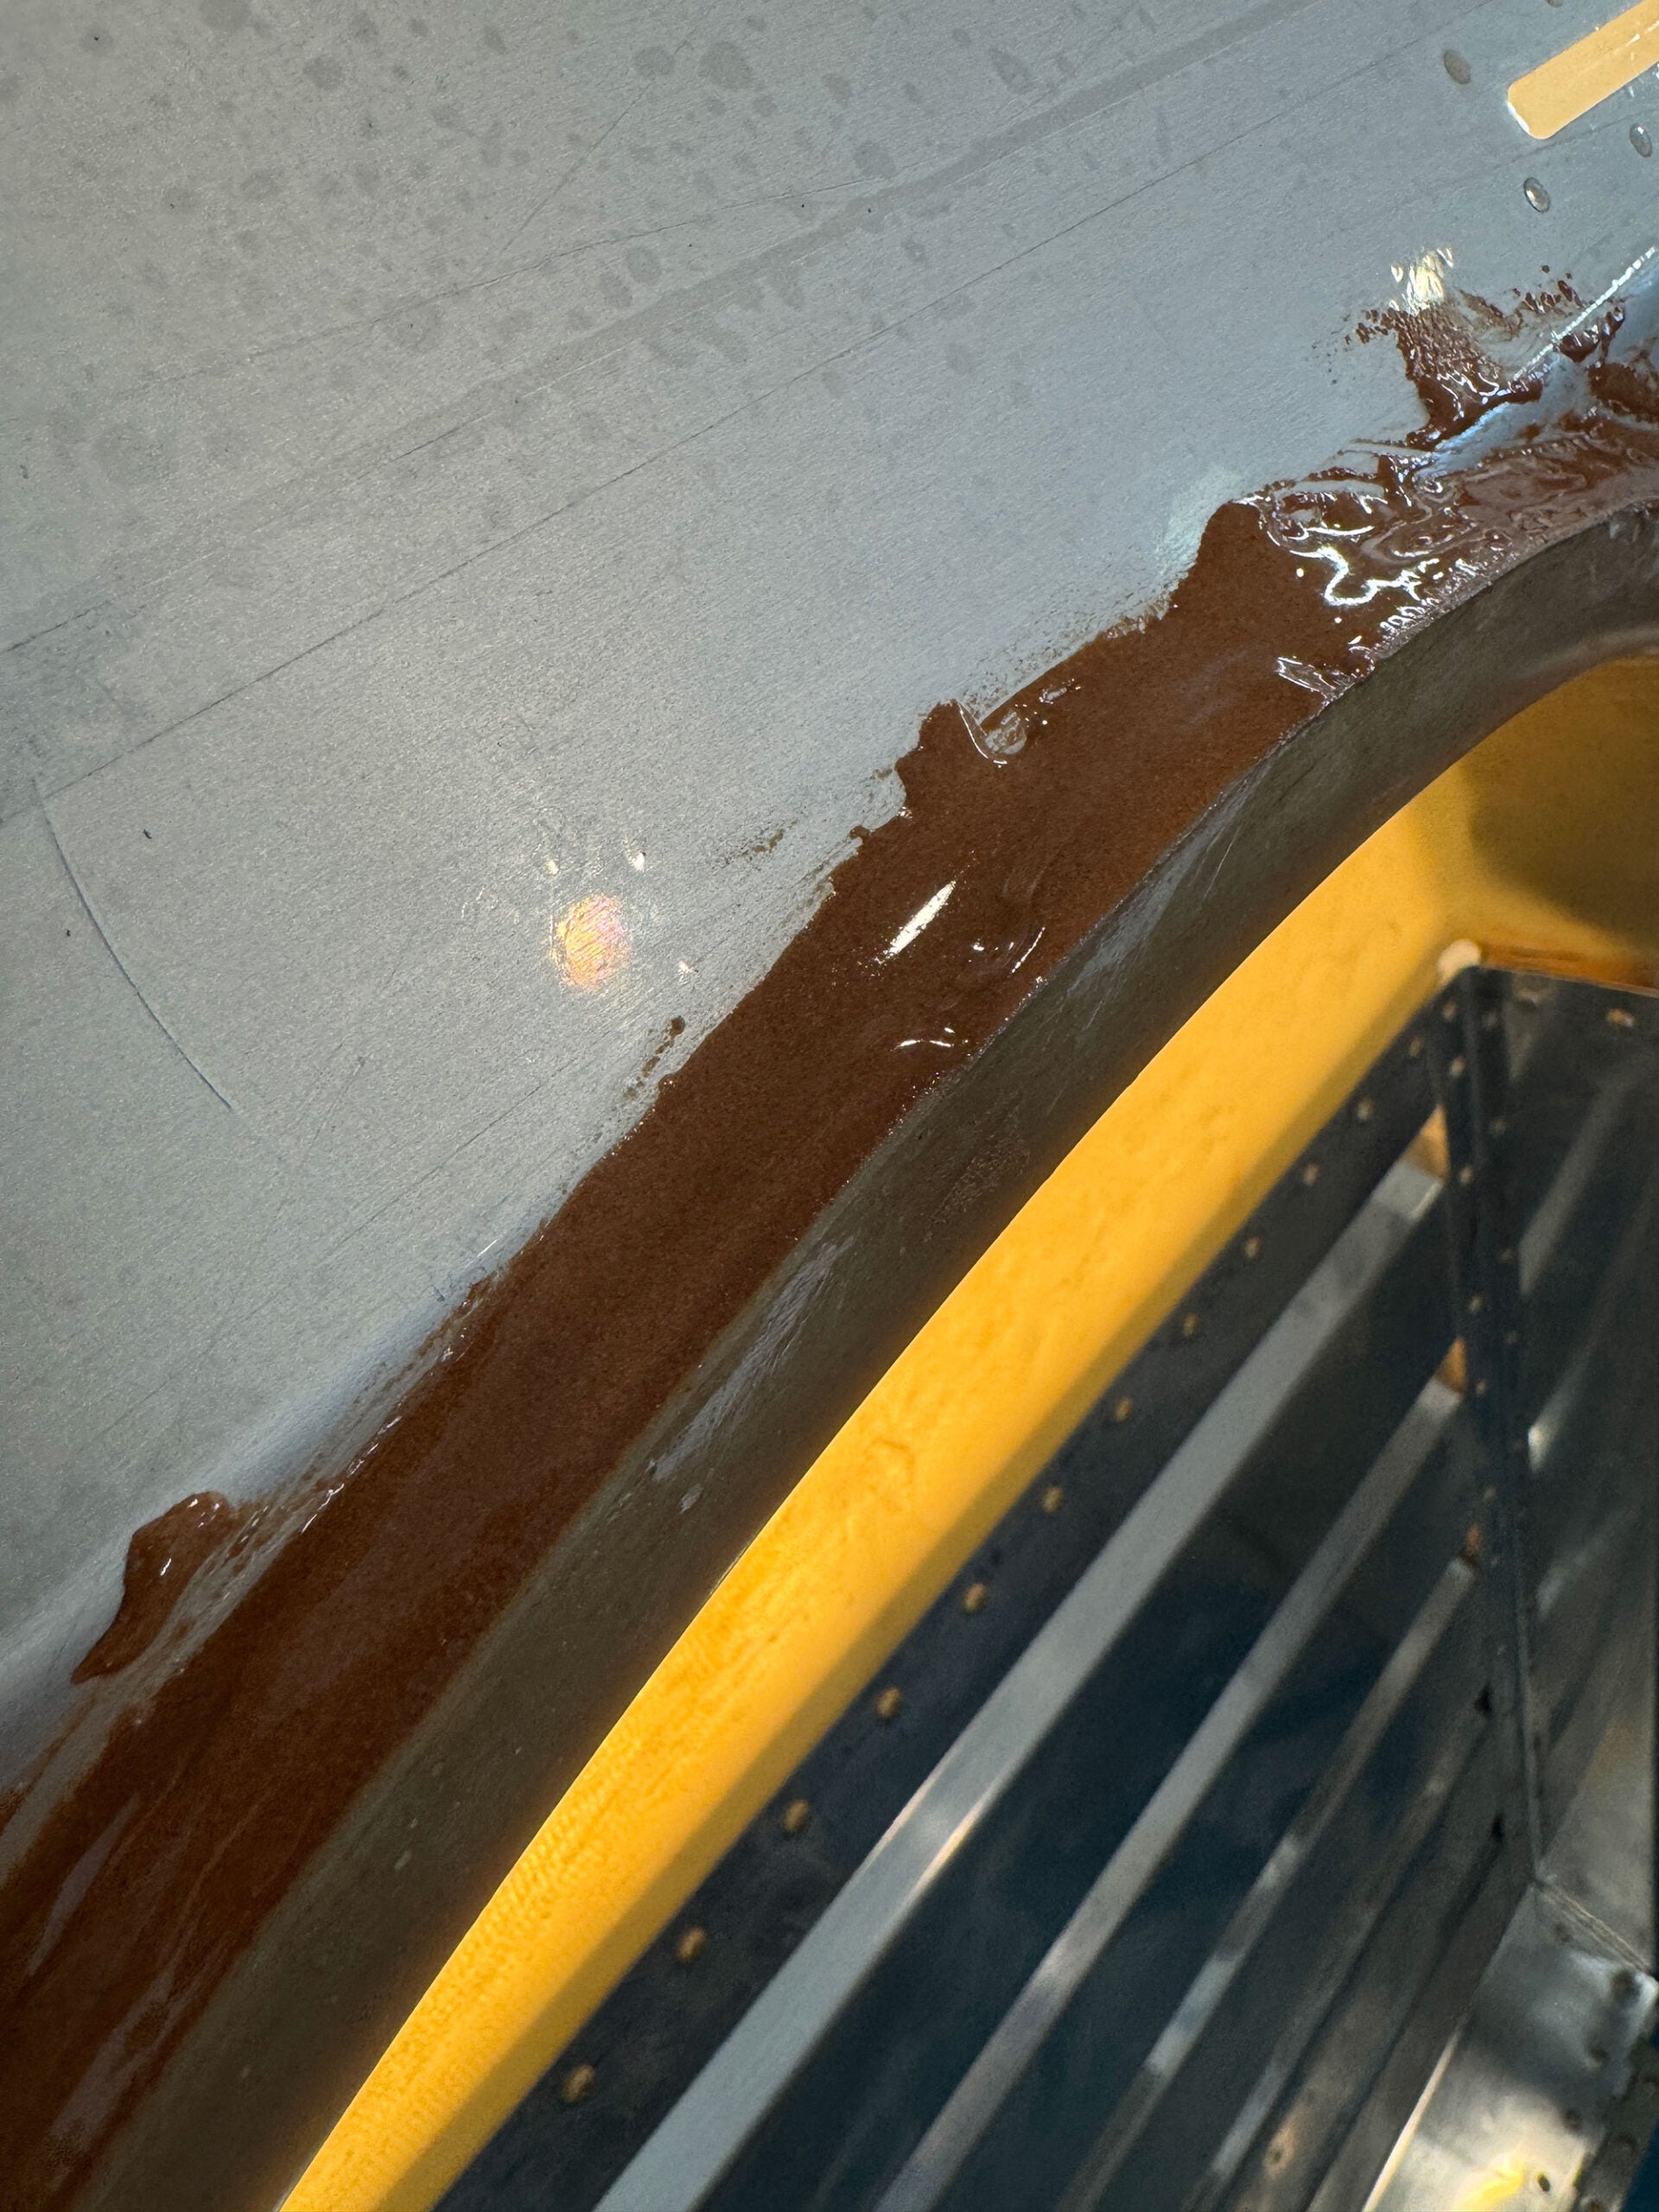
Fitting it involves nothing more than fiberglass magic. First, cover the rear bulkhead with packing tape—the resin/micro won’t stick to it. Make absolutely sure you cover everything—you don’t want to glue your seatback to the bulkhead! Next, mix up a batch of really thick resin and micro. We use West System resin because we always have it on hand, along with low-density 407 fairing filler—LOTS of filler! Mixed to a thick peanut butter consistency, we plop a bead of it onto the back of the fairing, then simply push it into position, troweling off the excess and ensuring it sits just a bit proud of the finished mold line.
That glow from inside? It’s a 500-watt heat lamp sitting in the baggage compartment. Even though the shop is heated, it’s winter, and a little extra warmth helps the resin chemistry do its thing. A few hours later, it cures to a hard finish—pry the seat open (it should pop free as soon as you get a good start on one side), remove the hinge pin, and head to the sanding disk. Shape and contour to taste! You now have a well-fitted seatback with a little more beef—for the cost of maybe an ounce or two of added weight. (407 filler is really light!) It closes with a satisfying clunk instead of a clatter.

Taking the time for proper fit and finish builds your skills quickly, and the end result is a nicely finished machine—one you’ll be proud to show off at fly-ins, big or small!


