You and your airplane kit deserve a comfortable workshop area for the many days of building that lie ahead. If you are a first-time builder or are considering an aircraft kit purchase, one of the very first questions you may be asking yourself is, “Do I have enough space to build this thing?”
The two popular choices for most builders are to either utilize available space at home or to build in a hangar at the airport. Everyone’s situation is different so there is no “one size fits all” here. For example, let’s be jealous of those who live on an airport property as their building and flying all take place in the same location!
For many of us, the ideal workshop location is in our home. This may be in the form of a garage or shed “out back.” A big concern with this choice will be whether there is enough physical space for the completed aircraft and how to transport it to its destination at an airport. So first, let’s look at the alternative shop location—in a hangar at the airport.
Building at the Airport
The obvious benefit of building your kit at an airport hangar is that space is abundant. If there is room to hangar the finished plane, then there is certainly room to build. Plus, no final transportation issues are involved as you are in the right spot for a first flight.
However, the list of potential drawbacks of building in a hangar is not so trivial. Off the top of my head, and from personal experience, I will name a few important ones.
First up is temperature. Can you heat or cool your hangar workspace? Some climate locations make this much harder than others. You need to be comfortable for the hundreds of hours that will be spent there building.
Is the available electrical power adequate for the power tools and air compressor that may be required to complete the project? Also, how’s the lighting? It’s tough to do a good job when you can’t see what you’re working on.
Is there a workbench in the hangar that meets your needs or will a new workbench have to be built? What about security and safety for your tools and project? Will they be OK when you’re not there?
Is there internet coverage at the hangar? Online parts and tool catalogs, as well as builder forums that often need to be researched while building, all require a good internet connection.
And finally, what’s the distance from home? If you must travel more than a half hour to get to the hangar, you will skip many opportunities for short building sessions because too much time is wasted in travel.
Building at Home
If you have decided to build at a home workshop, how do you manage the space limitation created by the immense size of an airplane? The good news is that many a homebuilt has been successfully built in a one-car garage. The key is to plan to keep the fuselage and wings apart until final assembly, which will be completed at the airport. The tail section may also need to be separated if there is limited workshop space.
Keep an eye on the door width of your shop, garage or basement walk-out. This will typically be the limiting factor for passing items like the landing gear or horizontal tail if they are attached to the fuselage. These components can be left off and reassembled later at the hangar. None of this is complicated as you build the aircraft, making it grow in size—but don’t forget about the width of that that door!
Rigging the completed wings to the fuselage requires plenty of space. If you can roll the fuselage outside for more room, it can be done there. A lot has to do with how difficult it is to remove the wings once again for returning the components back to the shop.
Installing an engine on the fuselage is not much of an issue when it comes to space. If you have room for rolling an engine hoist into place, then this operation is easy.
The very time-consuming activities of installing and wiring a panel are also best accomplished in the confines of you own shop. This is where spending that extra hour left before bedtime on the plane is efficient use of valuable time. This leaves just one major obstacle to overcome: getting the fuselage and wings to the airport safely when the time is ready.

Traveling to the Airport
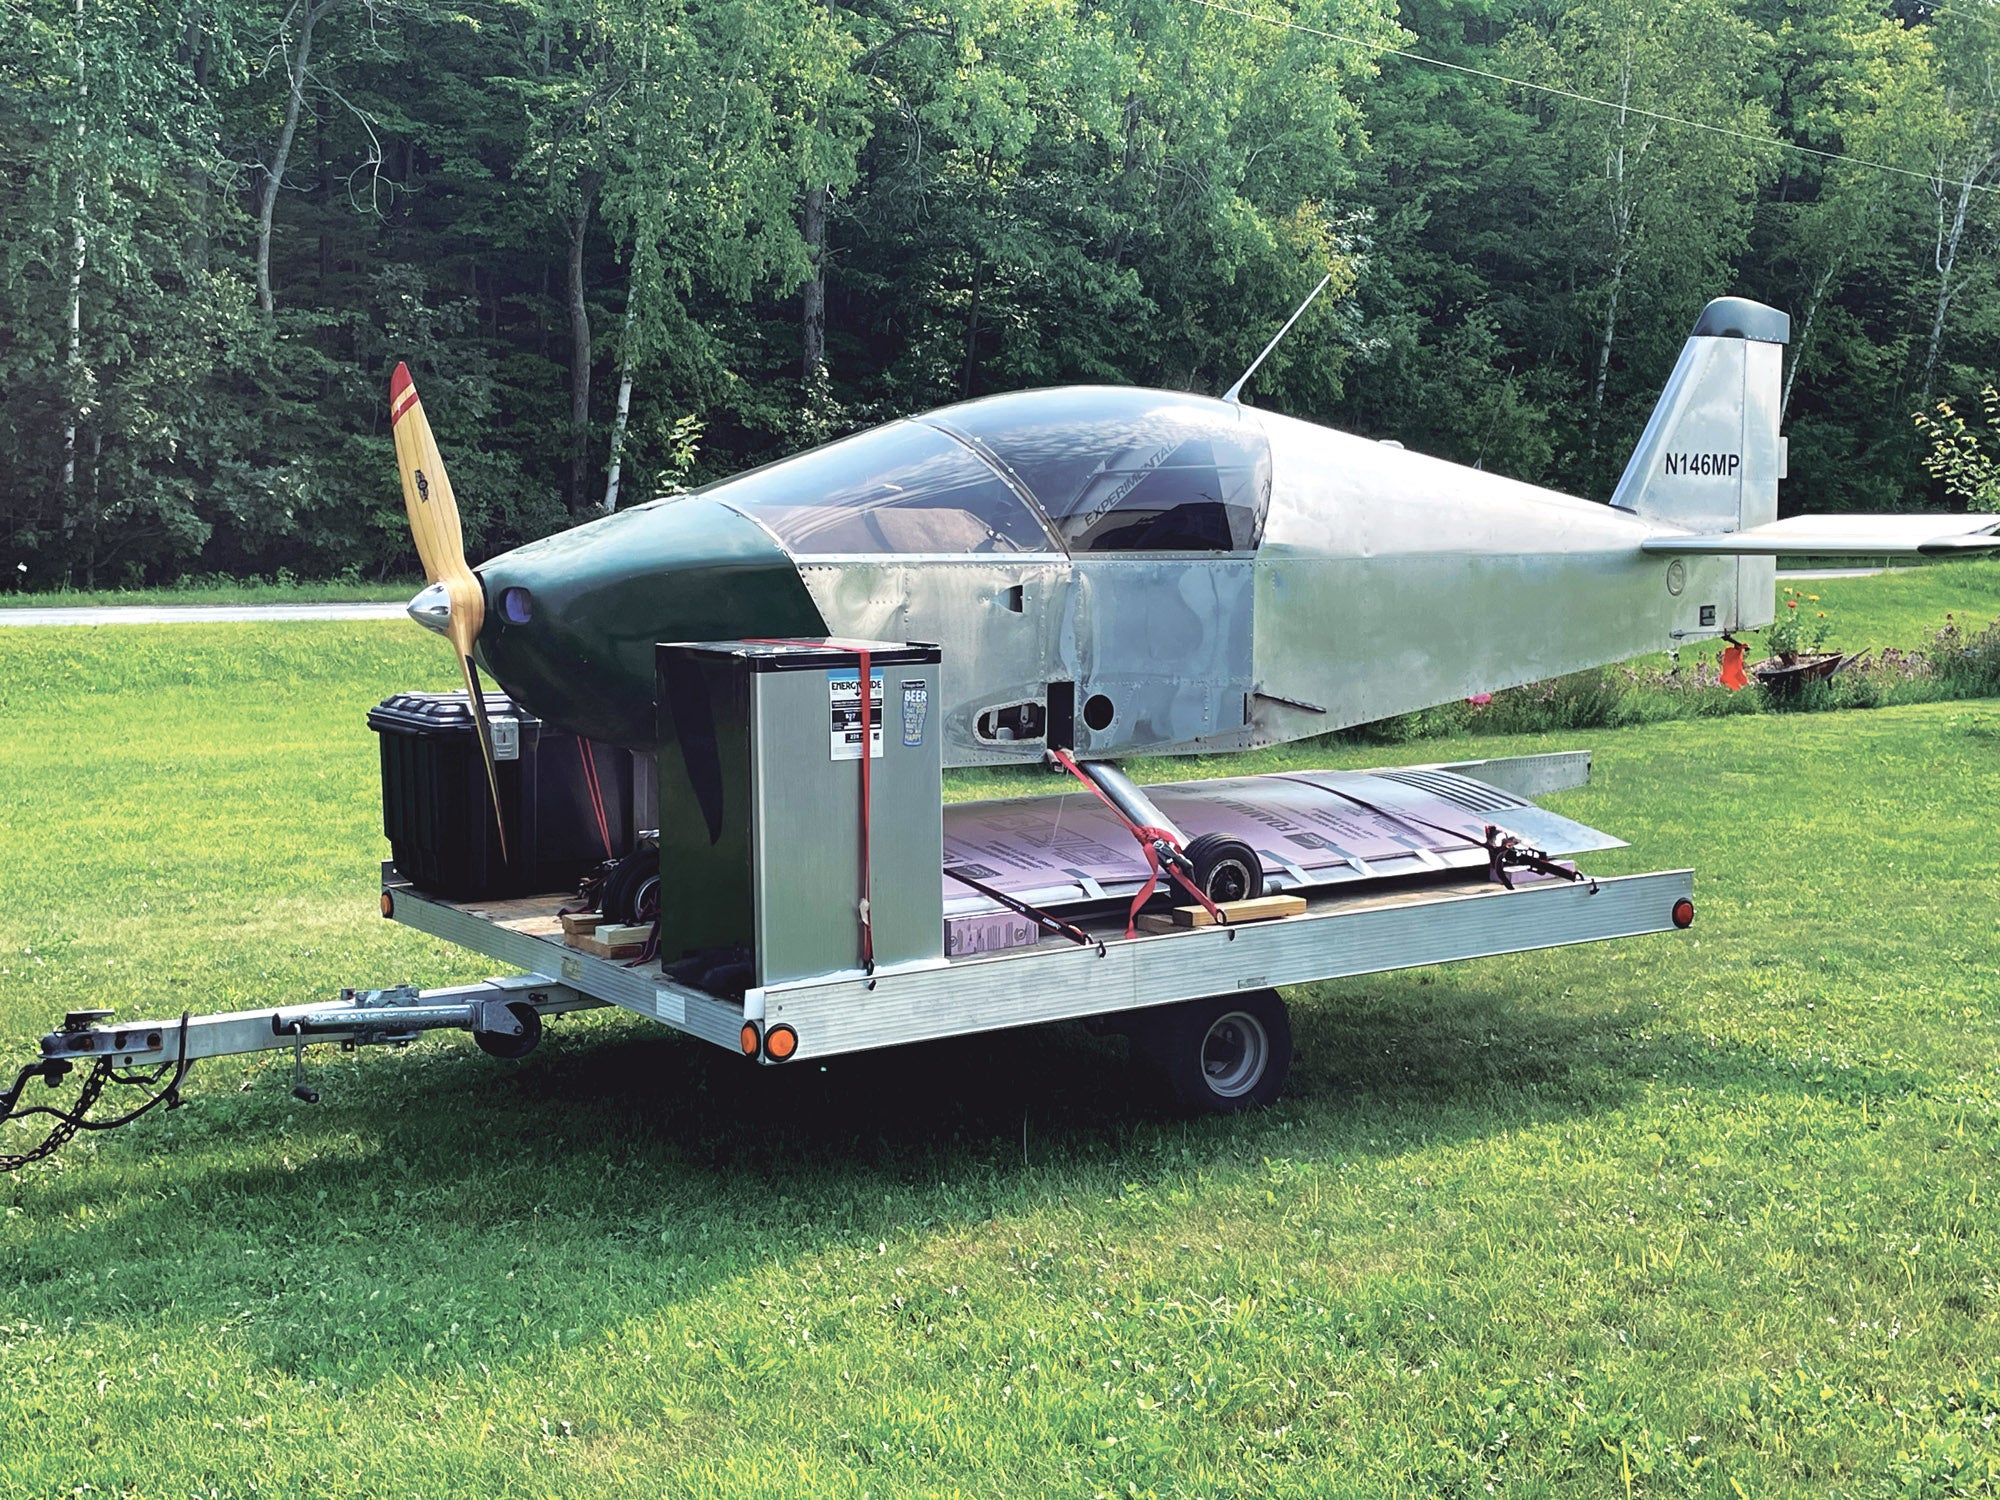
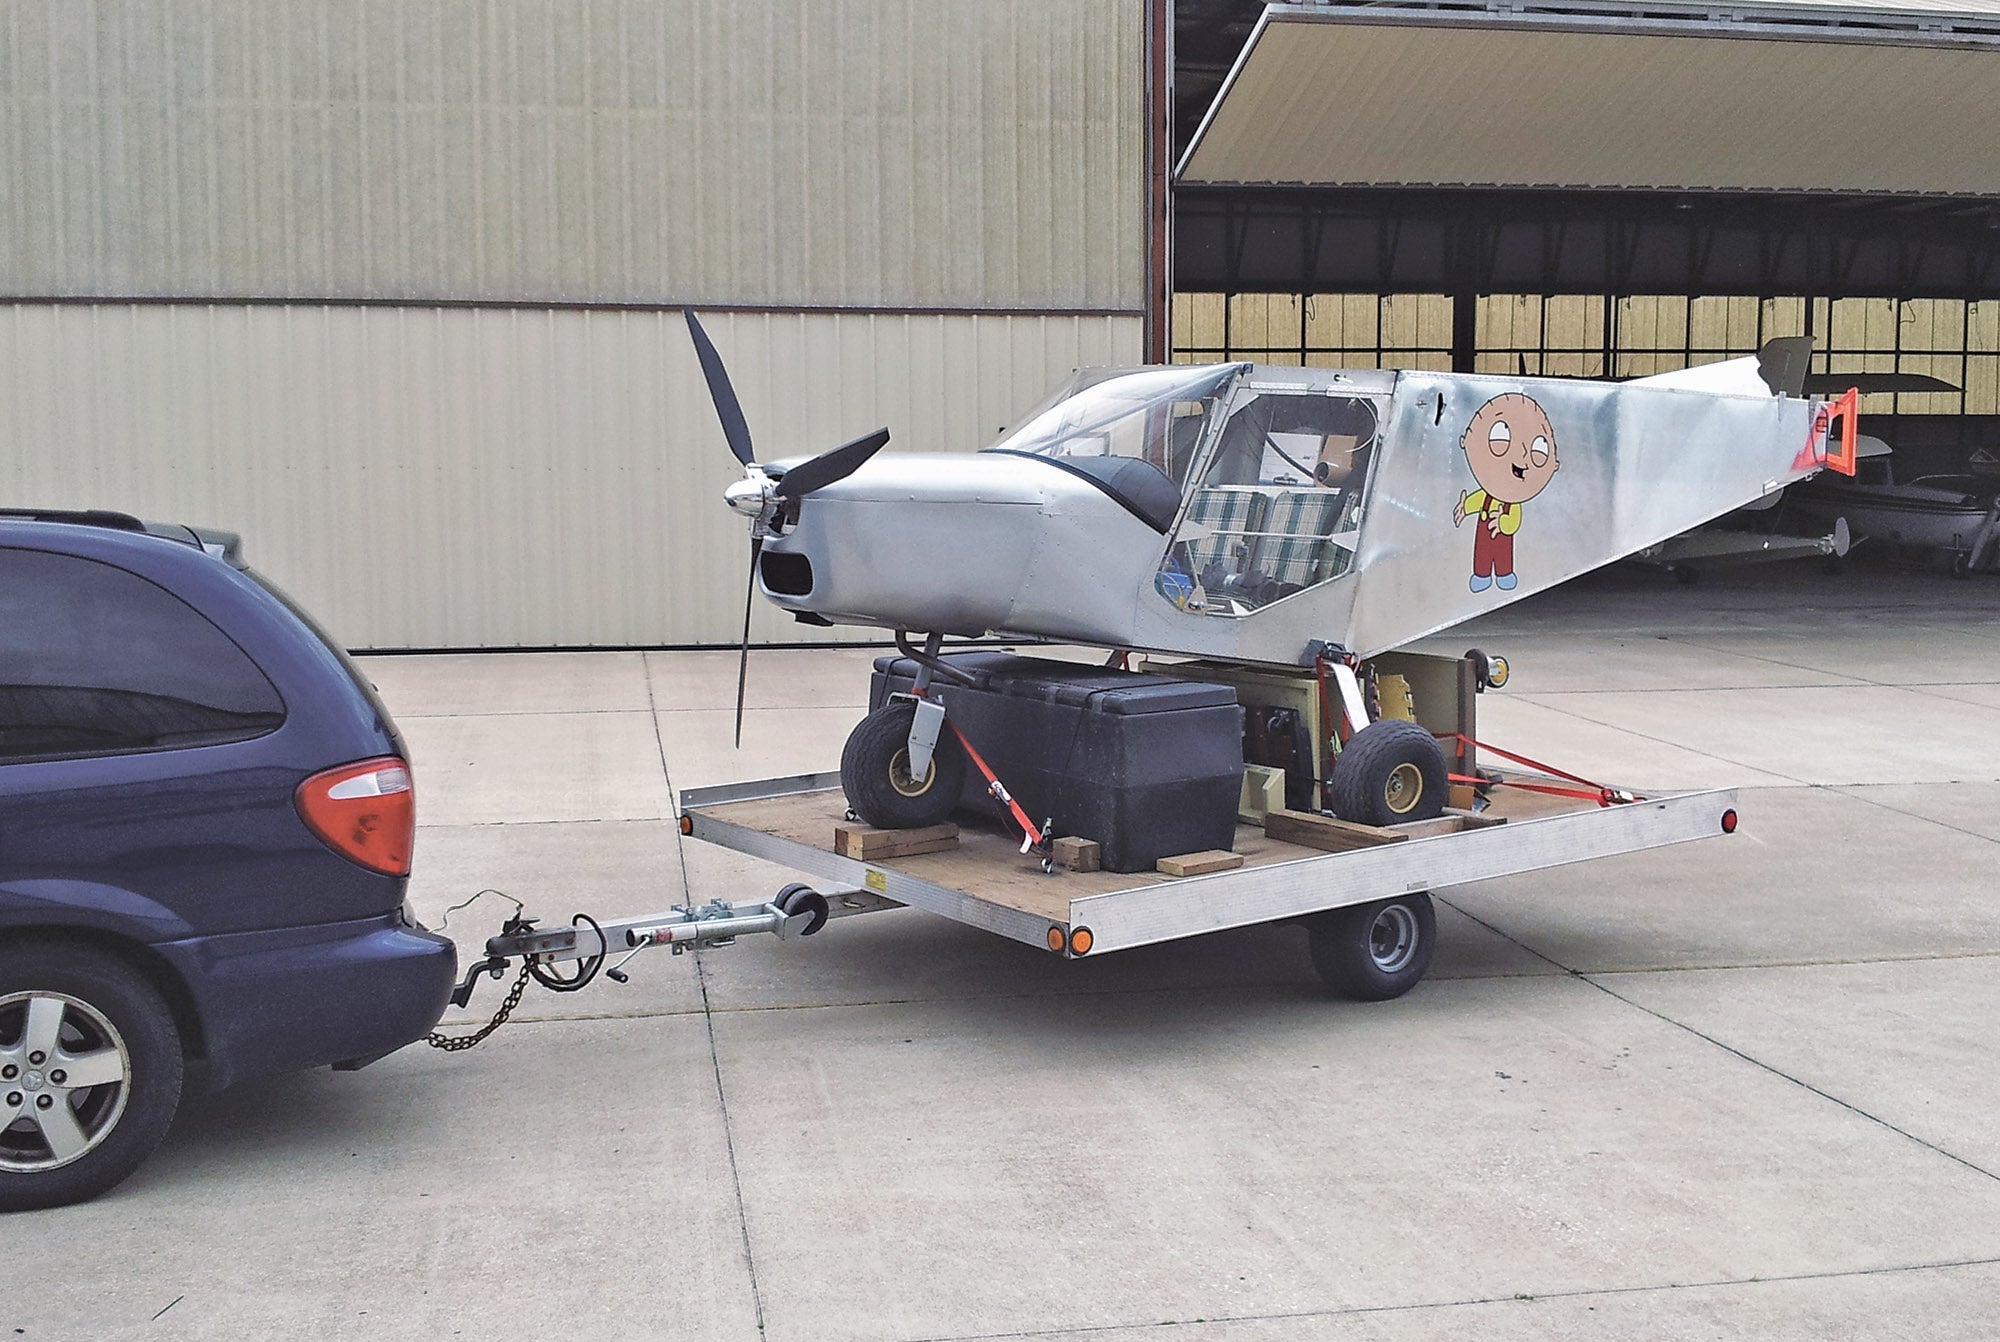
This challenge is addressed most often with a simple trailer. It is generally easy to borrow, rent or buy a small trailer for this purpose. If you are borrowing from a friend, then you use what they can provide. By measuring your aircraft wheel-stance dimensions, you can quickly determine how big the trailer needs to be for rolling the fuselage onto the bed.
I have had great luck with lightweight snowmobile trailers. Low to the ground and with a suspension made for a payload of just several hundred pounds, they load and pull easily with almost any vehicle. Yes, you will spend plenty of time figuring out how to best tie things down securely for the big ride. You can keep things simple by making several trips and not trying to get both wings and the fuselage all on the trailer at the same time!
Everyone with a home shop area or garage can participate in the excitement of building an Experimental kit airplane. Living far from the airport is not detrimental toward the building process. In fact, when you’re comfortable in your own surroundings of tools and familiar accommodations, you will no doubt do a better job building! Plane and simple.


It’s worth going out of your way to do as much building at home as possible. I live a 7 minute walk from my hangar, but still built the majority of my ane in my 1-car garage. It’s hard to overestimate how much can be accomplished being able to just walk into the garage for 30 minutes here and there. There is also a huge difference in how much the project separates you from your family working in your home vs working down the street
One rather large negative to building at the airport is visitor interruptions. I’ve built 6 airplanes at home in garage, one at an airport 12 miles away, and 2 at my own private airport (retirement home).
The one (highly modified Moni Motorglider) I built at remote airport was plagued with visitor interruptions.
It’s difficult to stay on track with visitors popping in every few minutes.
A suggestion for a technical article: how to safely trailer-transport a disassembled aircraft. IE…
Orientation of parts… fuselage, wings, stabilizers, etc… for optimum trailer balance/CG, minimum drag and best cross-wind stability… and tie-downs for over-all security of ‘delicate/exposed aircraft.
Info specifically for safety on ‘short/slow hauls’ and’ long/fast hauls’ at various highway speed, etc.