If you need to bend tubing on a regular basis, especially 4130 steel, the go-to tool for small shops is the JD Squared Model 32 tube and pipe bender (see the August 2017 issue of KITPLANES). But what if you only have one or two bends to make? Surely there must be a way to get a simple bend in an aircraft tube without having to invest in a bender and an expensive die set. That was the situation with my neighbor, Paul Dye, this summer. He was looking to make simple 15° bends on two ⅞-inch x 0.065-inch 4130 tubes for control sticks for his F1 Rocket project. How hard could it be? Might an inexpensive Harbor Freight pipe bender work? The answer: no. The first try kinked the tube almost immediately. A second attempt was made after packing the tube with sand, the theory being that sand will prevent the tube from collapsing. While the sand helped, the tube still kinked. The conclusion: You can use a tube bender to bend pipe, but you can’t use a pipe bender to bend tube—at least not thin-wall aircraft tubing.
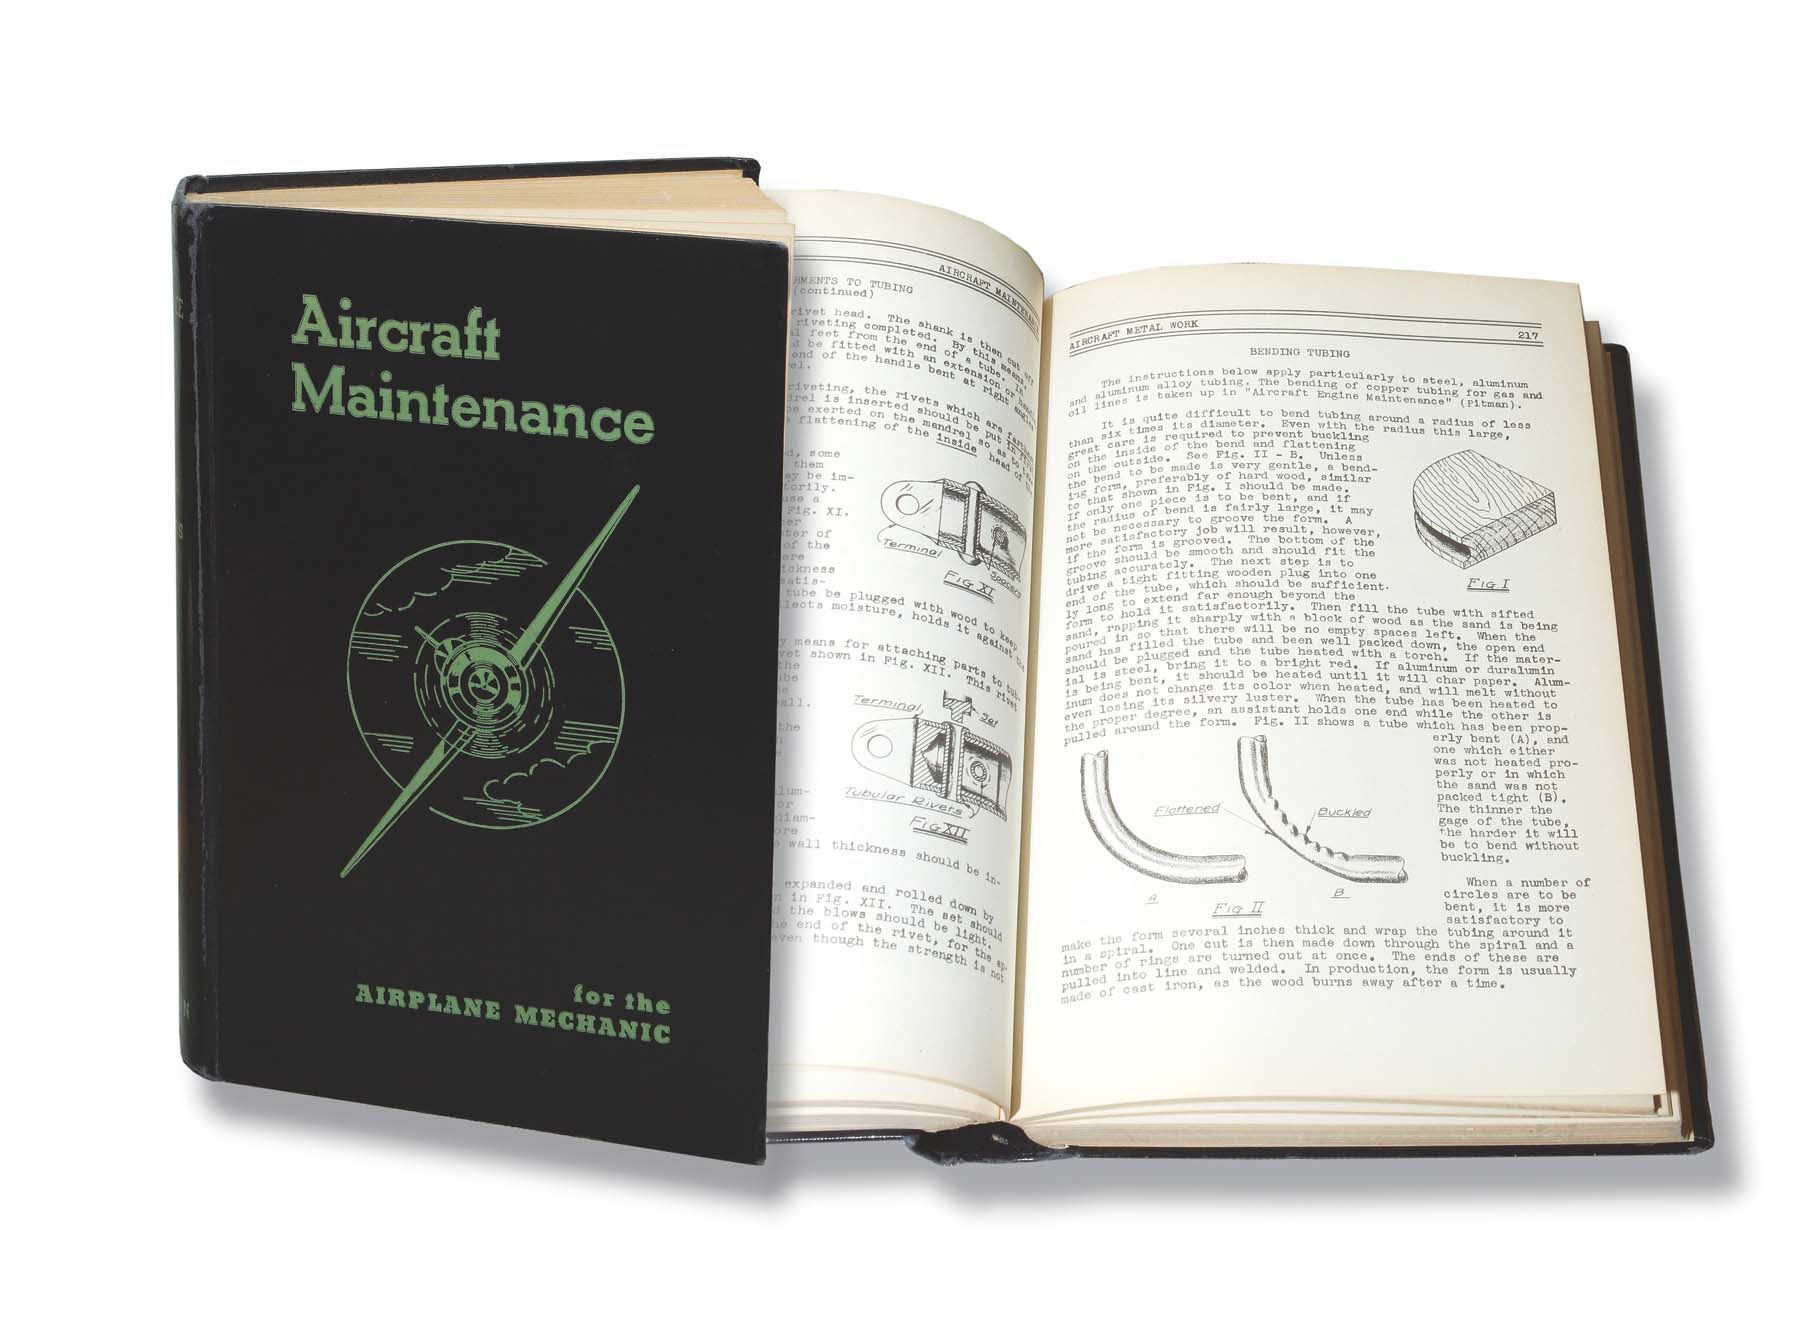
On to plan B, which was to try the heating and bending method that I read about in a 1940 textbook, Aircraft Maintenance by Daniel J. Brimm and H. Edward Boggess, on page 217:
“The instructions below apply particularly to steel, aluminum and aluminum alloy tubing. The bending of copper tubing for gas and oil lines is taken up in Aircraft Engine Maintenance.
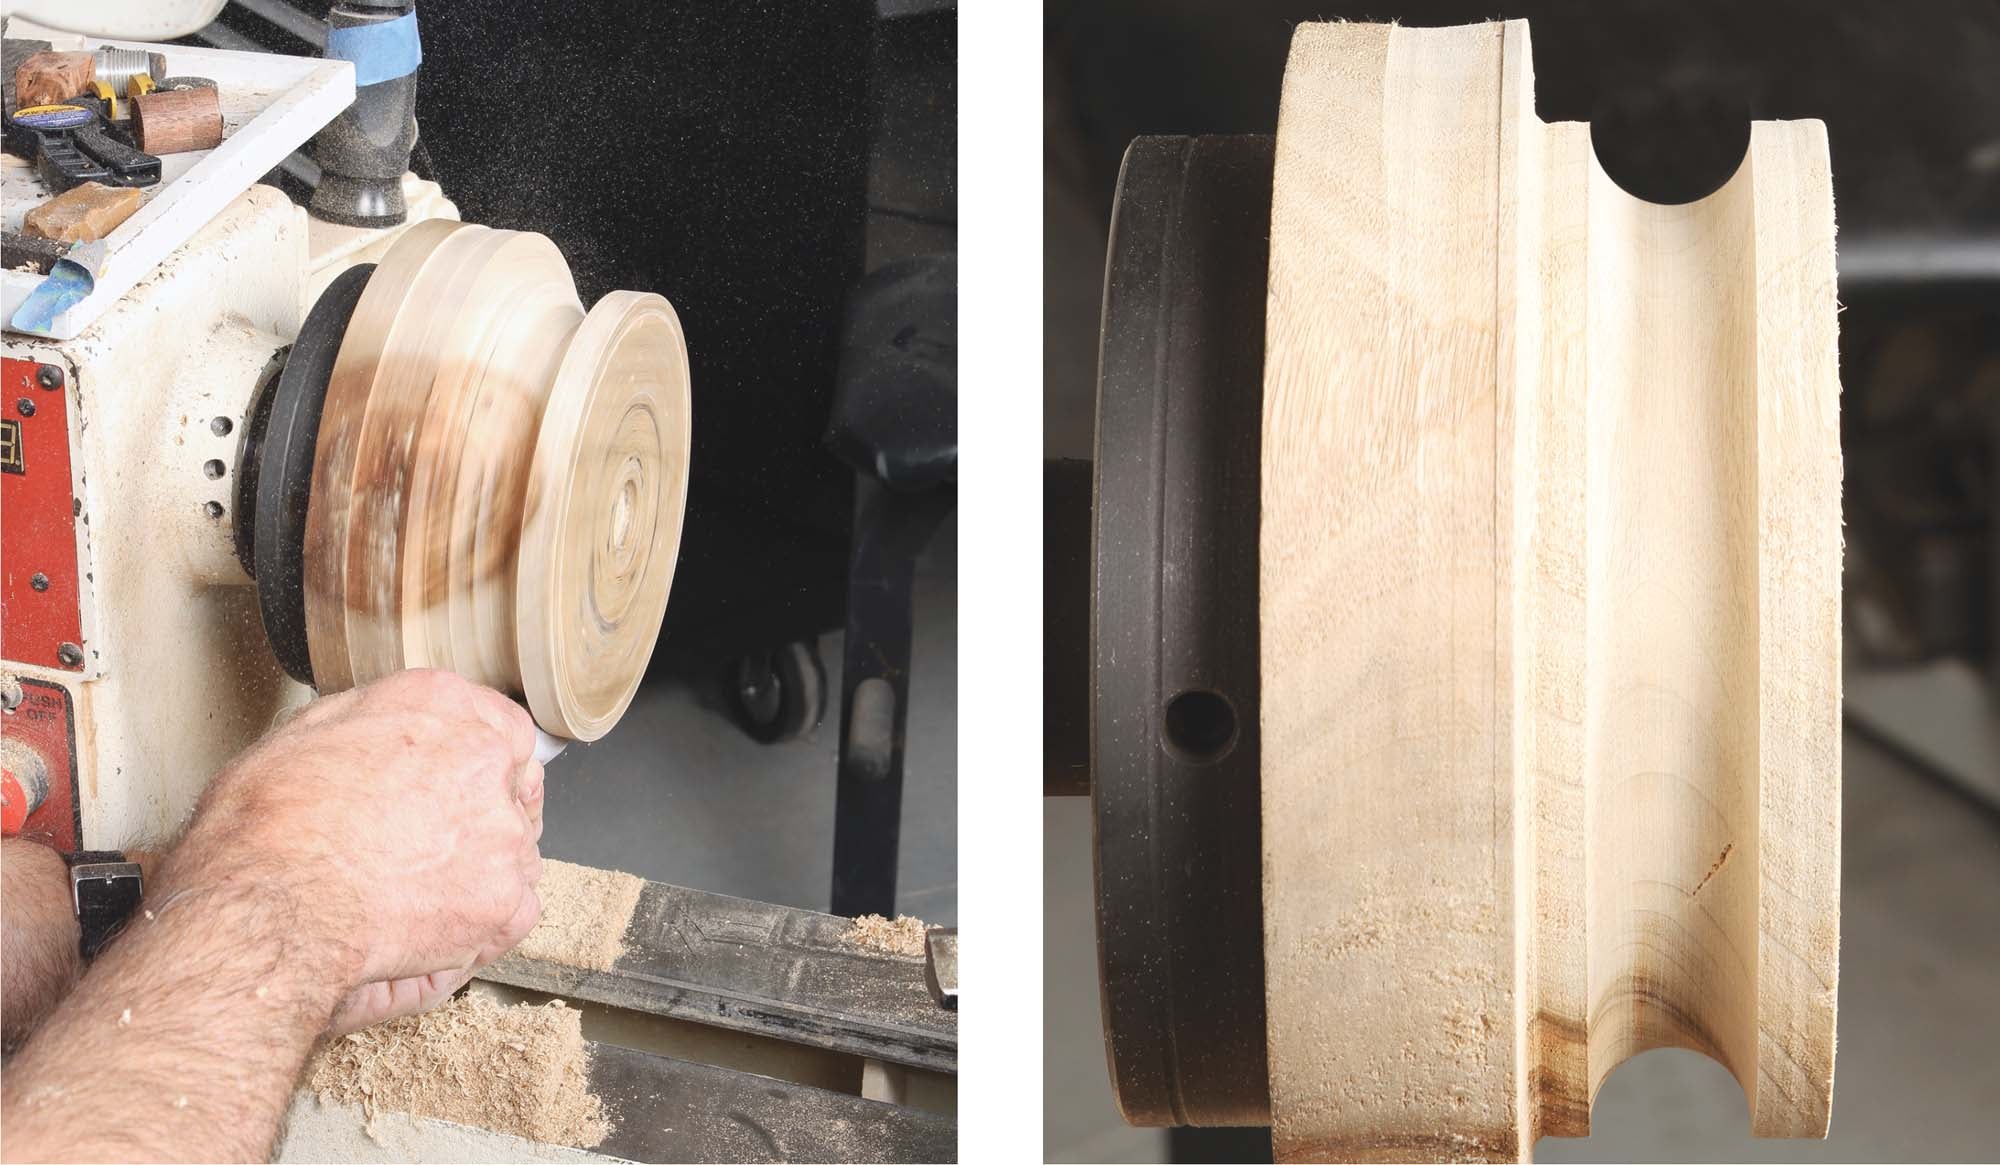
“It is quite difficult to bend tubing around a radius of less than six times its diameter. Even with the radius this large, care is required to prevent buckling inside of the bend and flattening the outside. Unless the bend to be made is very gentle, a bending form, preferably of hardwood, should be made. If only one piece is to be bent, and if the radius of the bend is fairly large, it may not be necessary to groove the form. A more satisfactory job will result, however, if the form is grooved. The bottom of the groove should be smooth and fit the tubing accurately.
“The next step is to drive a tight-fitting wooden plug into one end of the tube, which should be sufficiently long to extend far enough beyond the form to hold it satisfactorily. Then fill the tube with sifted sand, rapping it sharply with a block of wood as the sand is being poured in so that there will be no empty spaces left. When the sand has filled the tube and been well packed down, the open end should be plugged and the tube heated with a torch. If the material is steel, bring it to a bright red. If aluminum or duralumin is being bent, it should be heated until it will char paper. [In pre-1970 terminology, 2XXX series alloys were known as duralumin.] Aluminum does not change its color when heated and will melt without losing its silvery luster. When the tube has been heated to the proper degree, an assistant holds one end while the other end is bent around the form. The thinner the gauge of the tube, the harder it will be to bend without buckling.”
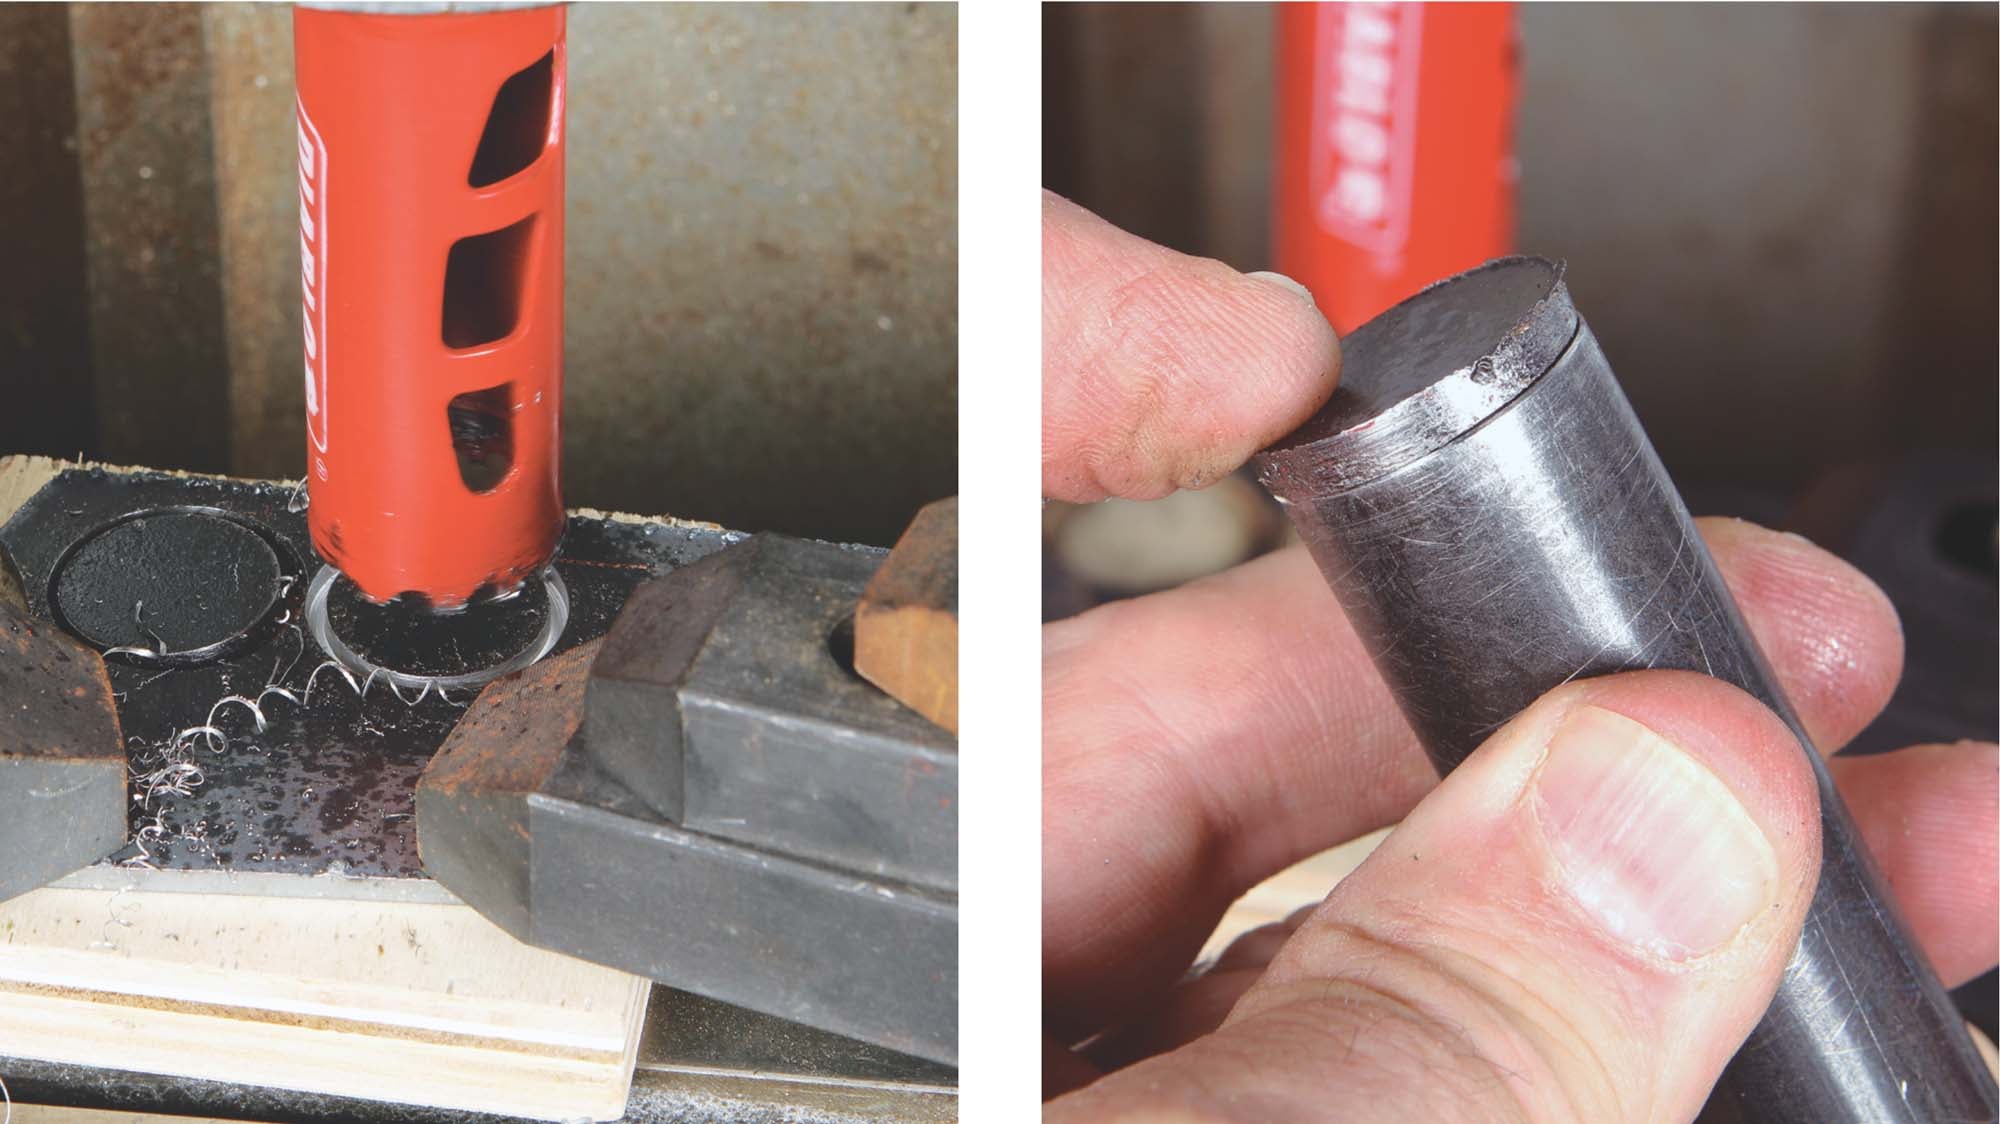
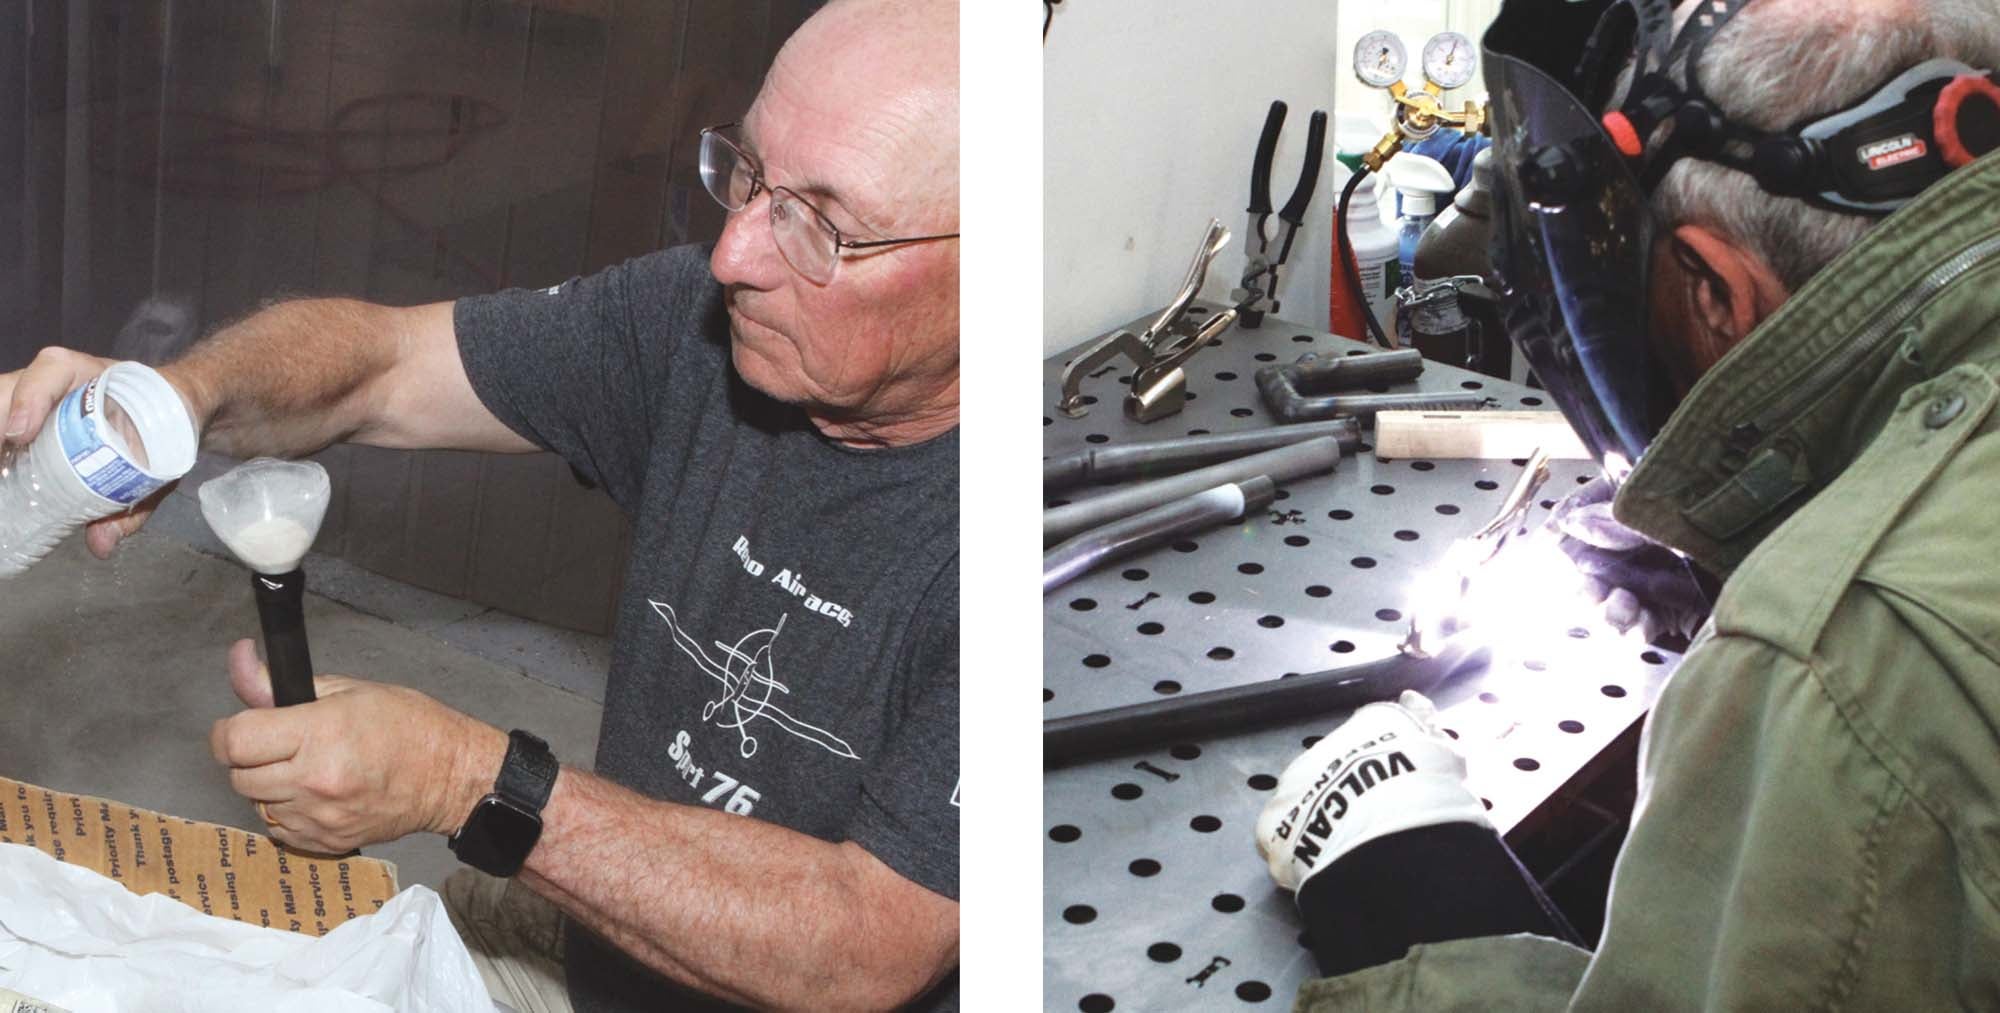
Further down the text mentioned that “In production, the form is usually made of cast iron, as the wood burns away after a time.” No kidding!
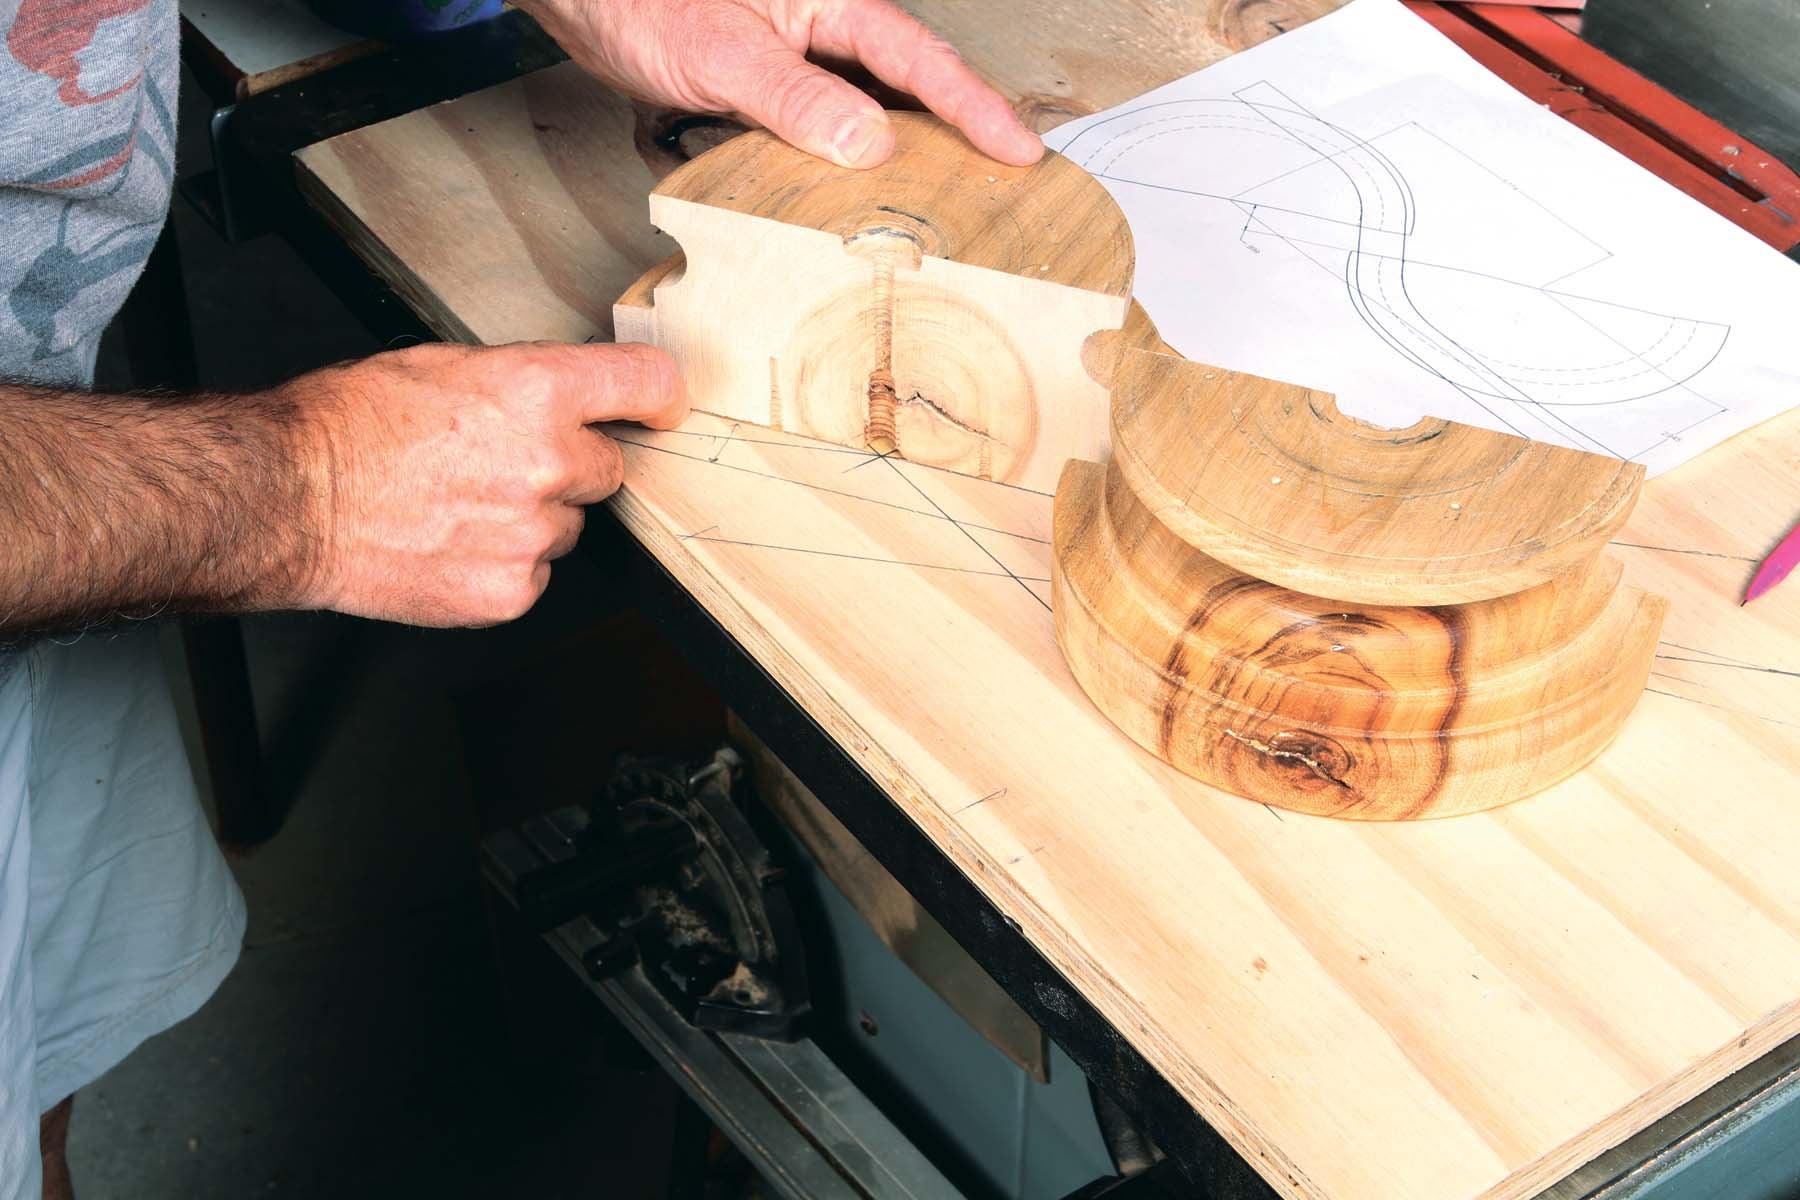
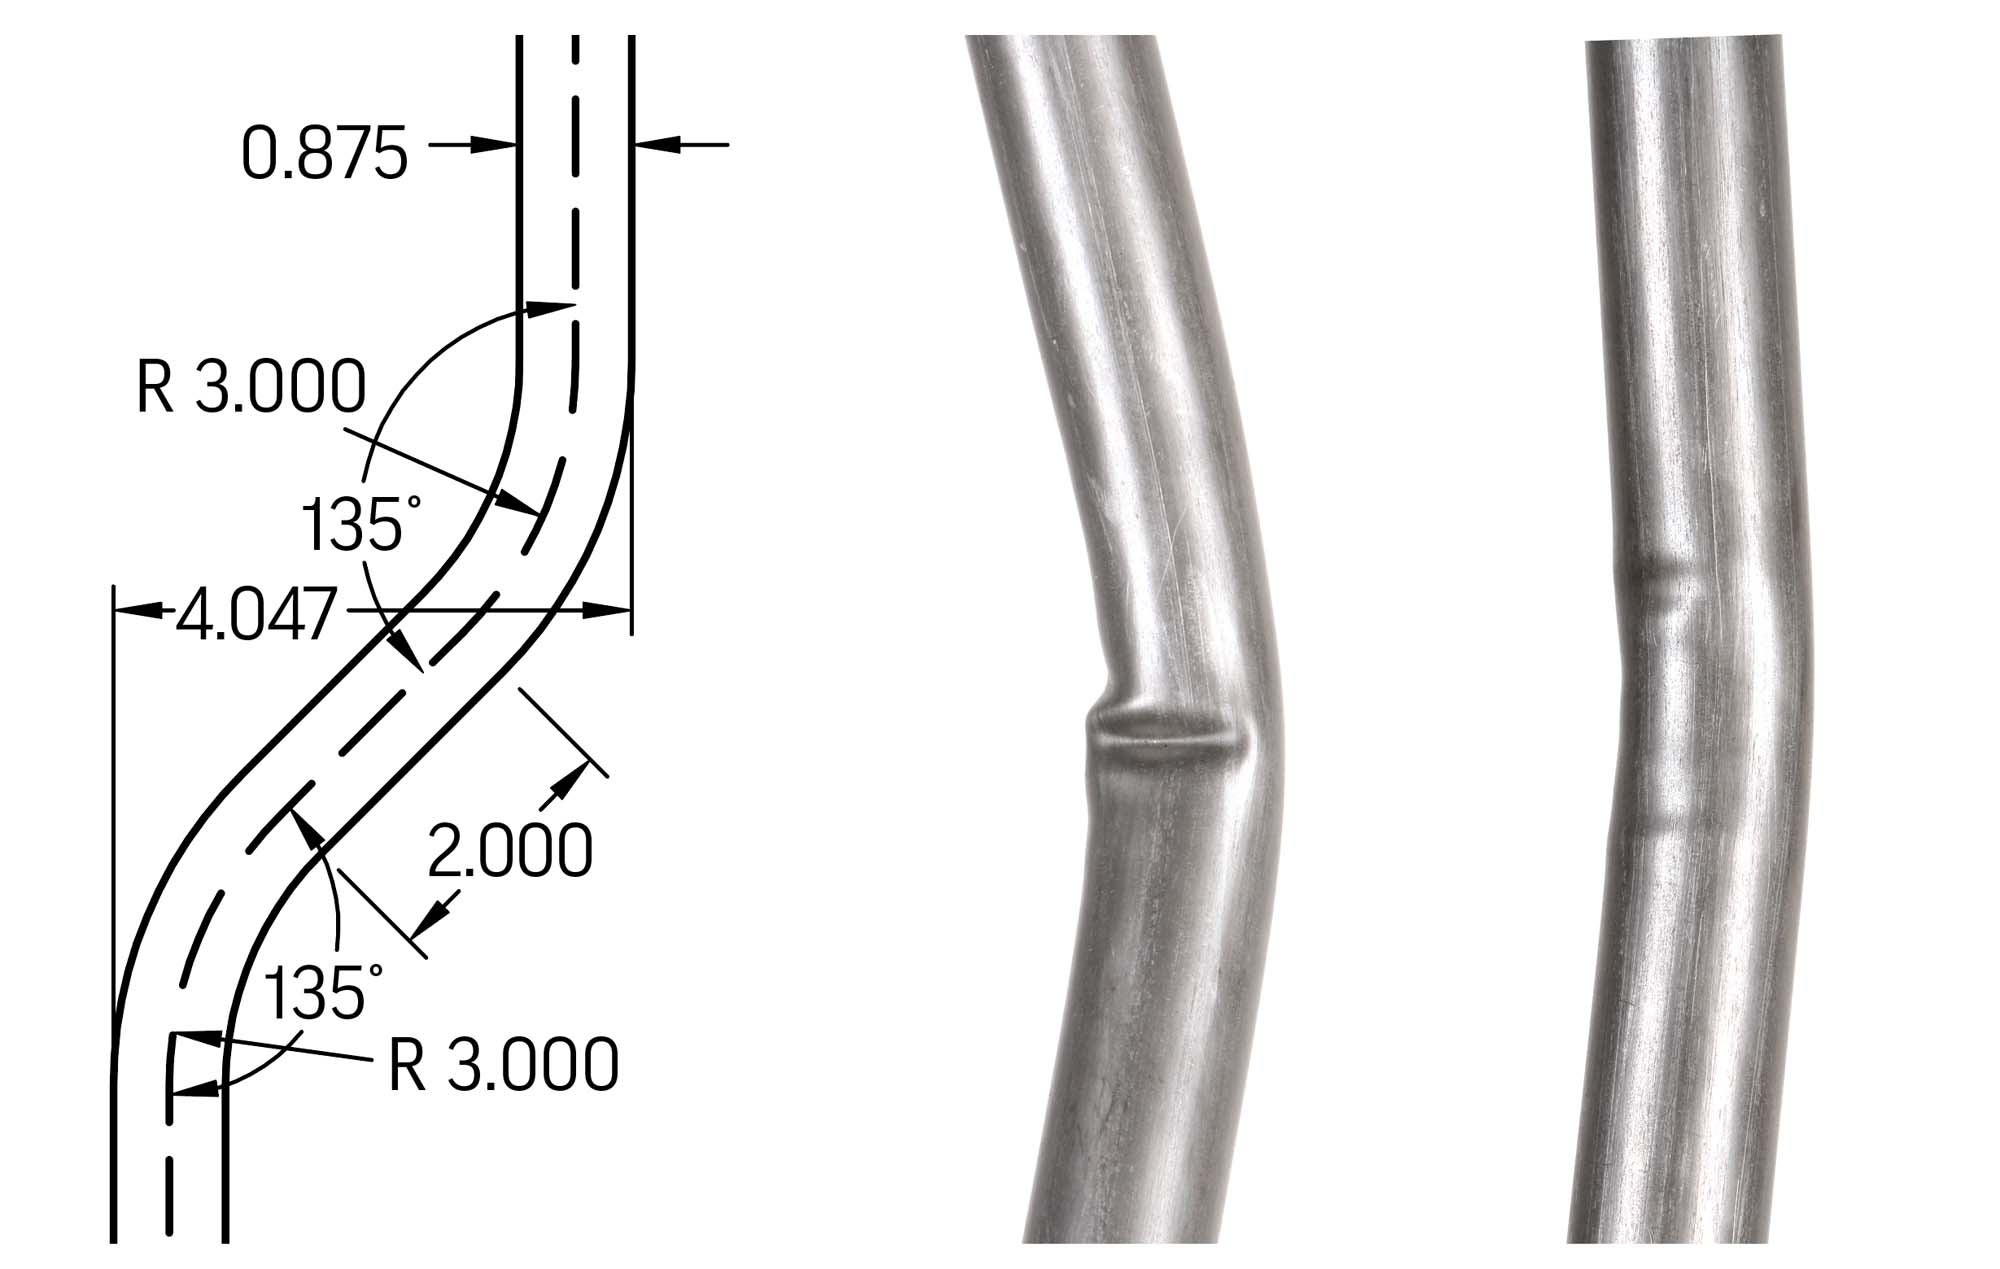
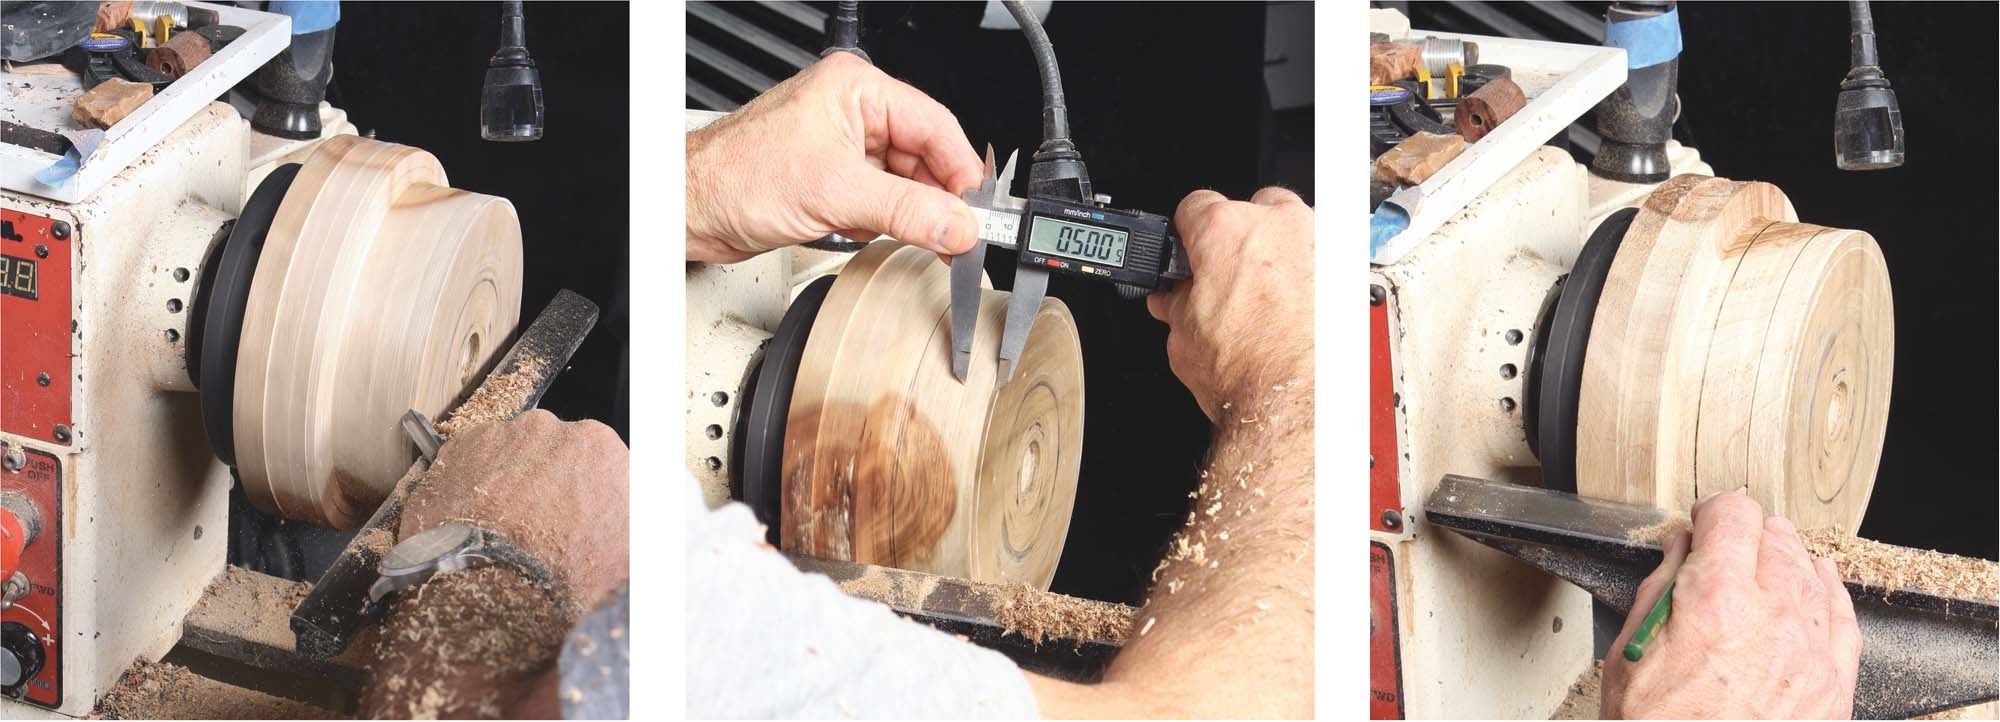
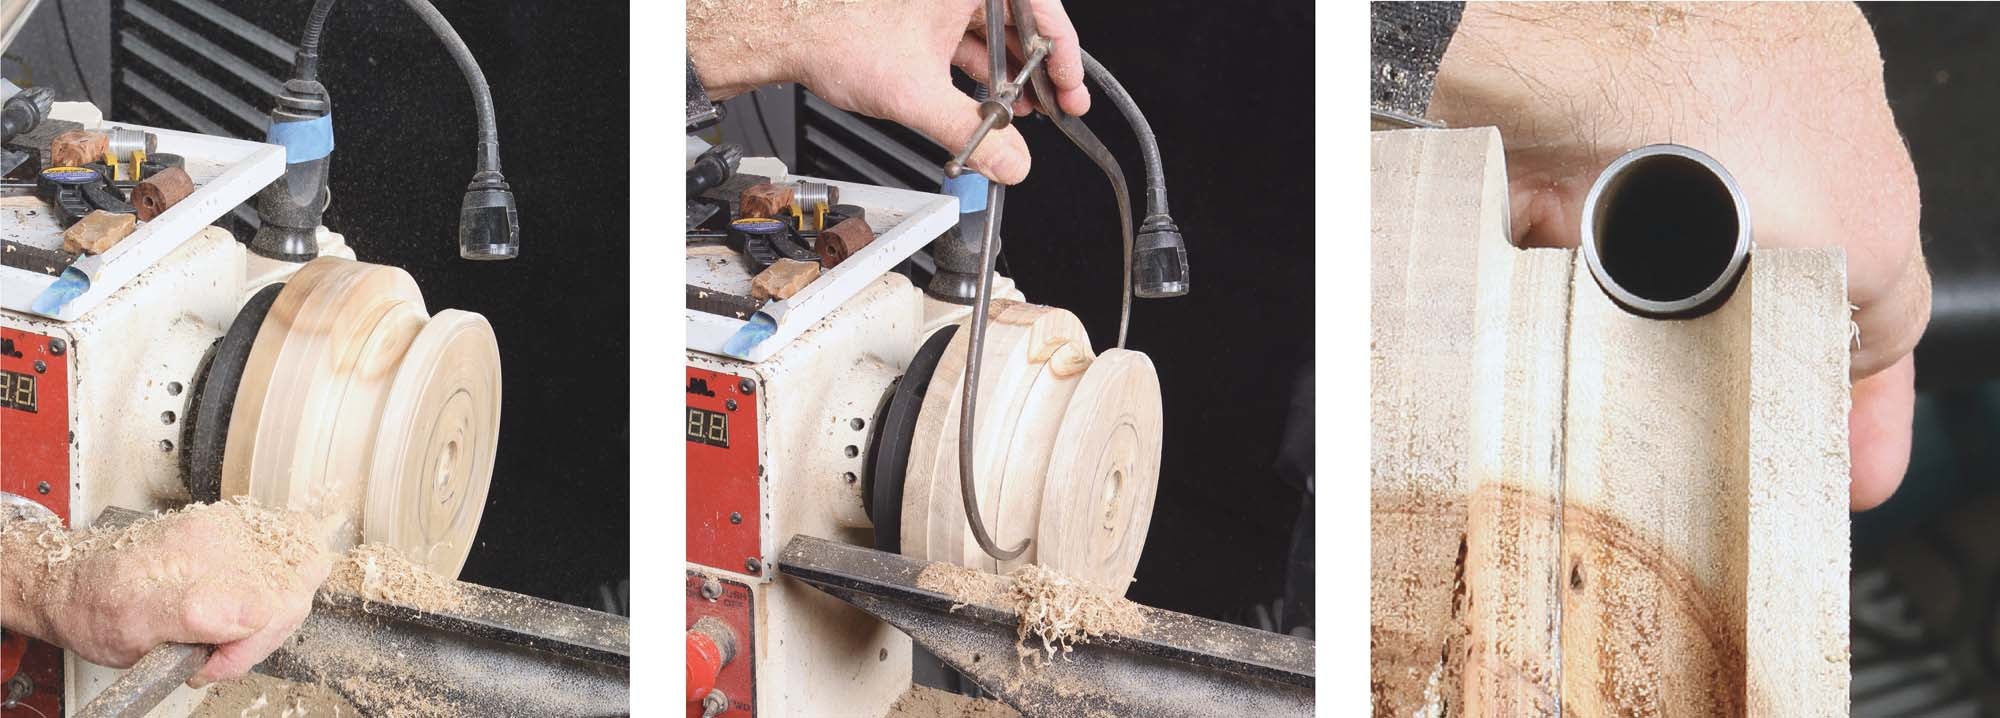
By this time, the design for Paul’s stick had morphed from one bend with a 15° dogleg to an “S” with two 3-inch radius 45° bends. Although that is significantly tighter than the minimum radius suggested in the text (6 x ⅞ = 5¼ inch), it made for the optimal control stick. After a bit of figuring, it seemed doable using the wood lathe to make the bending form and Paul’s oxyacetylene rig to provide the heat. Plus, I knew that if this didn’t work out, plan C was to get my buddy Billy Griggs to rescue the project using his Model 32 bender with a 3-inch radius die.
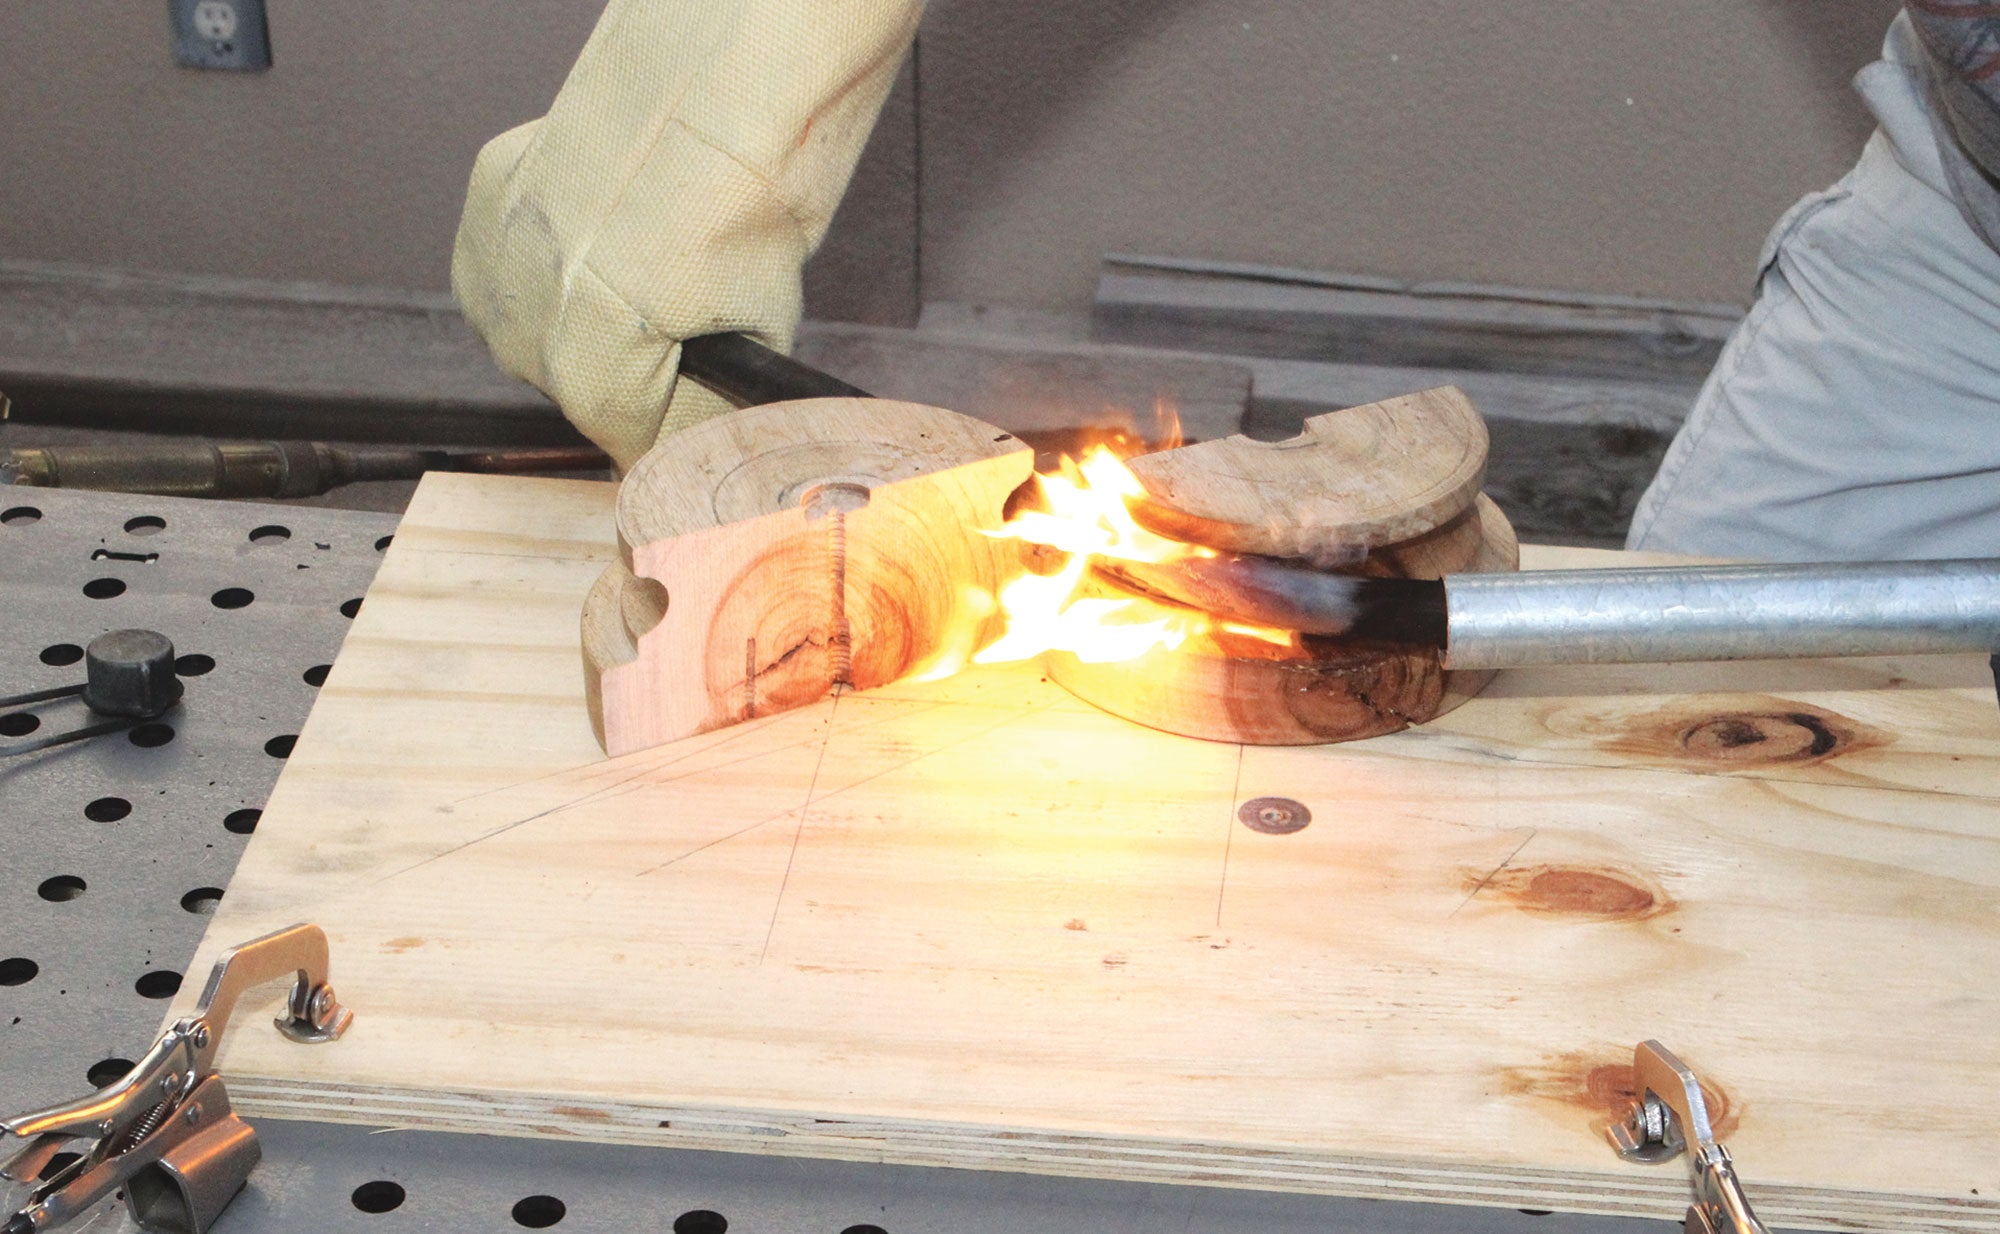

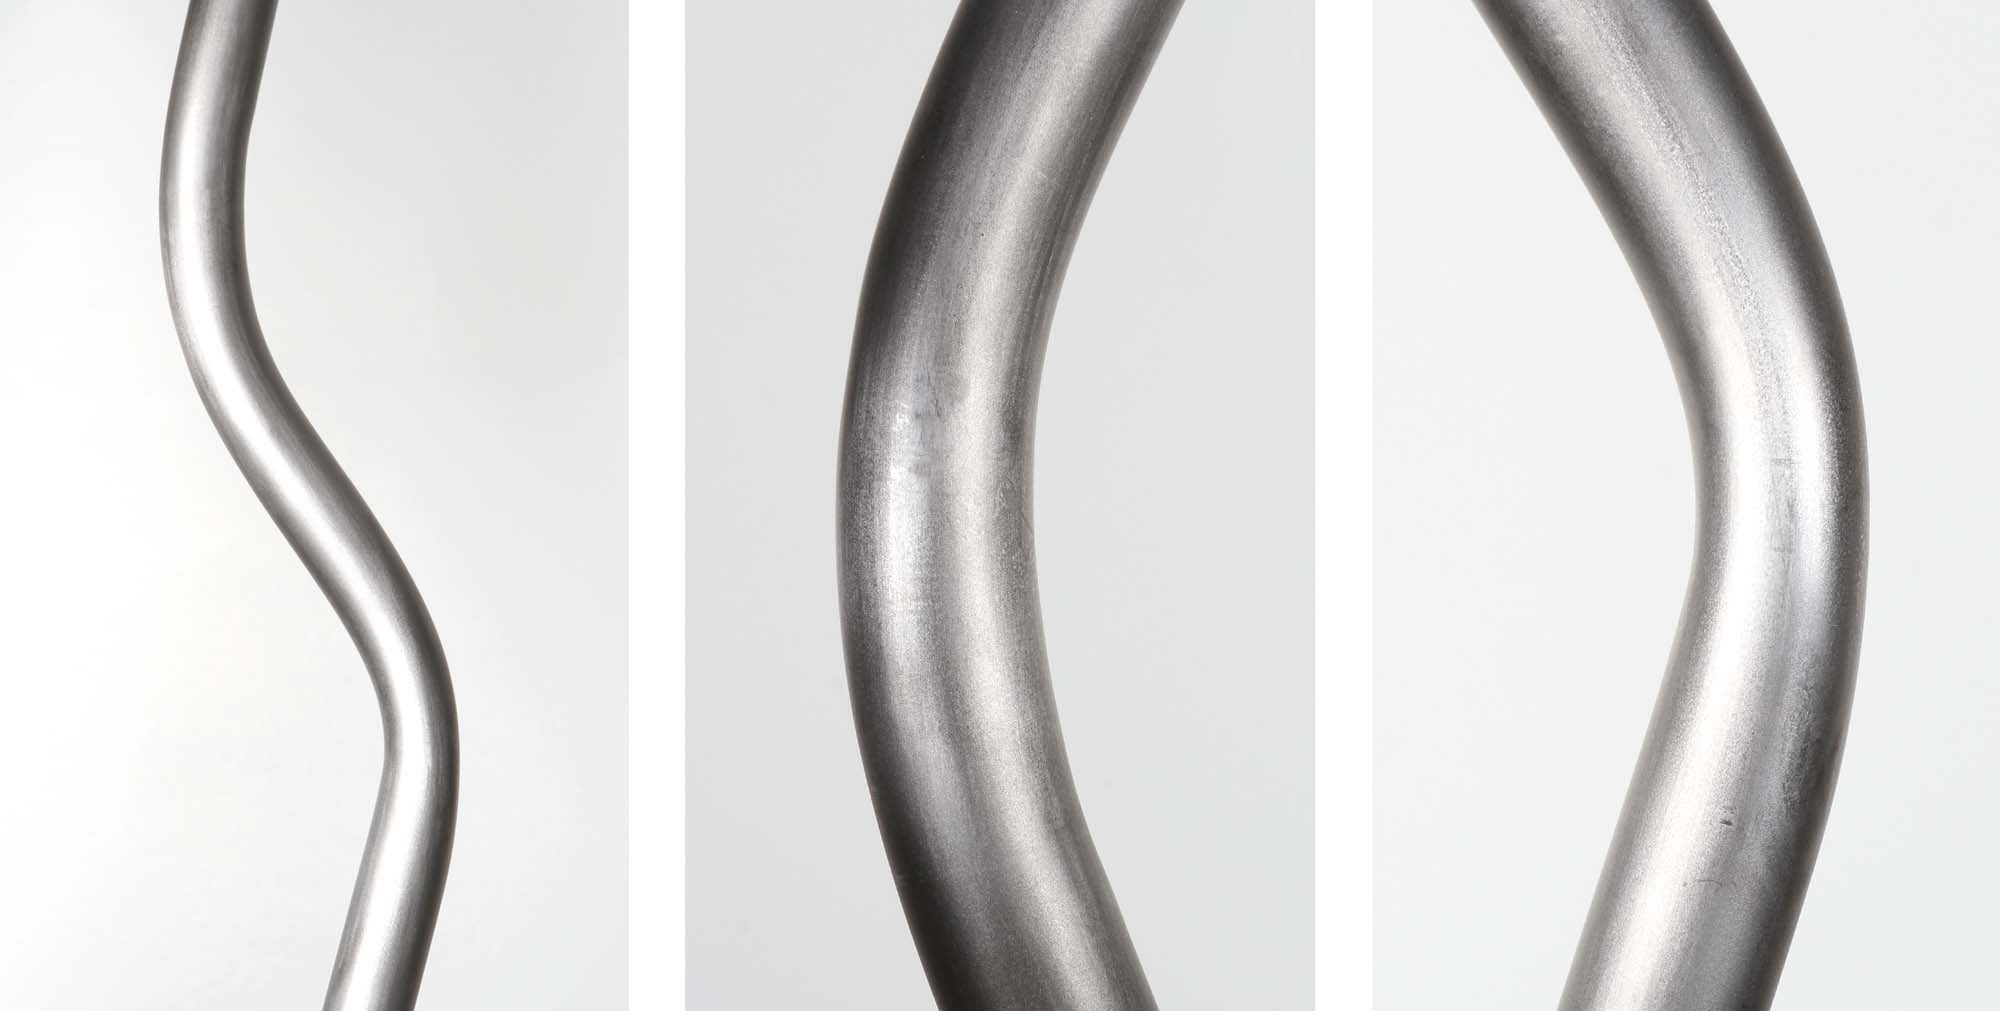
It was quite fun trying out this “retro” procedure and we proved it can work, provided you can get enough heat into the tube. If you’re interested, the book is available (as of this writing, July 2024) from Amazon and other sources. That’s it for now. It’s time to get back in the shop and make some chips.






Bending tubing is a art in itself. I learned the process myself. I have a professional hand bender to bend 1 inch, 1-1,8 inch and 1-1/4 inch 6061 t6 aluminum tubing. I still have it and it is in my storage. I used it to make ultralight aircraft. I also have the over the counter benders for 1/2 inch and 3/4 inch tubing. It can bend the steel tubing for aircraft fuselages. It is an art to bend tubing. keep my number handy if anyone inquires about needing some made. My tubing bender is based on a 4 inch radius. It is made of solid steel. But it is not hydraulic. Contact me at 979-885-9145 or kimazorzi@gmail.com thanks for the tubing bender article.
In my personal experience, I find older books to be more useful and easier to learn from than newer books. They read better, explain things better and more simply and effectively. I always appreciate a good book recommendation, even older ones.
As time goes on, knowledge changes and updates, and so always good to cross reference older books against newer sources of information, but in general the basics of a particular never really change.
Another helpful “tool” is cerobend. It is a low melting point alloy that you pour into the center of the tube helping to prevent collapse. You melt it out when done.I will use it even when using a tube bender.