 Langley Regional Airport (CYNJ), located in the lower mainland of British Columbia, is no stranger to homebuilt aircraft. Over the years these have ranged from wood to fabric to composite and metal. This is the story of one all-metal project and its first-time builder. A career in law enforcement did little to prepare Greg Booker for the demands of aircraft construction except for the ability to stay with a project until complete.
Greg’s interest in aviation is generational, going back to November 1929 when his maternal grandfather got his pilot license in Manitoba. That information led Greg to begin flying ultralights with his son Jeff. While Greg continued to pursue a career in law enforcement, Jeff obtained both his AME (airplane maintenance engineer) and A&P licenses.
Greg’s early ultralight flying led him to explore the STOL options as he was leaning toward the “low and slow” market. Besides, he and his wife, Diana, are hiker/campers and it was getting too expensive to charter floatplanes into the mountain lakes near his Vancouver-area home.
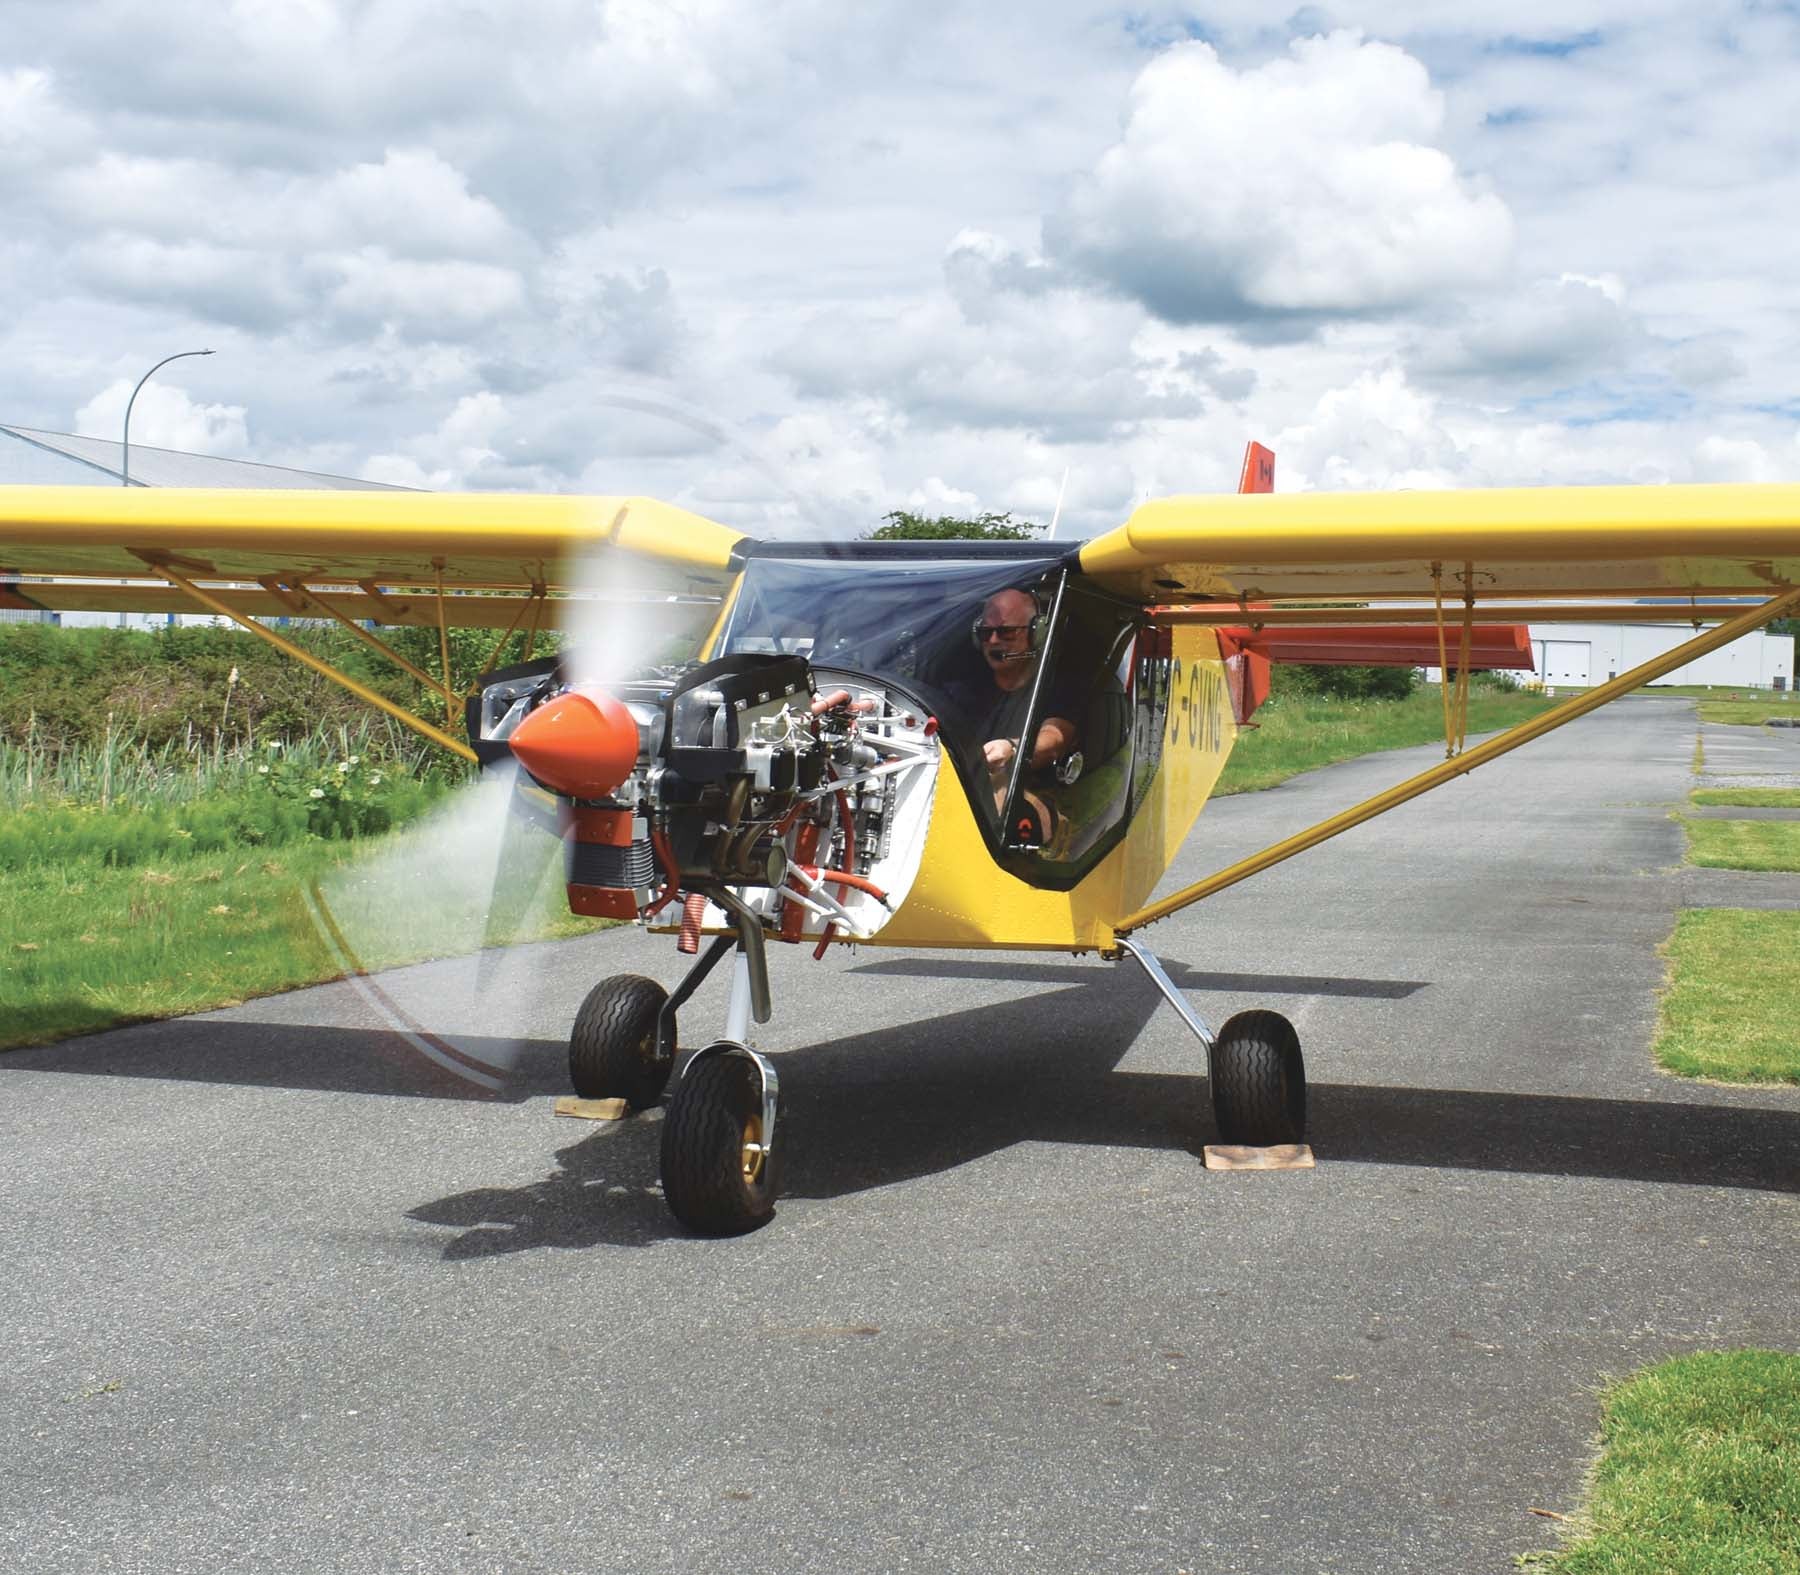
Several years were spent exploring that market until a decision was made to go with the Zenith STOL CH 750. This decision was confirmed after a flight in a Zenith company demonstrator at the 2010 Arlington Fly-In in nearby Washington state. Greg placed an order in September 2011 and the big box arrived in his front yard just two months later in November. Included with the airframe components was a Belgian 130-hp ULPower 350iS engine and mount.
Greg had no idea that the build process would occupy him for the next 11 years, but some of that time can be attributed to his attention to detail. For Greg there is only one way to do a task and that is the right way and fully documented. Probably this same trait led him to a successful career as a police detective.
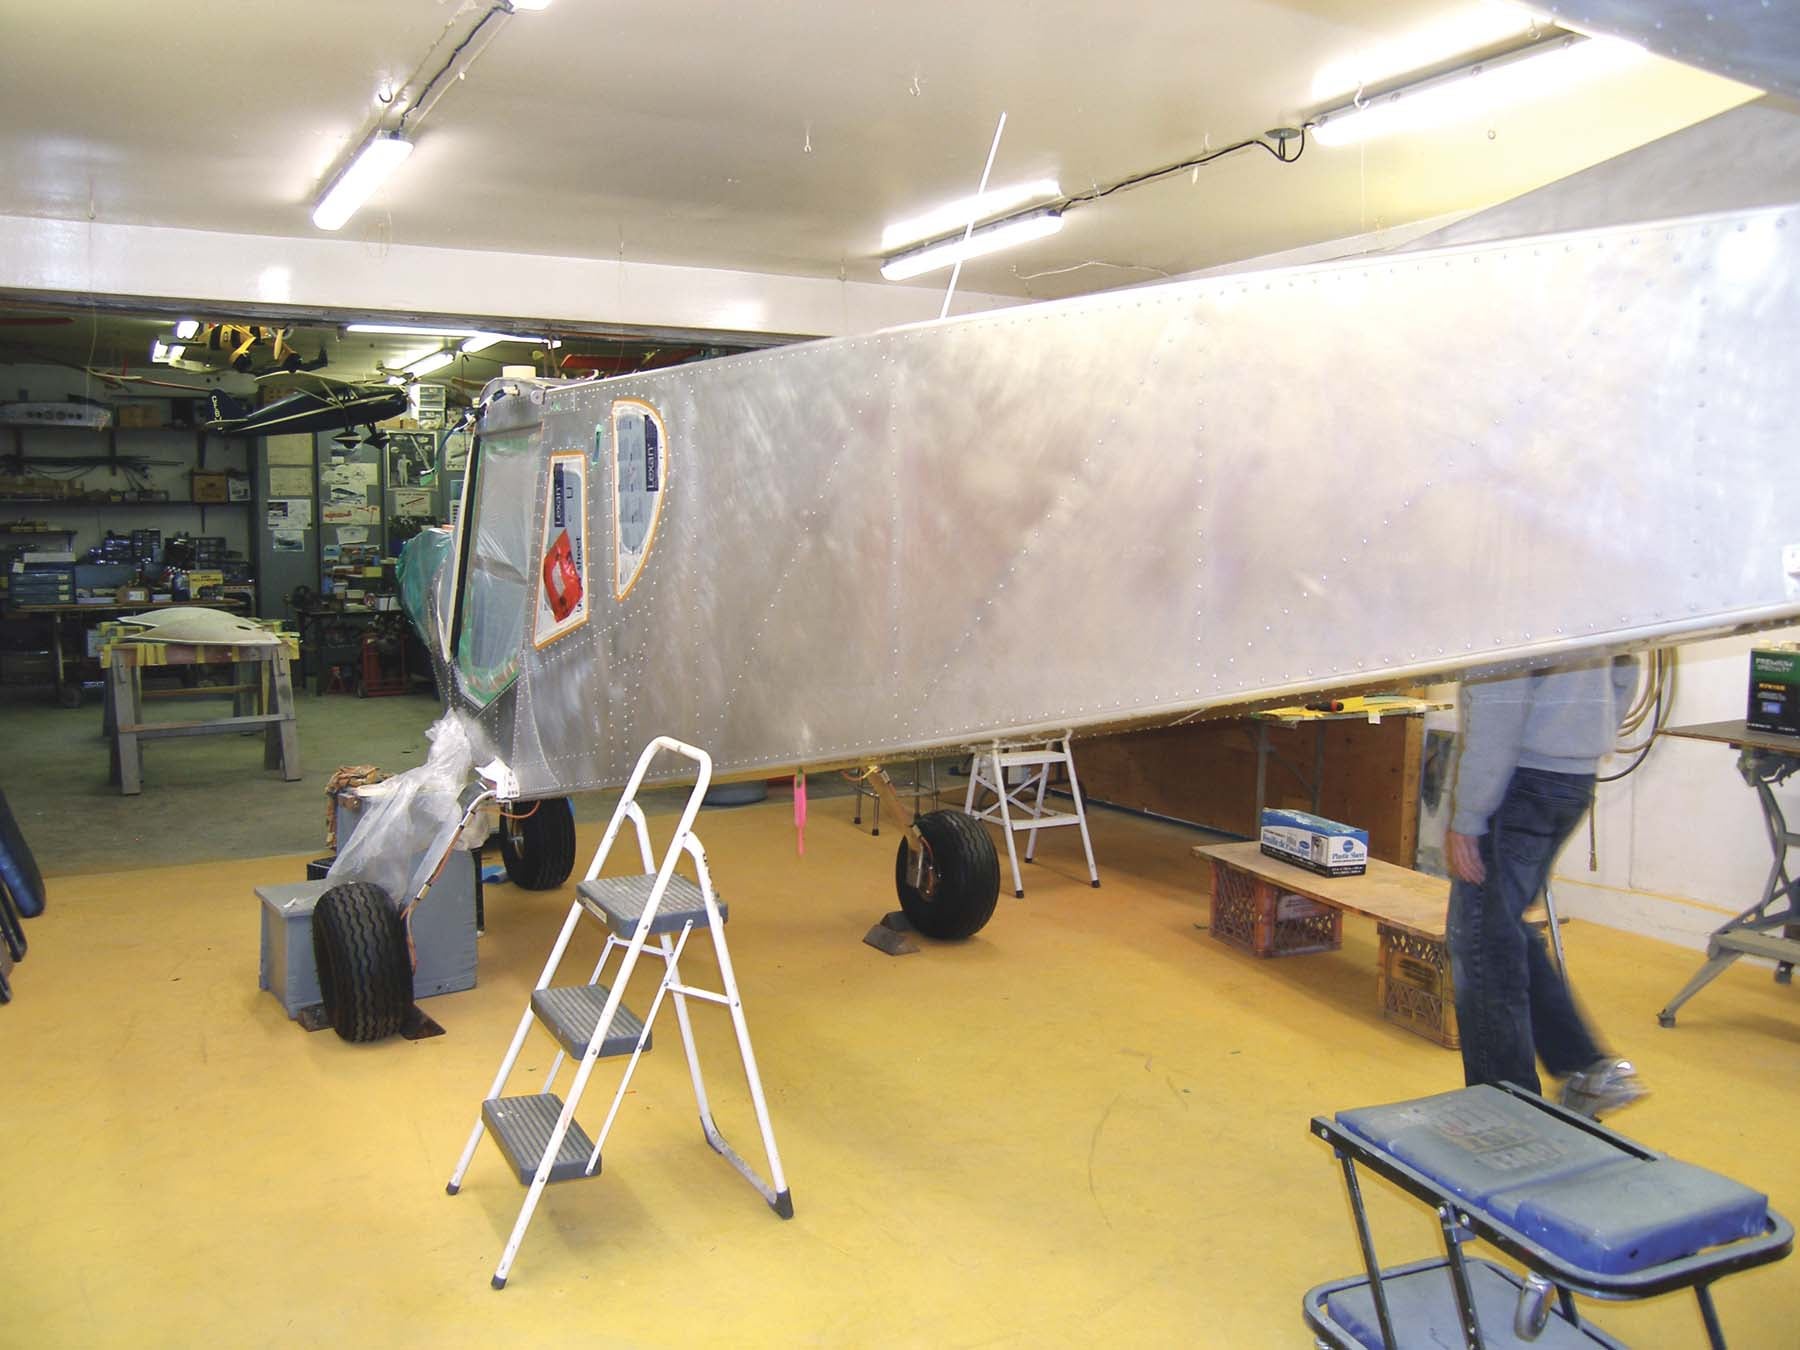
One example relates to inspection panels. Zenith uses three of these in the wings. Greg added 11 based on the theory that one can never have too many.
Speaking of the wings, they spent two years on the dining room table through Easter, Thanksgiving and Christmas family gatherings, proving for all time that Diana has both a sense of humor and patience.
While Greg had a clear understanding of things mechanical, things electrical were much more of a challenge. His friend Carl Rueck, a master electrician and robotics engineer, put in over 250 hours sorting out those mysteries. Carl was instrumental in the construction of the panel. Dynon’s SkyView D1000 was selected because of its versatility, price and the fact that the nearby Washington-based company seemed committed to providing ongoing service for its products.
Of the almost 4000 hours logged during construction, 75% of those were Greg’s.
I first met Greg when he purchased a bay in the hangar where I keep my Stinson. In an age where builders seem to want to go farther and faster, Greg subscribes to slower and lower, with the emphasis on gravel bars in rivers and lakeshores, and the CH 750 checks off all those boxes.
Flying Colors
Because of my history in the finishing industry, I get asked to paint stuff from time to time. Since flying is a passion, I tend to say yes if a plane is involved. This time the request came from Greg, who felt that he needed help with the paint. This was surprising as he had spent the past 11 or so years building the aircraft, including engine and panel installations that were complex beyond description, yet somehow he felt intimidated by the actual painting.
In order to get the painting underway, all of the assorted bits and pieces were transferred to a small shop nearby, which was owned by Werner Griesbeck, an antique restoration expert whose skills have been recognized at shows in the Pacific Northwest and Oshkosh. Werner, since deceased, was also a hangar mate and friend to many.
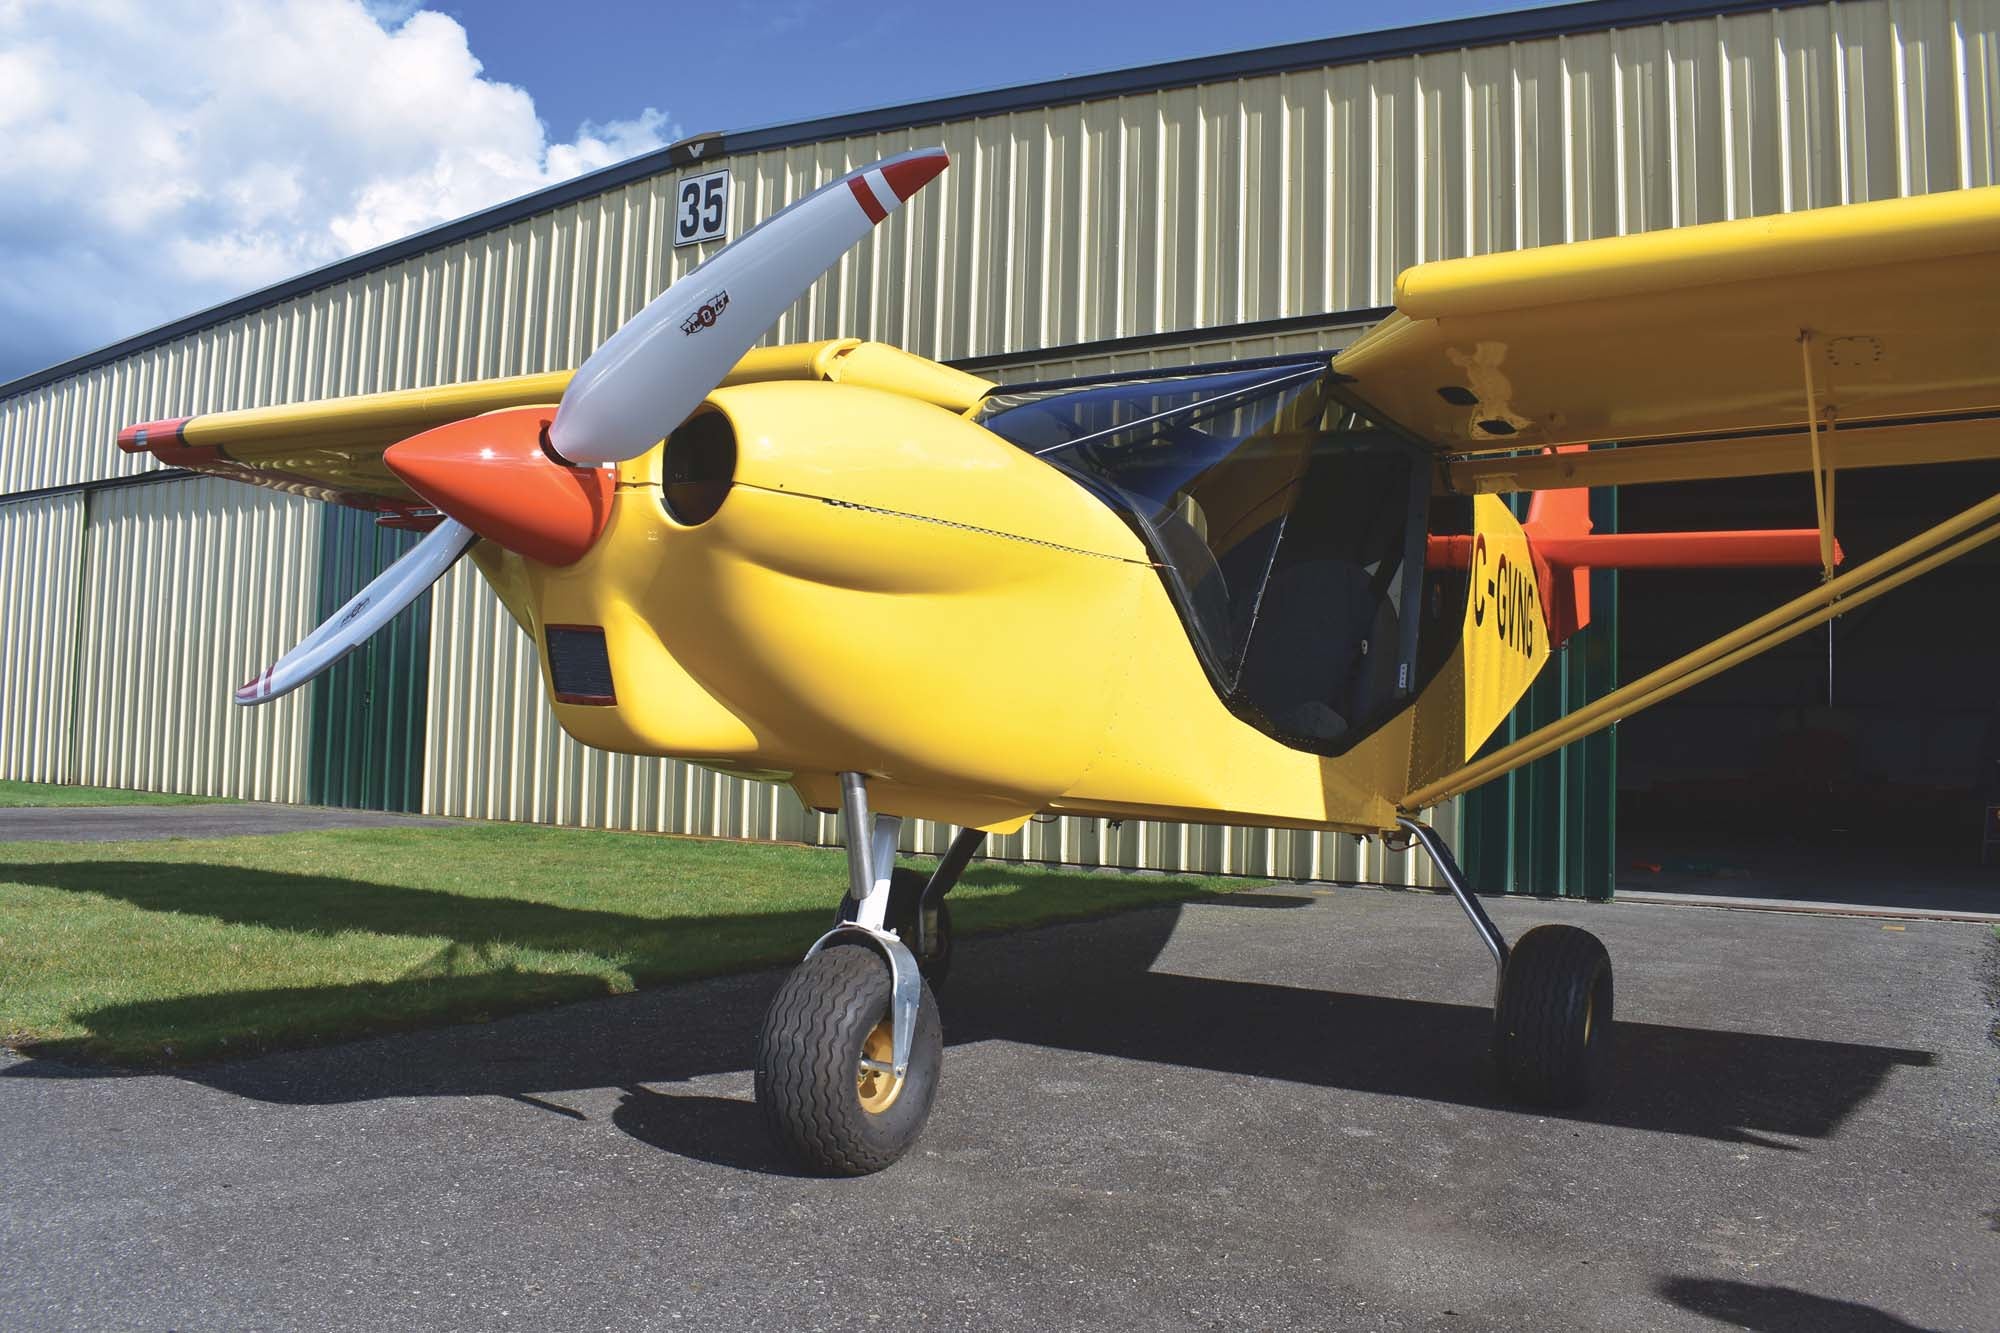
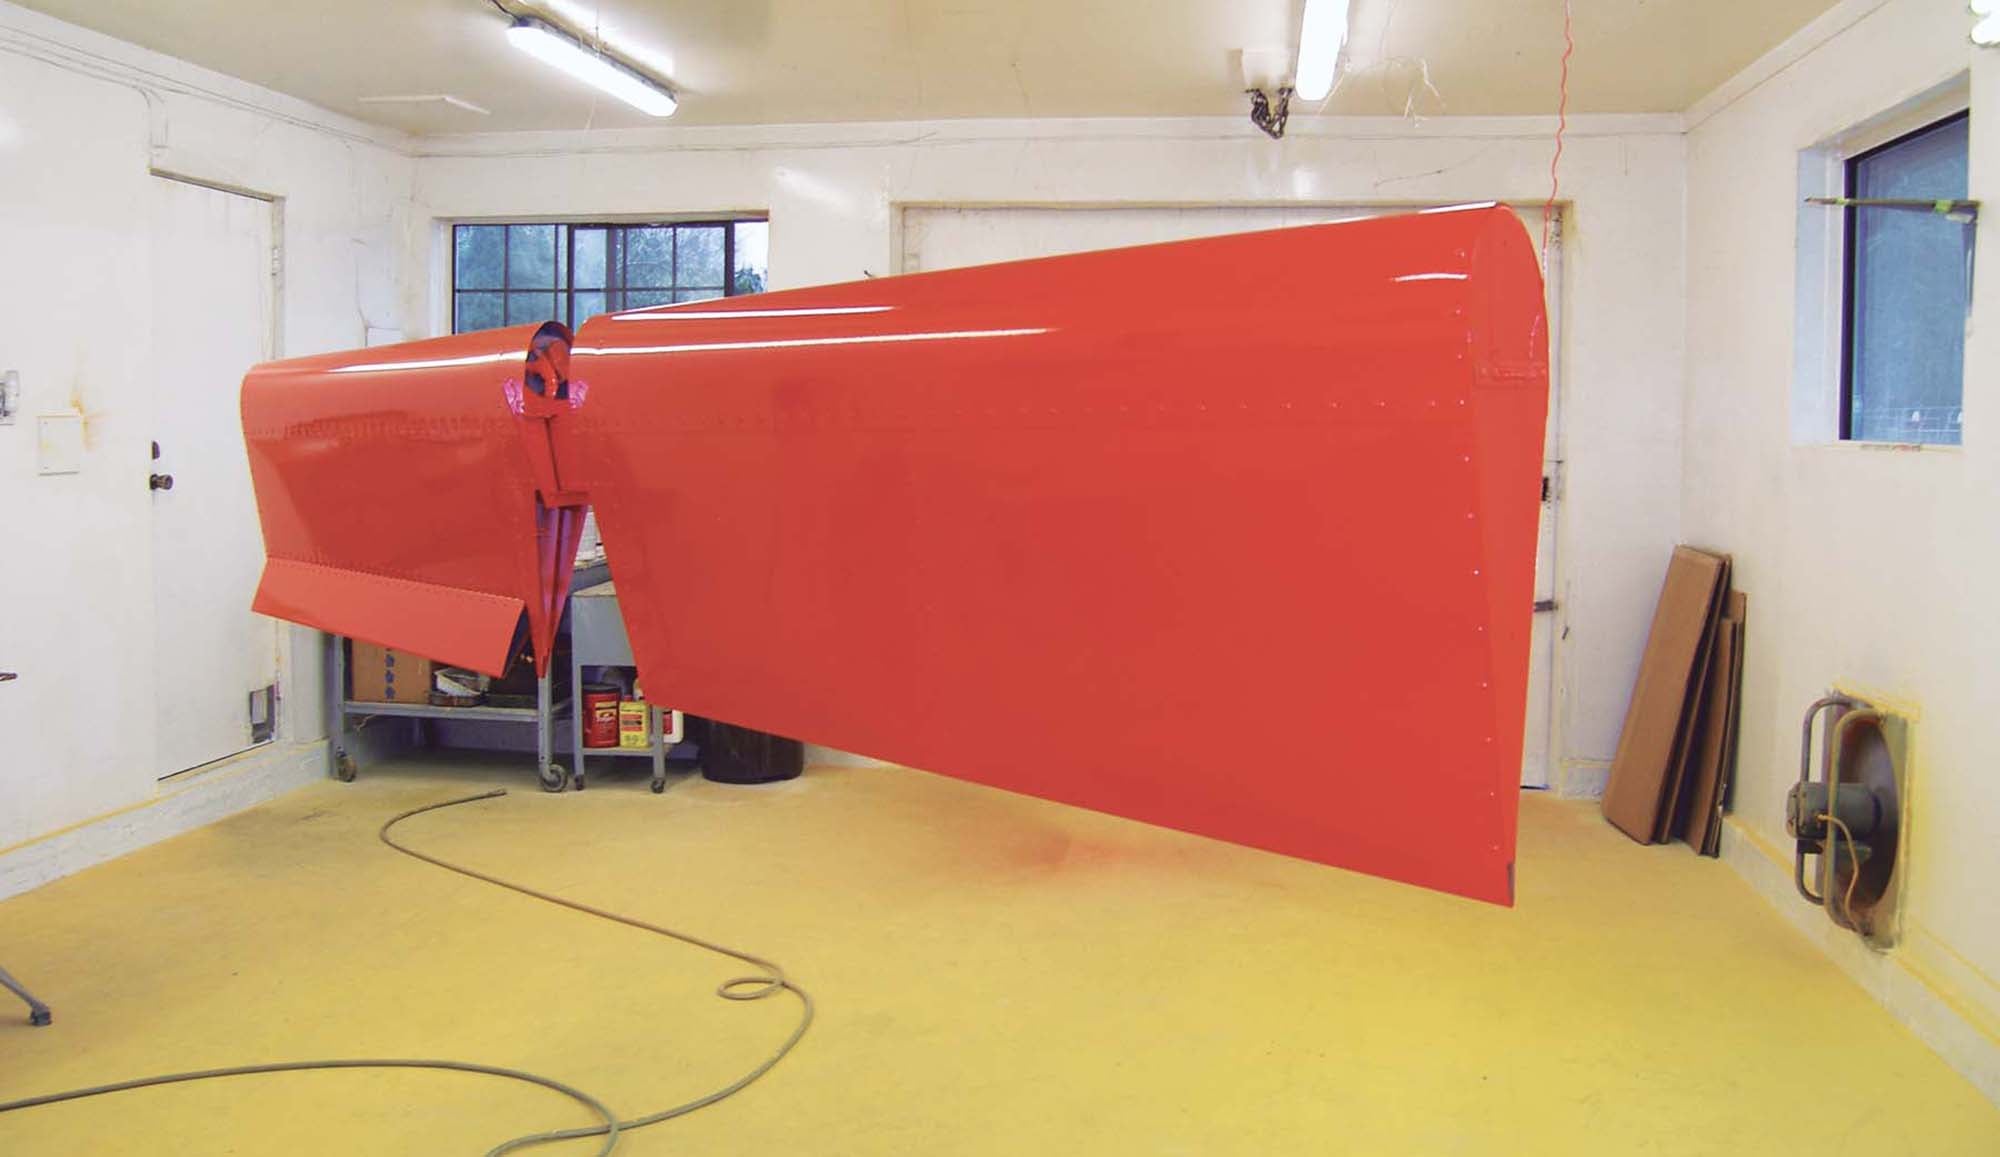
Greg and Jeff had done the paint design and selected the colors. The primary color was yellow with orange and black trim. Those colors are a tribute to RCAF Training and Search and Rescue colors. It was decided to do all of this over a white primer to give the best possible base for the yellow as some consideration had to be given to the fact that yellows tend to be poor hiders. In the beginning all went well except for the high cost of the automotive coatings, with the yellow being particularly expensive. More on the yellow later.
Because the aircraft is assembled with pull rivets, these had to be considered as a potential problem with the likelihood of “rivet runs.”

A white etch primer was applied to all surfaces and if possible coated almost immediately with color. If more than 8 hours passed after primer application, the part had to be sanded lightly prior to top coating.
The yellow turned out to be even more transparent than anticipated requiring much more than the normal cross coat application. Three coats looked like a minimum but I had only purchased enough for two.
Receiving more paint should have been a no-brainer, right?
Wrong!
It seems our local supplier was unable to get more product from the U.S. warehouse because of a lack of drivers and dock workers. The cause? You guessed it: COVID!
Perseverance resulted in toners finally being located in Edmonton, Alberta, and eventually shipped to Langley in British Columbia. Once they arrived, I was able to apply the fourth coat of yellow to the wings.
The next task was to apply red and orange to the wingtips, rudder, struts and horizontal stab.
Bits and Pieces
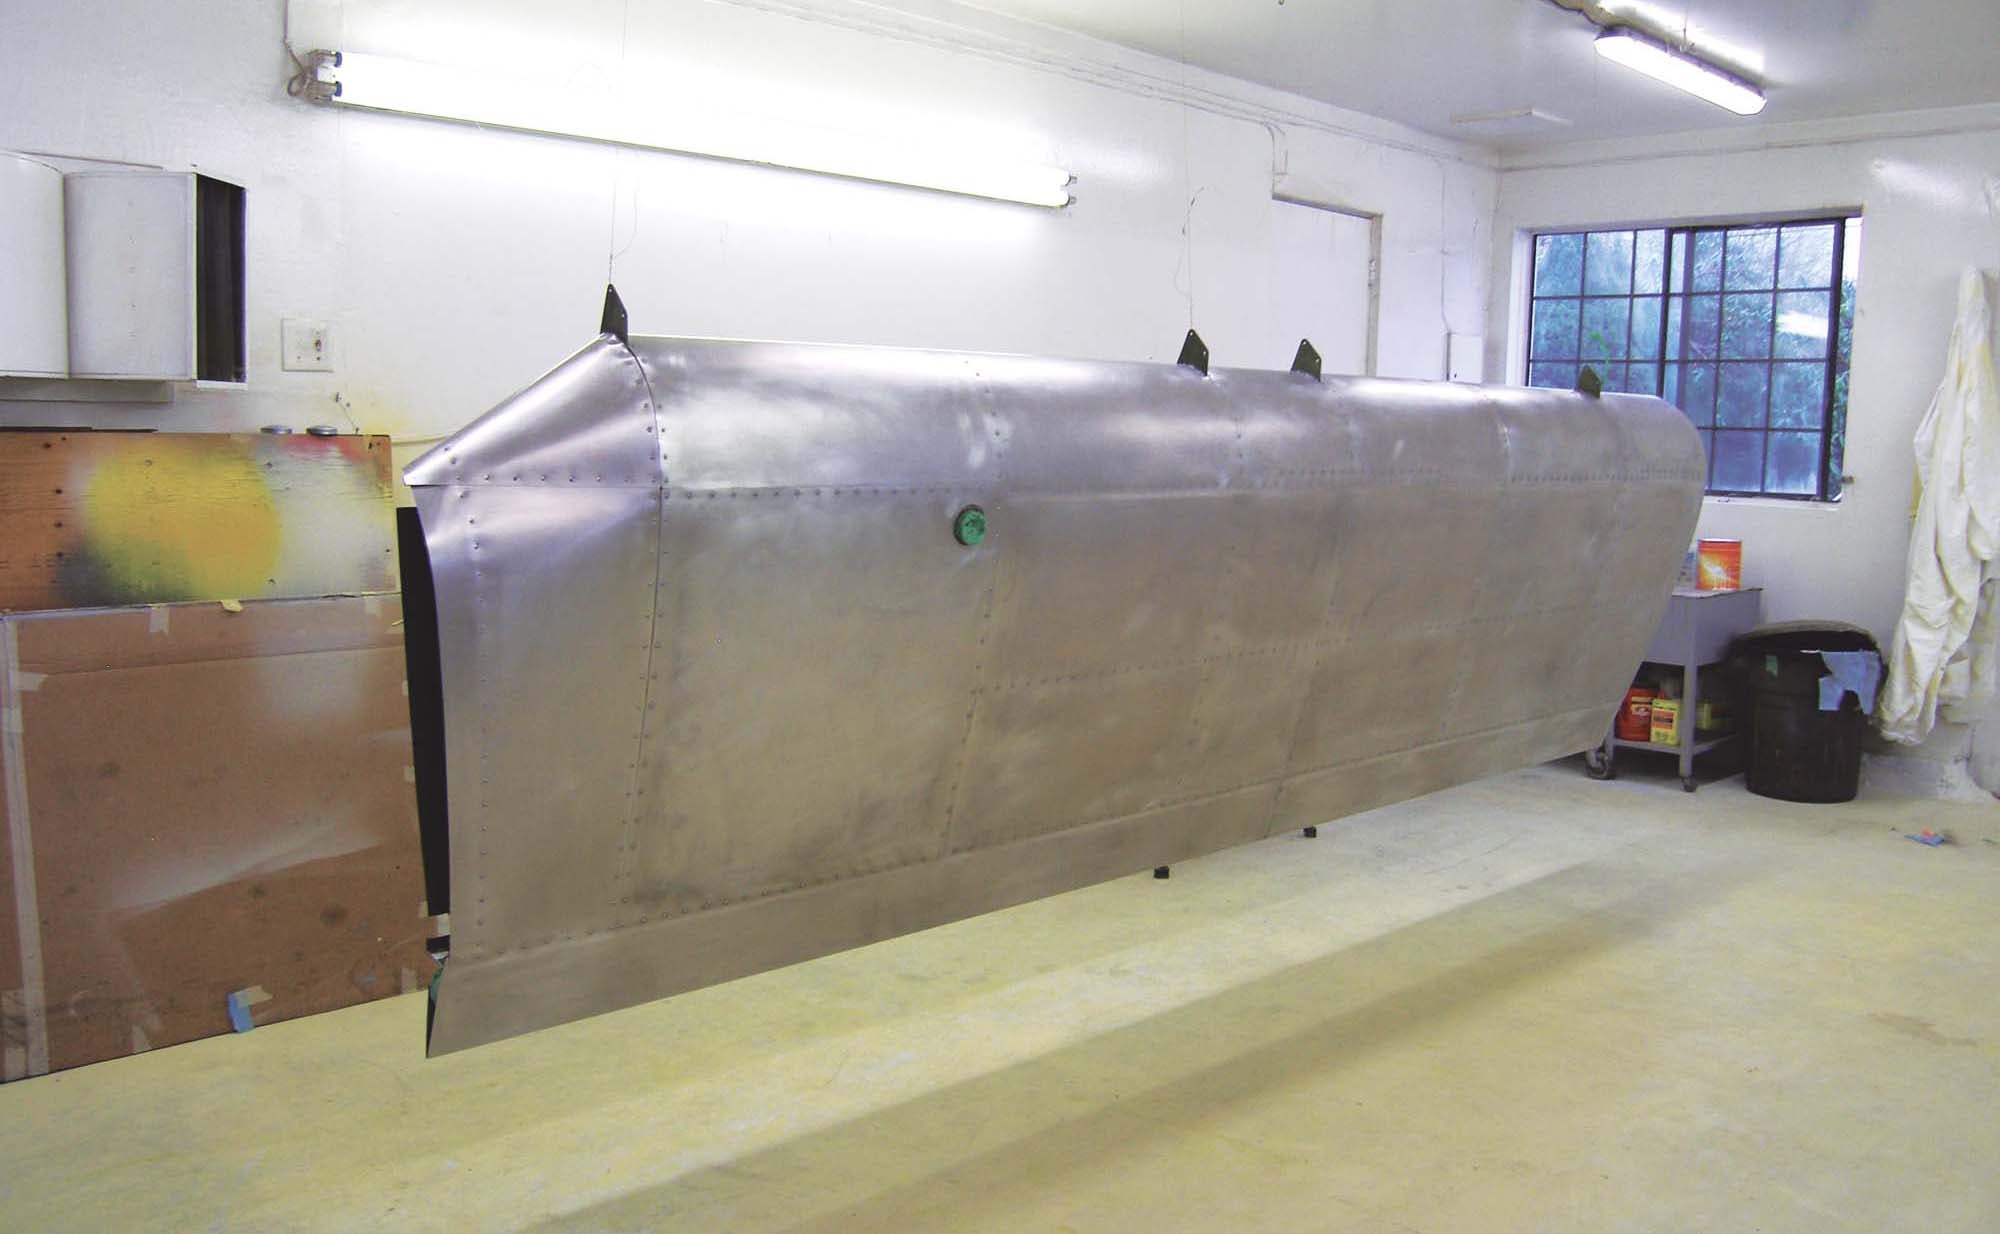
Once the wings were done and moved to the hangar for short-term storage, I began working on many smaller parts including the lift struts, jury struts and some of the many inspection covers, one of which eventually would have all three colors—just to create more challenges.
The next day was occupied by a final cleanup of all those bits and pieces followed by applying the primer sealer. As the primer coat was allowed to sit overnight, it needed to be sanded. This is not a bad thing because it allows an opportunity to get rid of any dry spray or orange-peel and even, heaven forbid, the dreaded rivet run.
When these bits and pieces were finished, it was time to apply orange to the elevator and rudder as was done with the wingtips. This color took less coats to cover as it is a good hider. The elevator was then taken to the hangar for storage, but the rudder would have to remain as it had to be masked once more to paint a small black Canadian flag on each side. This would be done when painting the black on the cowling top and the fuselage trim.
Fuselage Prep and Paint
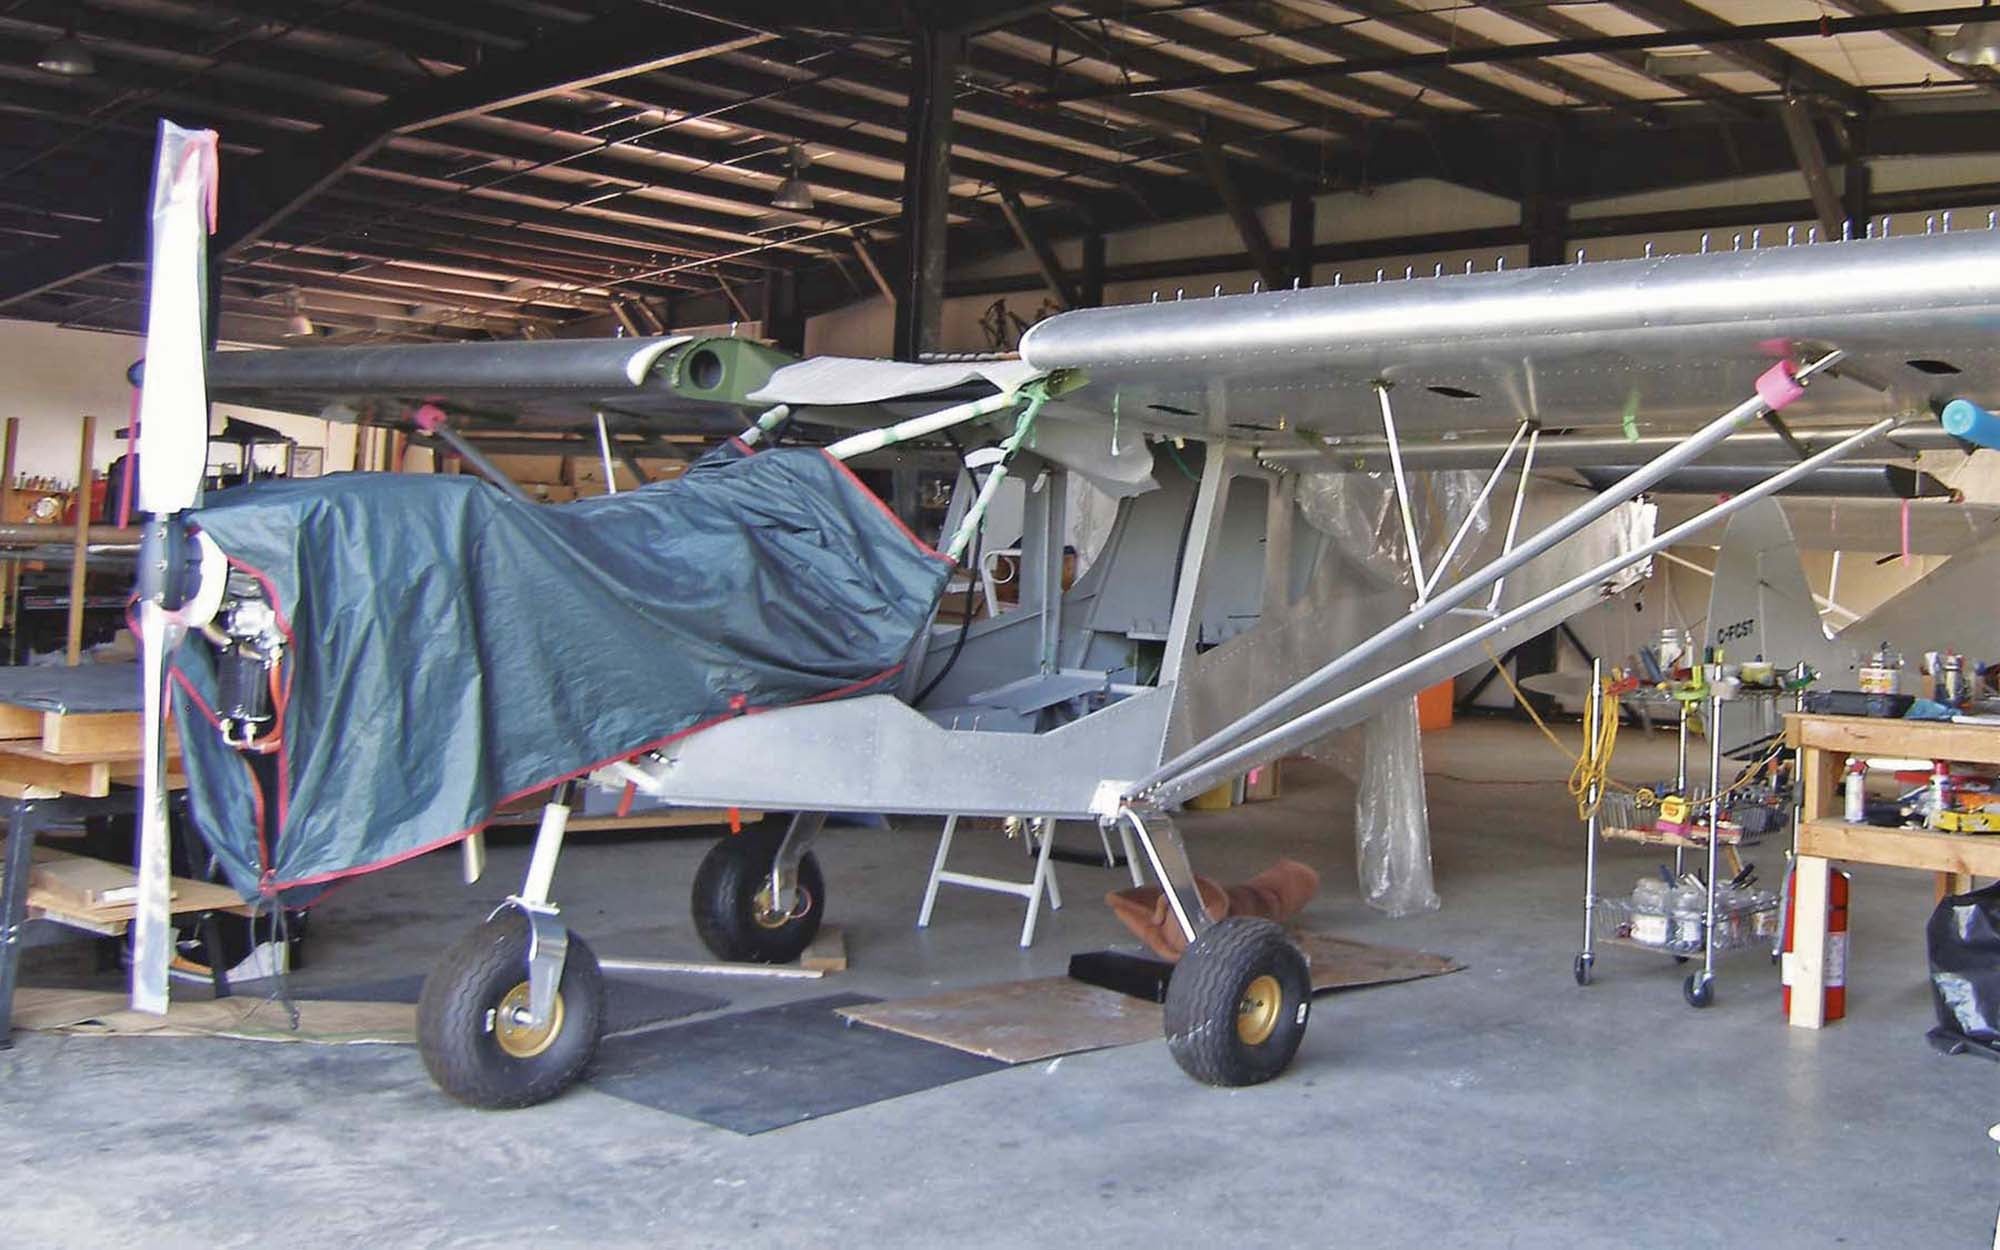
Prepping the fuselage took quite a bit of time, not because it is particularly large but because it was 99% complete and sitting on the gear with the engine and windows installed, all of which had to be protected. Complete masking of the interior also had to be done to protect the instrument panel and assorted interior hardware. Remember the gear? That too had to be “bagged” for protection from the overspray. All this work took a full day for three people to complete.
Once the fuselage was sanded, three coats of yellow were applied and surprisingly it looked like we had hiding. This was then allowed to cure for a full two days to remove any possibility of tape marking as the masking for the remaining red and black trim still had to be applied. However, once cured another little problem was found—actually, a lot of little problems in the form of dust and dirt in the finish and, truth be told, even a few rivet runs. Surely that was to be expected in an aircraft with about a bazillion pull rivets. All excuses aside, the dirt and runs had to be sanded out and two more coats of yellow applied, followed by yet another day of watching paint dry.
Once sufficient time had gone by, the aft end of the fuselage was taped and masked in order to be painted orange. All the rest of the fuselage had to be bagged to prevent the yellow from being damaged by overspray.

Almost Finished!
Now we had come to the last of the three colors to be applied. The black trim had to go on the fuselage, door frames, trim around the doors and the top of the cowl. Some discussion surrounded the idea of using a flatting base for the cowl top. One thought was to scuff the finish (shiny) coat and the other was to use the flatting base in that area. Greg’s decision was to leave it glossy and scuff it later if it becomes problematic.
Stencils were used for both the registration and Canadian flag on the rudder. These saved hours of masking and ensured that everything lined up correctly. All of the other lines had to be carefully laid out with fine-line tape and a great deal of discussion. As always, the actual painting took only a small fraction of the time required to prepare for it.
And then it was done and off to the hangar for final assembly. As to the remaining paint, we have some of each color left over, and that will come in handy later for any touch-ups that may be required when it is all put together.
Someone asked how long the painting took. I tracked my time and logged just over 80 hours of prep and paint time. My best guess for Werner and Greg’s time is another 140 hours for a grand total of 220 hours. Add in material costs and this will help you to understand why paint shop quotes tend to be so high.
Once assembled, it was time to give some consideration to that all-consuming first flight. Due in part to the potential for too large an emotional attachment, Greg wisely handed off first-flight responsibility to Kesar Nissar, a commercial pilot and flight instructor. All went well and after some 5½ hours of dual, Kesar signed Greg off to go solo.


“How many times can you drill through the same finger?” Has to be one of the funniest lines Ive heard in the homebuilding world. How many times indeed. And when I do it, I always seem to know just prior to it happening, that Im going to do it. Thanks! Great airplane, one of my favorites.